32
TABLE OF CONTENTS
NOTES, CAUTIONS AND WARNINGS 5
SAFETY INFORMATION 6
INTRODUCTION 7
Standard Configuration . . . . . . . . . . . . . . . . . . . . . . . . . . . . . . . . . . . . . . 7
2302 Positioner Assembly . . . . . . . . . . . . . . . . . . . . . . . . . . . . . . . . . . . . . 7
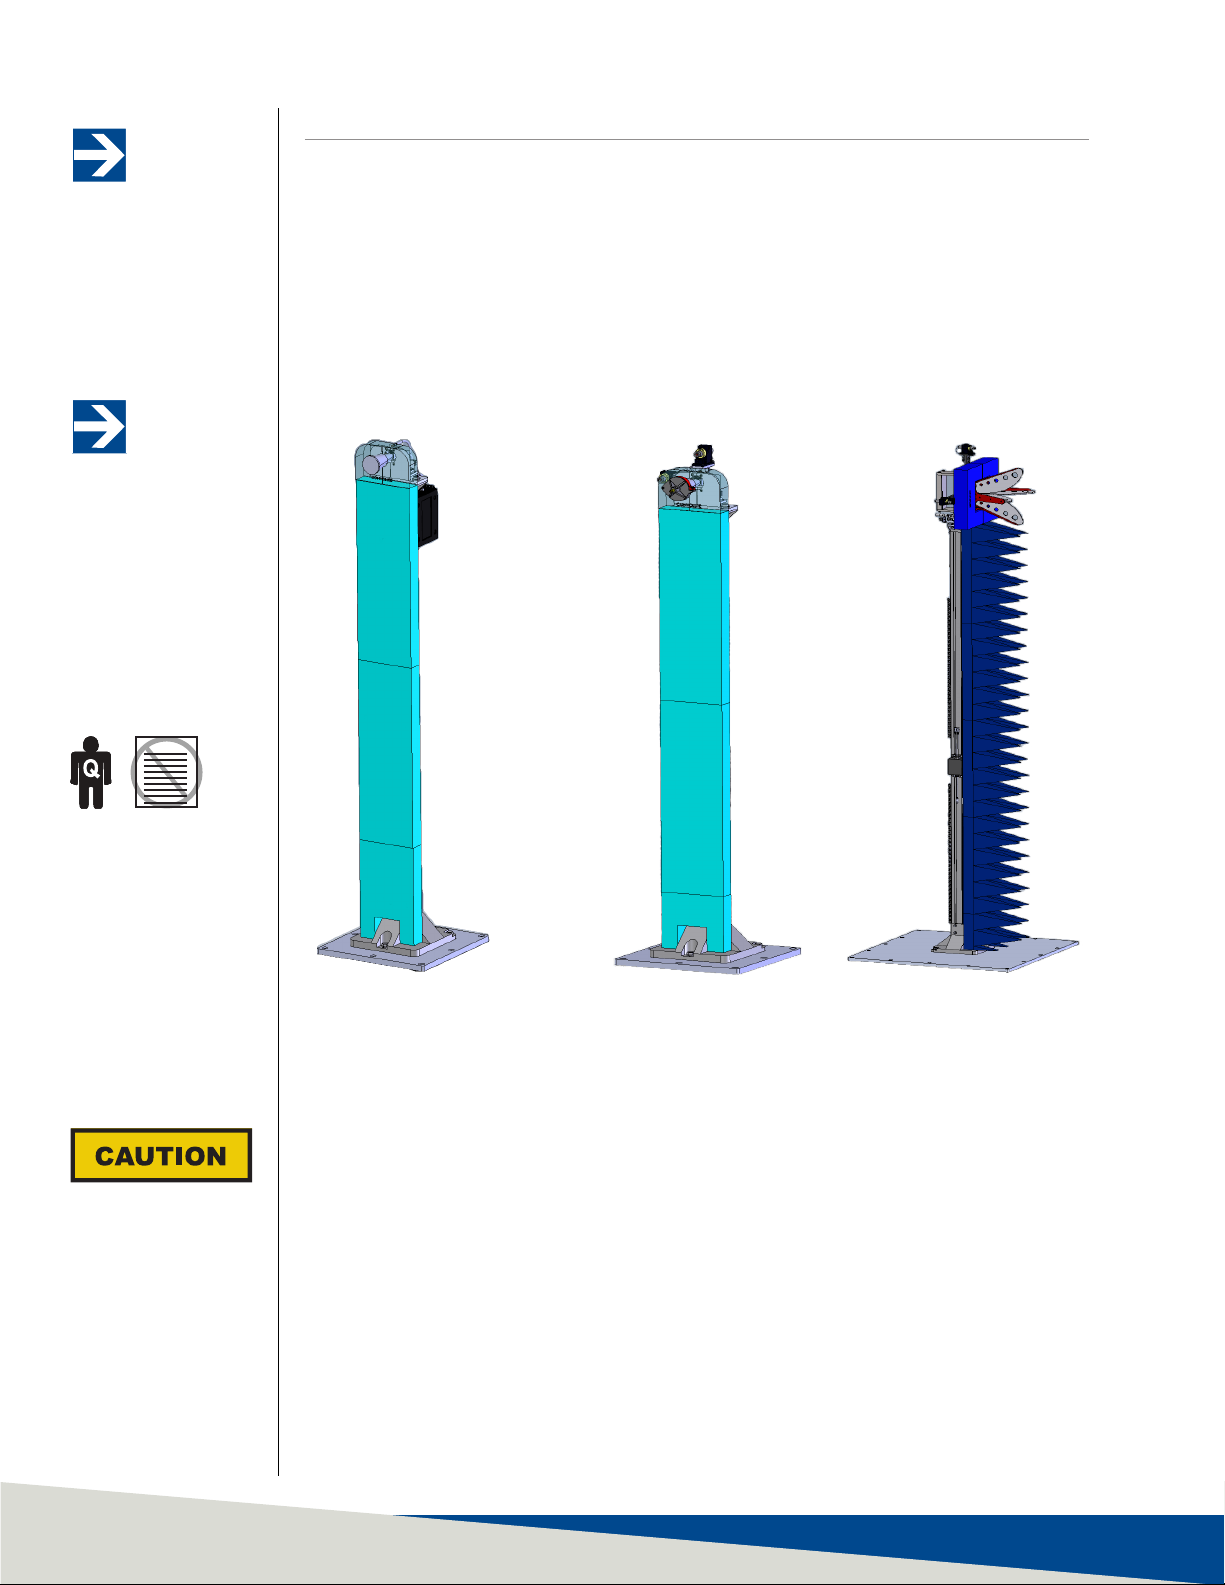
2302-001 . . . . . . . . . . . . . . . . . . . . . . . . . . . . . . . . . . . . . . . . . . . . . . 8
2302-002 . . . . . . . . . . . . . . . . . . . . . . . . . . . . . . . . . . . . . . . . . . . . . 8
2302-003 . . . . . . . . . . . . . . . . . . . . . . . . . . . . . . . . . . . . . . . . . . . . . 8
ETS-Lindgren Product Information Bulletin. . . . . . . . . . . . . . . . . . . . . . . . . . . . . 8
MAINTENANCE 9
Maintenance Recommendations . . . . . . . . . . . . . . . . . . . . . . . . . . . . . . . . . 9
Replacement Parts . . . . . . . . . . . . . . . . . . . . . . . . . . . . . . . . . . . . . . . 9
Service Procedures . . . . . . . . . . . . . . . . . . . . . . . . . . . . . . . . . . . . . . . 9
Safety Precautions . . . . . . . . . . . . . . . . . . . . . . . . . . . . . . . . . . . . . . . . . 9
SPECIFICATIONS 10
Electrical Requirements for 2302s . . . . . . . . . . . . . . . . . . . . . . . . . . . . . . . . 10
2302-001 . . . . . . . . . . . . . . . . . . . . . . . . . . . . . . . . . . . . . . . . . . . . . 10
Physical Specifications . . . . . . . . . . . . . . . . . . . . . . . . . . . . . . . . . . . . 10
2302-002 . . . . . . . . . . . . . . . . . . . . . . . . . . . . . . . . . . . . . . . . . . . . 10
Physical Specifications . . . . . . . . . . . . . . . . . . . . . . . . . . . . . . . . . . . . 10
2302-003 . . . . . . . . . . . . . . . . . . . . . . . . . . . . . . . . . . . . . . . . . . . . 10
Physical Specifications . . . . . . . . . . . . . . . . . . . . . . . . . . . . . . . . . . . . 10
INSTALLATION 11
Pre-Installation Tasks . . . . . . . . . . . . . . . . . . . . . . . . . . . . . . . . . . . . . . . 11
Positioner Installation . . . . . . . . . . . . . . . . . . . . . . . . . . . . . . . . . . . . . . . 11
2302 Positioner Assembly . . . . . . . . . . . . . . . . . . . . . . . . . . . . . . . . . . . . . 11
Securing the Base Plate . . . . . . . . . . . . . . . . . . . . . . . . . . . . . . . . . . . . . . 11
Leveling the Fixture . . . . . . . . . . . . . . . . . . . . . . . . . . . . . . . . . . . . . . . .12
OPERATION 13
Pre-Operational Tasks . . . . . . . . . . . . . . . . . . . . . . . . . . . . . . . . . . . . . . .13
Laser Fixture (002 & 003) . . . . . . . . . . . . . . . . . . . . . . . . . . . . . . . . . . . . . .13