16
HOW TO SET-UP HOW TO SET-UP
17
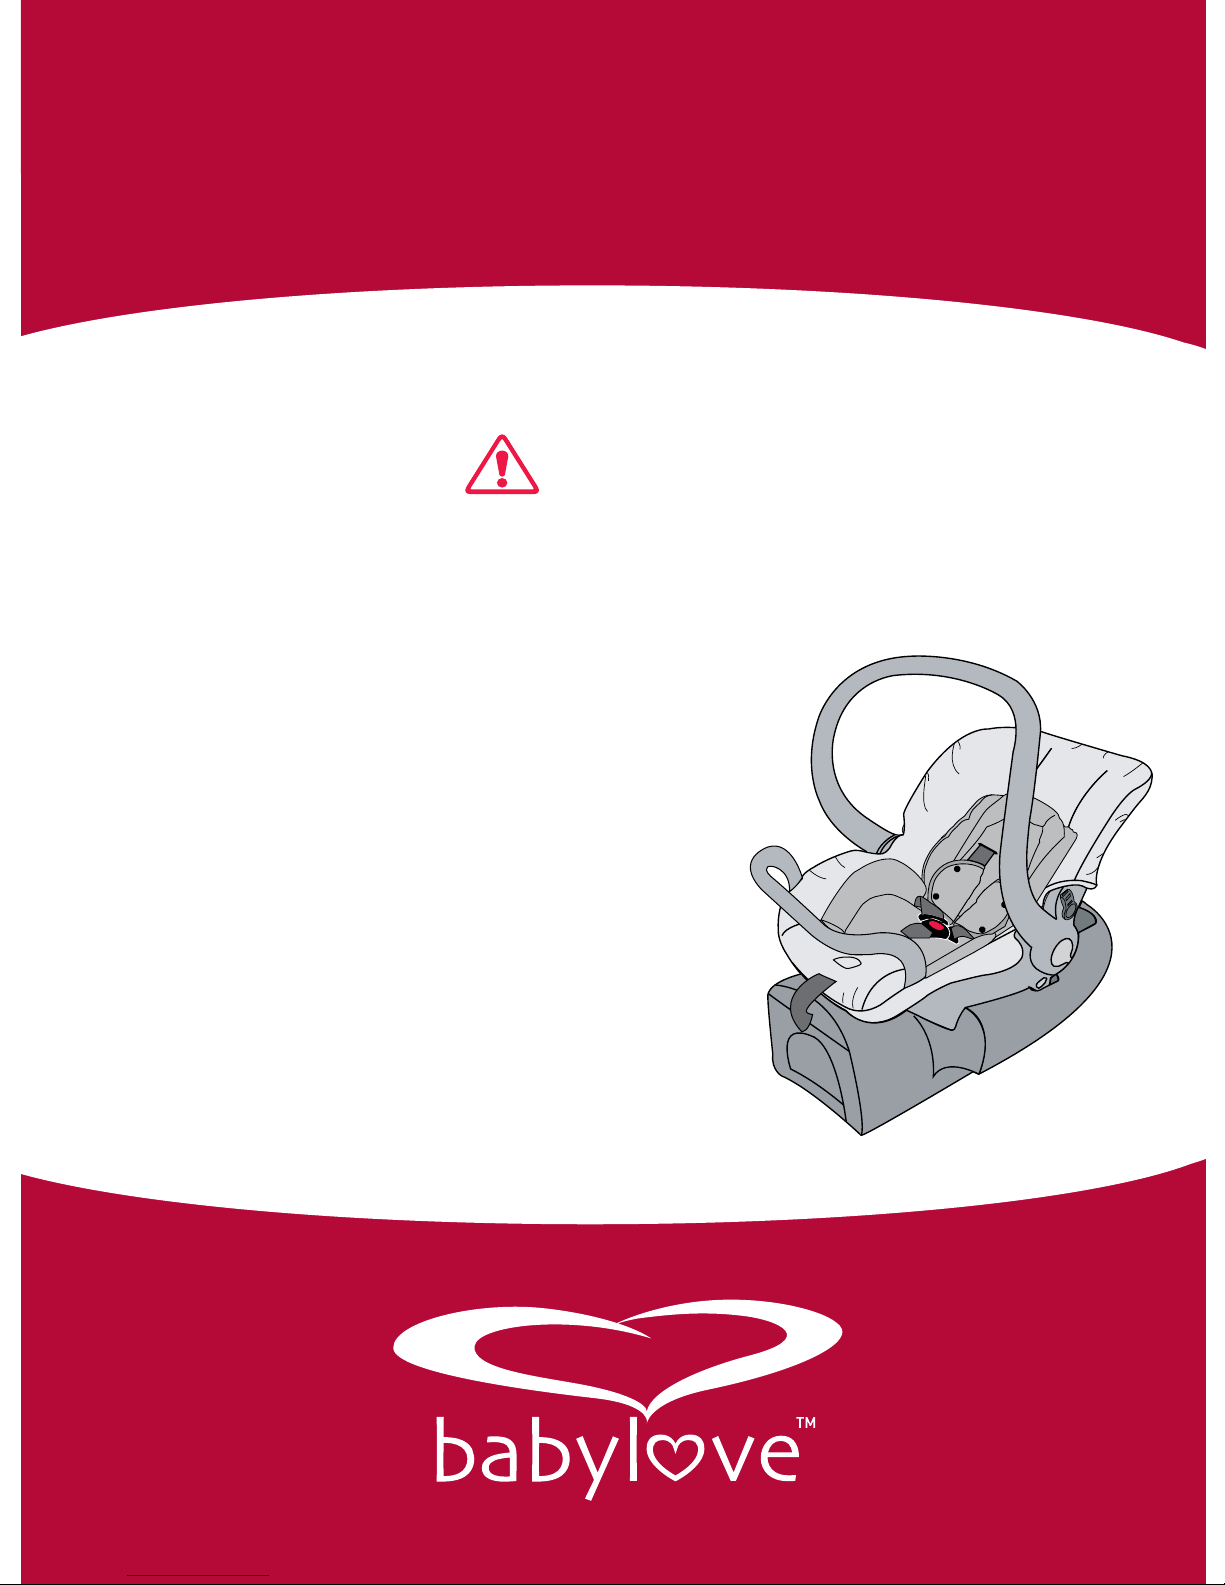
A. The Carrier features a sturdy carry handle.
At the side of the handle there is a handle
release buttons on each side which control
the three positions of the handle. The
“carry” position is upright and suitable
to carry the baby. Ensure the handle is
locked, and it is safe to lift the Carrier.
B. To convert from “carry” to “access”
position, press the handle release button
on each side and rotate the handle towards
the back of the Carrier. Rotate until the
handle locks into the next position.
This position ensures the handle does not
interfere with the attachment of the upper
anchorage strap or removal of the baby.
C. To convert to a “non-rocking” position
press both handle release buttons and
rotate the handle to the next position.
Ensure the handle is locked in position
securely.
D. Press the handle release buttons to
reposition the handle to suit your needs.
The handle can also be in any position
when the carrier is installed in the car.
ADJUSTMENT OF HANDLE POSITION TO REMOVE/FIT CANOPY
A. To connect, feed the canopy stay into the
mounting on the side of the Carrier.
B. Connect two press studs on the back of
canopy to the cover.
C. The Canopy can be rotated to cover the
baby or opened by rotating to the desired
position. When fully open the canopy locks
in position.
D. To remove the canopy press the tab on
the canopy stay on each side of the carrier.
When removing take care not to bend the
mounting.
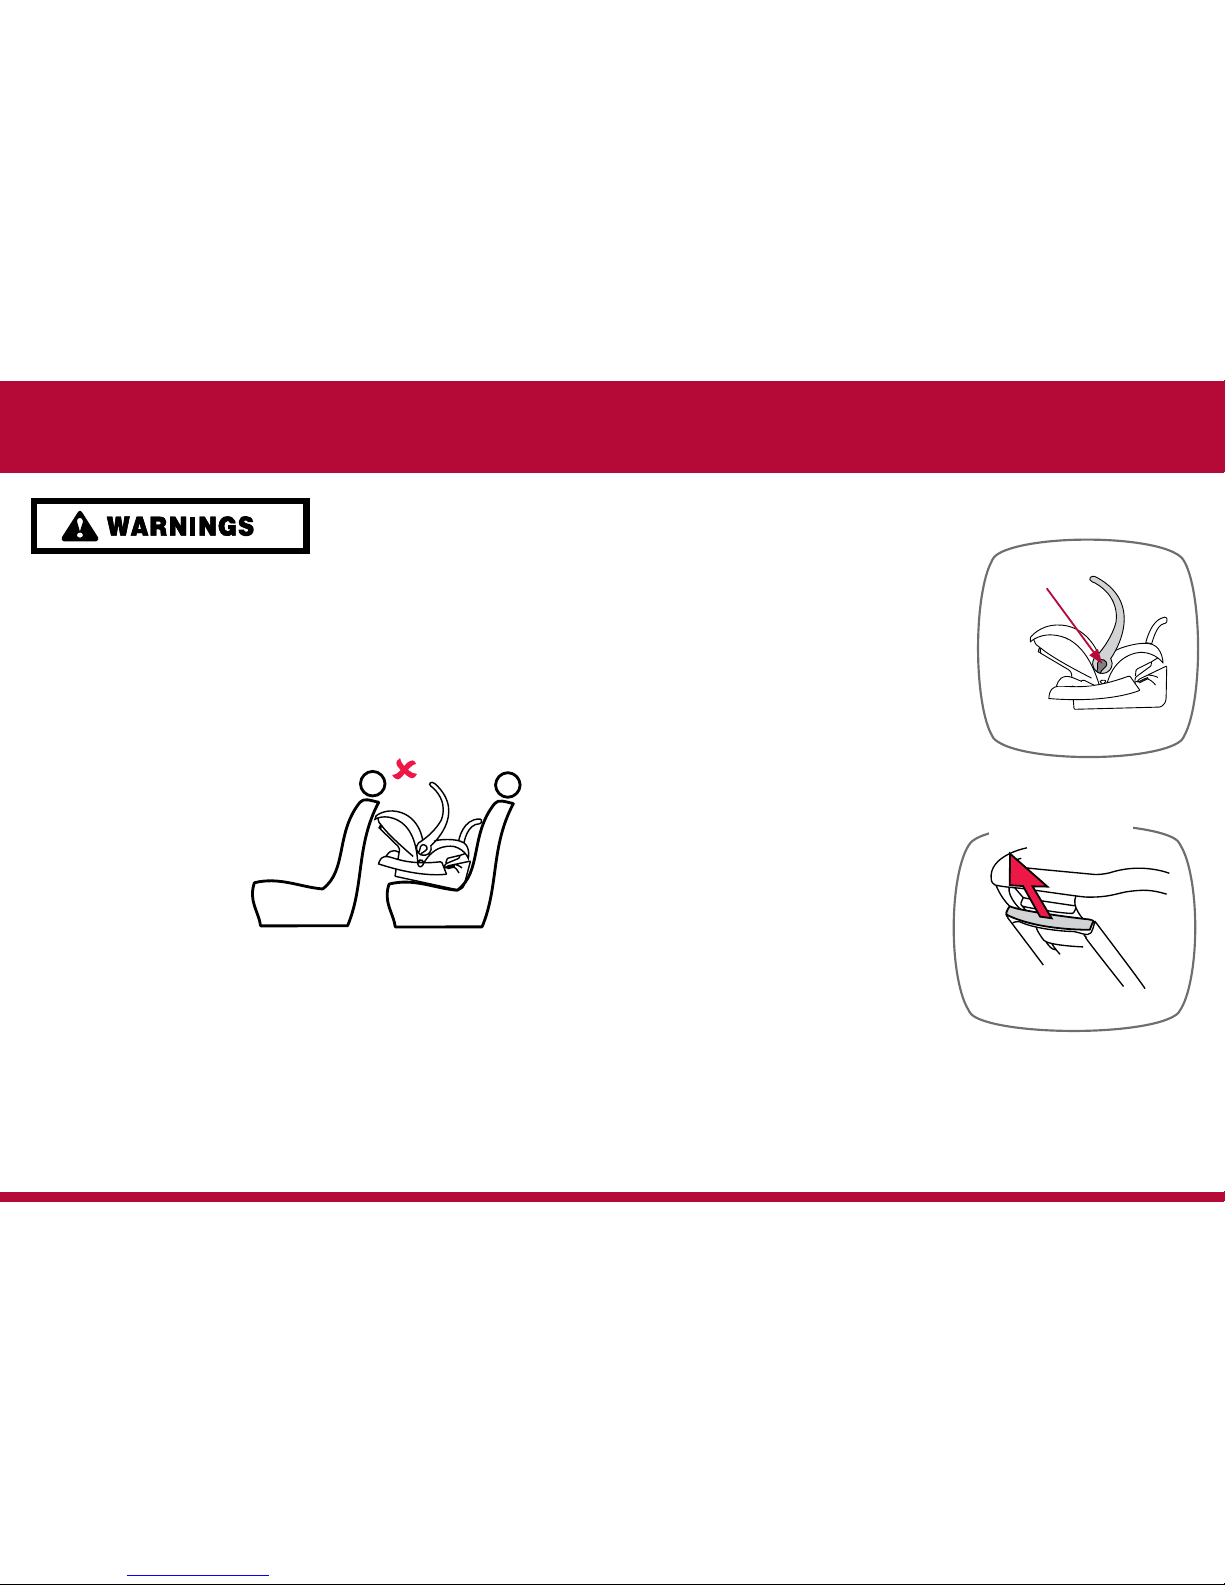
“Carry” position
Press to
release
Press
studs
IMPORTANT:
Make sure the handle is engaged properly every time you pick up the Carrier.
“Access” Position
SETTING UP THE HARNESS
Lift the Harness Adjuster
up and pull the Harness
Straps to slacken.
A.SittheCarrieronaatgroundortheoor
with the handle rotated fully back to prevent
rocking.
B. Release the buckle and lengthen the Harness
Straps by pressing Harness Adjuster (under
theap)whilegraspingbothShoulder
Harness Straps and pulling out fully.
“Non rocking” position