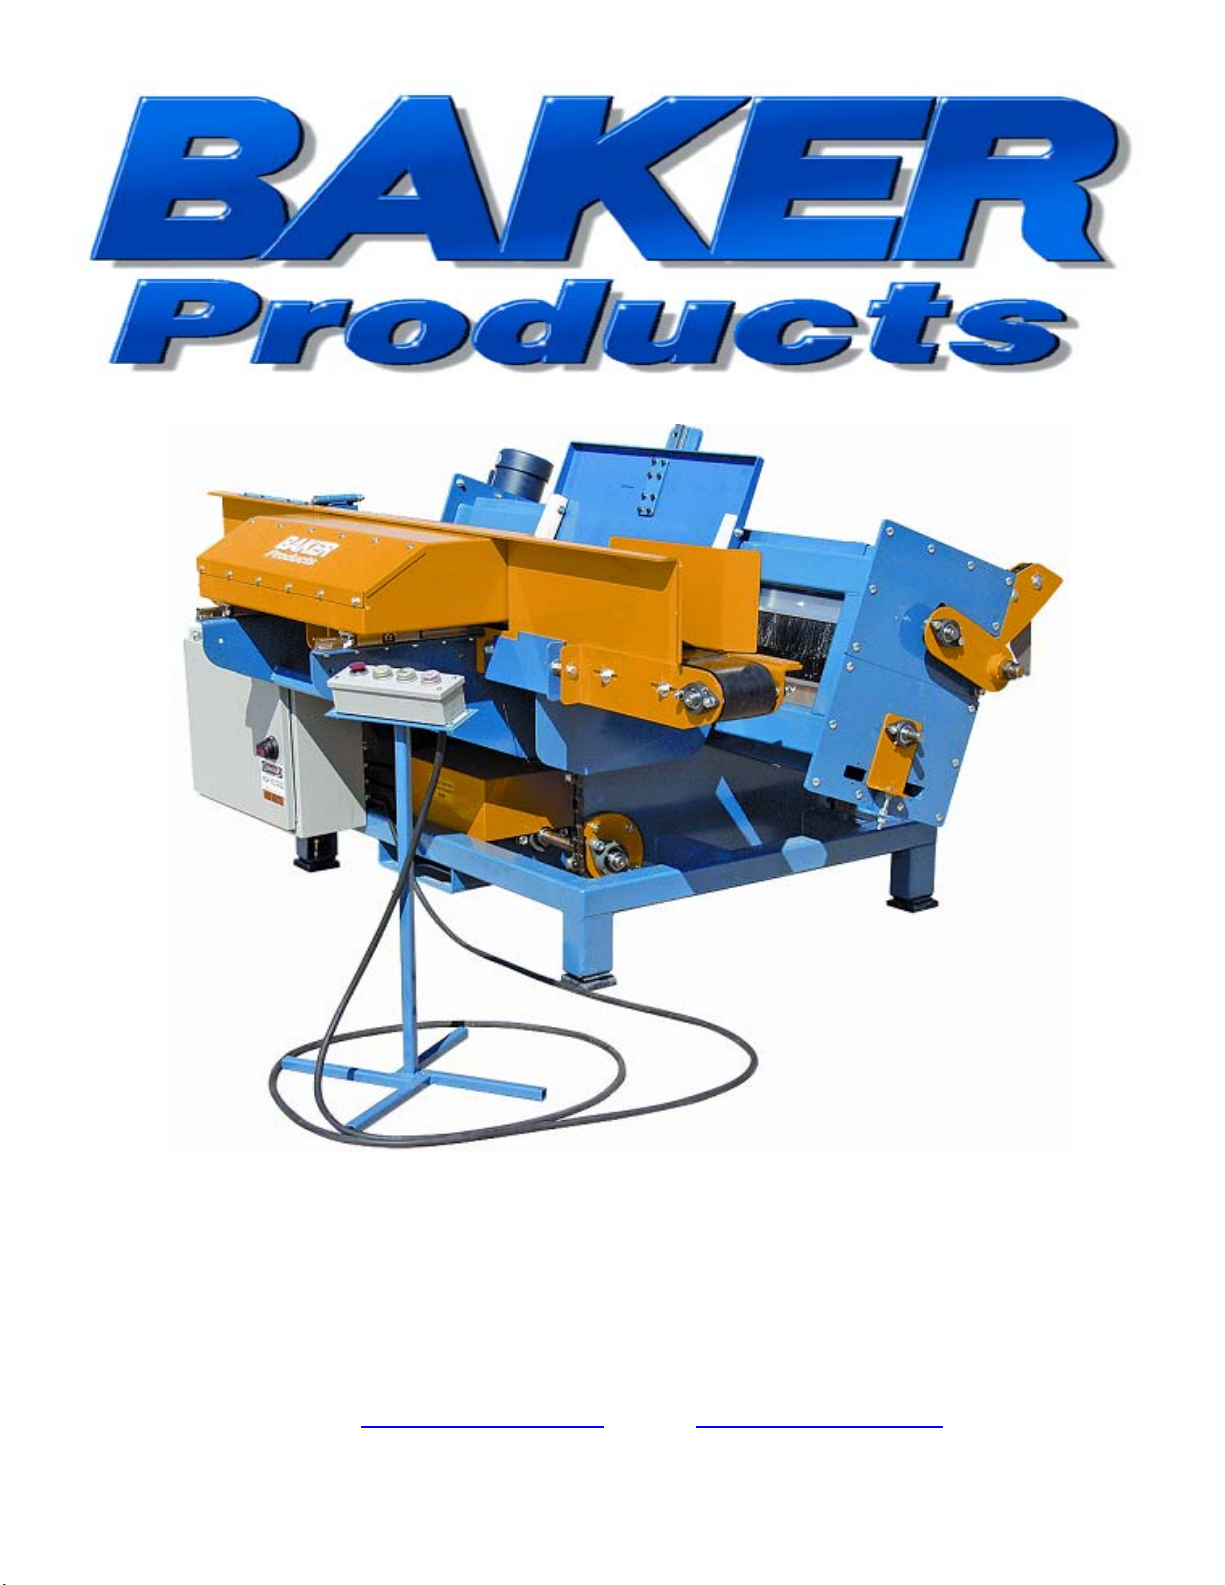
Baker M6 DeDuster - Rev 1, 11/07; WWW.BAKER-ONLINE.COM
9
Control of Hazardous Energy – (Lockout / Tagout)
Lockout / Tagout (LOTO) refers to specific practices and procedures to safeguard employees
from the unexpected energy, startup of machinery/equipment, or the release of hazardous
energy during service or maintenance activities.
This requires that a designated individual turn off and disconnect the machinery/equipment
from its energy source(s) before performing service or maintenance and that the authorized
employee(s) lock and tag the energy-isolating device(s) to prevent the release of hazardous
energy and take steps to verify that the energy has been isolated effectively.
List of Related Terms
Affected
Employee An employee whose job requires them to operate a machine or piece of
equipment on which service or maintenance is being performed.
Authorized
Employee A person who locks or implements a tagout system procedure on machines
or equipment to perform service or maintenance on that machine or
equipment. An authorized employee and an affected employee may be the
same person when the affected employee's duties also include performing
service or maintenance.
Energy
Source Any source of electrical, mechanical, hydraulic, pneumatic, chemical, thermal,
or other energy.
Lockout The placement of a lockout device (such as a lock) on an energy-isolating
device, in accordance with an established procedure that ensures the device
and the equipment cannot be operated until the lockout device is removed.
Servicing
and / or
Maintenance
Workplace activities such as constructing, installing, setting up, adjusting,
inspecting, modifying, maintaining or servicing machines or equipment.
These activities include lubrication, cleaning or un-jamming of machines or
equipment, and making adjustments or tool changes where the employee
may be exposed to the unexpected energy, start-up of equipment or release
of hazardous energy.
Tagout The placement of a tagout device (such as a tag) on an energy-isolating
device, in accordance with an established procedure that ensures the device
and the equipment may not be operated until the tagout device is removed.
The Fatal Five Main Causes of
Lockout/Tagout Injuries
1. Failure to stop equipment
2. Failure to disconnect from a power
source
3. Failure to dissipate (bleed, neutralize)
residual energy
4. Accidental re-starting of equipment
5. Failure to clear work areas before re-
starting
Example of lockout tags,
lockout hasp and keyed lock