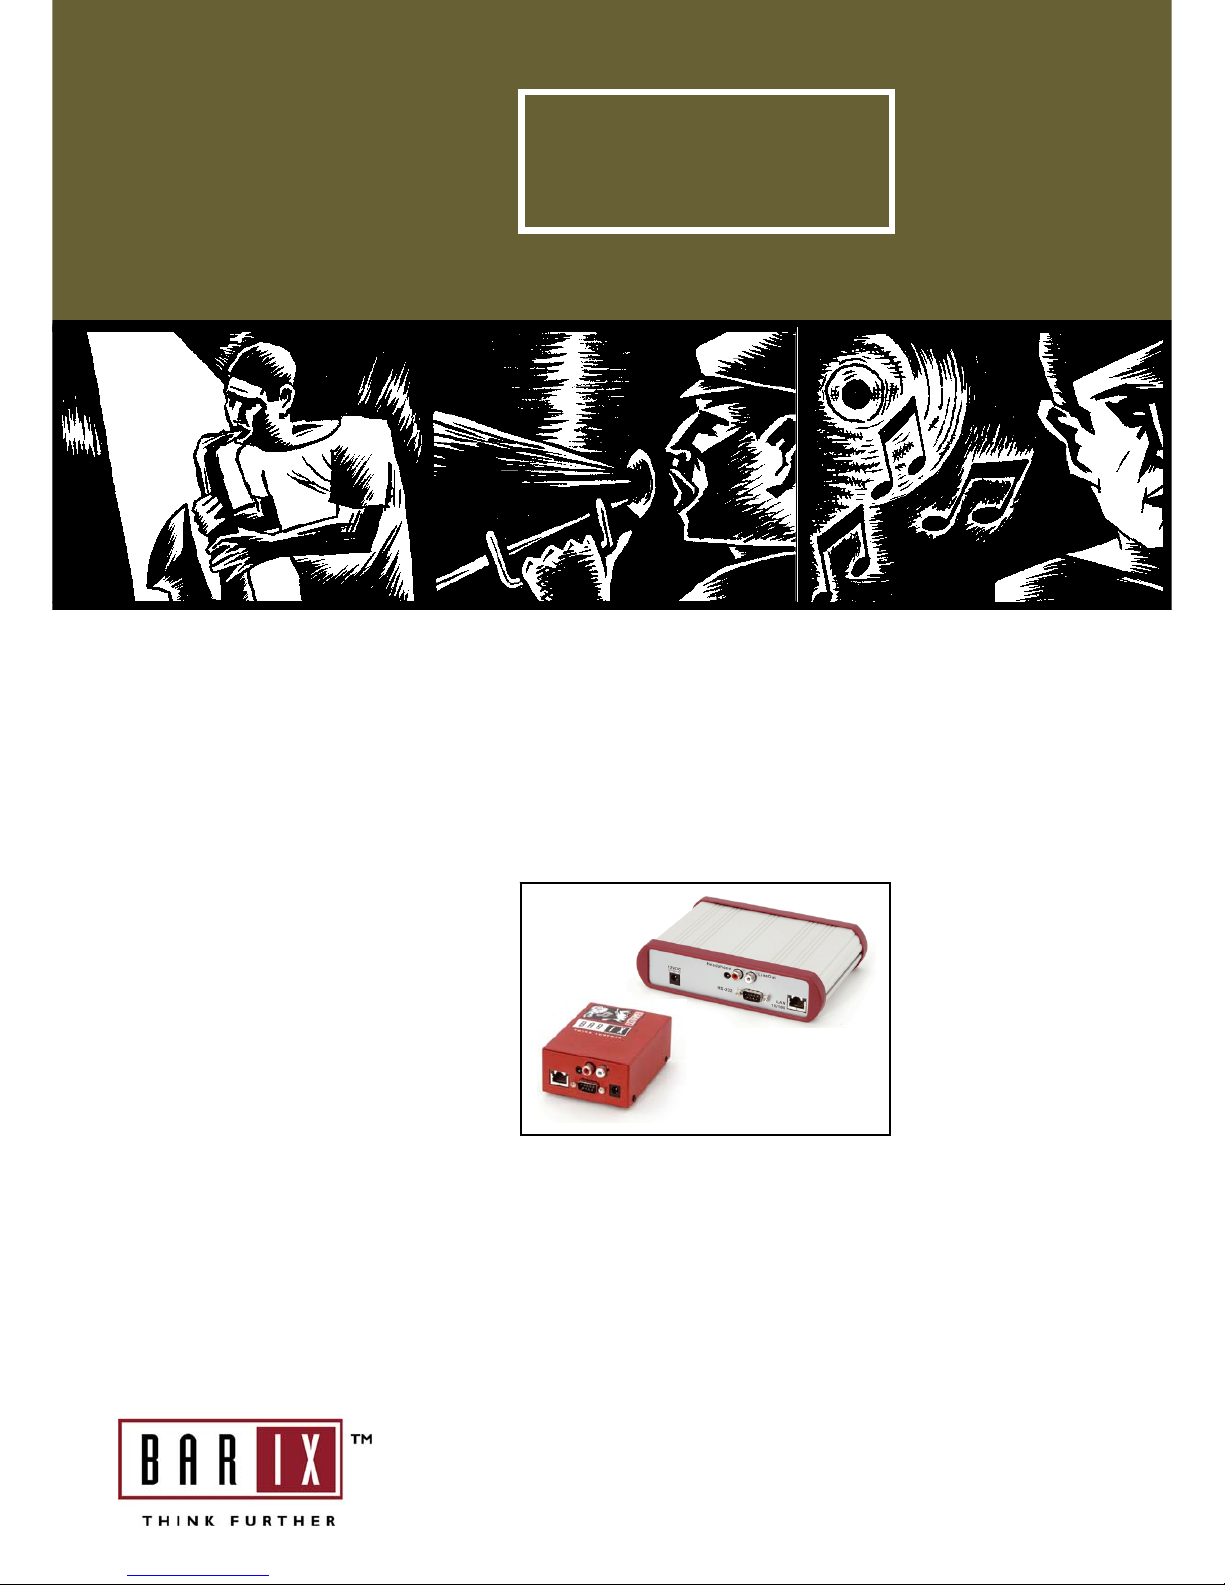
Exstreamer User Manual Version 1.7
5 Installation
Once the Exstreamer is connected to your network, it will
automatically receive an IP address from your DHCP
server (Internet gateways run usually a DHCP server).
If no DHCP server can be reached, our
IPzator function will search the network for a free IP
address.
The Exstreamer will announce the IP address using
Sonic IP technology.
To prepare the usage of the Exstreamer we recommend to
install first our free Music Server software called zServer.
5.1 Installing the Music Server
program
Our free Music Server software called zServer can be
downloaded from our website www.barix.com.
The music server finds your playlists and streams your
locally stored MP3s to the Exstreamer. If you don’t have
any playlists or .m3u files then the music server can create
them for you.
NOTE: The music server program requires the Sun Java
VM plug-in. If you don’t have it installed on your PC you
will have to download it from www.java.sun.com (JS2E file)
and install it first.
STEP 1
The music server program requires a Java VM plug-in. If
you don’t have a Java VM plug-in or if you are not sure,
then download J2SE (Version 1.3.0 or above) from
www.java.sun.com and install it.
STEP 2
Download the setup file of the music server program
zServer from www.exstreamer.com
STEP 3
Run the self extracting zServer.exe file. It automatically will
suggest the path C:\Program Files\zServer but you can also
indicate a preferred path for the installation.
Select <unzip> to extract.
STEP 4
A configuration wizard should start. If not, then manually
execute the file configz.bat in the installed zServer folder.
STEP 5
You will be asked for the location of your playlists. In case
you allready have playlists in the standard .m3u format
generated by MP3 software hit the <browse> button and
show the program where these playlist are. After the
correct path is entered click on <set>. Skip the next step.
If you don’t have any playlists created hit the <browse>
button and click on the <create folder> icon to create a
playlist folder for later use.
STEP 6
This is the playlist creation utility.
The first window asks for the location of your MP3s files.
Hit the upper <browse> button and show the program
where they are. If you click on a folder with subdirectories
then all the songs in the subdirectories will become one
playlist.
The second window asks for the location you want your
playlists files to be stored. Hit the lower <browse> button
and show the program the folder you made in step 5 since
you registered that folder to the zServer as your playlist
folder.
Now you can generate the playlist by pressing the
<generate> button. You can generate more playlists by
repeating this step. You could group music by year or
mood into separate folders and then make playlists from
them after you have grouped them.
The <subdirectory scan deep> tells the generator how
many subdirectories will be scaned down to generate a
playlists from.
If <include subdirectories> is activated then all MP3s in the
current directory and all in its subdirectories will be
included in that playlist.
Count of subdirectories for playlistname tells the generator
how many directory names back of the current one will be
used for the name of the playlist.
The separator between the directories is the separator in
the playlist name between the directory and subdirectories.
STEP 7
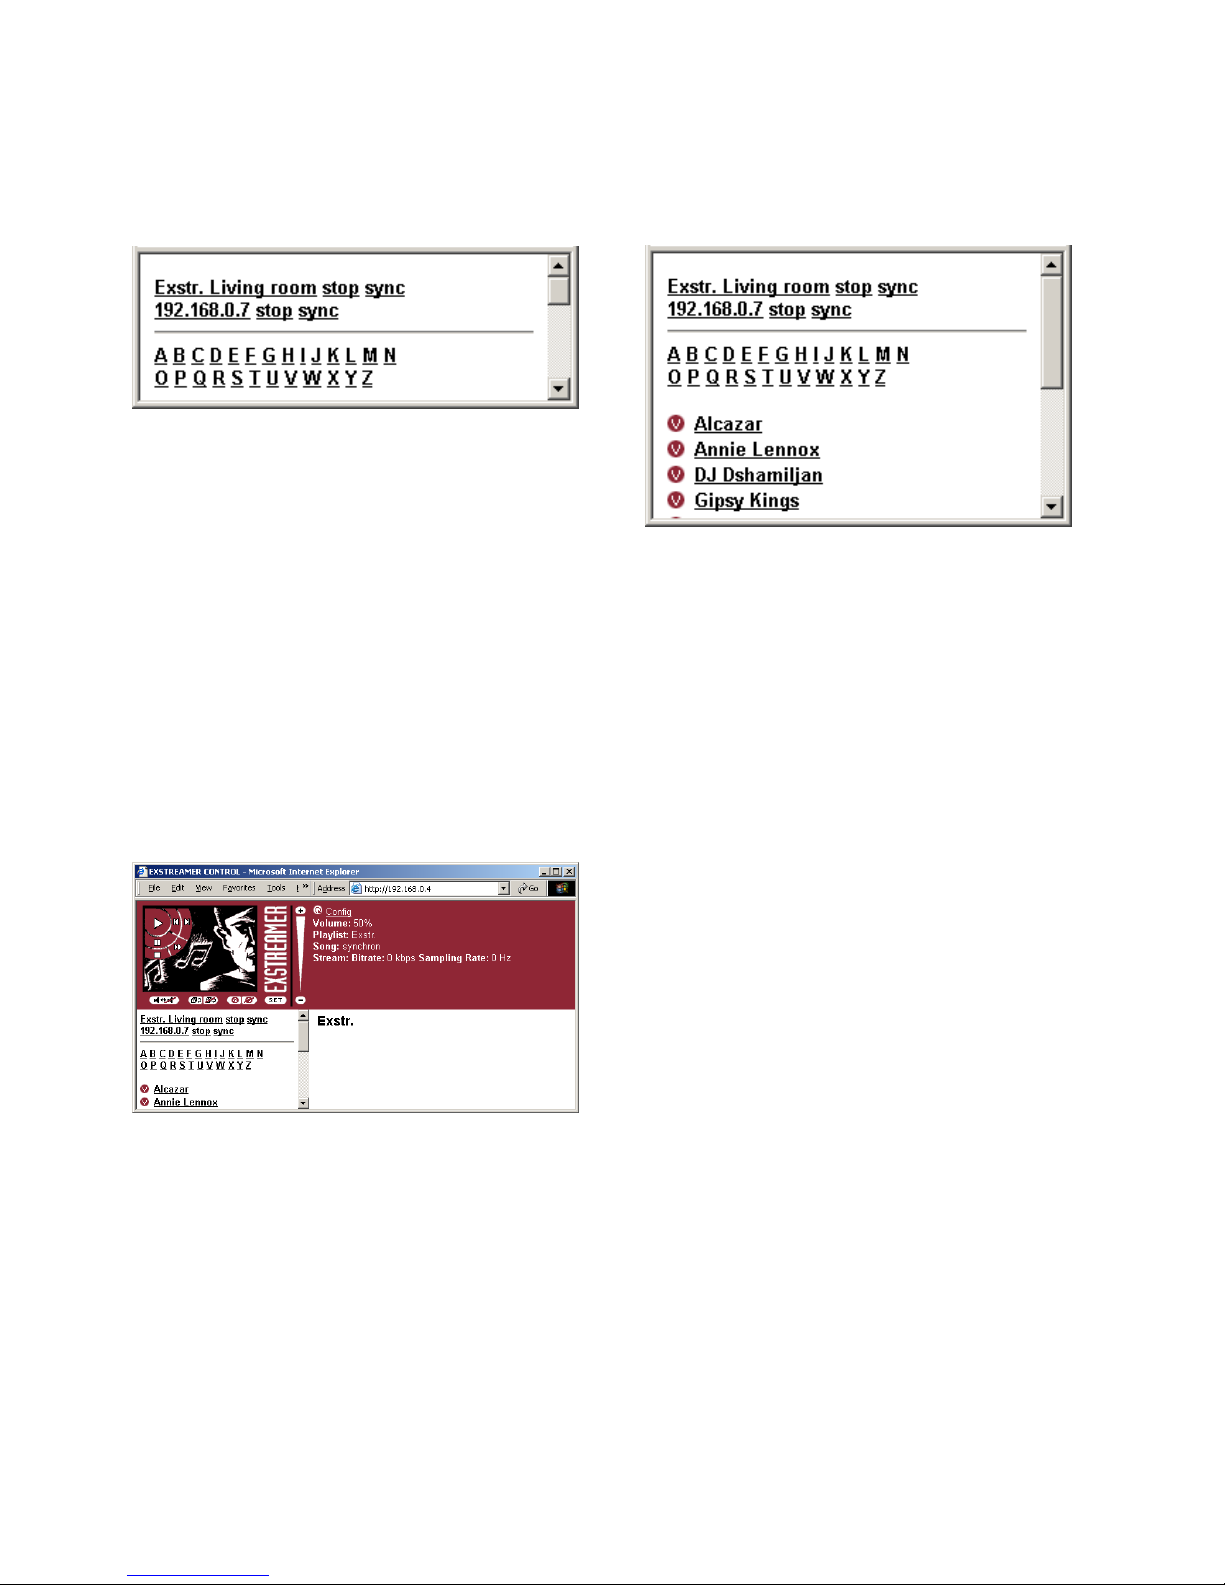
Run the file startz.bat in the zServer folder. The music
program is now ready to stream your MP3s to your
Exstreamer.
NOTE
The startz.bat file must always run in order for you to use
the Exstreamer. If you reboot your PC you will not be able
to use the Exstreamer until you again run the startz.bat file.
To stop the zServer simply close its window.