Page 6 For technical questions, please call 1-888-866-5797. Item 58520
RETURNS NOT ACCEPTED & WARRANTY VOID
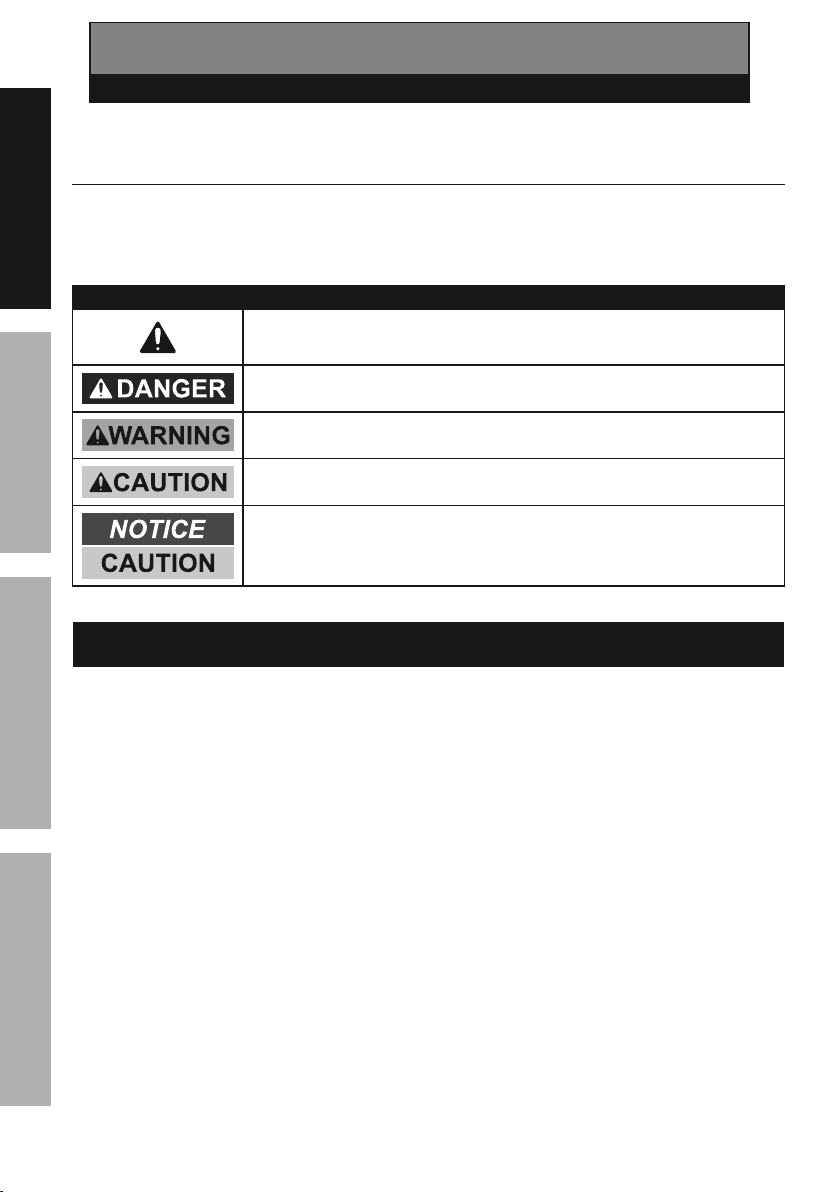
if Sprayer is not properly cleaned and lubricated immediately after every use.
Clean and lubricate Sprayer immediately to prevent permanent damage.
SAFETY OPERATION MAINTENANCESETUP
21. Sparks from improper grounding
can ignite fumes!
Follow all local regulations regarding
the use of fluid supply containers and
solvent pails used with flushing the Paint Sprayer.
Use only conductive metal pails placed on a
grounded (concrete) surface. Do not place pails
on nonconductive surfaces (such as cardboard or
paper). Ground all metal pails by clamping one end
of a ground wire to the pail and the other end to a
grounded structure (such as a nearby pipe).
Maintain grounding, even when flushing or relieving
pressure from Paint Sprayer into metal pail.
The force of the spray can knock a metal pail over,
so hold down the metal pail and keep the metal
part of the spray gun set against the grounded
metal pail when pressing the spray gun trigger.
22. Maintain labels and nameplates on the sprayer.
These carry important safety information.
If unreadable or missing, contact
Harbor Freight Tools for a replacement.
23. People with pacemakers should consult their
physician(s) before use. Electromagnetic fields in
close proximity to heart pacemaker could cause
pacemaker interference or pacemaker failure.
Battery tool use and care
1. Prevent unintentional starting. Ensure the
switch is in the off-position before connecting
to battery pack, picking up or carrying the
power tool. Carrying the power tool with your
finger on the switch or energizing power tool
that have the switch on invites accidents.
2. Disconnect the battery pack from the power
tool before making any adjustments, changing
accessories, or storing power tool. Such
preventive safety measures reduce the risk
of starting the power tool accidentally.
3. Recharge only with the charger specified by
the manufacturer. A charger that is suitable for
one type of battery pack may create a risk of
fire when used with another battery pack.
4. Use power tools only with specifically designated
battery packs. Use of any other battery
packs may create a risk of injury and fire.
5. When battery pack is not in use, keep it away
from other metal objects, like paper clips,
coins, keys, nails, screws or other small metal
objects, that can make a connection from
one terminal to another. Shorting the battery
terminals together may cause burns or a fire.
6. Under abusive conditions, liquid may be
ejected from the battery; avoid contact.
If contact accidentally occurs, flush with
water. If liquid contacts eyes, additionally
seek medical help. Liquid ejected from the
battery may cause irritation or burns.
7. Do not use a battery pack or power tool that is
damaged or modified. Damaged or modified
batteries may exhibit unpredictable behavior
resulting in fire, explosion or risk of injury.
8. Do not expose a battery pack or power tool to
fire or excessive temperature. Exposure to fire or
temperature above 265°F may cause explosion.
9. Follow all charging instructions and do not charge
the battery pack or power tool outside of the
temperature range specified in the instructions.
Charging improperly or at temperatures
outside of the specified range may damage
the battery and increase the risk of fire.
10. Have servicing performed by a qualified
repair person using only identical
replacement parts. This will ensure that
the safety of the product is maintained.
11. Do not modify or attempt to repair the power
tool or the battery pack except as indicated
in the instructions for use and care.
12. The battery Charger gets hot during
use. The Charger’s heat can build up to
unsafe levels and create a fire hazard if
it does not receive adequate ventilation,
due to an electrical fault, or if it is used in a
hot environment. Do not place the Charger on a
flammable surface. Do not obstruct any vents on
the Charger. Especially avoid placing the
Charger on carpets and rugs; they are not only
flammable, but they also obstruct vents under
the Charger. Place the Charger on a stable, solid,
nonflammable surface (such as a stable metal
workbench or concrete floor) at least 1 foot away
from all flammable objects, such as drapes or walls.
Keep a fire extinguisher and a smoke detector in
the area. Frequently monitor the Charger and
Battery Pack while charging.