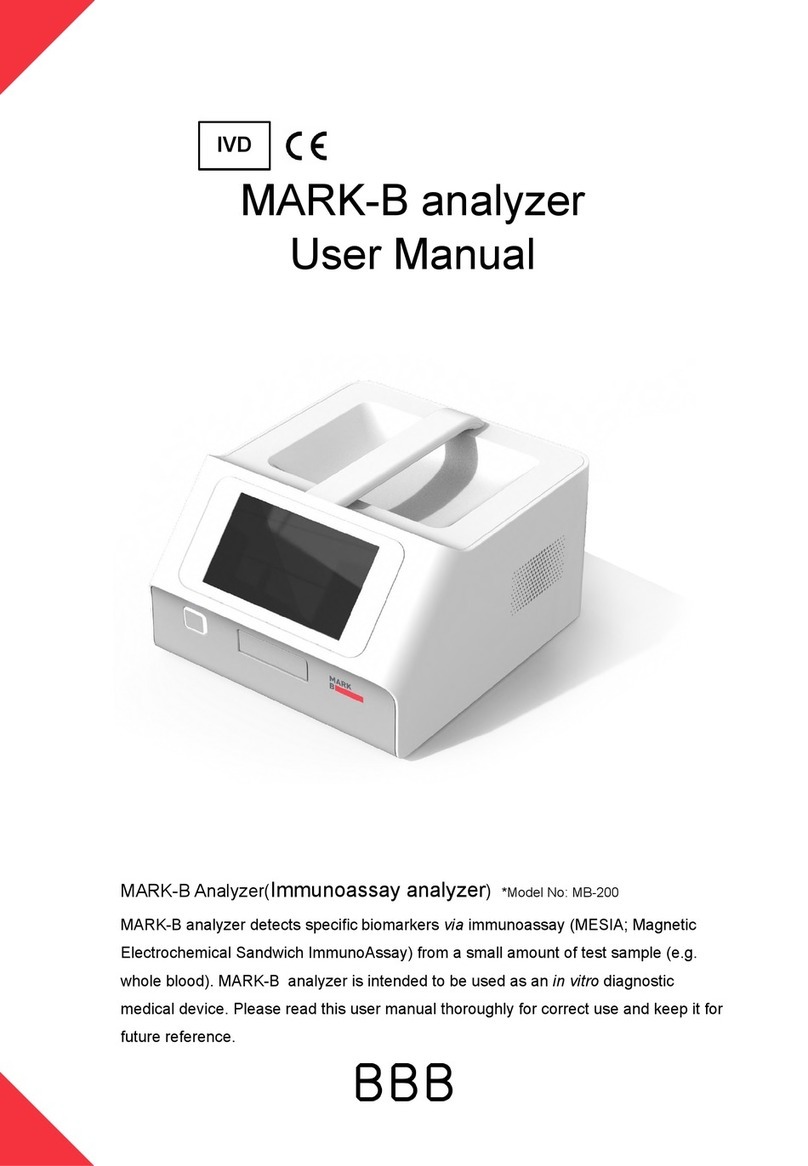
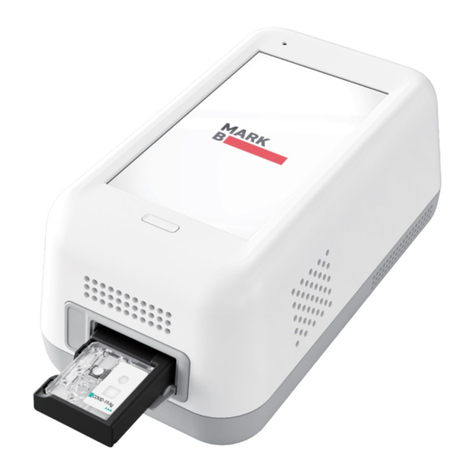
BBB markB User manual

markB Analyzer
markB Analyzer(Model No.: MB-100) User Manual
Analyzer
Immunoassay Analyzer
Thank you for purchasing markB Analyzer.
Please read the user manual carefully for adequate use. Please keep this manual carefully.
markB Analyzer is an in-vitro diagnostic medical device that can perform biomarker immunoassay with a
small amount of blood.
[Contents]

markBAnalyzer Page 2/ 52
Chapter 1. Understanding of markB Anlayzer
1.1. Intended use
1.2. Principle
1.3. Precautions before use
1.4. Components
1.5. Symbols
Chapter 2. Introduce of markB Analyzer
2.1. Product Description
Chapter 3. How to use markB Analyzer
3.1. Initial Settings
3.2. How to measure
3.3. QC test
3.3.1 Control Solution Test
3.4. Test result management
3.5. Printer
3.6. Settings
3.6.1 Wi-Fi Setting
3.6.2 Bluetooth Setting
3.6.3 Printer Setting
3.6.4 Device Registration
3.6.5 Version information
Chapter 4. Maintenance of markB Analyzer
4.1. Check Cartridge Test
4.2. Cleaning of markB Analyzer
4.3. Storage
Chapter 5. Error message description and action
Chapter 6. Technical information
Chapter 7. Warranty Information
Chapter 1. Understanding markB Analyzer
1.1. Intended use

markBAnalyzer Page 3/ 52
markB Analyzer is designed for markB test cartridges which the in vitro quantitative measurement of the
biomarkers contained in fresh capillary whole blood, venous whole blood in heparinized tubes,
heparinized plasma, and serum.
1.2. Principle
●markB Analyzer is a portable POCT(Point of Care Testing) device.
●markB Analyzer uses magnetic force-based electrochemical immunoassays to quantify single or
multiple analytes from electrochemical signals generated in the markB Test cartridge, a
disposable in vitro diagnostic device.
●The markB Analyzer moves the magnetic nanoprobes of the markB test cartridge to induce an
antigen-antibody reaction with the magnetic field generated from the magnet mounted inside, and
removes the unreacted magnetic nanoprobe.
●markB Analyzer measures the concentration of antigen by electrochemical signals from magnetic
nanoprobes that have completed the antigen-antibody binding reaction.
●markB Analyzer can send measurement results to the specified server with wireless connection.
1.3. Precautions before use
●For proper use, please read this manual thoroughly before using the product.
●markB Analyzer should be used for in vitro diagnostics.
●Check the components before opening markB Analyzer for the first time.
●Please read the instruction manual carefully before starting the measurement.
●An AC power connection is required to drive and charge the markB Analyzer. Please make sure
that the power specifications at the place of use match the input power specifications of this
product.
●If the internal temperature rises while using markB Analyzer, the cooling fan in the ventilation hole
will operate.
●A minimum of 10 cm (4 inch) clearance in the direction of the air vents is required for installation
when using the appliance.
●Be careful not to let other substances enter the markB Analyzer vents.
●Metal material inside the markB Analyzer may cause malfunction or electric shock to the user.
●markB Analyzer must use markB Test cartridge.
●The markB Analyzer reads the NFC information in the test cartridge and recognizes the
biomarkers that the corresponding test cartridge can measure. If it is not recognized, a software
upgrade is required. Please contact your administrator or customer service center.
●If you need a detailed description of the markB test cartridge, please read the instruction manual
of the test cartridge.
●If you do not intend to use markB Analyzer for a long period of time, turn off the power and
disconnect the adapter.
●Do not handle or store liquids when using markB Analyzer.
●Do not use or store markB Analyzer near fire.
●Do not expose the markB Analyzer to high temperature or high humidity, rain, dust, or many other
places.
●Do not strike, step on or drop the markB Analyzer.
●When moving markB Analyzer, be careful not to drop it.
●Do not disassemble or modify markB Analyzer.
●Use markB Analyzer indoors.
●markB Analyzer is not a waterproof product. Do not wipe with water or touch with wet hands.
●Do not use markB Analyzer except for professional medical personnel. This instrument is
designed for professional use only.
●markB Analyzer should not be used for the diagnosis, screening or neonatal examination of a
specific disease. Please use it only for medical purposes.
●Please do not let markB Analyzer be in the reach of children.
●Please dispose of markB Analyzer in a safe place according to disposal regulations.
1.4. markB Components

markBAnalyzer Page 4/ 52
The following components are available upon purchase of the markB Analyzer. Please make sure that all
components are included as soon as you receive them. If the components are missing or damaged,
contact the place of purchase.
●markB Analyzer, 1EA
●Check cartridge, 1EA
●markB User manual
●markB Quick manual
To use markB Analyzer, you need to purchase consumables and accessories sold separately. Please
contact the place of purchase.
●Power adaptor
●markB Test cartridge
●markB Control solution

markBAnalyzer Page 5/ 52
1.5. Symbol
markB for details of the symbol mark included in the PSA’s outer packaging, external description,
attachments, etc., please refer to the explanation below.

markBAnalyzer Page 6/ 52
Chapter 2. markB products
2.1. Product Description
2.1.1 markB Analyzer
Name
Description
①
Power button
It turns the device on or off.
②
Tray (closed)
It holds a test cartridge.
Opening and closing of the tray are controlled by application.
③
Screen
It is for the user to operate the analyzer and check the result
through the screen.
④
Tray
Same as ②.(Tray opened with cartridge inserted)
⑤
Fan
It is the air circulation to control the temperature inside of the
analyzer.

markBAnalyzer Page 7/ 52
⑥
Power connector
It allows the analyzer to be connected to the power source through
an adapter for supplying power and charging the battery.
⑦
Test cartridge
connector
Connections for cartridge measurement.
⑧
Cartridge recognition
switch
Switch for checking cartridge insertion.
⑨
USB port
USB-A port for connection of Barcode Reader and Mobile Printer.
2.1.2 Check cartridge
MarkB check cartridge is used to assess analyzer’s mechanical and electronic malfunction. Check
cartridge contains alignment sensor for checking position of the top and bottom magnet in the analyzer.
[Front] [Back]
이름
기능
①
Top magnet
alignment window
The proper alignment of the top magnet is tested through this
window.
②
Alignment sensor
Detects contact with magnet
③
Tray holder
It holds the cartridge to fit into the analyzer.
④
Bottom magnet
alignment window
The proper alignment of the bottom magnet is tested through this
window.
⑤
Electrochemical
contact pad
The analyzer determines whether that top/bottom magnet is
located in the proper position.
⑥
NFC Tag
Check cartridge’s information is stored.
Chapter 3. How to use markB Analyzer

markBAnalyzer Page 8/ 52
3.1. Initial Setting
(1) Connect the markB Analyzer’s power adaptor.
(2) Power on the markB Analyzer in the direction shown in the picture.
(3) The first time you turn on markB, the Wi-Fi settings screen appears.
First, tap the Connect Wi-Fi button to turn on Wi-Fi and connect it to the Wi-Fi you want to connect to.
When connected properly, the "Done" button at the bottom of the screen is activated.

markBAnalyzer Page 9/ 52
Icon
Status
Description
Connected
Wi-Fi is connected normally.
Requesting
connection
Connecting WiFi. wait a minute please. If you do not get any response
after waiting, please press the ‘Reconnect Wi-Fi’ button to retry the Wi-
Fi connection.
Connection
Failure
The icon appears when Wi-Fi connection fails.
Check the wireless connection status of Wi-Fi, or grab another Wi-Fi.
Network not
Connected
The icon appears when Wi-Fi can not be connected.
Press the ‘Reconnect Wi-Fi’ button to connect to the Wi-Fi connection.
*Referance
- markB Analyzer requires Wi-Fi connection for initial setup.
3.2 How to measure
(1) Start measurement by tap the start button.

markBAnalyzer Page 10 / 52
Caution!
- The measurable temperature range is 18℃~ 28℃. Please make measurement environment
and than start. It is not possible to measure out of the measurable temperature range.
- If the Battery remaining less than 15%, measurement can not be started. Please fully charge
the battery and start measurement.
(2) Scan the patient code using the barcode reader or enter it directly using the keypad and press the OK
button.

markBAnalyzer Page 11 / 52
* Reference
-The barcode reader is an optional item.
- If you do not have a barcode reader, tap the field and enter the patient code directly on the keypad.
(3) When the patient code entry is completed, the tray at the bottom of the device will automatically.

markBAnalyzer Page 12 / 52
Caution!
- If the tray does not come out, a popup message "Please contact system administrator" will
appear. Please contact the administrator according to the popup instructions.
(4) Insert the cartridge of the marker you want to measure into the tray according to the instructions on
the screen.
Caution!
- Please double-check that you have entered the patient code correctly before inserting the
cartridge.
- Before inserting the cartridge, please make sure that the marker you want to measure is
correct.
- Before inserting the cartridges, please make sure that they are not already used.
- If the NFC tag connection error occurs after inserting the cartridge, please try again with the
new cartridge. If you repeatedly encounter the same problem, please contact the administrator
by phone or e-mail address to resolve the problem.
- After inserting Cartridge, please stop using "Please contact the system administrator" Error
pop-up and contact the administrator by phone or e-mail address to solve the problem.
- If you see the “Please contact the system administrator” Error popup after inserting the
cartridge, please discontinue use and contact the administrator by phone or e-mail address.
(5) If the cartridge is correctly inserted, it automatically goes to the blood injection screen.
At this time, the name of the measurement biomarker and the LOT number read from the NFC of the test
cartridge are displayed on the screen. (This screen is an example of output when the markB PSA test
cartridge is inserted.) Prepare the sample for measurement.

markBAnalyzer Page 13 / 52
(6) Capillary whole blood is sampled using a lancing device.
* Capillary whole blood collection preparations: blood lancet, lanceter, alcohol swab
Caution!
- This procedure is necessary for capillary blood collection. For venous blood, serum, plasma, please
refer to the sample collection and handling procedure of test cartridge.
- Before drawing blood, wipe hands and blood with warm water and soap, and let it dry before
proceeding.
- The lancet is disposable. Do not reuse.
- Dispose of used lancet in a safe place in accordance with applicable regulations.
(7) Please collect blood to the capillary tube until the line.

markBAnalyzer Page 14 / 52
Caution!
- This procedure is a procedure for taking capillary blood as an example. Venous blood When using
whole blood, serum, or plasma, follow the instructions of the micropipette.
- Make sure that the cartridge is filled with the correct amount of blood before injecting the blood and
enough blood (up to the marking of the eyedropper).
- Please inject blood within 2 minutes after inserting the cartridge.
(8) After injecting blood, press the “OK” button to start measurement.

markBAnalyzer Page 15 / 52
Caution!
- If the tray still does not come in 2 minutes after the blood injection is complete, please try again with
the new cartridge.
(9) When preparation for measurement is completed, start blood analysis. Please wait for up to 10
minutes.
Caution!
- If there is an error during measurement or blood analysis, remove the cartridge, insert a new
cartridge, and try the measurement again.

markBAnalyzer Page 16 / 52
(10) When the blood analysis is completed, the result is displayed on the screen together with the patient
code and the LOT number, and the tray at the bottom of the device comes out. Please remove the used
cartridge from the tray.
(11) Moves to measurement start screen when tap the DONE button.

markBAnalyzer Page 17 / 52
Caution!
- If you do not remove the cartridge from the tray, no new measurements are possible. Remove the
cartridge from the tray.
* Reference
- This device always enables the GPS function, so the GPS data could be transmitted with the test data
to the server if this device is used in the outdoor.
- You can not use GPS because it can not receive GPS signals in GPS signal shading areas such as
indoors.
3.3. QC Test
3.3.1. Control Solution test
Checking the control solution can check that the meter and the measurement cartridge are working
properly. The low / high test will proceed in order when checking the markers to be measured.
(1) From the measurement start screen, tap the ‘QC test’ button in the upper right corner.

markBAnalyzer Page 18 / 52
(2) Tap the control solution button.

markBAnalyzer Page 19 / 52
*Reference
- When using a new meter, when the meter is dropped, it is recommended that try Control solution test
when the result is very different from what you expected.
- Before proceeding with the test, check the low and high control solution test sections for each
parameter. If you use an invalid control solution, an error screen is displayed.
(3) Insert the markB Test cartridge.
(4) When the validity check of the cartridge is completed normally, the screen of low control solution
injection step occurs automatically.
Make sure that the marker on the cartridge inserted is correct.

markBAnalyzer Page 20 / 52
Caution!
- Please confirm that the marker of the cartridge you want to inspect is inserted correctly.
(5) Insert 1 ~ 2 drops of low control solution of the same marker as the inserted test cartridge into the
cartridge. (ex. "PSA" low solution solution injection when inserting "PSA" test cartridge)
Other manuals for markB
1
This manual suits for next models
1
Table of contents
Other BBB Measuring Instrument manuals
Popular Measuring Instrument manuals by other brands
Agilent Technologies
Agilent Technologies 4339B Operation manual
Chauvin Arnoux
Chauvin Arnoux PAC 20 user manual
YASKAWA
YASKAWA 1000 Series installation manual
PCB Piezotronics
PCB Piezotronics IMI SENSORS 623C11 Installation and operating manual
Extech Instruments
Extech Instruments PQ3450-30 user manual
Stahl
Stahl ConSig 8010 operating instructions
