bbf A176308E User manual
Part Number A176308E Keep manual for future reference.
Lot Code #
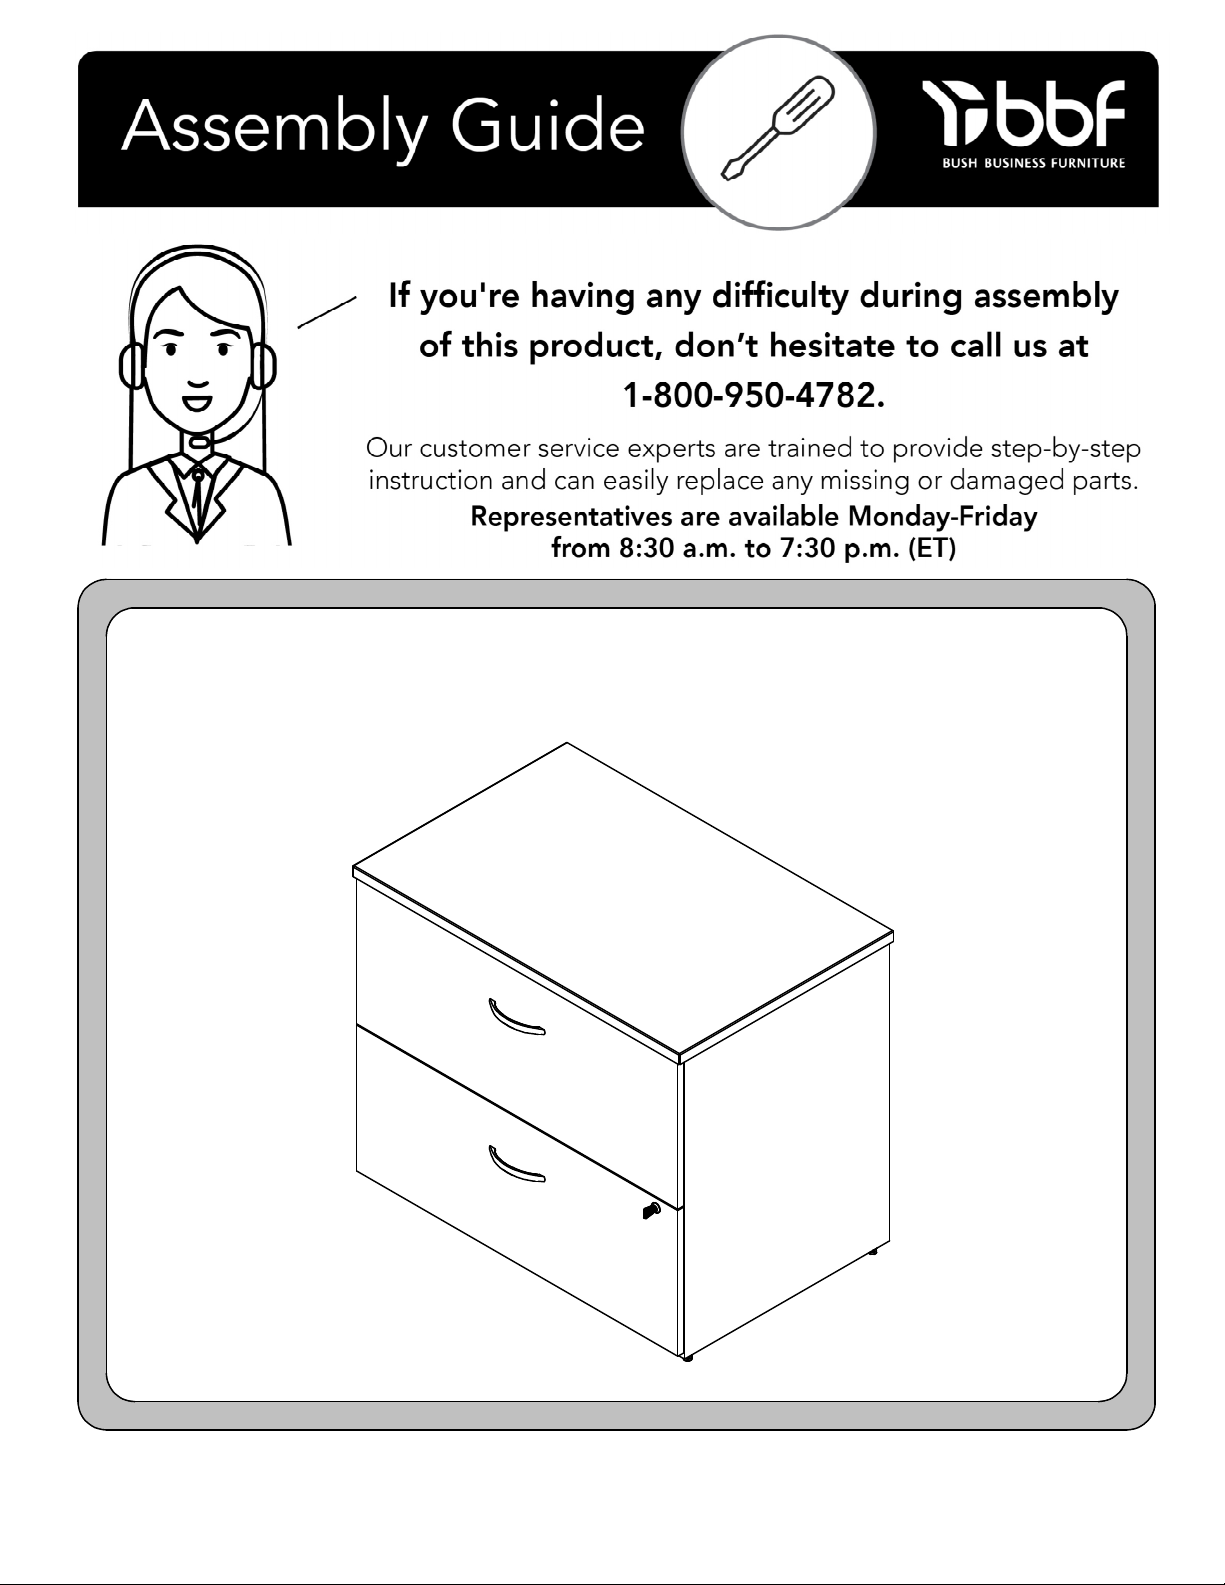
36" Lateral ile
A176308E
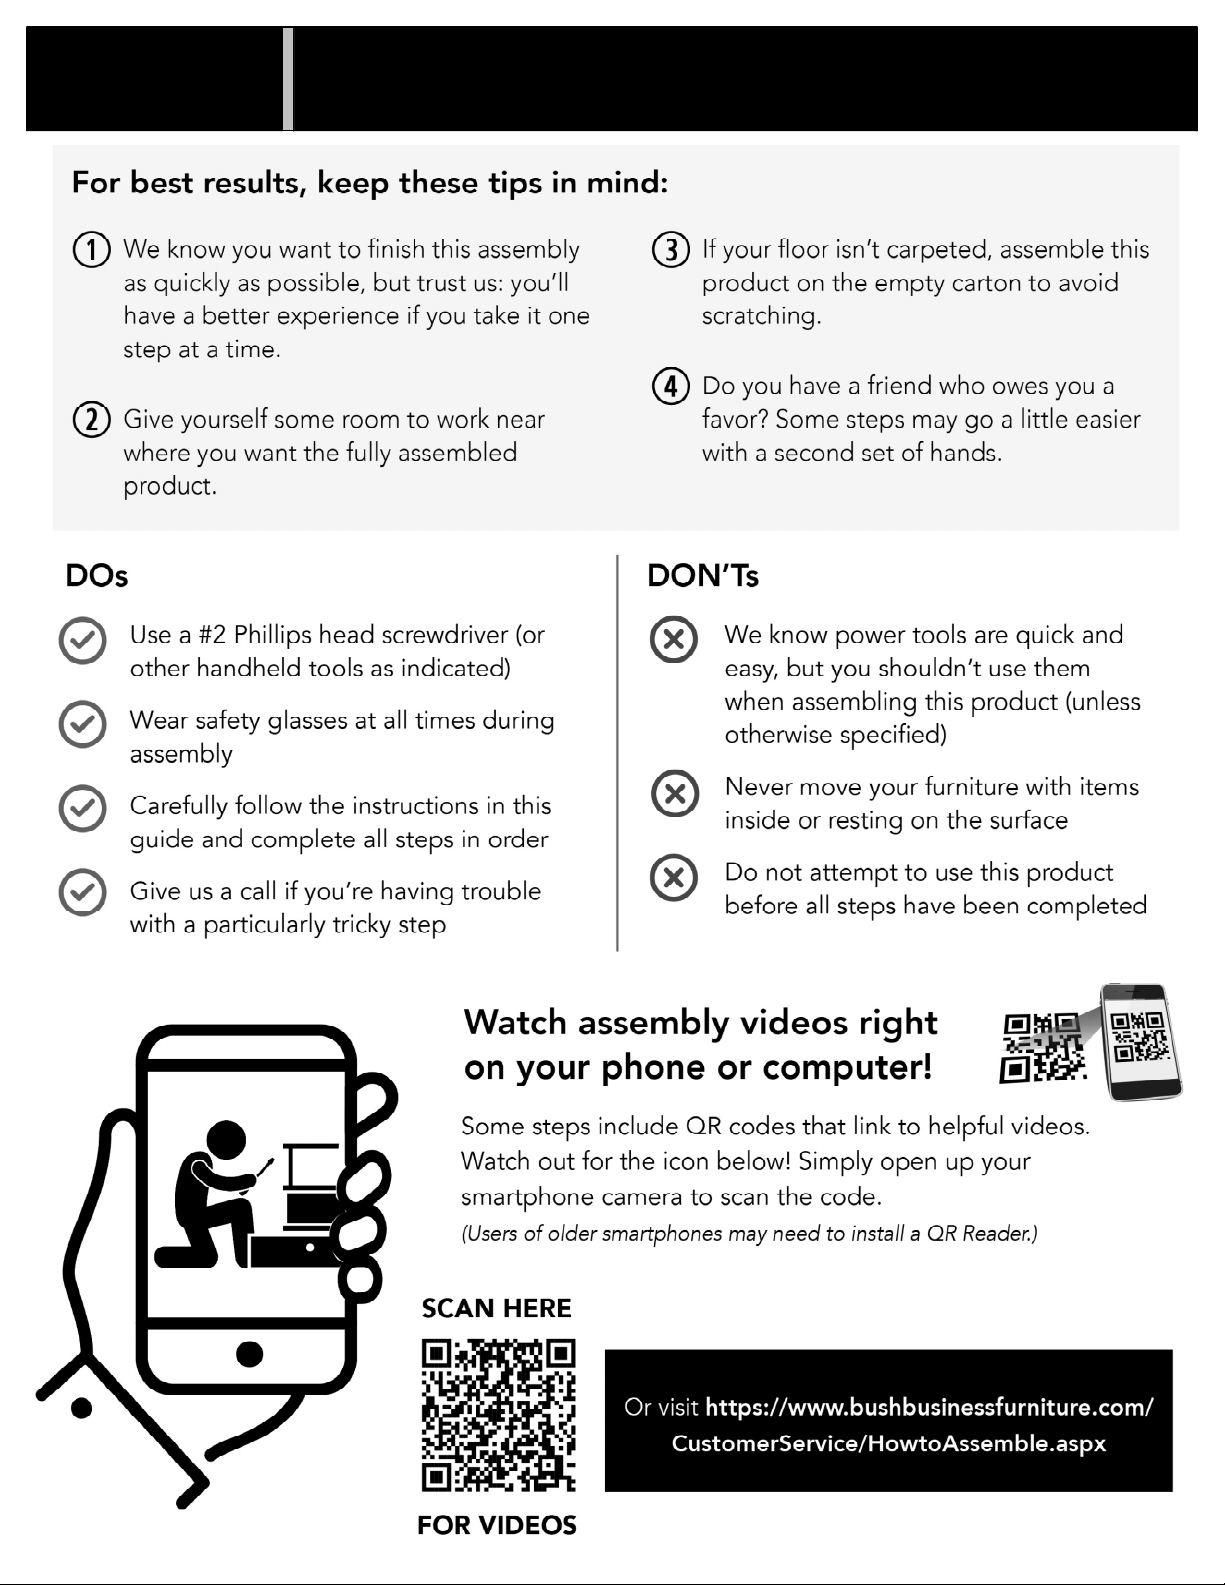
Get Ready to Assemble
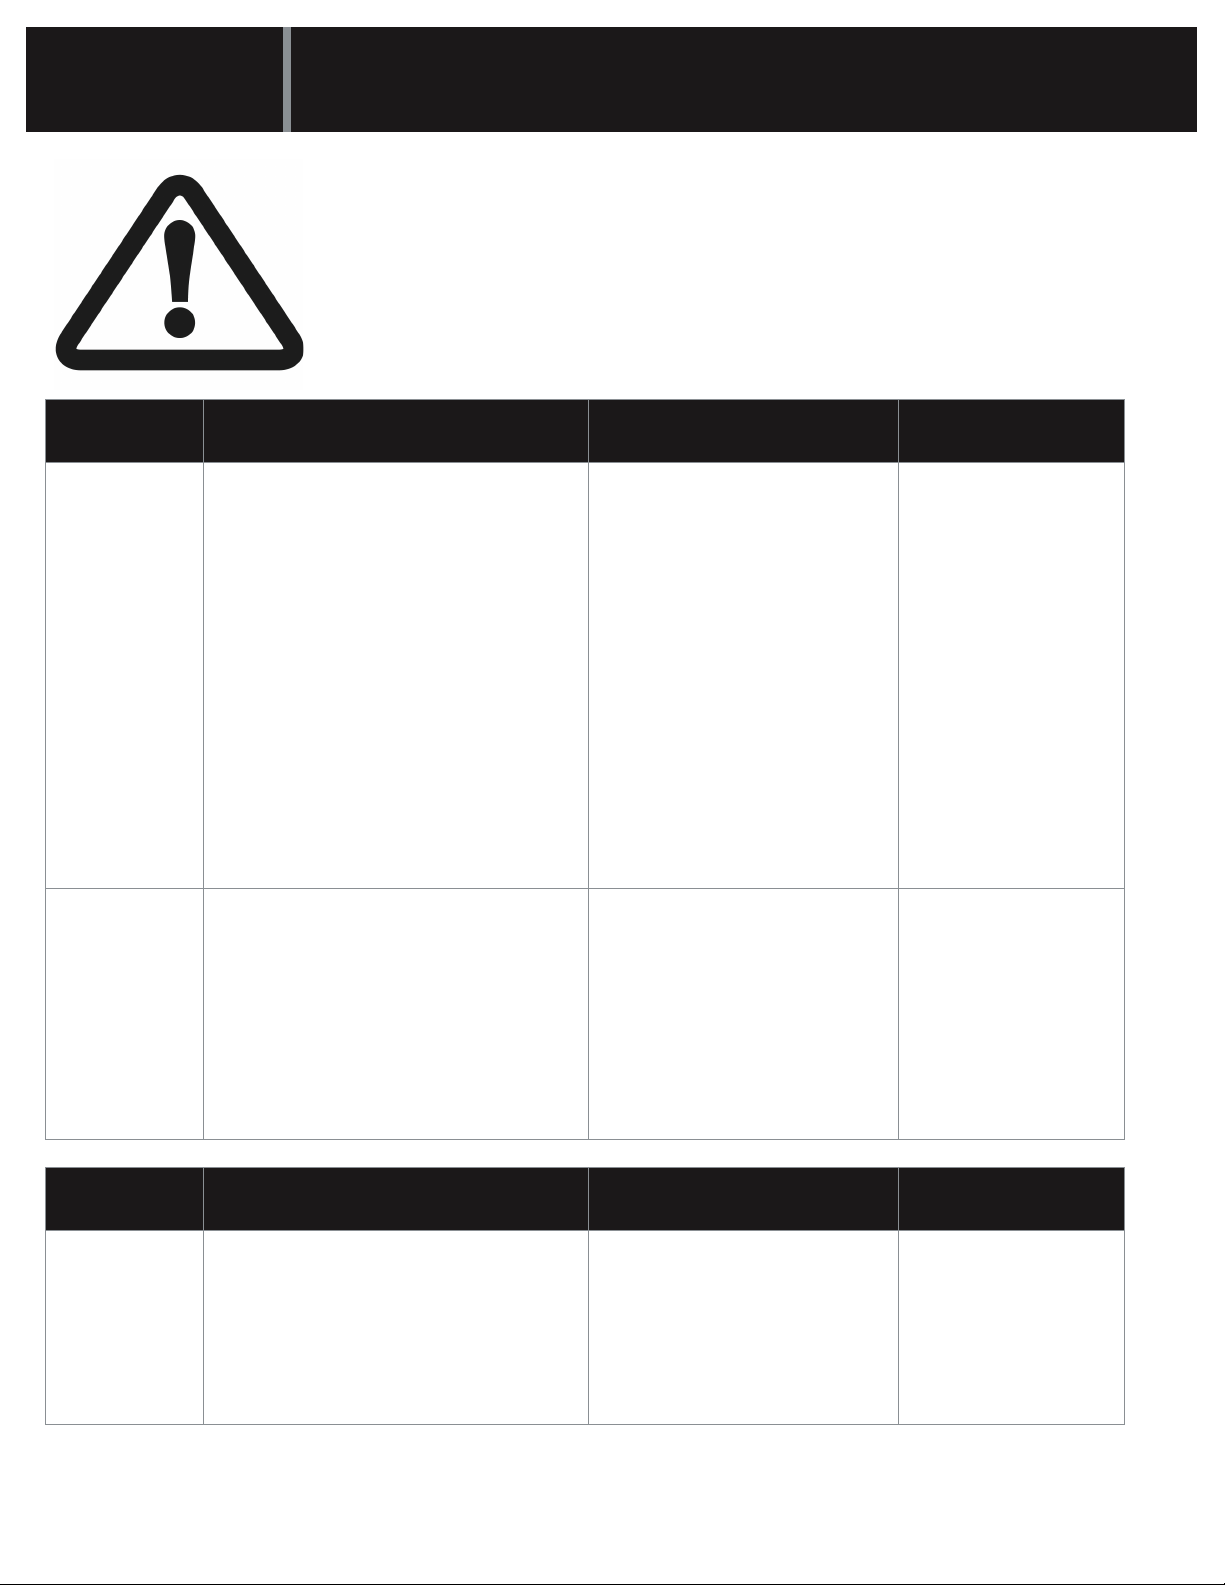
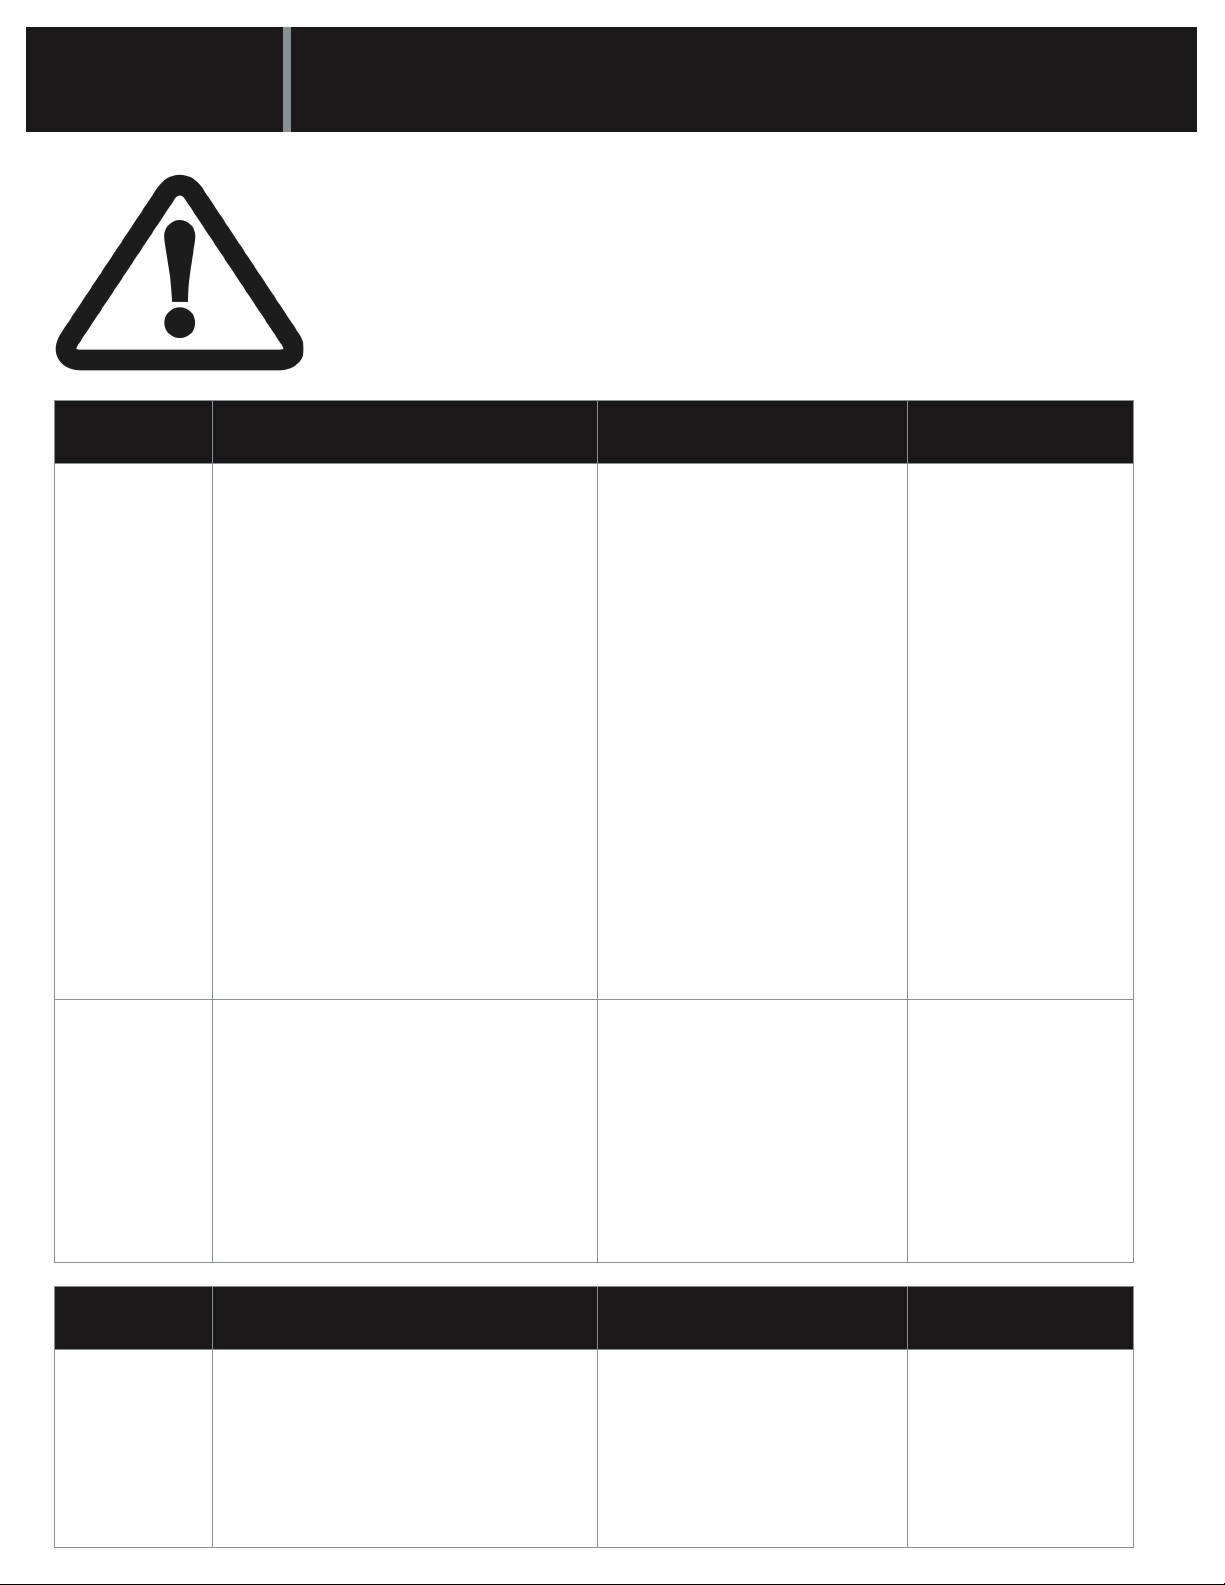
Warning Do Don't Why it's important
Serious injury
may occur.
• Assemble following all instructions
using all indicated parts and
hardware provided.
• Verify furniture is stable on it's own.
Place heaviest items in the lower
drawers.
• Always load the bottom drawer rst.
Check before using that only one
drawer opens at a time.
• Evenly distribute les front to back.
If so equiped, extend front levelers
1/4" more than rear levelers so unit
tilts slightly rearward."
• Do not load with a television
or other heavy equipment.
• Do not exceed the
maximum load limits stated
in the instructions.
• Do not allow children to
stand, climb, or hang on
furniture."
• Improper
assembly, use
or loading can
lead to product
instability, tip-over
or collapse.
Serious injury
may occur.
• Properly install and maintain the
anti-tip mechanism.
• The anti-tip
mechanism
prevents more
than one drawer
from being
opened at once
which may lead
to instability or
product tip-over.
Caution Do Don't Why it's important
Injury may
occur.
• Unload unit prior to moving starting
with top drawer rst.
• Do not move unit when
loaded.
• Loaded units are
heavy and are
not designed to
be moved when
loaded.
PLEASE READ WARNINGS
Improper use can cause safety hazards, or damage
to your furniture and household items.
IMPORTANT SAFETY INFORMATION
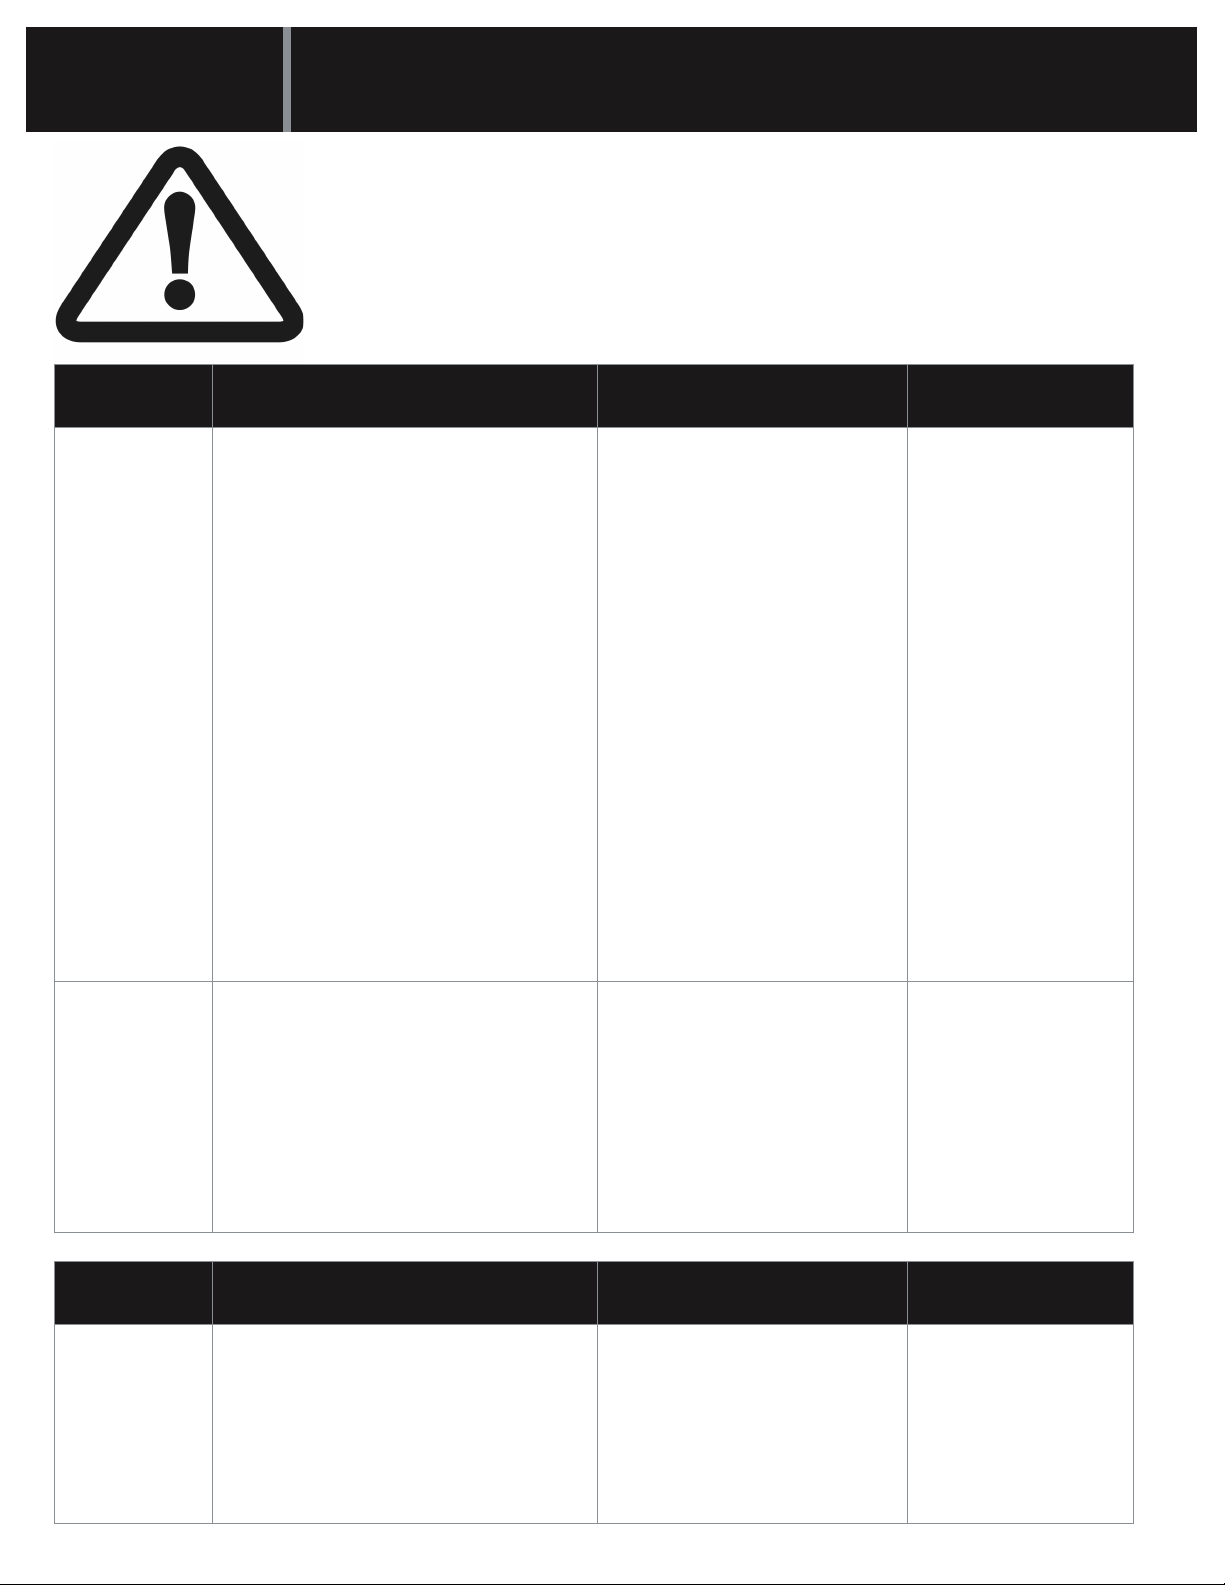
Advertencia Hacer No Por qué es
importante
Se pueden
producir
lesiones
graves.
• Ensamble siguiendo todas las
instrucciones utilizando todas
las piezas y ferretería indicados
provistos.
• Verique que los muebles sean
estables por sí mismos.
• Coloque los artículos más pesados
en los cajones inferiores.
• Siempre cargue primero el cajón
inferior.
• Compruebe antes de usar que solo
se abre un cajón a la vez.
• Distribuya uniformemente los
archivos de adelante hacia atrás.
Si está equipado, extienda los
niveladores delanteros 1/4 ""más
que los niveladores traseros para
que la unidad se incline ligeramente
hacia atrás."
• No cargue con un televisor
u otro equipo pesado.
No exceda los límites
máximos de carga
establecidos en las
instrucciones.
• No permita que los niños se
paren, trepen o cuelguen de
muebles.
• El ensamblaje,
uso o carga
inadecuados
pueden provocar
inestabilidad del
producto, vuelco o
colapso.
Se pueden
producir
lesiones
graves.
• Instale y mantenga adecuadamente
el mecanismo antivuelco.
• El mecanismo
antivuelco evita
que se abra más
de un cajón a
la vez, lo que
puede provocar
inestabilidad
o vuelco del
producto.
Atencíon Hacer No Por qué es
importante
Se pueden
producir
lesiones.
• Descargue la unidad antes de
moverla, comenzando primero con
el cajón superior.
• No mueva la unidad cuando
esté cargada.
• Las unidades
cargadas son
pesadas y no están
diseñadas para
moverse cuando
están cargadas.
PLEASE READ WARNINGS
Improper use can cause safety hazards, or damage
to your furniture and household items.
IMPORTANT SAFETY INFORMATION
Avertissement Faire Ne le fais pas Pourquoi c'est
important
Des blessures
graves
peuvent
survenir.
• Assemblez en suivant toutes les
instructions en utilisant toutes
les pièces et le matériel indiqués
fournis.
• Vériez que les meubles sont stables
par eux-mêmes.
• Placez les objets les plus lourds dans
les tiroirs inférieurs.
• Chargez toujours le tiroir inférieur en
premier.
• Vériez avant d'utiliser qu'un seul
tiroir s'ouvre à la fois.
• Répartissez uniformément les chiers
d'avant en arrière.
• Si tel est le cas, déployez les
niveleurs avant de 1/4 po de plus
que les niveleurs arrière an que
l'appareil s'incline légèrement vers
l'arrière.
• Ne chargez pas avec un
téléviseur ou un autre
équipement lourd.
Ne dépassez pas les
limites de charge maximale
indiquées dans les
instructions.
• Ne laissez pas les enfants
se tenir debout, grimper ou
s'accrocher aux meubles.
• Un assemblage,
une utilisation ou
un chargement
incorrects peuvent
entraîner une
instabilité du
produit, un
renversement ou
un effondrement.
Des blessures
graves
peuvent
survenir.
• Installez et entretenez correctement
le mécanisme anti-basculement.
• Le mécanisme
anti-basculement
empêche
l'ouverture
simultanée de
plusieurs tiroirs, ce
qui peut entraîner
une instabilité ou
un renversement
du produit.
Attention Faire Ne le fais pas Pourquoi c'est
important
Des blessures
peuvent
survenir.
• Déchargez l'unité avant de déplacer
en commençant par le tiroir
supérieur en premier.
• Ne déplacez pas l'unité
lorsqu'elle est chargée.
• Les unités
chargées sont
lourdes et ne sont
pas conçues pour
être déplacées
lorsqu'elles sont
chargées.
PLEASE READ WARNINGS
Improper use can cause safety hazards, or damage
to your furniture and household items.
IMPORTANT SAFETY INFORMATION
Table of contents
Other bbf Indoor Furnishing manuals


Popular Indoor Furnishing manuals by other brands

Regency
Regency LWMS3015 Assembly instructions

Furniture of America
Furniture of America CM7751C Assembly instructions

Safavieh Furniture
Safavieh Furniture Estella CNS5731 manual

PLACES OF STYLE
PLACES OF STYLE Ovalfuss Assembly instruction

Trasman
Trasman 1138 Bo1 Assembly manual

Costway
Costway JV10856 manual


