© Copyright 1998, 2004, 2007, 2008
OY BEAMEX AB
Ristisuonraitti 10
FIN-68600 PIETARSAARI
FINLAND
Phone +358 - 10 - 5505000
Fax +358 - 10 - 5505404
Internet http://www.beamex.com
Beamex, Inc.
2270 Northwest Parkway, Suite 165
Marietta, GA 30067
U.S.A.
Phone: 800 888-9892,
+1-770-951-1927
Fax: +1-770-951-1928
Beamex Limited
Newtown Grange Farm Business Park
Desford Road
NEWTOWN UNTHANK
Leicestershire LE9 9FL
United Kingdom
Phone: 01455 821 920
Fax: 01455 821 923
Representative:
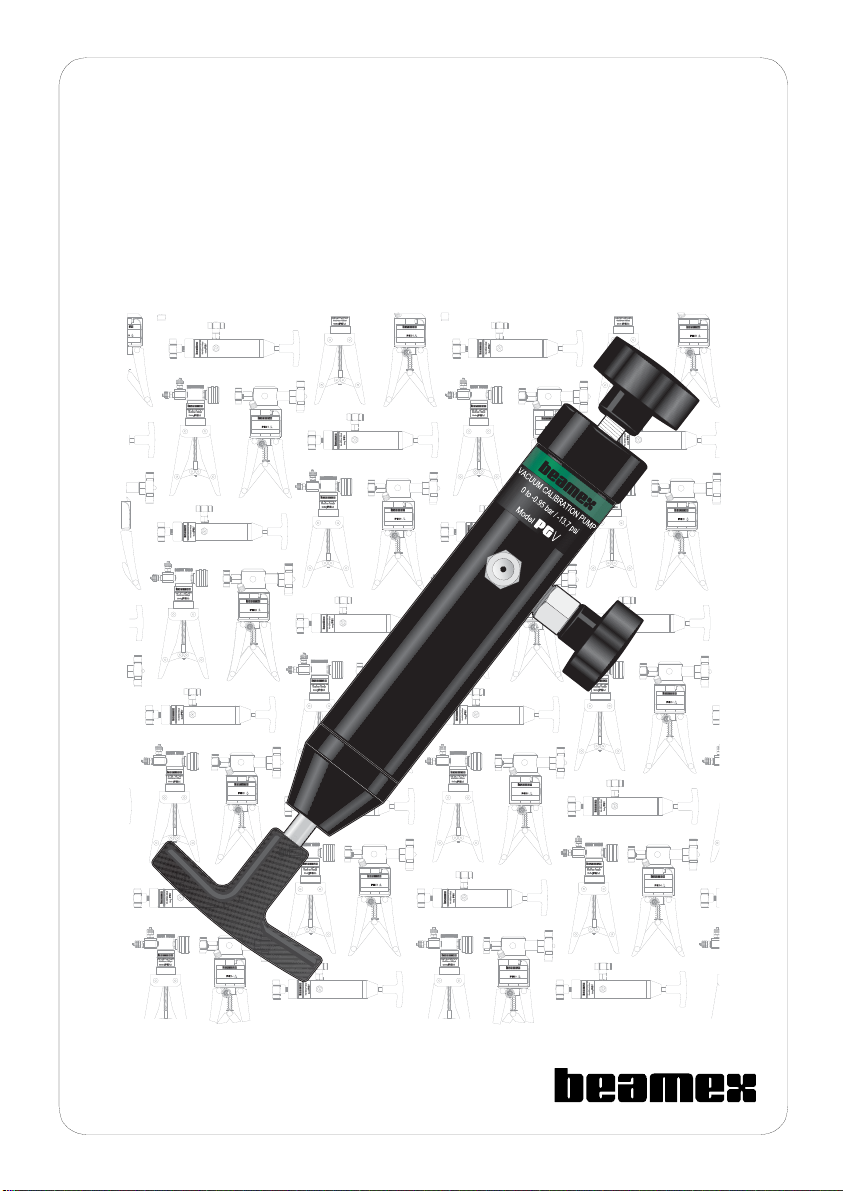
INSTRUCTION MANUAL
VACUUM CALIBRATION PUMP
MODEL PGV
P
R
I
M
E
H
I
G
H
H Y D R A U L I C C A L IB R A T I O N P U M P
0 t o 7 0 0 b a r / 7 0 M P a / 1 0 0 0 0 p s i
M o d e
M A X I M U M O U T P U T P R E S S U R E 7 0 0 b a r
D o n o t p r e s s u r iz e g a s s r e s e r v o ir
A T I O N P U M P
/ 1 0 0 0 0 p s i
S S U R E 7 0 0 b a r
s s re s e r v o i r
P
R
I
M
E
H
I
G
H
H Y D R A U L I C C A L IB R A T I O N P U M P
0 t o 7 0 0 b a r / 7 0 M P a / 1 0 0 0 0 p s i
M o d e
M A X I M U M O U T P U T P R E S S U R E 7 0 0 b a r
D o n o t p r e s s u r iz e g a s s r e s e r v o ir
P
R
I
M
E
H
I
G
H
H Y D R A U L I C C A L IB R A T I O N P U M P
0 t o 7 0 0 b a r / 7 0 M P a / 1 0 0 0 0 p s i
M o d e
M A X I M U M O U T P U T P R E S S U R E 7 0 0 b a r
D o n o t p r e s s u r iz e g a s s r e s e r v o ir
P
R
I
M
E
H
I
G
H
H Y D R A U L I C C A L IB R A T I O N P U M P
0 t o 7 0 0 b a r / 7 0 M P a / 1 0 0 0 0 p s i
M o d e
M A X I M U M O U T P U T P R E S S U R E 7 0 0 b a r
D o n o t p r e s s u r iz e g a s s r e s e r v o ir
P
R
I
M
E
H
I
G
H
H Y D R A U L I C C A L IB R A T I O N P U M P
0 t o 7 0 0 b a r / 7 0 M P a / 1 0 0 0 0 p s i
M o d e
M A X I M U M O U T P U T P R E S S U R E 7 0 0 b a r
D o n o t p r e s s u r iz e g a s s r e s e r v o ir
P
R
I
M
E
H
I
G
H
H Y D R A U L I C C A L IB R A T I O N P U M P
0 t o 7 0 0 b a r / 7 0 M P a / 1 0 0 0 0 p s i
M o d e
M A X I M U M O U T P U T P R E S S U R E 7 0 0 b a r
D o n o t p r e s s u r iz e g a s s r e s e r v o ir
P
R
I
M
E
H
I
G
H
H Y D R A U L I C C A L IB R A T I O N P U M P
0 t o 7 0 0 b a r / 7 0 M P a / 1 0 0 0 0 p s i
M o d e
M A X I M U M O U T P U T P R E S S U R E 7 0 0 b a r
D o n o t p r e s s u r iz e g a s s r e s e r v o ir
P
R
I
M
E
H
I
G
H
H Y D R A U L I C C A L IB R A T I O N P U M P
0 t o 7 0 0 b a r / 7 0 M P a / 1 0 0 0 0 p s i
M o d e
M A X I M U M O U T P U T P R E S S U R E 7 0 0 b a r
D o n o t p r e s s u r iz e g a s s r e s e r v o ir
P
R
I
M
E
H
I
G
H
H Y D R A U L I C C A L IB R A T I O N P U M P
0 t o 7 0 0 b a r / 7 0 M P a / 1 0 0 0 0 p s i
M o d e
M A X I M U M O U T P U T P R E S S U R E 7 0 0 b a r
D o n o t p r e s s u r iz e g a s s r e s e r v o ir
P
R
I
M
E
H
I
G
H
H Y D R A U L I C C A L IB R A T I O N P U M P
0 t o 7 0 0 b a r / 7 0 M P a / 1 0 0 0 0 p s i
M o d e
M A X I M U M O U T P U T P R E S S U R E 7 0 0 b a r
D o n o t p r e s s u r iz e g a s s r e s e r v o ir
P
R
I
M
E
H
I
G
H
H Y D R A U L I C C A L IB R A T I O N P U M P
0 t o 7 0 0 b a r / 7 0 M P a / 1 0 0 0 0 p s i
M o d e
M A X I M U M O U T P U T P R E S S U R E 7 0 0 b a r
D o n o t p r e s s u r iz e g a s s r e s e r v o ir
P
R
I
M
E
H
I
G
H
H Y D R A U L I C C A L IB R A T I O N P U M P
0 t o 7 0 0 b a r / 7 0 M P a / 1 0 0 0 0 p s i
M o d e
M A X I M U M O U T P U T P R E S S U R E 7 0 0 b a r
D o n o t p r e s s u r iz e g a s s r e s e r v o ir
P
R
I
M
E
H
I
G
H
H Y D R A U L I C C A L IB R A T I O N P U M P
0 t o 7 0 0 b a r / 7 0 M P a / 1 0 0 0 0 p s i
M o d e
M A X I M U M O U T P U T P R E S S U R E 7 0 0 b a r
D o n o t p r e s s u r iz e g a s s r e s e r v o ir
P
R
I
M
E
H
I
G
H
H Y D R A U L I C C A L IB R A T I O N P U M P
0 t o 7 0 0 b a r / 7 0 M P a / 1 0 0 0 0 p s i
M o d e
M A X I M U M O U T P U T P R E S S U R E 7 0 0 b a r
D o n o t p r e s s u r iz e g a s s r e s e r v o ir
P
R
I
M
E
H
I
G
H
H Y D R A U L I C C A L IB R A T I O N P U M P
0 t o 7 0 0 b a r / 7 0 M P a / 1 0 0 0 0 p s i
M o d e
M A X I M U M O U T P U T P R E S S U R E 7 0 0 b a r
D o n o t p r e s s u r iz e g a s s r e s e r v o ir
P
R
I
M
E
H
I
G
H
H Y D R A U L I C C A L IB R A T I O N P U M P
0 t o 7 0 0 b a r / 7 0 M P a / 1 0 0 0 0 p s i
M o d e
M A X I M U M O U T P U T P R E S S U R E 7 0 0 b a r
D o n o t p r e s s u r iz e g a s s r e s e r v o ir
P
R
I
M
E
H
I
G
H
H Y D R A U L I C C A L IB R A T I O N P U M P
0 t o 7 0 0 b a r / 7 0 M P a / 1 0 0 0 0 p s i
M o d e
M A X I M U M O U T P U T P R E S S U R E 7 0 0 b a r
D o n o t p r e s s u r iz e g a s s r e s e r v o ir