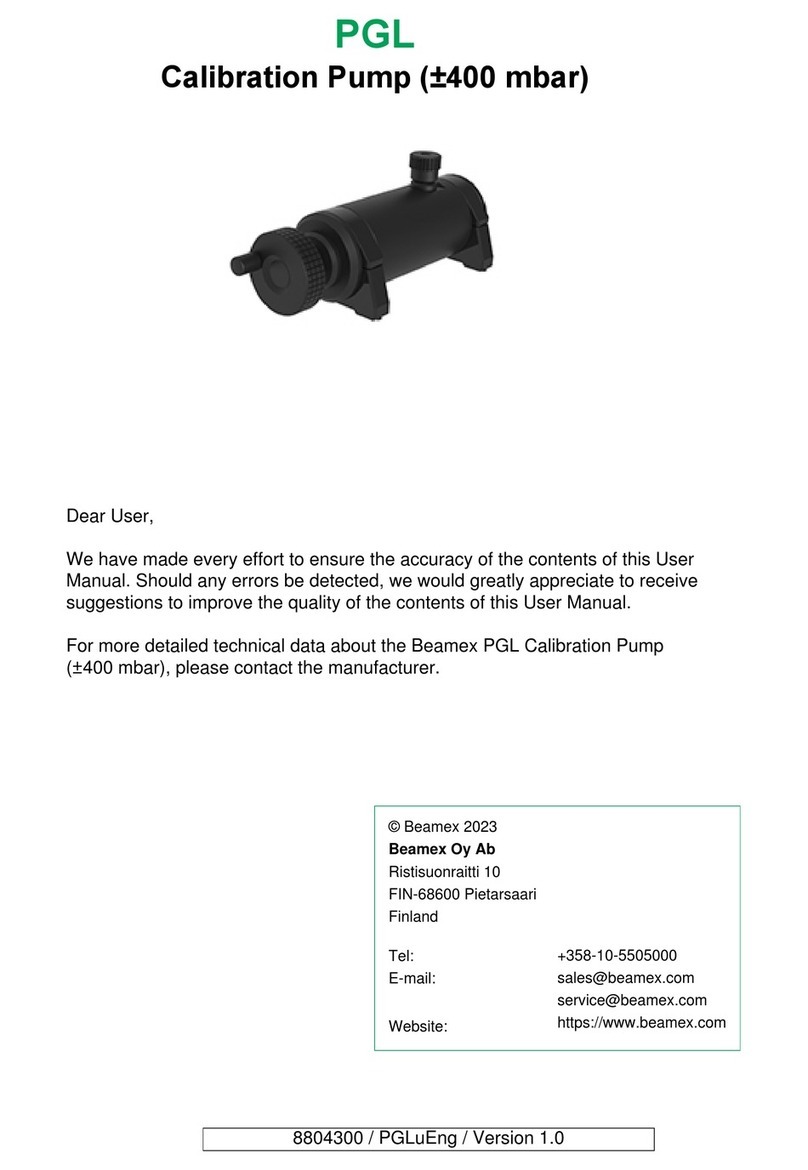
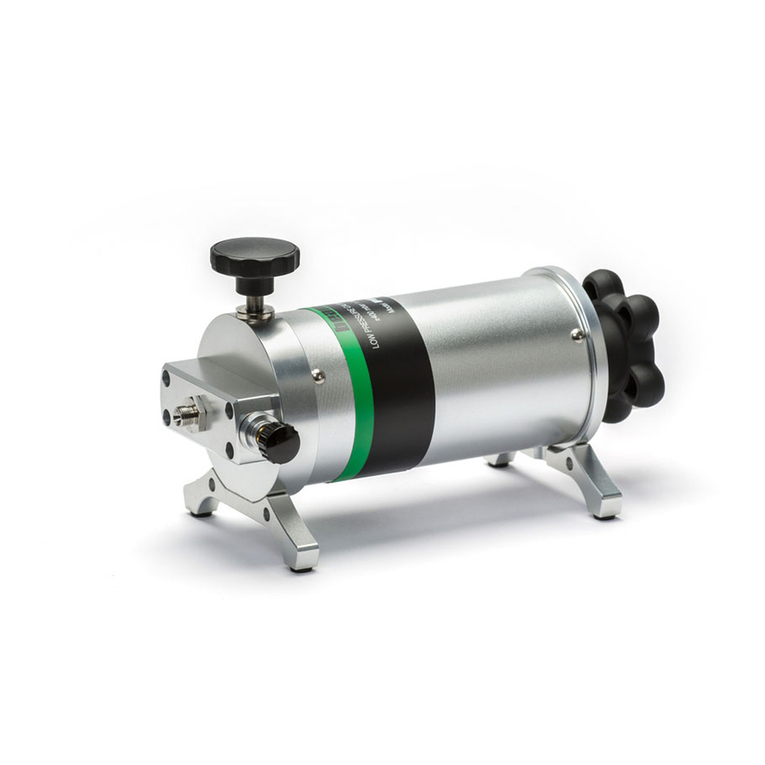
BEAMEX ePG User manual

ePG
Electric Pressure Pump and Controller
Dear user,
We have made every effort to ensure the accuracy of the contents of this
manual. Should any errors be detected, we would greatly appreciate to
receive suggestions to improve the quality of the contents of this manual.
For more detailed technical data about Beamex ePG Electric Pressure
Pump and Controller, please contact the manufacturer.
© Beamex 2022
Beamex Oy Ab
Ristisuonraitti 10
FIN-68600 Pietarsaari
Finland
Tel:
E-mail:
Internet:
+358-10-5505000
https://www.beamex.com
8805000 / ePGuEng / Version 1.0

ii - Table of Contents
Table of Contents
Prologue....................................................................................3
Typographical Conventions................................................................3
Unpacking and Inspection................................................................. 3
Feedback............................................................................................5
Safety.........................................................................................6
Approvals........................................................................................... 6
Symbols Used on the device.............................................................6
Operating Environment and Specifications........................................6
Safety Precautions and Warnings..................................................... 9
General Warnings Concerning Pressure Measurement.................. 10
About ePG.............................................................................. 11
General.............................................................................................11
Top view...........................................................................................12
Battery Pack.....................................................................................13
Operating instructions...........................................................15
Setting Up........................................................................................15
User Interface and Functionality......................................................16
Troubleshooting.....................................................................20
Maintenance............................................................................22
Cleaning Instructions........................................................................22
Cleaning The Output Valve............................................................. 23
Changing The Non-return Valve Package.......................................25
Changing The Piston Seals.............................................................28
Changing the Adhesive Vent...........................................................31
Firmware update..............................................................................32
Related Products....................................................................33
Disposal of Waste Electrical and Electronic Equipment....34
Beamex and WEEE.........................................................................34
Service and transportation instructions..............................35

Prologue - 3
Prologue
Thank you for buying Beamex ePG, Electric Pressure Pump and
Controller.
Beamex ePG is a portable, hand-held, battery-powered device that is used
to generate reference pressure in pressure calibration applications. With
ePG you can generate pressure between -0.85 to 20 bar / -12.4 to 300
psi. Since the device does not have a display to indicate the generated
pressure reading, it must be connected to an external pressure device
with an appropriate display, e.g. Beamex pressure calibrator or a pressure
indicator. ePG contains a lithium-ion battery pack that can be charged
using a USB Type-C charger either separately or while attached to the
device (see chapter Battery Pack).
Typographical Conventions
The following typographical conventions apply to the ePG User Manual:
Bold text is used in following situations:
• References to User Manual topics and parts
• ePG keywords, i.e. terms shown in the User Interface and
Note: This is a note. Notes typically inform you of something
useful concerning the current topic.
Caution: This is a caution. Whenever you see a caution, read
it carefully and take it seriously. By not observing cautions, you
may damage the pump.
Warning: This is a warning. Whenever you see a warning, read
it carefully and take it seriously. By not observing warnings, you
may -at worst- damage the pump and/or get personal injury.
Unpacking and Inspection
At the factory, each new ePG passes a careful inspection. It should be
free of scrapes and scratches and in proper operation condition upon
receipt. The receiver should, however, inspect the unit for any damage
that may have occurred during transportation. If there are signs of obvious
mechanical damage, package contents are incomplete, or ePG does not

4 - Prologue
operate according to specifications, contact the purchasing sales office as
soon as possible.
If you have to return the device to the factory for any reason, use
the original packing whenever possible (see chapter Service and
transportation instructions). Include a detailed description of the reason for
the return.
ePG is available in two different configurations with different delivery
contents:
ePG Pump Only (9021000)
• ePG with a hand strap
• Battery pack (8006030)
• USB Type-C charger with a country-specific power cord and mains plug
• Warranty terms
• Accessories flyer
• This User Manual (8805000)
ePG Complete Kit (9021115)
• ePG with a hand strap
• Shoulder strap (8006110)
• Battery pack (8006030)
• USB Type-C charger with a country-specific power cord and mains plug
• USB Type-A to Type-C communication cable (6690980)
• A carrying case with foaming and places for hoses, charger and a USB
communication cable, etc (8003350)
• Pressure T-hose with NPT fittings (8009550)
• Pressure fitting plug set (8003610)
• A package of USB Type-C dust covers (8006120, 5 pcs)
• Warranty terms
• Accessories flyer
• This User Manual (8805000)
OPTIONS, ACCESSORIES AND SPARE PARTS
• Battery pack (8006030)
• USB Type-C charger (8006090, EU) with a country-specific power cord
and mains plug:
◦ AU (8006091)
◦ UK (8006092)
◦ US (8006093)
• USB Type-A to Type-C communication cable (6690980)
• Shoulder strap (8006110)

Prologue - 5
• A carrying case with foaming and places for hoses, charger and a USB
communication cable, etc (8003350)
• Pressure T-hose (8009550)
• Pressure fitting set for connecting high pressure EXT module to the low
pressure hose (8003100)
• Pressure fitting plug set (8003610)
• A package of USB Type-C dust covers (8006120, 5 pcs)
• Set of Mesh filters for the output connector (8006160, 5 pcs)
• Set of Adhesive Vents (8006165, 3 pcs)
• ePG Piston Seal Service kit: piston seals and cylinder's o-ring
(8006130)
• ePG Cylinder Service kit: cylinder and o-ring (8006140)
• ePG Non-return valve kit: non-return valves and o-rings (8006145)
All these are available at https://shop.beamex.com/
Feedback
We want to improve our products and services constantly. Therefore we’d
like to know your opinion of the product you use. Please spend a moment
of your valuable time by giving us feedback about the product.
Beamex Oy Ab
Quality Feedback
Ristisuonraitti 10
FIN-68600 Pietarsaari
Address:
FINLAND
E-mail: [email protected]
Internet: https://www.beamex.com

6 - Safety
Safety
Approvals
All available approvals and declaration of conformity can be downloaded
from Beamex's website.
Symbols Used on the device
Caution! Please read the manual for further
information
Operating Environment and
Specifications
Warning: Only use the device for purposes and in
environments specified in the user manual.
Caution: Do not exceed the max. operating pressure of the
device and the hose.

Safety - 7
Table 1: Specifications
SPECIFICATION ePG
Pressure Range1-0.85 to 20 bar / -12.4 to 300 psi
1 Valid at nominal barometric
pressure of 1013 mbar abs” /14.7
psi abs
Pressure Generation Rate
from 0 to 20 bar / 300 psi2< 110 s
from 0 to -0.85 bar / -12.4 psi2< 45 s
2 into a volume max.20 ml / 0.68
fl.oz.
Setpoint Adjustability3
from 0 to 20 bar / 300 psi < 10 mbar / < 0.1 psi
from 0 to -0.85 bar / -12.4 psi < 5 mbar / < 0.05 psi
3 into a volume 20 ml / 0.68 fl.oz.
Wetted Parts Aluminum, brass, stainless steel,
NBR, FKM, PEEK, PA, MS, TPE,
food grade lubricants
Dimensions See technical drawing: Figure 1:
Technical drawing.
Weight ~ 2.3 kg / ~ 5 lb
Pressure Ports G1/8" (ISO228/1) female port with
adapter for Beamex low pressure
hose
Filter Elements A filter element (36 micron)
included in the pressure port
Pressure Media Clean dry non-corrosive gases
Battery Pack Li-ion battery pack with USB Type-
C connector, 14.4V, at least 2600
mAh
Charger (minimum requirements) USB Type-C charger PD 2.0/3.0
Profile 4 20V / 2.25A / 45W

8 - Safety
SPECIFICATION ePG
Storage Temperature -20 to 60 °C / -4 to 140 °F
Operating Temperature 0 to 50 °C / 32 to 122 °F
Humidity
from 0 to 40 °C / 32 to 104 °F ≤ 90 %RH
from 40 °C to 50 °C / 104 to 122 °F ≤ 50 %RH4
4 ePG will work at higher humidity,
but its performance may drop
Note: If the device has been stored in different environment it
should be stabilized to the new environment before use.
Note: Please notice that these specifications apply at sea-level.
Note: Please notice that generated pressure is limited to 20.7
bar / 300.2 psi.

Safety - 9
Figure 1: Technical drawing
Safety Precautions and Warnings
Caution: Read and fully understand this manual and all other
safety instructions before operating this Electric Pressure Pump
and Controller.
Warning: Only personnel with good experience and knowledge
of pressure media, pressure instruments and connections are
allowed to work with ePG. Incorrect use may result in damage to
the device, the instrument connected to it and/or personal injury.
Warning: Use only the pressure measurement T-hose delivered
by Beamex, marked with "Max. 40 bar". Other hoses may not
withstand the pressure generated by ePG.
Warning: Wear protective glasses.
Warning: Do not connect the device to an external pressure
source.

10 - Safety
Warning: Vent external systems before connecting to the
device.
Warning: Ensure that all connections are made correctly and
the hose and the connectors are undamaged. Do not use faulty
hoses or connectors.
Warning: Use only the connector provided with ePG. Impurities
from wrong materials may block the device.
Warning: Do not use Teflon (PTFE) tape to seal anything in the
device.
Warning: Do not use ePG in any other way than as described
in this manual.
General Warnings Concerning
Pressure Measurement
Warning: Always depressurize the system before opening
or connecting any pressure fittings or connectors. Use proper
valves for venting the system. Ensure that all connections are
made correctly and that the hose and the connectors are intact.
Warning: Never exceed the maximum pressure of connected
devices. The maximum pressure of Beamex modules is stated
on module's sticker.
Warning: Never plug a hose with your hands or put hands in
front of a gas spray coming from a leakage. A gas bubble in the
blood circulation can cause death.
Warning: Do not use the same tubing with different liquids or
gases.

12 - About ePG
4. LED indicators:
• Yellow blinking / On = Warning
• Green blinking = Busy/Wait
• Green On = Ready
• Blue reserved for future expansion
5. Vent / Mode Button
6. Shoulder Strap Hook
7. Operation buttons for pressure/vacuum generation
Top view
Figure 3: ePG, top view
Legend:
1. USB-C port, for charging the Battery Pack and software updates
2. Locking mechanism, when locked, prevents the battery pack from
falling out
3. When pressed, the number of LEDs in the battery indicator indicates
the battery status
4. The green LED lits when the Battery Pack is connected to suitable
charger
5. Battery indicator

About ePG - 13
Battery Pack
Figure 4: Battery Pack locked
When the slot is in a vertical position the Battery Pack is locked.
Figure 5: Battery Pack unlocked
To unlock the Battery Pack, turn the slot to the right (in horizontal position).
Note: You can use a screwdriver, a washer or even a coin to
lock/unlock the Battery Pack. Push the Battery Pack gently
inside to make the lock mechanism move easily.
Note: Always lock the Battery Pack to prevent it from falling out
when it is installed in the device.

14 - About ePG
When the temperature is under or over the limits (other than 0 °C to
45 °C / 32 °F to 113 °F) the battery pack cannot be charged. Also if
the internal temperature is over 60 °C / 140 °F, ePG stops working
automatically as a precaution until the temperature is again within limits.
Note: Please notice that upon delivery the battery might not be
fully charged. In that case, charge the battery before the first use
for at least 4 hours.
Note: Please note that ePG vents and turns itself automatically
off when in has been unused for 60 min or when there is only a
few percent charge remaining in the Battery Pack.

Operating instructions - 15
Operating instructions
Setting Up
1. Connect one of the three ends of the T-pressure hose to the ePG's
output connector.
2. Connect one of the remaining open ends to the calibrator's / pressure
measuring device's input connector.
3. Connect the last open end to DUT's* input connector.
*DUT = device under test
4. Start generating pressure/vacuum with your ePG.
Figure 6: ePG connected to MC6 and DUT

16 - Operating instructions
User Interface and Functionality
You can operate the ePG by pressing the buttons on the device.
Figure 7: Buttons on the device
Figure 8: Power button
ePG is powered on by pressing the Power button. This is indicated by
Power button lighting up.
When powered on, the device goes automatically into vent mode. This is
indicated by green LED blinking. After ca. 30 seconds the green LED lights
up and ePG is ready to generate pressure or vacuum. During venting, the
calibrator's pressure module can be zeroed.
Venting can also be interrupted after minimum ~3s venting time by
pressing the Vent / Mode button again (or any other button) during the vent
mode.
ePG is powered off by pressing the Power button. The device
automatically vents before switching itself off.

Operating instructions - 17
Figure 9: Vent / Mode button
Vent / Mode button is used to vent the ePG or change the mode from
pressure to vacuum and vice versa. When pressed, the ePG goes into
vent mode which is indicated by the green LED blinking.
If needed, venting can be interrupted by pressing the Vent / Mode button
again. Otherwise after ca. 30 seconds venting ends and the green LED
lights up to indicate that ePG is ready to generate pressure or vacuum.
Figure 10: Coarse Adjustment Up button
Coarse Adjustment Up button is used to generate pressure in bigger steps
or at maximum speed. The button can be either clicked or pressed and
held.
When it is clicked, the ePG generates pressure in bigger steps (~ 100
to 200 mbar / 1.45 to 2.90 psi per step). When it is pressed and held,
the output pressure increases as fast as possible. Notice, that when the
generated pressure is < 2 bar / 29 psi, pumping speed is limited to prevent
possible overshots. When the pressure reaches 2 bar / 29 psi, the pump
accelerates to maximum speed.
When desired set point is getting closer, release the button ~ 0.1 to 0.2
bar / 1.45 to 2.90 psi before (the set point is reached). After releasing, the
output pressure stabilizes after a short waiting time.
Coarse Adjustment Up button can also be locked by pressing and holding
it and pressing the Fine Adjustment Up button at the same time. Locking
is indicated by the Coarse Adjustment Up button lighting up. After locking
you can lift your fingers from the buttons.
Locking can be released by pressing any of the operation (arrow)
buttons. Then the ePG holds the generated pressure and waits for further
instructions. Please notice, that if the Power or Vent / Mode button is
pressed, the device either switches itself off or vents itself.

18 - Operating instructions
Figure 11: Fine Adjustment Up button
Fine Adjustment Up button is used to generate pressure slowly, so that it
can be fine adjusted to desired set point. This button can be either pressed
and held or clicked. When you click the button, the output pressure
changes in small steps. After releasing the button, the output pressure
stabilizes after a short waiting time.
Figure 12: Fine Adjustment Down
Fine Adjustment Down button is used to decrease pressure slowly,
so that it can be fine adjusted to desired set point. This button can be
either pressed and held or clicked. When you click the button, the output
pressure changes in small steps. After releasing the button, the output
pressure stabilizes after a short waiting time.
Figure 13: Coarse Adjustment Down
Coarse Adjustment Down button is used to decrease pressure in bigger
steps or at maximum speed. The button can be either clicked or pressed
and held.
When it is clicked, the ePG decreases pressure in bigger steps (~ 100 to
200 mbar / 1.45 to 2.90 psi per step). When it is pressed and held, the
output pressure decreases as fast as possible.

Operating instructions - 19
When desired set point is getting closer, release the button before the
set point is reached. After releasing, the output pressure stabilizes after a
short waiting time.
Coarse Adjustment Down button can also be locked by pressing and
holding it and pressing the Fine Adjustment Down button at the same time.
Locking is indicated by the Coarse Adjustment Down button lighting up.
After locking you can lift your fingers from the buttons.
Locking can be released by pressing any of the the arrow buttons. Then
the ePG holds the generated pressure and waits for further instructions.
Please notice, that if the Power or Vent / Mode button is pressed to
release the lock, the device either switches itself off or vents itself.

20 - Troubleshooting
Troubleshooting
System is not holding the set pressure.
INDICATION SOLUTION
Calibrator or external pressure
measuring device indicates that
there is a leak in the system.
Check that all pressure connections
are tight enough and they are not
leaking.
Pressure/Vacuum can not be generated.
INDICATION SOLUTION
1. Power button and the yellow LED
flashing alternatively. The green
LED is off.
1. ePG's internal temperature
is under or over the limits. All
functions to change the pressure
towards 0 bar / 0 psi are available.
Let the ePG temperature return to
normal (only green LED lights up).
2. The yellow LED is blinking and
the Power button is very bright.
2. There might be a major fault in
ePG. Power the ePG off and on
to check if the fault disappears. If
the fault indication reappears, send
your ePG to Beamex for service.
Table of contents
Other BEAMEX Water Pump manuals
Popular Water Pump manuals by other brands

Pfeiffer Vacuum
Pfeiffer Vacuum TMH 261 Translation of the original operating instructions

Olympus
Olympus KV-5 instructions

Orion
Orion 22772 user manual

Grundfos
Grundfos APG Series Installation and operating instructions

Neptune
Neptune NPVS150 Basic operation guide

GORMAN-RUPP PUMPS
GORMAN-RUPP PUMPS 02K3-E2 1P Installation, operation, and maintenance manual with parts list