4
English
www.bedfont.com
Medi-Gas G210
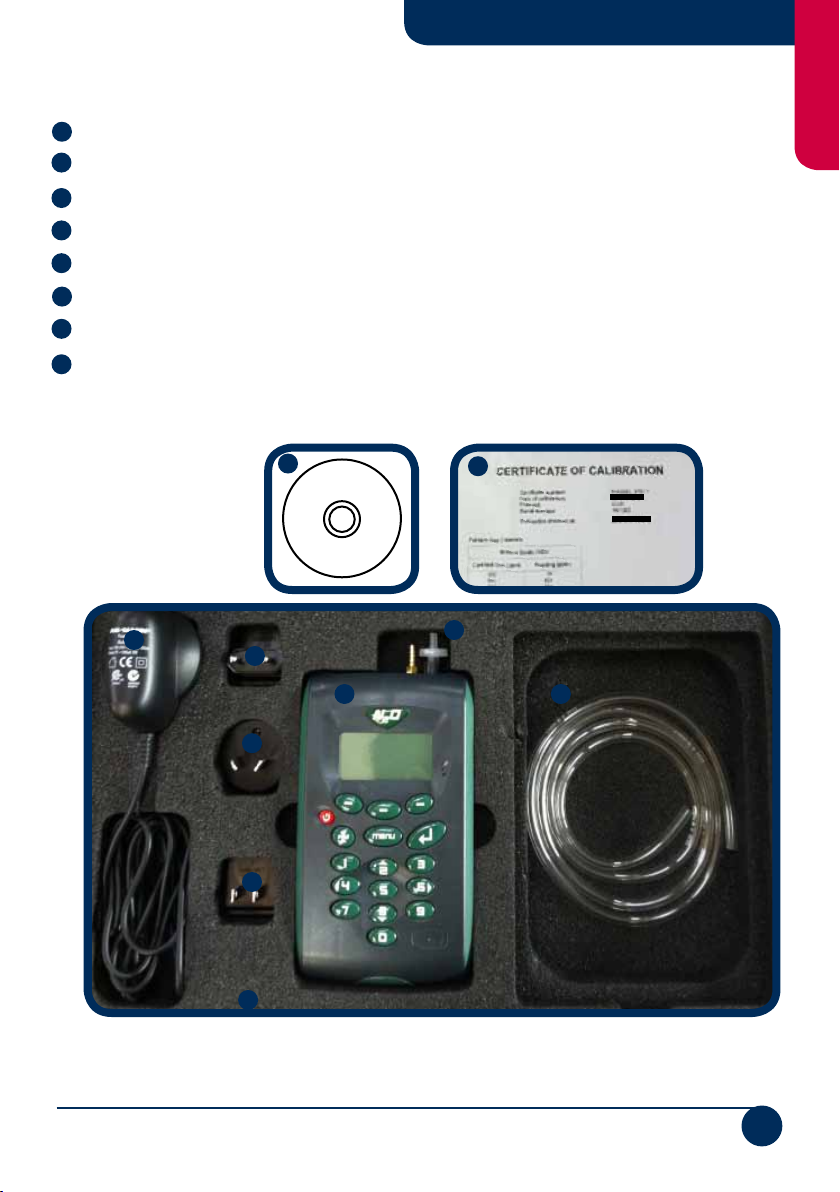
1 Press the Red power button to turn the unit on and wait 60 seconds for the unit to
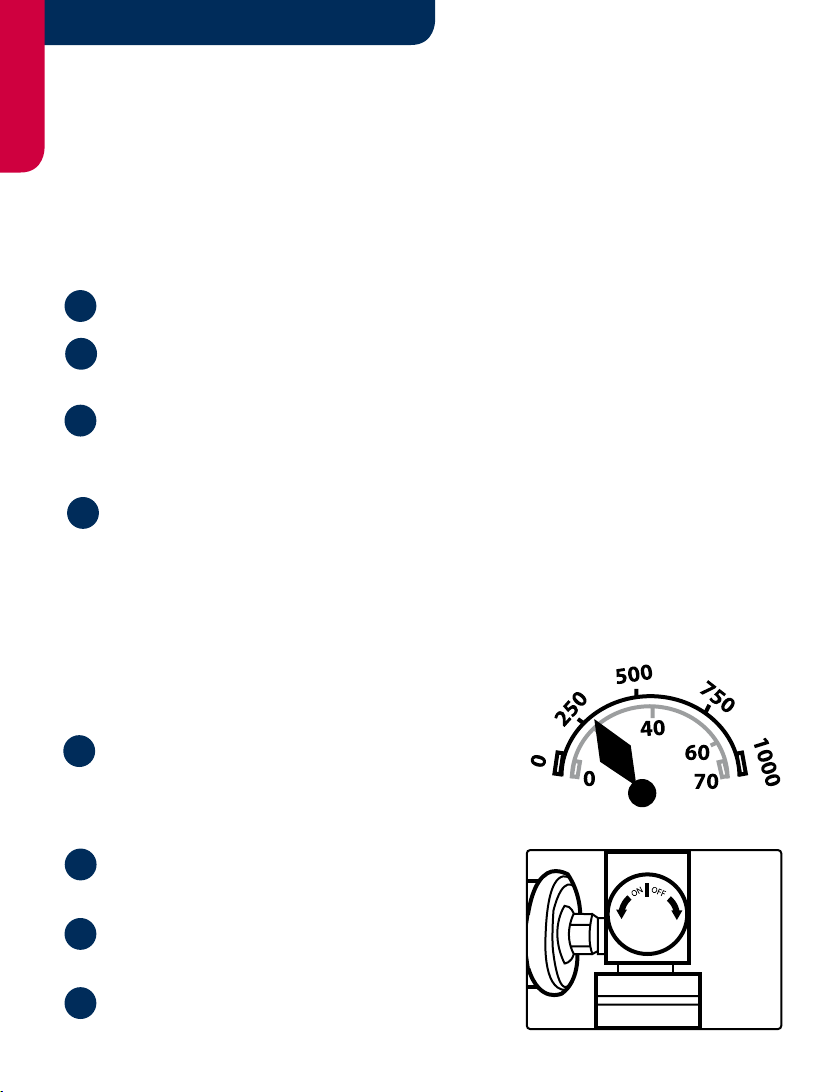
warm up. During this time attach the moisture lter and pressure regulator kit.
2 The unit will automatically run a test to identify any problems or indicate if it is due a
calibration. Once this test has run it will sit in a dormant monitoring mode.
3 From this dormant mode you can press Menu and then you have a list of additional
options;
AInformation (Informs you of the Serial number,
Version of rmware, when the service is due and
the unit is ready to come back to ‘Bedfont Scientic
Ltd’ to be serviced, when the unit was last factory
calibrated and when the last user calibration was
conducted.)
BUtilities (Allows the user to change the time and
date, set the contrast if the unit is hard to see, set alarms for the dormant monitoring mode
to alert staff if an area has reached dangerous levels of gas, additional user settings, ow
fail options, logging options for the data collected and a reset tool, which should only be
used when instructed to do so).
CCalibration (This is where the unit is calibrated to avoid the sensor from drifting.
Please nd calibration procedure in the relevant section. Please note; the calibration
procedure states the user should conduct a Zero calibration prior to using the monitor on a
daily basis and the unit should also be calibrated at least once a month with the calibration
gas).
DView Data (This option will give a digital read out of the last data that was logged on
the unit. Data settings can also be accessed through this option. This data is more detailed
through the G210 software kit).
EDiagnostics (This section is only used when diagnosing any faults with the monitor.
Bedfont will ask you to provide information from this section, should you encounter any
problems).
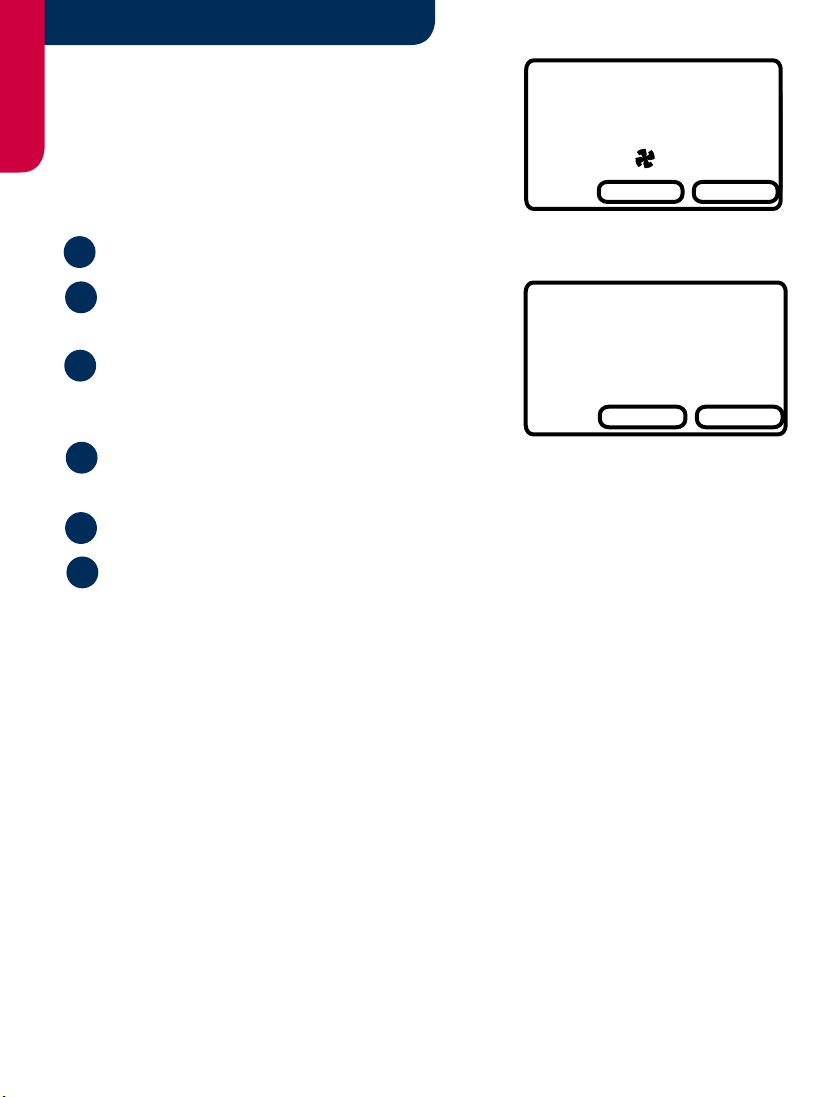
General Operation
M a i n M e n u
1 - I n f o r m a t i o n
2 - U t i l i t i e s
3 - C a l i b r a t i o n
4 - V i e w D a t a
5 - D i a g n o s t i c s
6 - M o n i t o r
Exit