Bedfont FENObreath User manual


1
Important Information/Reminders
NOTE: The FeNObreath™ should be charged for a minimum of 4 hours before first use.
NOTE: The default PIN for the FeNObreath™ is 0000. MGC Diagnostics Corporation strongly advises
that this PIN is changed upon installation and set-up of the device.
WARNING: Please read the manual before use.
WARNING: Never use alcohol or cleaning agents containing alcohol or other organic solvents as
these vapours will damage the electrochemical sensor inside.
WARNING: Under no circumstances should the instrument be immersed or splashed with liquid.
WARNING: Breath tests must only be carried out with MGC Diagnostics Corporation accessories.
Failure to do so may cause incorrect readings.
WARNING: The mouthpieces are single patient use only and can be used for a maximum of 3 tests.
Further re-use could cause incorrect readings and could increase the risk of cross infection. The
mouthpiece should be disposed of after use, in accordance with local waste disposal guidance.
WARNING: Patients should exhale for the duration of time indicated by the monitor during a breath
test. Failure to do so may cause incorrect readings.
WARNING: To ensure a breath sample is taken at the correct flow rate, the monitor must be held
upright at all times during a breath test.
WARNING: Do not block the vent holes on the device at any time unless instructed to do so during
servicing. Blocking the vent holes may cause erroneous readings.
WARNING: Do not allow the use of the FeNObreath™ within 60 minutes of the following:
•Exercising
•Smoking
•Eating
•Drinking including Alcohol
WARNING: Do not inhale through the mouthpiece.
WARNING: Ensure the patient does not exhale beyond the limits of their physical ability.
WARNING: Ensure the patient uses a single use mouthpiece for performing a breath test.
WARNING: The USB port is to be used for charging the FeNObreath™ device, this should be carried
out via the supplied USB cable and also can be used for transferring encrypted patient data. The
FeNObreath™ is not intended to be connected to any wireless adaptors or any other USB Host.
CAUTION: The use of substances containing alcohol close to the FeNObreath™ may cause erroneous
measurements.

2
CAUTION: Ensure the monitor is used within the stated operating temperature and humidity ranges.
Operating temperature is 15-30°C (59-86°F). Operating humidity is 20-80% RH (non-condensing).
CAUTION: Portable and mobile RF communications equipment can affect the FeNObreath™.
CAUTION: A great way to keep the FeNObreath™ charged when not in use is to use the docking
station included. This can be connected via the pre-approved power adapter supplied, or plugged
into a working USB port, to ensure the FeNObreath™ has charge for when it’s needed. When
connecting the pre-approved power adapter from the docking station to the electrical outlet, please
make sure that it is plugged in to a location that is safe and easily accessible.
CAUTION: The NO scrubber contains potassium permanganate and should not be tampered with or
exposed to skin.
CAUTION: The NO scrubber contains potassium permanganate and should be disposed of as
hazardous waste in accordance with local waste disposal regulations.
NOTE: Ensure the patient inhales through the mouth, not the nose, before exhaling through the
mouthpiece.
NOTE: MGC Diagnostics Corporation advise the FeNObreath™ is charged monthly to ensure
calibration data is not lost.
NOTE: See MGC Diagnostics Corporation’s infection control and maintenance guidelines for further
information on infection control.
NOTE: Please do not attempt to modify the equipment in any way or use accessories not specified
by the manufacturer. Any attempt to do so, will invalidate the warranty and may compromise the
safety of the device.
NOTE: MGC Diagnostics Corporation will make a Client Service Guide for servicing certain
components of the FeNObreath™ available upon request.

3
Contents
Important Information/Reminders ................................................................................................ 1
Introduction .................................................................................................................................. 4
Definitions..................................................................................................................................... 4
Compliance ................................................................................................................................... 4
Intended Use................................................................................................................................. 4
Contraindications .......................................................................................................................... 5
Parts and Accessories .................................................................................................................... 5
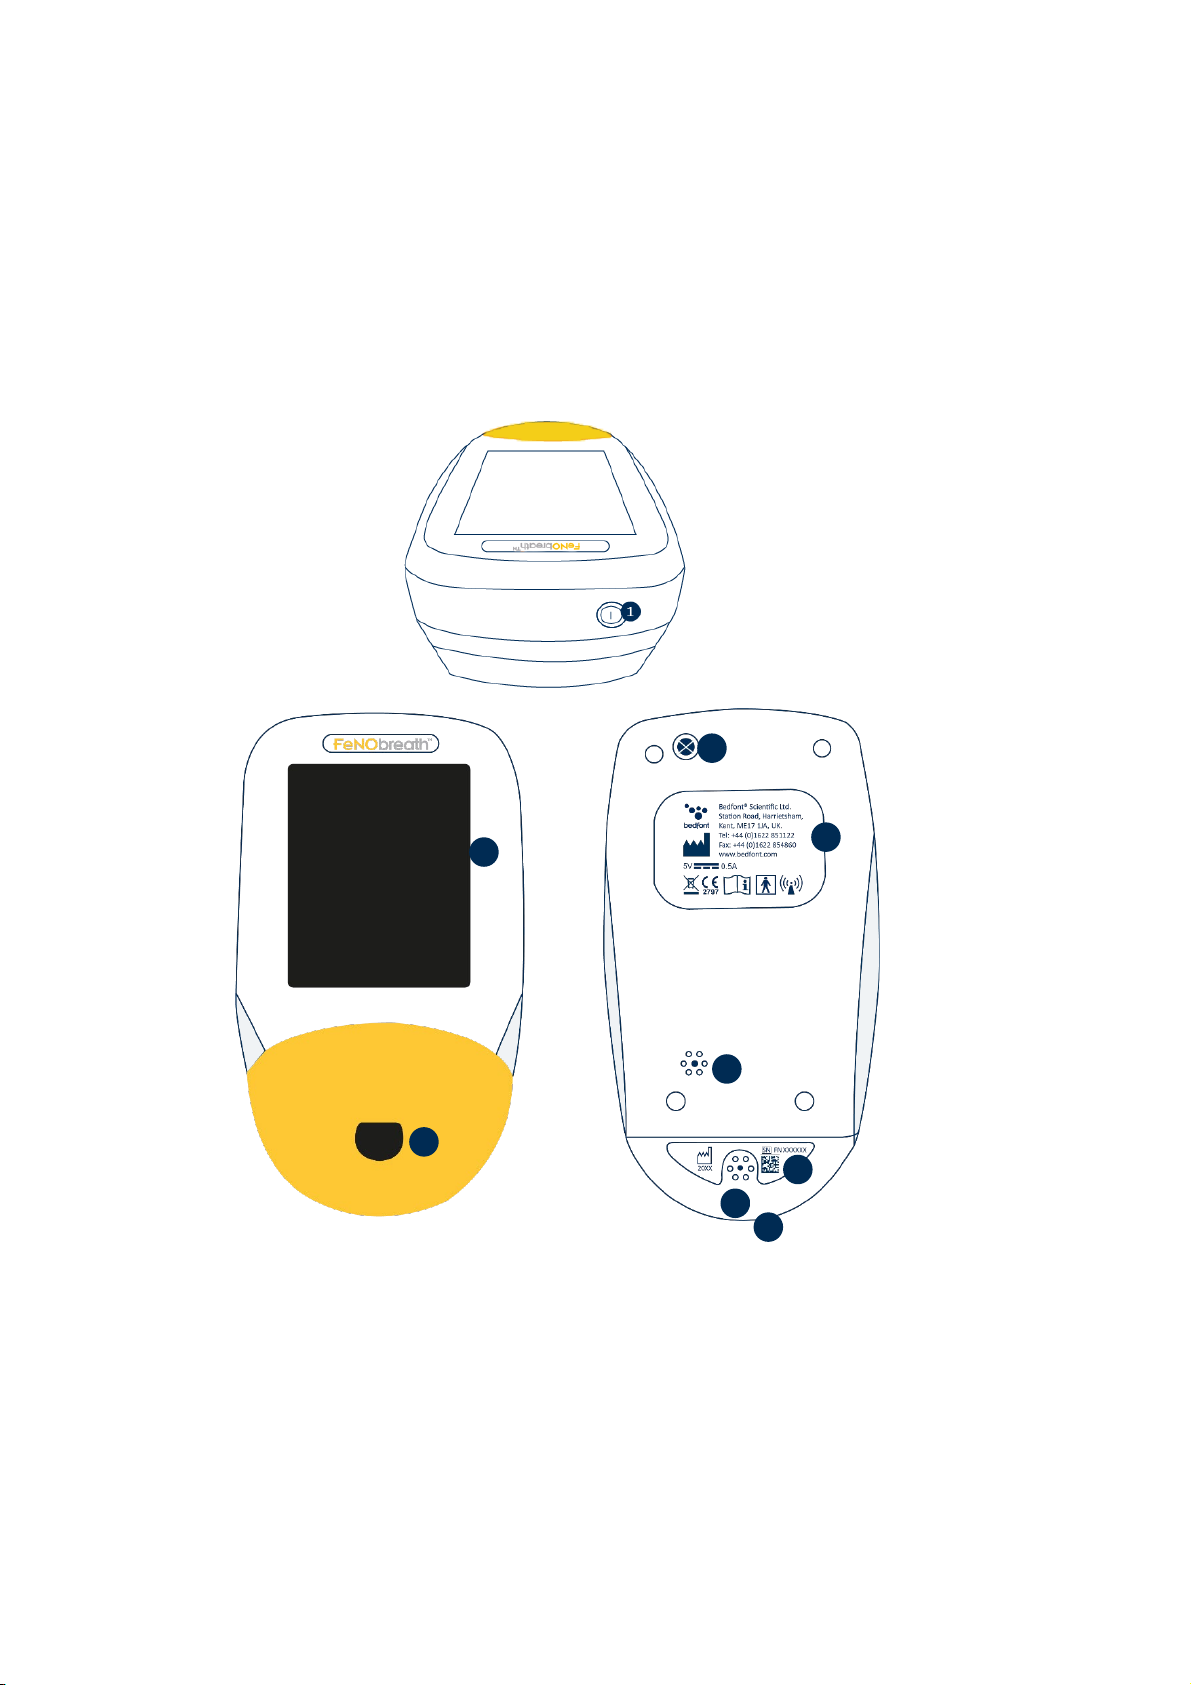
Instrument Layout ......................................................................................................................... 6
Installation and Set-up................................................................................................................... 7
User Interface................................................................................................................................ 9
Demo mode................................................................................................................................. 10
Performing a Breath Test............................................................................................................. 13
Patient profiles ............................................................................................................................ 15
Maintenance ............................................................................................................................... 19
Settings ....................................................................................................................................... 21
Data Reset................................................................................................................................... 30
Quality Check and Calibration...................................................................................................... 32
Calibration using a CaliBag®......................................................................................................... 41
Cybersecurity .............................................................................................................................. 45
Technical Specification ................................................................................................................ 46
Buttons Explained........................................................................................................................ 47
Troubleshooting .......................................................................................................................... 48
Glossary of Symbols and Safety Information ................................................................................ 53
Wireless ...................................................................................................................................... 55
Emissions..................................................................................................................................... 57
Immunity..................................................................................................................................... 57
Summary of the clinical data........................................................................................................ 59
Analytical Performance Data ....................................................................................................... 61
Interpretation of FeNO Values ..................................................................................................... 62
Warranty ..................................................................................................................................... 62
Returns........................................................................................................................................ 63

4
Responsible Manufacturer and Contacts...................................................................................... 63
Introduction
The User Manual provides instructions on how to operate FeNObreath™ FeNO monitor and its
accessories. It contains relevant information about the monitor, its uses and its care, including step-
by-step instructions with screens and illustrations.
Definitions
WARNING: indicates a potentially hazardous situation, which, if not avoided, may result in minor or
moderate injury.
CAUTION: indicates a potentially hazardous situation, which, if not avoided, may result in damage to
the device.
NOTE: used to call attention to notable information that should be followed during use.
Compliance
FeNObreath™ is CE marked according to the Medical Device Directive 93/42/EEC.
FeNObreath™ is RoHS compliant.
Please refer to the ‘Safety Information’ section of this manual for more information on the
compliance of the FeNObreath™.
Intended Use
The FeNObreath™ is a portable, non-invasive device for the measurement of Fractional Exhaled
Nitric Oxide (FeNO) in human breath. The production of nitric oxide is often found to be increased in
inflammatory conditions such as asthma. Measurement of FeNO by FeNObreath™ is a method to
measure the decrease in FeNO concentration in asthma patients that often occurs after treatment
with anti-inflammatory pharmacological therapy, as an indication of the therapeutic effect in
patients with elevated FeNO levels.
The fractional NO concentration in expired breath (FeNO), can be measured by FeNObreath™
according to guidelines for NO measurement established by the American Thoracic Society.
FeNObreath™ is intended for children, 7-17 years, and adults 18 years and older. FeNObreath™ 12
second test mode is for age 7 and up.

5
FeNObreath™ 10 second test mode is for ages 7-10 only who cannot successfully complete a 12
second test.
FeNO measurements provide the physician with means of evaluating an asthma patient's response
to anti-inflammatory therapy, as an adjunct to the established clinical and laboratory assessments in
asthma. The FeNObreath™ cannot be used with infants or by children under the age of 7 as
measurement requires patient cooperation.
FeNObreath™ should not be used in critical care, emergency care or in anesthesiology.
Contraindications
There are no known contraindications.
Parts and Accessories
1. FeNObreath™ Dock
2. USB cable
3. Power plug and universal adaptors
4. Interpretation chart
5. FeNObreath™ mouthpiece
6. Microfiber cloth
7. Quick Start Guide
8. Screwdriver
9. Infection Control Maintenance Guidelines
10. Patient Preparation

6
Instrument Layout
1. ON/OFF switch
2. Touchscreen
3. Mouthpiece aperture
4. Screw
5. Manufacturer label
6. Vent hole
7. Serial label
8. Vent hole
9. USB port
9
2
3
4
5
6
7
8
9

7
Installation and Set-up
When setting up the FeNObreath™, please ensure the package contains all the parts as detailed in
the ‘Parts and Accessories’ section of this manual. Please keep the screwdriver supplied for future
servicing requirements. The FeNObreath™ should be charged for 4 hours prior to first use. Remove
the plastic film from the display and follow the next steps on how to charge the FeNObreath™
below.
NOTE: The FeNObreath™ should not be operated in an environment outside of the temperature or
humidity ranges stated in the technical specification.
The default PIN is 0000. It is strongly recommended to change this prior to first use – please refer to
the ‘Change PIN’ section of this manual for instructions.
How to charge the FeNObreath™
The FeNObreath™ FeNO monitor comes with a Dock and charging cable to keep the monitor at hand
and fully charged.
To charge the FeNObreath™, first make sure
the micro USB cable provided is connected to
the docking station.
Connect the other end of the micro USB cable
to the pre-approved power adapter supplied,
using the appropriate universal adapter.

8
Plug the pre-approved power plug into the
electrical outlet.
CAUTION: When connecting the pre-approved
power adapter from the docking station to the
electrical outlet, please make sure that it is
plugged in to a location that is safe and easily
accessible.
When receiving power, the LED on the Dock will
light up green and the FeNObreath™ can be
placed in the Dock to charge. If the LED light is
red, please see ‘Troubleshooting’.
Place the FeNObreath™ monitor into the Dock.
The screen will indicate that the monitor is
charging.

9
Alternatively, the FeNObreath™ FeNO monitor
can be charged by plugging the micro USB cable
provided directly into the FeNObreath™. This
can then be connected either to the pre-
approved power adapter or a computer USB
port.
User Interface
Home Screen
1. Information button
2. Battery status
3. Adult breath test
4. Child breath test
5. Demo mode
6. Patient profiles
7. Settings
The information screen displays information about
the monitor and sensor.

10
Settings Menu Page 1
1. Date and time options
2. Test log
3. Change PIN number
4. Enable/disable PIN use
5. Change flow-meter style
6. Start ambient air test
7. Service Area
8. Home button
9. Go to Settings Menu Page 2
Settings Menu Page 2
1. Increase screen brightness
2. Decrease screen brightness
3. Enable/disable Bluetooth
4. Bluetooth pairing PIN
5. Go to Settings Menu Page 1
Demo mode
The FeNObreath™ has an in-built demonstration
video of the breath test process. It is
recommended to watch this video prior to using
the device for the first time. This demo can also
be used to explain to patients how the test will
run, prior to performing one.
Press the demo icon to begin.

11
Select either the adult or child patient.
The zero screen will briefly display as in a real test.
A demonstration will run through the breath
test process.

12
The whole test will be shown, but at an
accelerated speed.
Only a successful test will be demonstrated.
Once the result is displayed, the demo is
complete.
Press the home icon to return to the home
screen.

13
Performing a Breath Test
Open and insert a new mouthpiece into the
FeNObreath™ monitor.
To start a breath test, select either the adult
or child patient.
As prompted onscreen, take a deep breath.
WARNING: Do not inhale through the
mouthpiece.
NOTE:Ensure the patient inhales through
the mouth, not the nose, before exhaling
through the mouthpiece.
Press the home button at any time to
cancel the breath test.
When the exhale icon displays, keep the
monitor upright and blow gently into the
mouthpiece.
NOTE: Make sure the vent holes are not
covered.
The exhalation time is approximately 12
seconds for an adult and 10 seconds for a
child.

14
The onscreen flow meter will guide the patient on the exhalation rate:
Keep the
car in the middle
of the road.
Keep the dial
in the green area.
Keep the
car in the middle
of the road.
Follow the bubbles.
A green check mark onscreen indicates a
successful test.
The results will then be shown onscreen in
ppb.
Return to the home screen by pressing the
home button or save the result to a patient
profile.

15
If the patient exhales outside of the
exhalation guidelines, the test will beep
before indicating a fail and a red cross will
appear.
Press the retry icon to retake the test or the
next arrow to view the result.
Patient profiles
The FeNObreath™ is designed to be capable of
storing up to 25 results in up to 50 patient
profiles.
Press the profiles icon to access patient profiles.
If the PIN has not been entered in the last 30
minutes, the 4-digit code will be required before
the patient profiles can be accessed.
NOTE: If the PIN has been forgotten, please
contact MGC Diagnostics Corporation or its local
distributor to reset it.

16
A list of patient profiles will show onscreen.
Create a new patient profile
To create a new profile, choose an empty name
slot.
Use the keypad to enter a patient name or ID.
Click the save icon to create the profile.
To cancel, press the back arrow to return to the
list of profiles or the home icon to return to the
main screen.

17
Once the profile has been created the following
options will become available:
1. See a graph of results
2. Delete the patient profile
3. Take an adult breath test
4. Take a child breath test
5. Return to the profile list
6. Return to the home screen
Once an adult or child breath test has been
selected, the profile will only offer that breath test
mode in future.
Edit a patient profile
To edit a patient’s profile, select their name or ID
from the list.

18
Use the keypad to edit the profile.
Click the save icon to save the changes.
To cancel, press the back arrow to return to the
list of profiles or the home icon to return to the
main screen.
Delete a patient profile
Select the patient that will be deleted to load their
profile.
Press the red ‘x’ to delete the patient profile.

19
Press the red ‘x’ to confirm.
The profile will be deleted and the profile screen
will be displayed.
Maintenance
FeNObreath™ - FeNO testing without limits
The FeNObreath™ has been validated for up to 29,000 tests when used as instructed and properly
maintained and serviced. The number of tests can be periodically checked within the settings of the
device; when 29,000 tests are reached a service is recommended. Contact MGC Diagnostics
Corporation or the local service center.
The Health Care Professional can check how many breath tests have been performed on the device
using the Information Screen, Test No as seen below.
Routine maintenance
1. Mouthpieces are to be replaced after every patient.
WARNING: The mouthpieces are single patient use only and can be used for a maximum of
3 tests. Further re-use could cause incorrect readings and could increase the risk of cross
infection. The mouthpiece should be disposed of after use, in accordance with local waste
disposal guidance.
2. Hands should be washed regularly in accordance with infection control practice.
Other manuals for FENObreath
3
Table of contents
Other Bedfont Measuring Instrument manuals
Popular Measuring Instrument manuals by other brands

AutoMeter
AutoMeter BVA-200EX Operator's manual

Spot-on
Spot-on 39240 product manual

Unimax
Unimax LM 63A user manual

Kyoritsu Electrical Instruments Works, Ltd.
Kyoritsu Electrical Instruments Works, Ltd. 5201 instruction manual

Aqualytic
Aqualytic AL250T-IR instruction manual

Microtech
Microtech e-DIAGNOSTIC quick start guide