– 5 –
behr InKjel P
© behr Labor-Technik 2014
142109
Scope of supply
Please check the contents of the pack for completeness
and freedom from damage immediately upon receipt.
Claims resulting from damage during transportation
which is externally apparent must be lodged immedi-
ately with the carrier (i.e., the post/mail service, the rail-
way administration, the freight organization, etc.) - see
the label on the packaging.
In case of damage which is not apparent from outside
(„concealed transportation damage“), please contact the
behr after-sales service immediately upon discovery of
the damage. The same applies in the case of any other
complaints.
Address:
behr Labor-Technik GmbH
Spangerstrasse 8
D-40599 Düsseldorf, Germany
Telephone: (+49 211) 7 48 47 17
Telefax: (+49 211) 7 48 47 48
e-mail: info@behr-labor.com
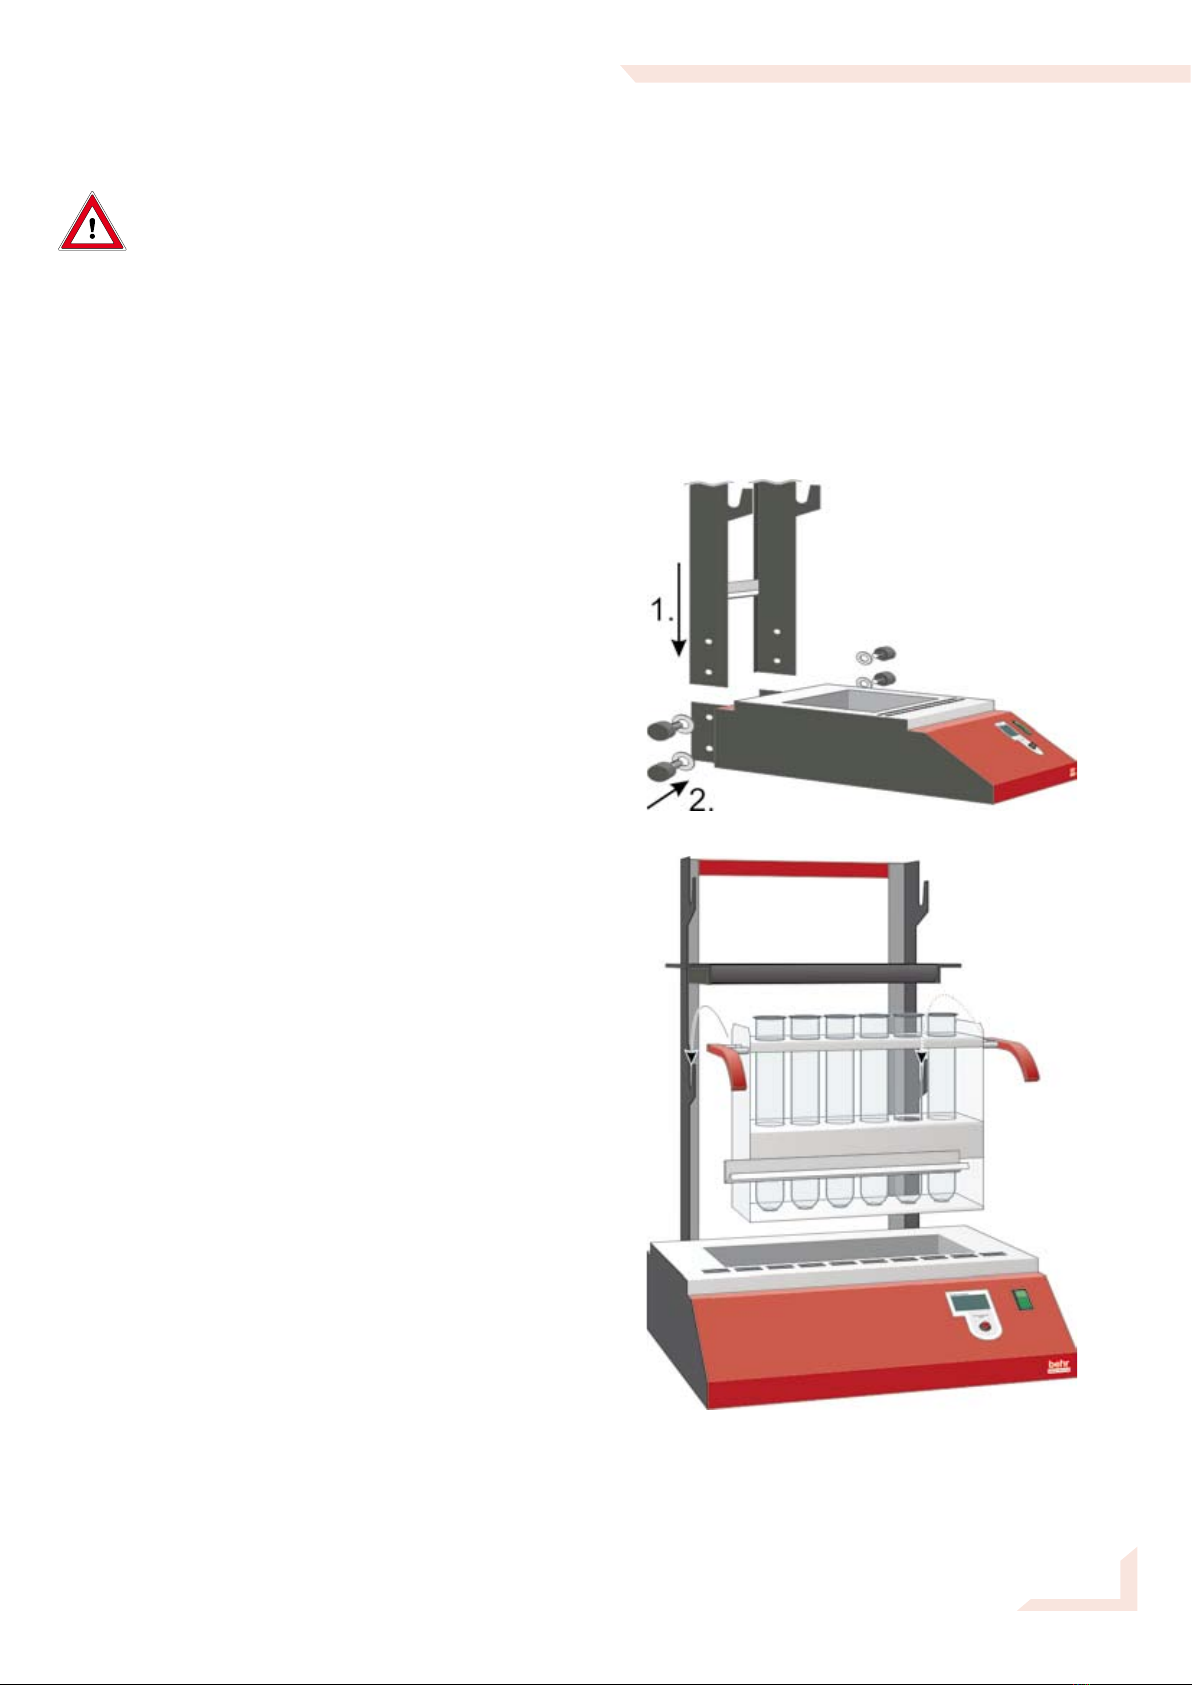
Parts List
InKjel base unit
Mounting rack
4 knurled screws and 4 washers
Sample rack
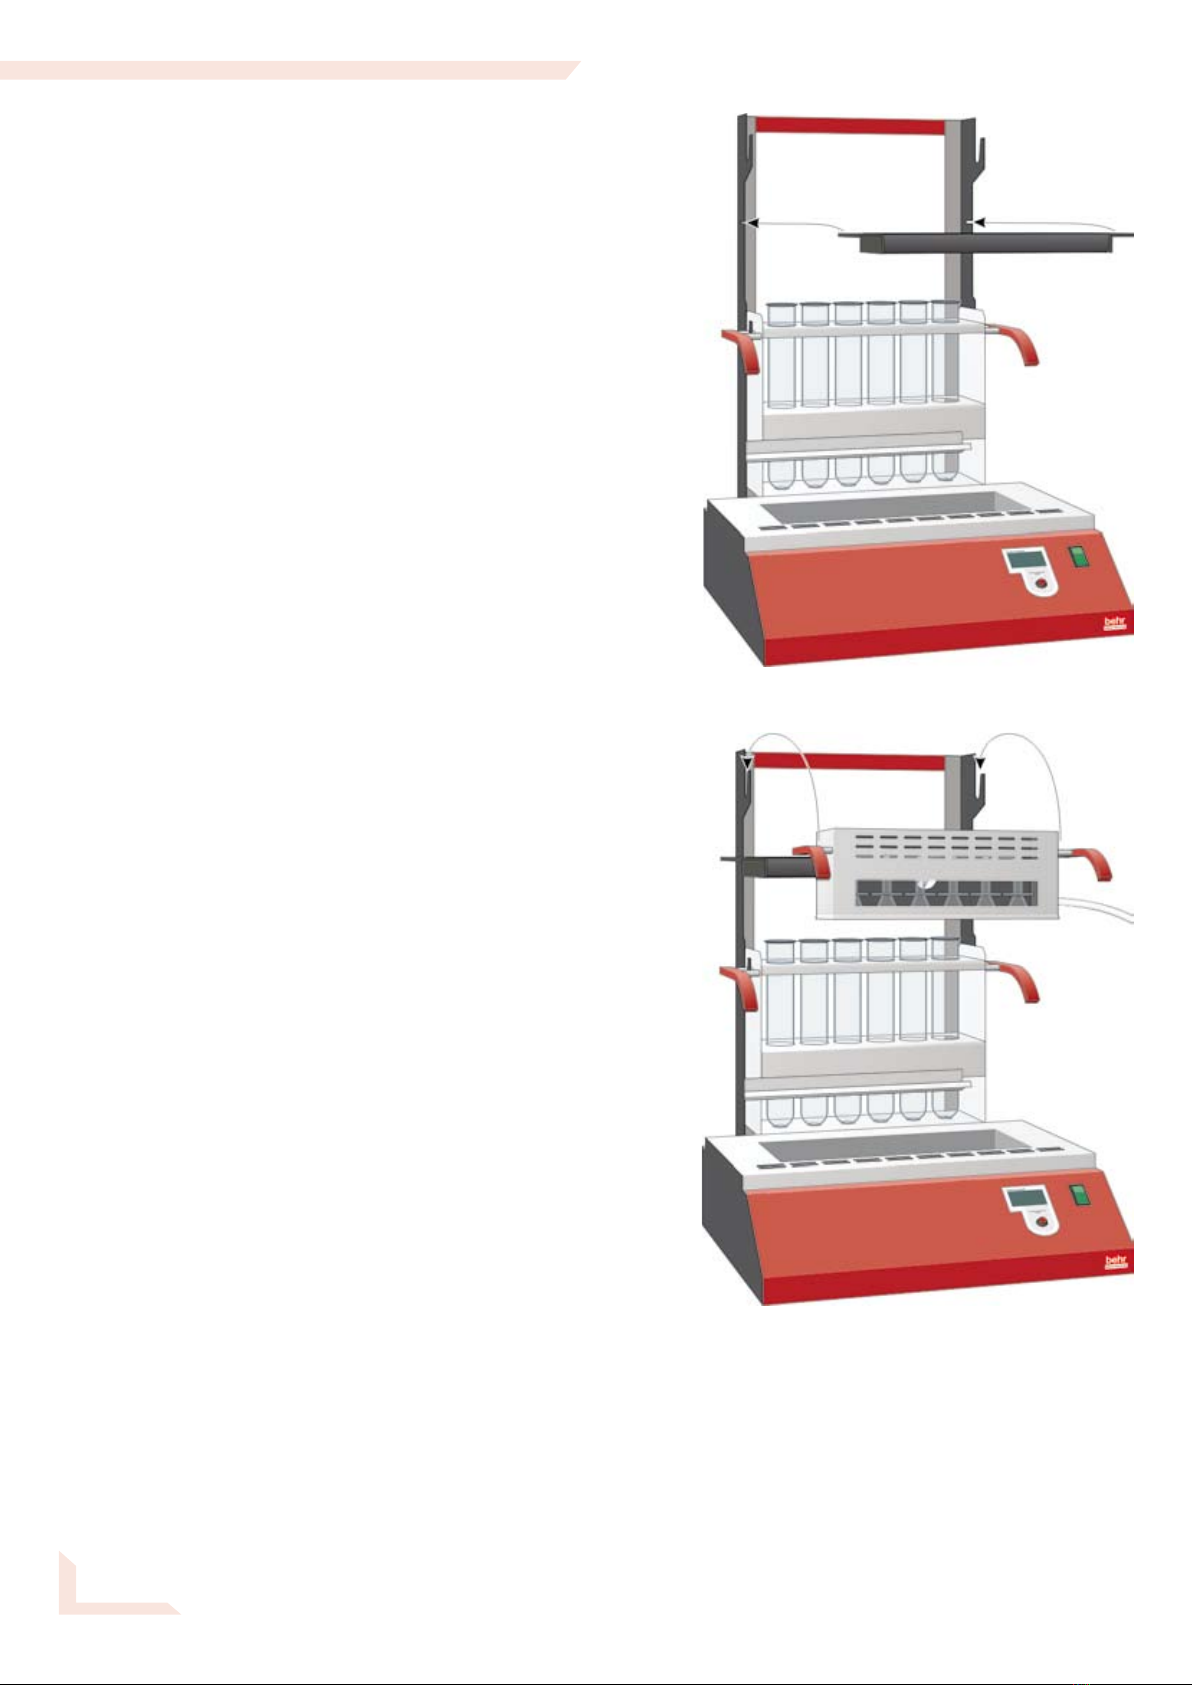
Exhaust collector with suction hose
Drip pan
Sample vessels, version-dependent:
6 x 250 ml,
12 x 250 ml,
4 x 500 ml or
4 x 750 ml
Option:
behrosog®acid-fume extractor
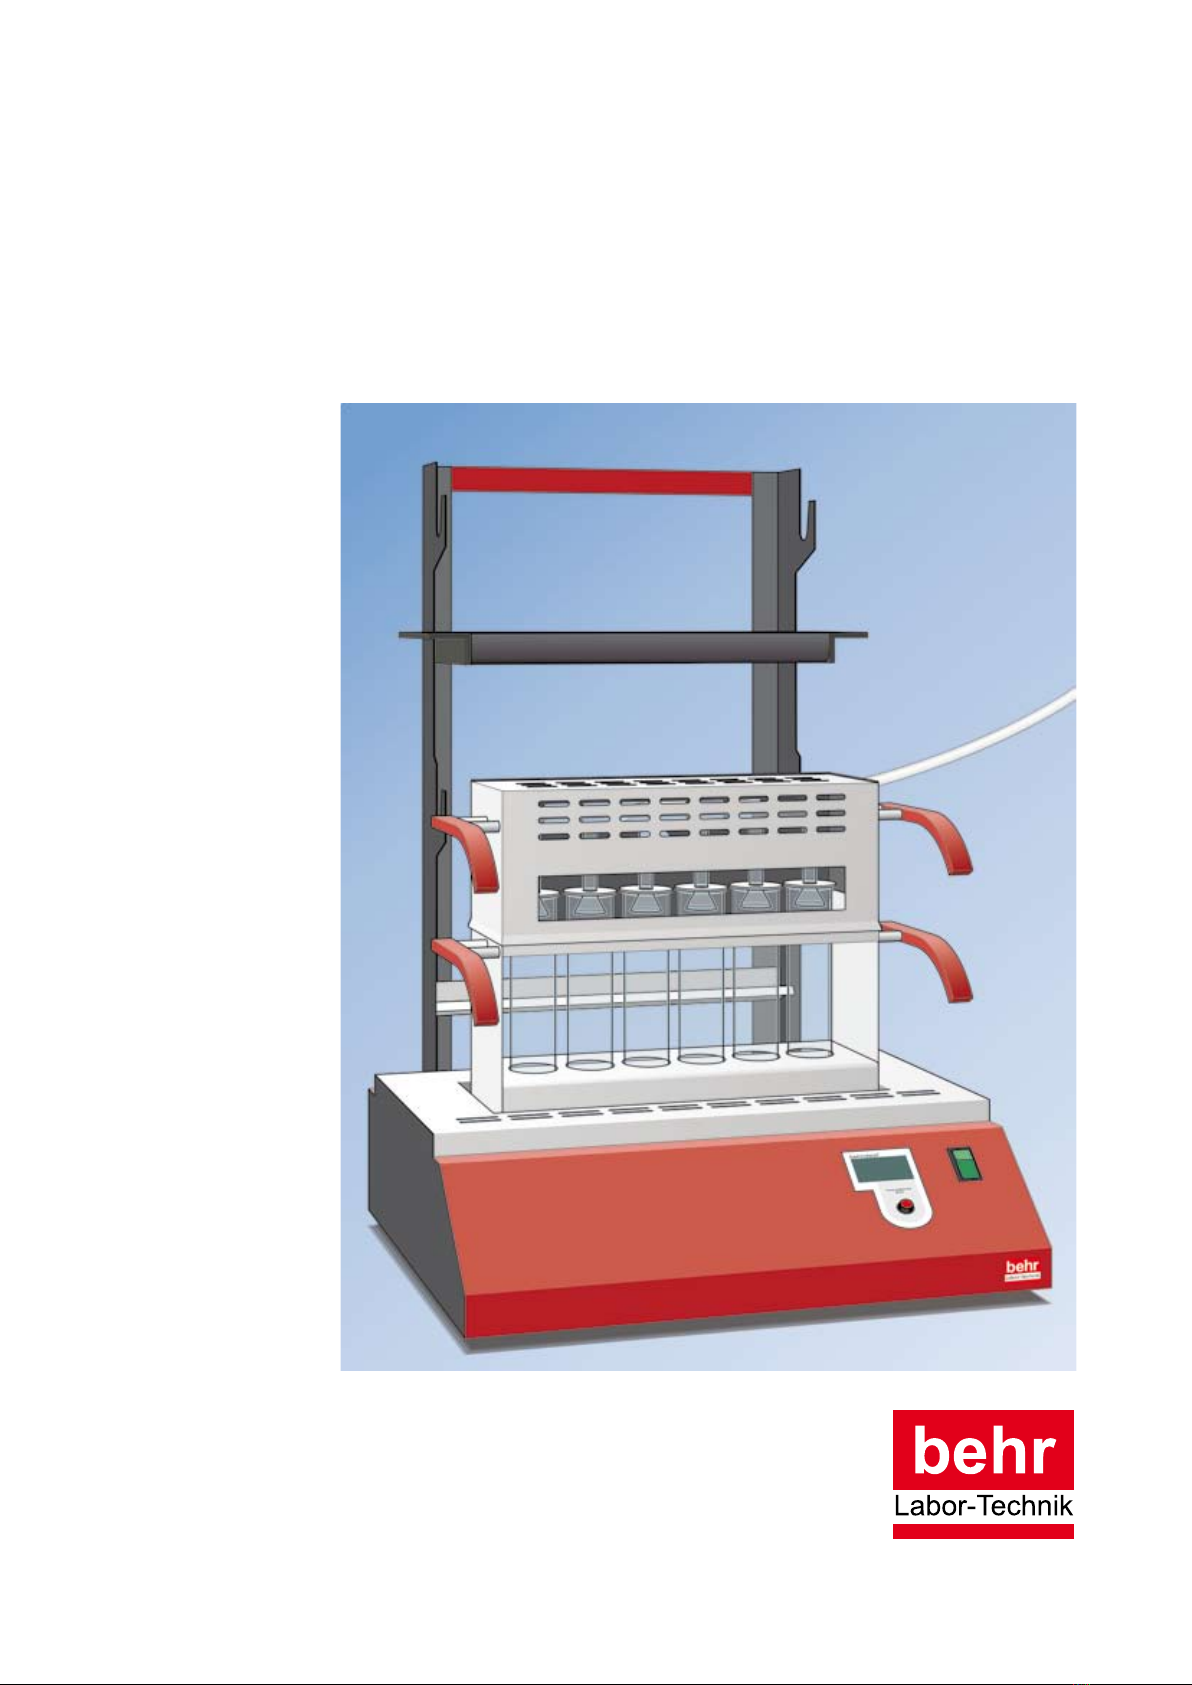
Correct use of the InKjel P
The behr InKjel P digestion unit is used for heating
samples in the appropriate digestion tubes. It is used,
in particular, for quantitation of total nitrogen using the
Kjeldahl digestion method. Only use the appropriate
type of digestion tubes.
Please under all circumstances note and adhere to the
following items, in order to ensure the greatest possible
operating safety and reliability and the longest possible
service-life for your digestion unit:
Always operate the appliance in accordance with
the instructions and data contained in this oper-
ating manual!
Modifications to the appliance will result in forfeit
of any guarantee claims and can result in serious
deficiencies in the unit‘s operating safety and
reliability.
During the Kjeldahl digestion, sulfuric acid
vapours (and other aggressive gases) are set
free. Always operate the appliance with a scrub-
ber system (e. g. behrosog) and place the appli-
ance and the scrubber in a fume cupboard.
Never expose the digestion unit to aggressive
vapours, such as fumes from acids, alkalis or
solvents!
Always operate the behr InKjel P digestion unit under
normal laboratory conditions.
Warranty Conditions
We warrant that all our items are free from defects in
material and workmanship and that they will function
well under the condition that they are handled accord-
ing to the art of the trade. The period of warranty is
one (1) year after the date of delivery. This warranty
does not extend to the breaking of glass parts and
any surface defects which may occur when items are
being used. Our liability under this warranty is lim-
ited to the repair or replacement, at our expense, of
any defective item or part if the damage is due to our
fault. Any further claims, especially for consequential
damages, are excluded. The respective item should
be returned to our factory freight prepaid.
Moreover we refer to our general terms of sale and
delivery resp. to the general terms of delivery and
capacity of the electrical manufacturing industry.