2
Safety Warnings
For safety purpose you should read these
instructions carefully before using the iron
for the first time.
DO’S
1. Check the mains voltage stated on the
iron.
2. Unwind and straighten the power cord
before use.
3. Switch on the iron by turning the
Temperature Dial in clockwise direction; pilot
light glows.
4. Turn the Temperature Dial to the middle
point of 1 dot, 2 dots, 3 dots or maximum
setting.
5. Switch off the iron by turning the
Temperature Dial in anti-clockwise direction
when it is not in use, even for a short period
of time. Turn the Temperature Dial to°•Min°
position.
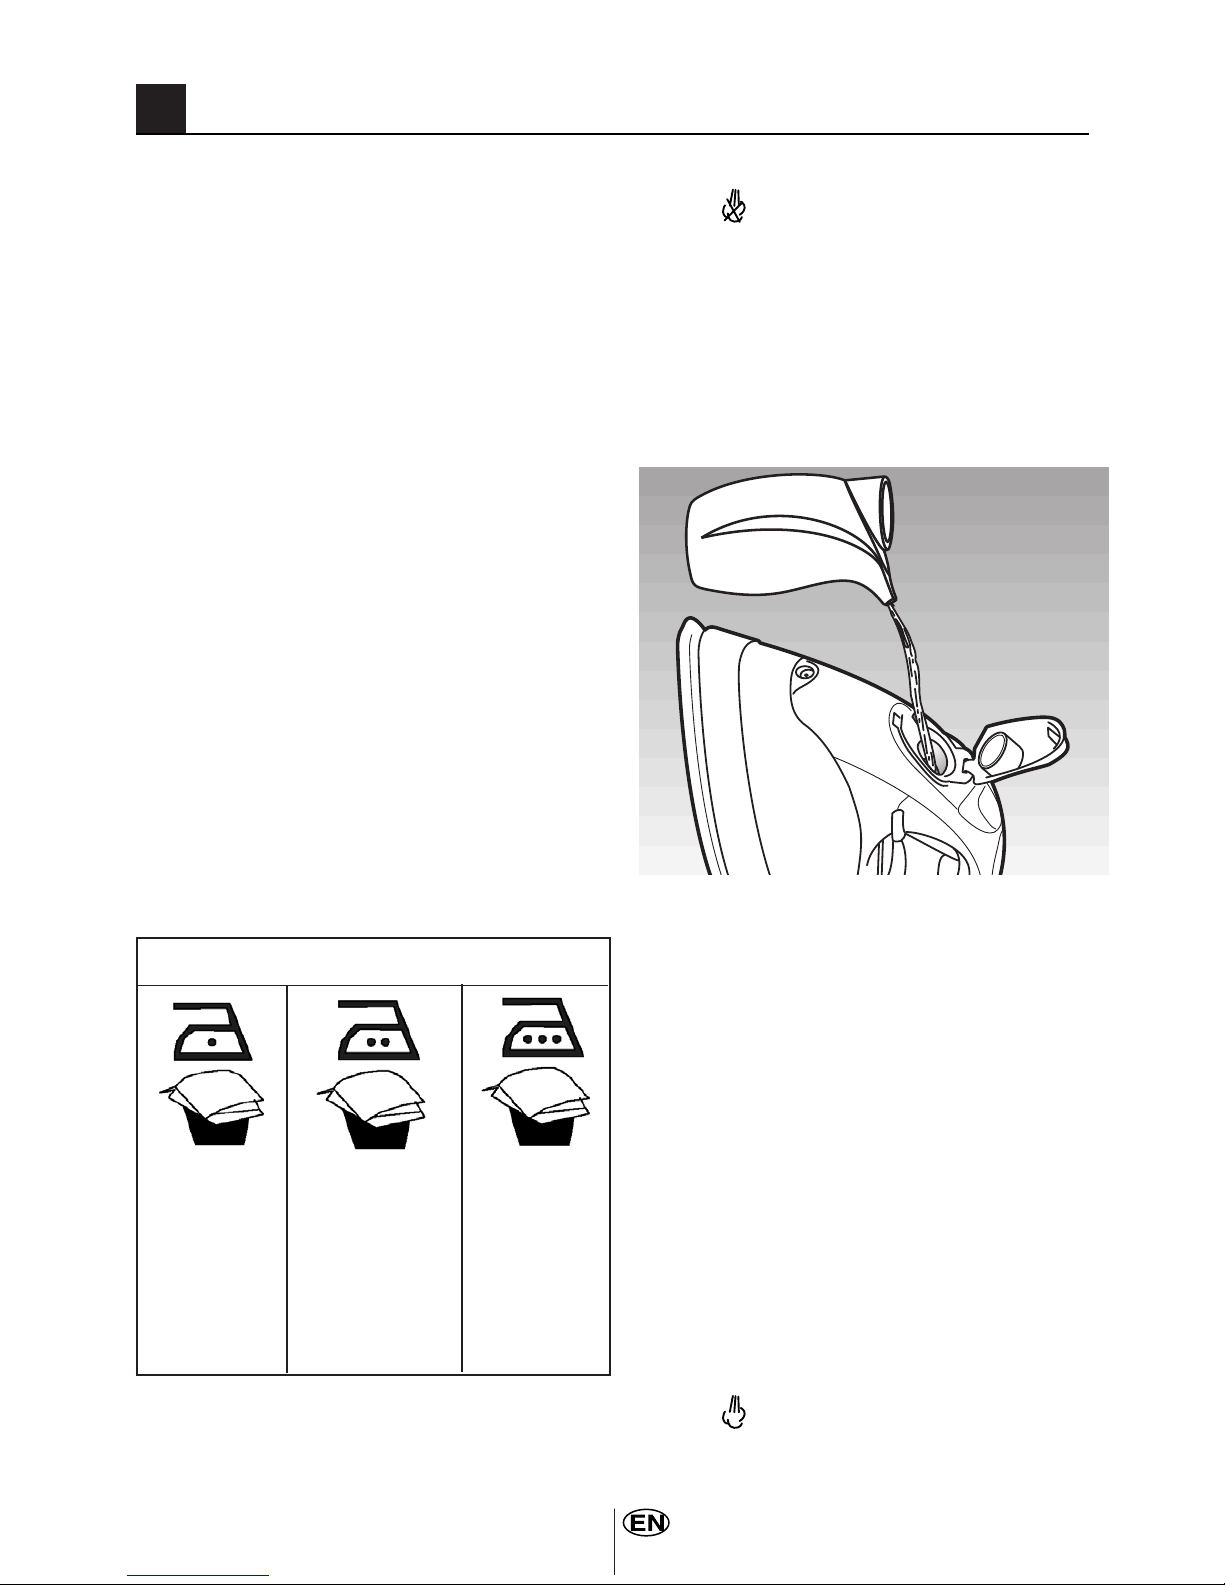
6. Disconnect the iron from mains supply
outlet when filling or emptying water.
7. Remove the water remained in the water
tank.
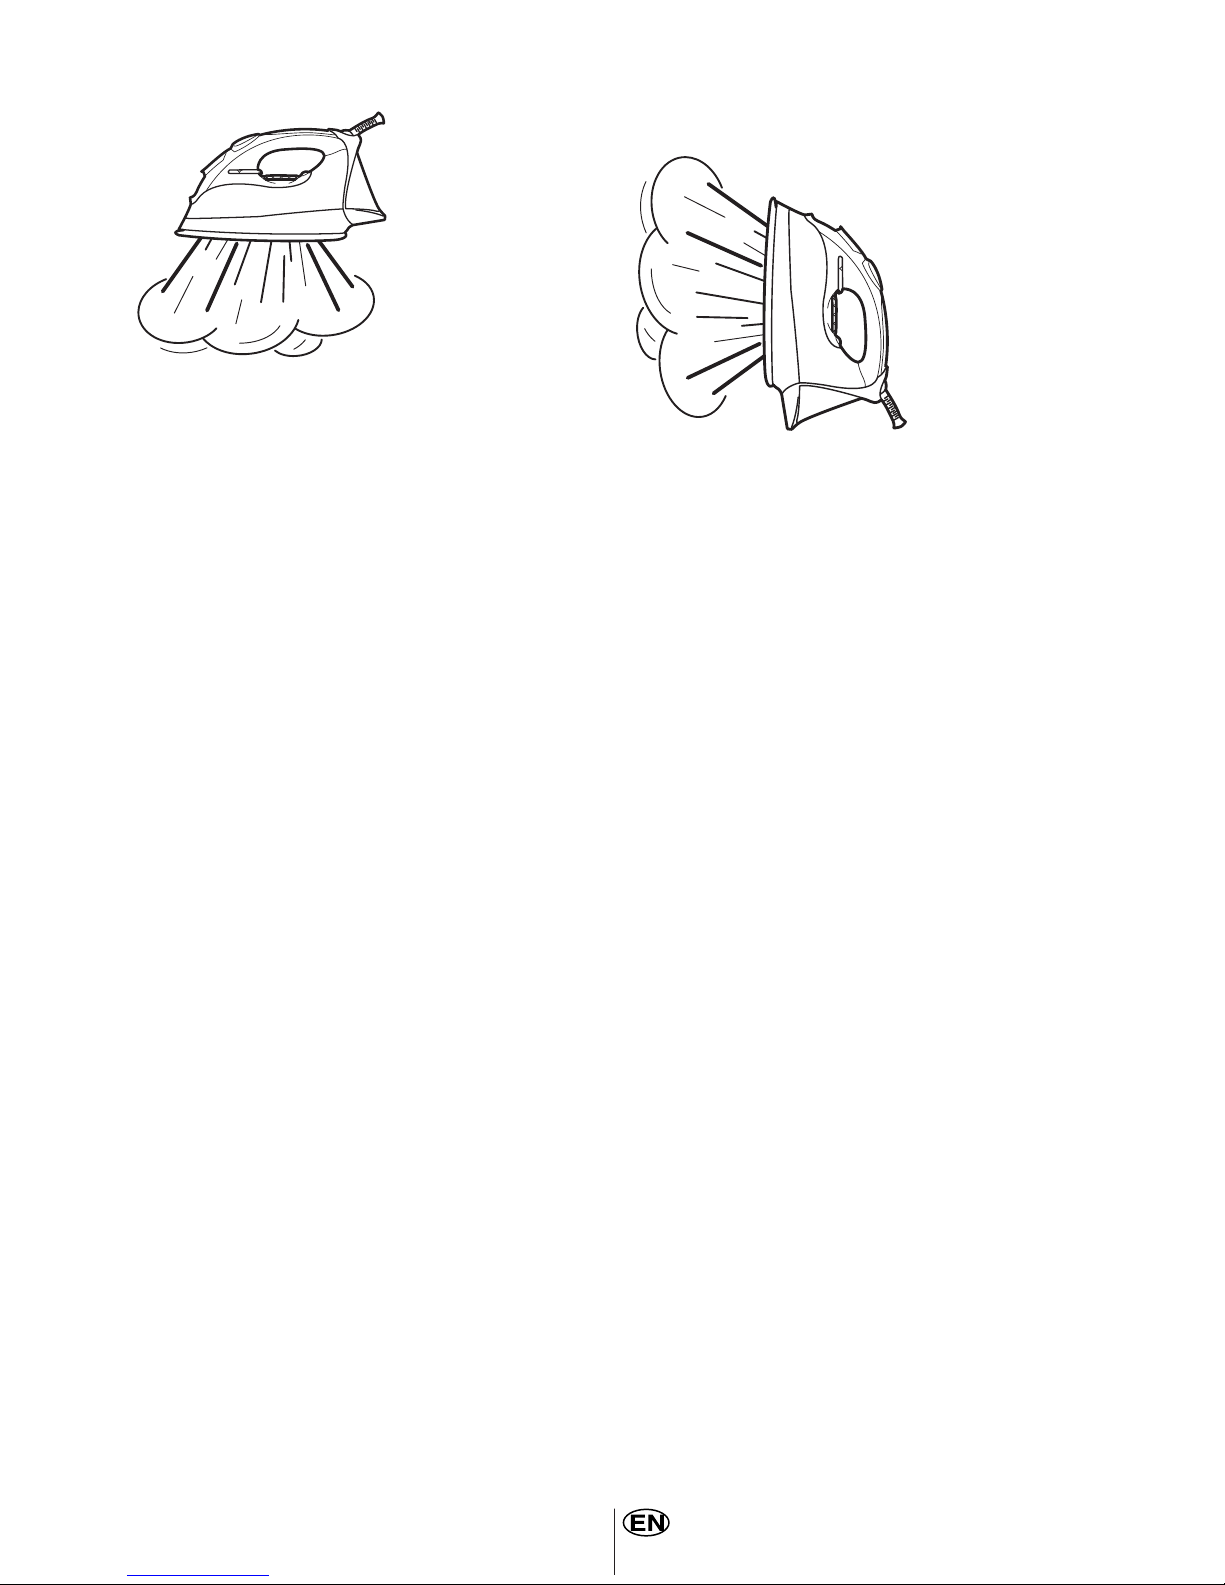
8. Use the Self-Cleaning function at least
once a month.
9. Switch off the steam function by moving
the steam control knob to position when
it is not in use, even for a short period of
time.
10. If the supply cord is damaged, it must be
replaced by the manufacturer or its service
agent or similarly qualified person in order to
avoid a hazard.
11. The iron must be used and rested on a
stable surface
12. When placing the iron on its stand,
ensure that the surface on which the stand
is placed is stable.
13. The plug of the supply cord must be
removed from the socket-outlet before the
water reservoir is filled with water
DO NOT’S
1. Do not allow children touch the iron or the
power cord when ironing.
2. Do not leave the iron unattended when it
is connected to a mains supply outlet.
3. Do not use an extension power cord set
unless competent authority has approved it.
4. Do not add perfumed, vinegar or other
chemical liquids into the water tank; they
can damage the iron seriously.
5. Do not immerse the iron in water or any
other liquid.
6. Do not use the iron when it is damaged or
it works improperly.
7. Do not roll the power cord around the
iron for storage until it has cooled down
completely.
8. Do not attempt to open the cabinets or
dismantle any parts from the iron; there is
no serviceable part inside.
9. The iron is not to be used if it has been
dropped, if there are visible signs of damage
or if it is leaking.
10. Keep electrical appliances out of reach
from Children or infirm persons. Do not let
them use the appliances without supervi-
sion.
1