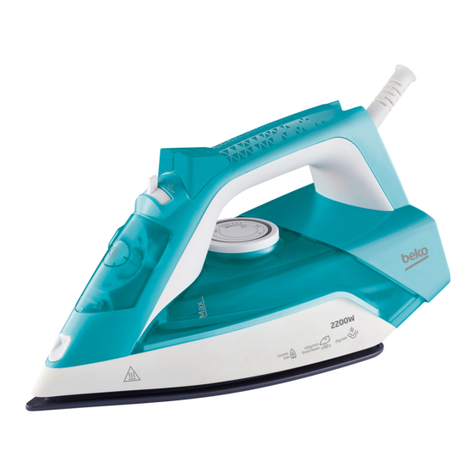
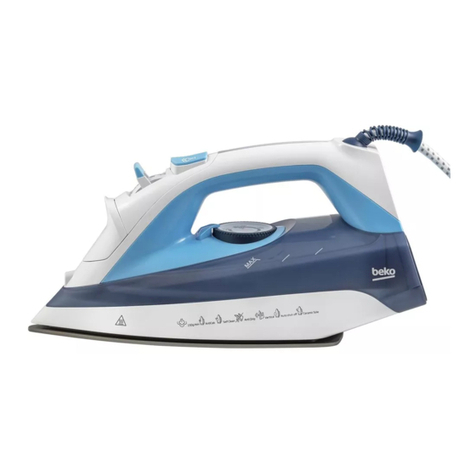
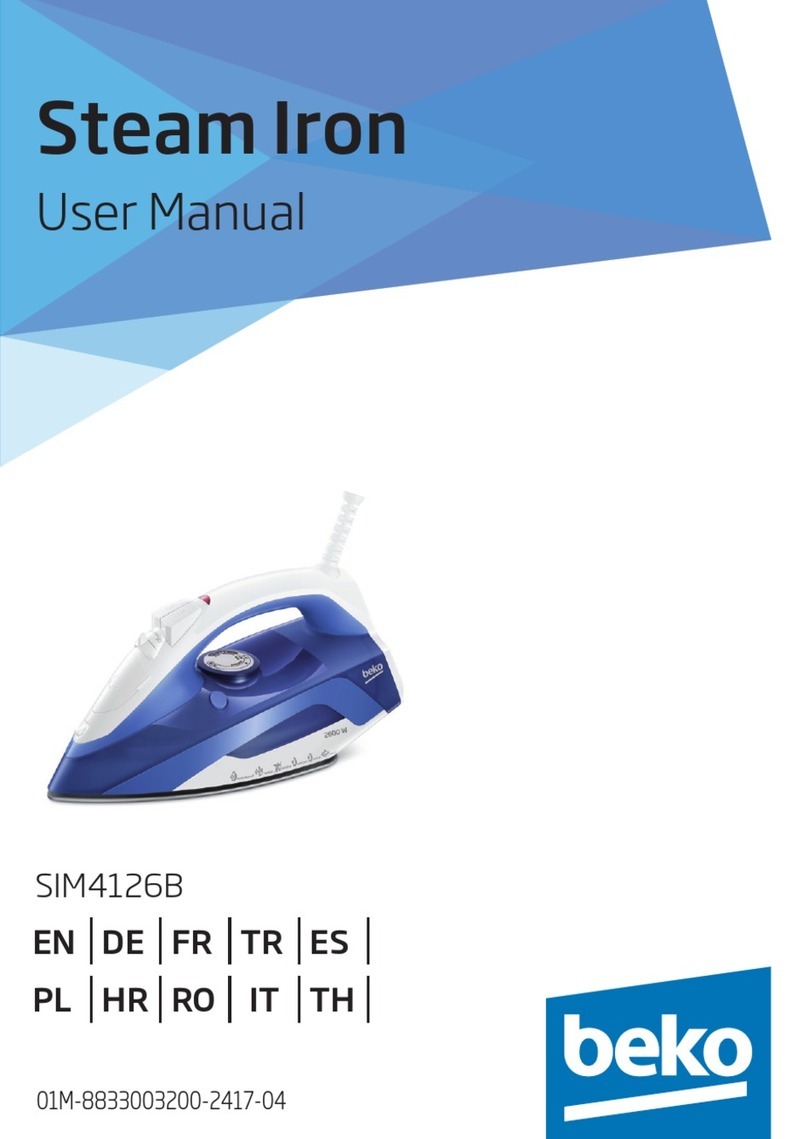
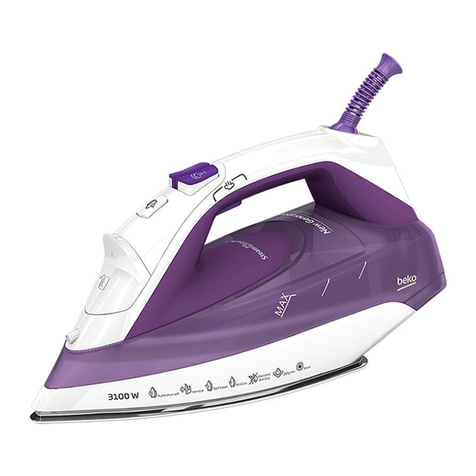
Beko SIM7124B User manual

www.beko.com
SIM7124B
01M-8832733200-2719-07
Steam Iron
User Manual
EN DE FR TR ES
PL HR RO IT TH

Please read this user manual first!
Dear Customers,
Thank you for selecting a Beko product. We hope that you get the best
results from your product which has been manufactured with high
quality and state-of-the-art technology. Therefore, please read this
entire user manual and all other accompanying documents carefully
before using the product and keep it as a reference for future use. If
you handover the product to someone else, give the user manual as
well. Follow all warnings and information in the user manual.
Meanings of the symbols
Following symbols are used in the various section of this manual:
CImportant information and useful
hints about usage.
AWARNING:
Warnings for
dangerous situations concerning
the safety of life and property.
WARNING:
Warning for hot
surfaces.

3 / EN
Steam Iron / User Manual
CONTENTS
ENGLISH 4-16
DEUTSCH 17-34
FRANÇAIS 35-50
TÜRKÇE 51-68
ESPAÑOL 69-85
POLSKI 86-102
HRVATSKI 103-117
ROMANIAN 118-134
ITALIANO 135-152
THAI 153-169

4 / EN Steam Iron / User Manual
This section contains safety instructions that will
help protect from risk of personal injury or property
damage.
Failure to follow these instructions invalidates the
granted warranty.
1.1 General safety
•This appliance complies with the international
safety standards.
•This appliance may be used by children who are
at the age of 8 or over and the people whose
physical, perceptive or mental skills are impaired
or who are inexperienced or not knowledgeable
about the appliance as long as they are super-
vised or informed and made understood the
safe use of the appliance and the encountered
dangers. Children should not play with the ap-
pliance. Cleaning and user maintenance pro-
cedures should not be performed by children
unless they are controlled by their elders.
•Do not leave the product unattended while it is
plugged in.
1

5 / EN
Steam Iron / User Manual
•Unplug the product before filling the water res-
ervoir with water.
•Operate and store the appliance on a stable sur-
face.
•When the appliance is placed on its base plate,
ensure that the surface beneath the plate is
level.
•Do not use the appliance if the power cable or
the appliance itself is damaged. Contact an au-
thorised service.
•If the appliance is dropped or leaks water or has
other failures, contact the authorised service.
Do not use the appliance until it is repaired.
•When the appliance is not in use or left to cool
down keep the appliance and power cable out
of reach of children under 8 years old.
•The appliance is not suitable for using outdoors.
•Only use the original parts or parts recom-
mended by the manufacturer.
•Do not attempt to dismantle the appliance.
1

6 / EN Steam Iron / User Manual
•Your mains power supply should comply with
the information supplied on the rating plate of
the appliance.
•The mains supply of the appliance must be se-
cured with a minimum 16 A fuse.
•Use the appliance with a grounded outlet only.
•Do not use the appliance with an extension
cord.
•Do not pull the power cable when unplugging
the appliance.
•Unplug the appliance before cleaning it.
•Do not wrap the cable around the appliance.
•Do not touch the appliance or its plug with wet
or damp hands when the appliance is plugged
in.
•The soleplate and its surrounding area can be
extremely hot. Contacting hot surfaces may
cause burns. Therefore while or just after using
the appliance, pay attention not to touch the
hot surfaces.
1

7 / EN
Steam Iron / User Manual
•Never use the appliance in or near to combusti-
ble or inflammable places and materials.
•If you keep the packaging materials, store them
out of the reach of children.
•For detailed information on cleaning the appli-
ance, please refer to the section Cleaning and
maintenance.
This product complies with EU WEEE Directive (2012/19/EU). This prod-
uct bears a classification symbol for waste electrical and electronic equip-
ment (WEEE).
This symbol indicates that this product shall not be disposed
with other household wastes at the end of its service life. Used
device must be returned to offical collection point for recycling
of electrical and electronic devices. To find these collection
systems please contact to your local authorities or retailer
where the product was puchased. Each household performs important
role in recovering and recycling of old appliance. Appropriate disposal of
used appliance helps prevent potential negative consequences for the en-
vironment and human health.
1

8 / EN Steam Iron / User Manual
The product you have purchased complies with EU RoHS Directive
(2011/65/EU). It does not contain harmful and prohibited materials speci-
fied in the Directive.
-
clable materials in accordance with our National Environment
Regulations. Do not dispose of the packaging materials together
with the domestic or other wastes. Take them to the packaging
material collection points designated by the local authorities.
1

9 / EN
Steam Iron / User Manual
The values which are declared in the markings affixed on your appliance or the other printed documents supplied with it
represent the values which were obtained in the laboratories pursuant to the pertinent standards. These values may vary
according to the usage of the appliance and ambient conditions.
2
1.
2. Iron base plate
3. Temperature adjustment knob
4. Soleplate
5. Water spray nozzle
6. Water refill lid
7. Steam setting and lime removal
button
8. Water spraying button
9. Shock steam button
10.Thermostat indicator and Auto-
Off light
Voltage:
220-240V~ 50-60 Hz
2020-2400 W
up to 150 g/min
I
Technical and design modification
rights are reserved.
1
2
3
4
5
6
7
8
9 10

10 / EN Steam Iron / User Manual
3.1 Intended use
This appliance is intended only for
household use and ironing; it is not
suitable for professional use.
3.3) and vaporize to remove the
manufacturing residues (see 3.6).
Meanwhile, use shock steam but-
ton (9) frequently.
C
You can smell a mild
odour or see white
sediments coming
out of the soleplate
(4) holes. After per-
forming vaporizing
process twice, such
odours and sedi-
ments will disappear.
Also water droplets
may form within the
water reservoir; this
is normal.
1.
2. Steam setting button (7) off Set
to “ ” position.
3. Fill the water cup provided with
the appliance.
4. Open the water refill lid (6) and
fill the appliance with water up
to MAX level.
5. Close the water refill lid (6).
C
Your appliance is de-
signed for use with
tap water. If your tap
water is excessively
hard, we recommend
you to use a mixture
of tap water with po-
table water.
temperature
1.
(see. 3.5).
3

11 / EN
Steam Iron / User Manual
2. When the appliance reaches the
set temperature, thermostat in-
dicator light (10) will turn off and
the appliance is ready to use.
3.5 Temperature and
When setting the temperature of
the appliance, consider the follow-
ing table.
Type Temperature
Setting Steam
Setting
steam
steam
Woolen
steam
Cotton
Max
AWARNING:
Before
the label of the gar-
ment.
C
If you don’t know the
fabric of your gar-
ment, first iron an
invisible part of your
garment and deter-
mine a correct ironing
temperature for it.
C
In order to prevent
the bright stains
that may form on
the synthetic fab-
rics such as silk, iron
on the reverse side
of the fabric. Do not
use the water spray-
ing feature in order
to prevent the stain
formation.
1.
2. Set the appropriate temperature
with the temperature setting
knob (see 3.5).
3. 3. Set the steam setting button
(7) to “ ” position.
4. After the thermostat indicator
light (10) switches off you can
start steam ironing.
3

12 / EN Steam Iron / User Manual
C
When you start to
iron, shock steam
may not emit in
your first couple of
presses. In order to
obtain shock steam,
the temperature
setting knob (3)
should be at or above
the “
” level.
1.
2. Set the temperature setting
knob (3) to max. position by turn-
ing it in the clockwise direction.
3. When the appliance reaches the
set temperature, thermostat in-
dicator light (10) will turn off.
4. After the thermostat indicator
light (10) turns off, you can iron
the garments with the power-
ful steam by pressing the shock
steam button (9).
A
WARNING:
If
this process is main-
tained for a pro-
longed time water
may come through
the soleplate (4) to-
gether with steam.
C
In order to maintain
ideal shock steam
quality, set the steam
setting button (7) to
the OFF “ ” posi-
tion.
A
WARNING:
In or-
der to use the shock
steam feature the
thermostat indicator
light (10) should be
turned off.
You can also use the shock steam
in upright position (see. 3.7). By
pressing the shock steam button
(9), you can iron your curtains and
your garments on the hanger with
the steam you will get by pressing
the shock steam button. Hold the
appliance 15-30 cm away from the
garment and curtains.
3

13 / EN
Steam Iron / User Manual
A
WARNING:
During
the ironing if the
thermostat indicator
light (10) turns on,
before proceeding
with the shock steam
process wait for the
light to turn off.
AWARNING:
Never
direct this steam to
people or pets.
1.
2. Set the temperature (see. 3.5).
3.
(8) to spray water.
C
You can easily re-
move creases using
the water spraying
feature.
In order to make dry ironing, set the
steam setting button (7) to the OFF
“ ” position.
C
Having water in the
appliance would be
advantageous; you
may use the water
spraying button (8)
when necessary.
•If the appliance is hold stationary
for 30 seconds while in horizon-
tal position, it will be automati-
cally turned off.
•If the appliance is hold stationary
for 7-10 minutes while in upright
position, it will be automatically
turned off.
•If the appliance is hold stationary
for 30 seconds while in a leaned
(right or left) position, it will be
automatically turned off.
C
In case of automatic
turn off the auto-off
light (10) flashes.
•If the appliance is moved in hori-
zontal position it will be turned on.
C
It may take 60 seconds
for the soleplate (4) to
reach the previously set
temperature.
3

14 / EN Steam Iron / User Manual
A
WARNING:
When
you are finished with
ironing, unplug the
appliance. You can
drain the water in the
reservoir by opening
the refill lid (6) and
tilting the iron to the
front.
1.
2. Wait for the appliance to cool
down completely.
3. Use a slightly damp cloth to clean
the outer surface of the appli-
ance. Then dry it thoroughly.
4. Wipe the sediments and resi-
dues on the soleplate (4) with
a slightly damp cloth and soft,
nonabrasive liquid cleaner as
necessary.
A
WARNING:
Do not
use gasoline, solvent
and abrasive clean-
ing agents or hard
brush to clean the
appliance.
Lime removal function cleans the
lime particles accumulated in the
steam generator reservoir of the
appliance.
Use this function once in every 2
to 3 weeks. If the tap water is very
hard (if lime particles fall down
from the soleplate (4) of the appli-
ance), use the lime removal func-
tion more frequently.
1.
2. Refill the appliance with water
(see. 3.3).
3. Steam setting button (7) off Set
to “ ” position.”
4.
temperature setting knob (2) to
max. position by turning it in the
clockwise direction.
5. When the thermostat indicator
light (10) turns off, unplug the
appliance.
6. Keep the iron in horizontal posi-
tion over the sink and hold the
lime removal button (7) at self-
clean “ ” position and shake
the iron. Continue until the water
in the reservoir is depleted.
4

15 / EN
Steam Iron / User Manual
C
It may take some
time for the water to
drip from the holes of
the soleplate.
7. After the reservoir becomes fully
empty, release the lime removal
button (7).
8. If there is still sediment, repeat
this process.
9. Following the lime removal pro-
cess, let the appliance cool in
upright position. After the ap-
pliance cools down, wipe off the
soleplate (4) with a cloth.
4.3 Storage
If you do not intend to use the ap-
pliance for a long time, store it care-
fully.
•Before lifting the appliance un-
plug it and then let it cool com-
pletely.
•Empty the water reservoir.
•Keep the appliance and its acces-
sories in their original packages.
•Store it in a cool, dry place.
•Always keep the appliance out of
the reach of children.
•During handling and transporta-
tion, carry the appliance in its
original packaging. The packag-
ing of the appliance protects it
against physical damages.
•Do not place heavy loads on the
appliance or the packaging. The
appliance may be damaged.
•Dropping the appliance will ren-
der it non-operational or cause
permanent damage.
4

16 / EN Steam Iron / User Manual
5
Although the appliance is plugged in, soleplate (4) does not heat up.
The appliance may be connected improperly.
>>> Check the plug and power
cable (1) of the appliance.
Temperature setting knob (3) may be at the Min. position.
>>> Turn the
temperature setting knob in the clockwise direction up to the steam sign.
The appliance does not generate steam.
The water reservoir may not have enough water. >>> Fill the water reservoir
with water up to Max level (see. 3.3).
Steam setting button (7) may be at without-steam position. >>> Switch the
steam setting button to the steam position (see. 3.6).
Shock Steam – Vertical Steam does not function.
These functions may have been used too frequently in a very short period of
time.
>>> Keep ironing at a horizontal position and wait for a while before using
the shock steam function again. >>> Soleplate (4) may not be hot enough. Turn
the temperature setting knob (3) in the clockwise direction up to the steam sign.
Seat the appliance in a vertical position and wait for the soleplate to heat up.
Water drops fall down onto the fabric during ironing.
You may not have securely closed the water refill lid (6).
>>> Close the water
refill lid securely.
You may be using the shock steam at temperature level
•
or
••
.
>>> Increase the temperature level (see. 3.7).
During ironing, sediments and residues fall down from the soleplate (4).
If the water you use for your appliance is too hard, such sediments may form.
>>>
Use the self-clean function for once or a few times (see. 4.2). For the subsequent
ironings fill the water reservoir of the appliance with a mixture of tap water and
potable water.
The appliance drops water after it cools down or stored.
You may have left the appliance on a horizontal position while there is water in its
reservoir.
>>> Empty the water reservoir.
Stains at the soleplate (4).
Wet garments might have been ironed and the soleplate (4) has had lime stains.
>>> After the appliance cools enough, wipe the soleplate with a microfiber
knitted or cotton cloth soaked in vinegar.

Bitte lesen Sie zuerst diese Anleitung!
Sehr geehrte Kundin, sehr geehrter Kunde,
Qualitätsanforderungen und der modernsten Technologie
hergestellt wurde, beste Ergebnisse erzielen. Bitte lesen Sie die
gesamte Bedienungsanleitung und alle anderen Begleitdokumente
Dritten weitergeben, händigen Sie bitte auch diese Anleitung aus.
Befolgen Sie alle Warnhinweise und Informationen in dieser Anleitung.
Symbole
Folgende Symbole werden in den verschiedenen Abschnitten dieser
Anleitung verwendet:
C
Wichtige Informationen und
nützliche Tipps in Bezug auf die
Verwendung.
AWARNUNG:
Warnhinweise zu
gefährlichen Situationen im Hinblick
auf die Sicherheit von Leib, Leben
und Eigentum.
WARNUNG:
Warnung vor heißen
Flächen.

18 / DE Bügeleisen / Bedienungsanleitung
Dieser Abschnitt enthält
Sicherheitsanweisungen, die beim Schutz vor
Bei Nichtbeachtung dieser Anweisungen erlischt
die gewährte Garantie.
•Dieses Gerät stimmt mit internationalen Si-
cherheitsstandards überein.
•Dieses Gerät kann von Kindern im Alter von
-
geschränkten physischen und psychischen
Fähigkeiten oder einem Mangel an Erfah-
rung und Wissen im Umgang mit dem Gerät
verwendet werden, sofern sie beaufsich-
tigt werden oder im sicheren Umgang mit
dem Gerät unterwiesen wurden und die
damit verbundenen Gefahren verstehen.
Kinder dürfen nicht mit dem Gerät spielen.
1

19 / DE
Bügeleisen / Bedienungsanleitung
Reinigungs- und Wartungsarbeiten dürfen
nicht von Kindern ausgeführt werden, sofern
diese nicht durch einen Erwachsenen beauf-
sichtigt werden.
•Lassen Sie das Gerät niemals unbeaufsich-
tigt, während es angeschlossen ist.
•Ziehen Sie den Netzstecker, bevor Sie den
Wasserbehälter auffüllen.
•Verwenden und lagern Sie das Gerät auf
einem flachen und stabilen Untergrund.
•Achten Sie darauf, dass der Untergrund unter
die Basisplatte stellen.
•Verwenden Sie das Gerät nicht, wenn das
Netzkabel oder das Gerät selbst beschädigt
ist. Wenden Sie sich an einen autorisierten
Serviceanbieter.
1

20 / DE Bügeleisen / Bedienungsanleitung
•Falls das Gerät heruntergefallen ist, leckt
oder andere Fehler aufweist, wenden Siesich
bitte an einen autorisierten Serviceanbieter.
Verwenden Sie das Gerät erst wieder, nach-
dem es repariert wurde.
•Halten Sie Gerät und Netzkabel bei Nichtbe-
nutzung oder während des Abkühlens von
•Das Gerät ist nicht zur Benutzung im Freien
geeignet.
•Nur Originalteile und vom Hersteller empfoh-
lene Teile verwenden.
•Nicht versuchen, das Gerät zu demontieren.
•Ihre Stromversorgung muss mit den Anga-
ben am Typenschild des Gerätes überein-
stimmen.
•Die Stromversorgung des Gerätes muss mit
einer Sicherung von mindestens 16 A abge-
sichert werden.
1
Other manuals for SIM7124B
3
Table of contents
Languages:
Other Beko Iron manuals

Beko
Beko BKK 2162 User manual

Beko
Beko SIM7124B User manual
Beko
Beko SGA6124D User manual

Beko
Beko SPM7128P User manual

Beko
Beko BKK 2174 User manual

Beko
Beko ActiPress MasterPro BKU 8130 User manual

Beko
Beko SIM4126B User manual

Beko
Beko BKK 2174 User manual

Beko
Beko SPM7128P User manual

Beko
Beko 01M-8816573200-2519-01 User manual