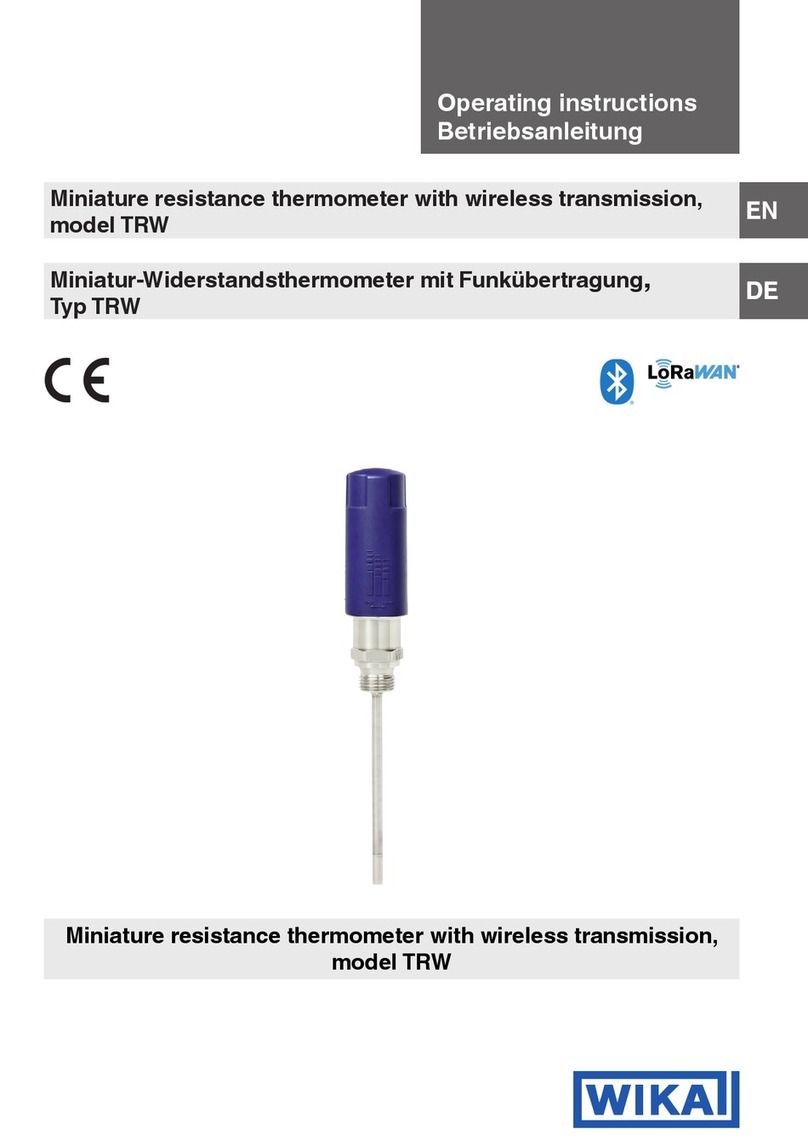
Bel-art DURAC B60911-0100 User manual

™
DURAC®Bluetooth Thermometer with 30-Day Data Logging (B60911-0100)
DURAC®Bluetooth Thermometer Hygrometer with 30-Day Data Logging (B61506-5100)
30-day
Data Logging
Max/Min
www.GlobalTestSupply.com
Find Quality Products Online at: sales@GlobalTestSupply.com

2
DURAC®Bluetooth Thermometer with 30-Day Data Logging (B60911-0100)
DURAC®Bluetooth Thermometer Hygrometer with 30-Day Data Logging (B61506-5100)
This Bluetooth Thermometer/Thermometer-Hygrometer works with operating systems iOS7+ or Android 4.3+ mobile devices or phones that have
Bluetooth 4.0 installed. Before use, make sure that the Bluetooth, alarm and notification functions are turned on. This unit is built with Bluetooth
Smart technology, so pairing is not necessary.
OPERATION
Download and install the Thermsmart application from the App Store or Play Store before getting started.
INSTALL BATTERIES
Use a screwdriver to open the battery door
Install 2 AAA batteries following the correct polarity
Use a screwdriver to close the battery door
When batteries are put in properly, the device will turn on automatically, and the LED light will be flashing. This is to remind you that synchronizing
the time of the device with your phone is needed, however, before synchronizing the time, you will need to register the device.
BATTERY REPLACEMENT
If the unit isn’t pairing with a device then replace the batteries with new batteries of the same type.
NOTE
1. Do not operate the thermometer in environmental temperature conditions lower than 0°C / 32°F or higher than 50°C /122°F otherwise incorrect
readings or damage to the thermometer may result.
2. If the thermometer is not in use for a long period of time, remove the batteries from the battery compartment to avoid battery leakage.
REGISTERING THE UNIT
Important! Until the device is registered
it will not be seen on the app.
(Please make sure the device Bluetooth is turned on.)
1. Open the App on the mobile or phone device
2. Select the Weather icon on the Opening Page.
3. Select the Register Button on the Device List Page.
4. Press the Add Button on the Register Page
5. Press the Register Button of the unit you want to view.
If the registration is successful, the app will return to the Registered Page.
ENGLISH
www.GlobalTestSupply.com
Find Quality Products Online at: sales@GlobalTestSupply.com

3
REGISTERED PAGE SETTINGS LAYOUT
SYNCHRONIZE TIME
Press the [Sync] button (8) to synchronize
the time on the unit with time on your mobile
device or phone.
NOTE:
This procedure is needed every time the unit is
turned on or the batteries are changed.
If the Time Sync Reminder icon (9) is on, this
means that there is a time difference of 15 minutes
or more between the unit and the mobile device
or phone. It is recommended that the time be
synchronized again.
NOTE:
For iOS, the mobile device or phone time will be
checked automatically. For Android, press the
[Time Check] Button (6) to check the current time
of the mobile device or phone when the Time Sync
Reminder icon is seen. If the Time Sync Reminder
icon is still on after the time check,
please synchronize the time again.
Always synchronize with only one mobile device
or phone to ensure that the date stamp of the
download data functions properly.
REGISTER UNIT
To add a new unit to view, press the [Add] button (1).
UNREGISTER UNIT
If you do not want to view a unit, press the [Unregister] button (7) to unregister the unit.
NAME UNIT
If you want to assign a name to the unit, press the [Text] button (2)
FIND A UNIT
To find a unit, press the [Light] button (3) to turn on the LED light of a unit. This will also indicate that the unit is on.
SET MAX/MIN CYCLE
To start maximum and minimum temperature recordings, press the [Time] button (4). Move the time scroll to set the hours and minutes for the
max/min recordings. For example if it says 23:59 the max/min cycle will automatically reset every day. For Android mobile device or phone, press
the [Cycle Time] button (10) to update the cycle time.
DATA DOWNLOAD REMINDER
To turn on or turn off the data download reminder function, slide the [Data Download] toggle (5).
COMPLETE SETTINGS
When the unit settings are finished, press the [Back] button (11) for iOS or the mobile device
or phone’s [Back] button for Android to go to the Unit List Page, to use recording data.
UNIT LIST PAGE
The Temperature Window will display the readings and levels of all
indexes (1). (Readings will vary with unit function type.)
If unit and the mobile device or phone are out of range from each
other, the transmission will be paused until connection is restored.
The Temperature Window (2) will turn gray without reading.
Press the [Light] button (3) to light up the LED for 5 seconds.
This will help locate where the unit is and if it is on.
The Battery Capacity Status (4) icon will show the strength
of the battery.
The Temperature Alert Indicator (5) indicates if an alert is on.
The Bluetooth Connection Strength (6) icon indicates
the strength of the Bluetooth signal.
Press the [Register] button (7) to register or unregister the unit.
Press the [Back] button (8) for iOS or the mobile device or phone’s
[Back] button for Android to go to the opening page in the app.
SETTING ALARMS/ALERTS
To set Temperature Alarms, Index Alert or check the Maximum or Minimum readings, touch the unit readout on this window
to enter the Setting Page for that unit.
1
2
7
8
93
4
5
10
(On Android Only)
11
(On iOS Only)
6
(On Android Only)
8
(On iOS Only)
1
7
6
3
45
2
www.GlobalTestSupply.com
Find Quality Products Online at: sales@GlobalTestSupply.com

4
Setting Page
Temperature alerts on/off
To turn the Temperature Alerts on or off, slide the toggle (1) and/or (2).
Set the Temperature for the alerts
Press the temperature (3) to change, then scroll until the desired temperature.
Select and View Weather Indexes (only available
on the temperature and humidity datalogger)
The Indexes available are Heat, WBGT (Wet Bulb Globe Temperature)
with Influenza, Mold and Comfort Indexes.
To view a specific index, press the desired icon (4).
The look of an icon will change according to the alert level.
Turn Weather Index Alerts On / Off
To turn on the alerts for the indexes, slide the toggle (5) for each index.
For the Temperature Alert and Weather Index Alerts to work properly, please
make sure the notification and alarm functions of your phone are turned on.
View/Download Data
To view or download the data stored on unit, press the [Download] button (6).
Download Page - List View
Download or Update the Data
Press the [Sync] button (1) to download and update the data from the unit. Before
downloading, the app will check if the time of the unit and the mobile device or
phone is synchronized. A warning will be displayed if it is not. Either ignore the
warning and continue to download or synchronize the time before downloading.
Export Data
Press the [Export] button (2) to export in csv format and send by email.
Clear Data
Press the [Reset] button (3) to clear all the data from the unit
on the mobile device or phone.
NOTE:
The data stored in the unit will not be cleared.
To clear the data on the unit, turn the unit off.
Switch to Pages of Other Devices
To switch to another unit, press the [Switch] button (4).
Switch to Calendar View
To switch to the calendar view of the data, press the [Calendar] button (5).
Switch to Graph View
To switch to the graph view of the data, press the [Graph] button (6).
Download Page - Calendar View
In this view, the data will be aligned according to the date it is measured.
The type of downloaded data is indicated by the icon on the Date Field.
The Date Field containing the Max / Min readings are indicated
by the calendar icon (1). The Date Field containing hourly readings
are indicated by the clock icon (2).
If the data has not been downloaded, the Date Field will be gray (3). If seven days
of data have not been downloaded, a notification will appear if the Data Download
Reminder on the Register Page.
NOTE:
The 30 day Datalogger will record data for 30 days. The nearest 7 days contain
the Max/Min and Hourly readings and the rest of the data will contain
the Max/Min only. To keep all Max/Min and Hourly data,
the information will have to be downloaded at least every seven days.
IMPORTANT: Data in the unit will be cleared if the unit is turned off
or if the batteries are changed. Download needed data to the mobile
device or phone before performing these actions.
Data Area - Data will be shown by the date (4).
Scroll up and down to see data of other dates.
6
1
2
4
5
3
4
5
6
1
2
3
4
3
1
2
www.GlobalTestSupply.com
Find Quality Products Online at: sales@GlobalTestSupply.com

Select Graphs to Display
To display as a graph press the [Select Plot] button (1).
A maximum of 6 sets of data from different units can be viewed in one graph.
Export Graph
To export the graph in pdf format and send it by email,
press the [Export] button (2).
Zoom and Shift
To zoom in or out, ‘pinch’ the View Area (3) together
to zoom in or ‘spread apart’ to zoom out.
Data Read Out
To read the specific data on the graph, drag line to the desired point
in the graph and read the data displayed on the top of the graph.
General Setting Page
On the opening page in the app, press the [Setting] button ( ) to enter into the General Setting Page. The following can be done.
Change Temperature Unit
Press the [Celsius] or [Fahrenheit] button to change the temperature unit.
Clear All Downloaded Data
To clear the downloaded data from all units, press the [Reset All Data] button
(2). Clearing all downloaded data will not clear the data saved in the unit only
on the mobile device or phone. To clear the data off the unit, turn off the unit.
Turn the unit On/Off
Unless it will be idle for an extended period of time, the unit should
not be turned off. If turning off is desired, press and hold the [On/Off] button
on the back of the device. When the LED light starts to flash,
release the button. The device is off when the LED light stops flashing.
NOTE
Before turning off the unit or changing batteries, download data
stored in the unit to the mobile device or phone as the data saved
in the unit will be cleared.
When the unit is turned again the LED light will flash. The device will
need to be synchronized with the mobile device or phone.
This time sync procedure is needed every time the device is turned on.
If a malfunction occurs in the app because of interference,
close the app and reopen it.
2
3
1
1
2
To register this product for a one-year limited warranty, visit
www.GlobalTestSupply.com
Find Quality Products Online at: sales@GlobalTestSupply.com
This manual suits for next models
2
Table of contents
Other Bel-art Thermometer manuals

