manuals.online logo
Brands
  1. Home
  2. •
  3. Brands
  4. •
  5. Belden
  6. •
  7. Cables And Connectors
  8. •
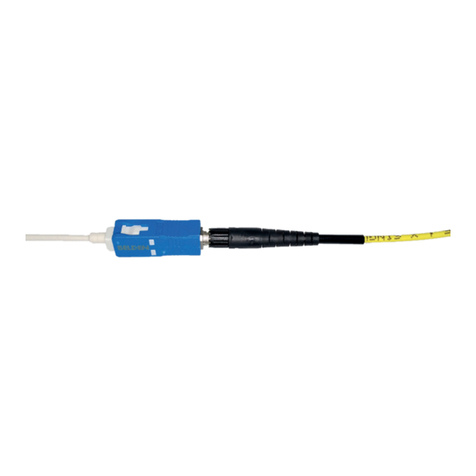
  9. Belden FX FUSION LC CONNECTOR User manual

Belden FX FUSION LC CONNECTOR User manual

FX FUSION LC CONNECTOR
900µm TIGHT BUFFER/250µm
INSTALLATION GUIDE
ES: Visite nuestra pagina web www.belden.com/splice-on para obtener el guía de instalación en español.
FR: Veuillez visiter notre site web au www.belden.com/splice-on pour obtenir le guide d’installation
en français.
FX FUSION LC CONNECTOR PX106498-EN REV C Page 1 of 8
900µm TIGHT BUFFER/250µm - INSTALLATION GUIDE
Materials
• Fusion Splicer and Cleaver
• FX Fusion Splice-On Installation
Tool Kit
• FX Fusion Splice-On LC Connector
Kit
• FX Fusion Splice Holder
FX Fusion Splice-On Installation Tool Kit contents
1. Shoulder staps
2. Scissors
3. Tweezers
4. Pen marker
5. Waste Bottle
6. Component checklist
7. Safety Glasses
8. Cleaver
9. Fiber/cable stripper
10.Alcohol Wipes
11. Installation card
(not shown).
NOTE : After use, the components should be replaced in their respective locations as shown in the picture of the
open kit.
FX FUSION LC CONNECTOR PX106498-EN REV C Page 2 of 8
900µm TIGHT BUFFER/250µm - INSTALLATION GUIDE
NOTE: Select preprogrammed heat settings and edit the temperature/time as shown.
For additional fusion splicer models and cable holders, refer to document AEN available at:
www.belden.com/splice-on
Security precautions:
When installed on a live
system, invisible laser
radiation may be present.
Do not stare into connector
end face or view directly with
optical instruments.
Wear safety glasses when
working with optical fiber.
Dispose of all scrap fiber in the
waste bottle to avoid getting
fiber slivers.
Do not touch cleaver blade.
Materials cleanliness and maintenance:
• Keep the dust cap on and avoid
dust creating activities.
• Maintain the fiber components
clean as your working area.
• Clean end face with alcohol
wipes and then dry wipe as
cleaning procedures.
Instructions for Cleaver:
• If the cleaver does not work
properly rotate the blades
by following the cleaver
manufacturer instructions.
• Clean the cleaver blade with
alcohol wipes.
= This symbol indicates risks and hazards that may cause eye injuries.
= This symbol indicates the presence of a risk that can cause personal injuries, property or components
damages.
Fusion Splicer Heat Settings Prepro-
grammed
heat setting
Splice
Holder Part
Number
Model Temp. Time
Belden FXFSTOSPL 150°C 20 sec. FX LC Fusion FXFSSHFM2
Sumitomo Q101-CA 180°C 30 sec. 60mm 0.9
FXFSSHFM1
AFL/Fujikura 70S 150°C 25 sec. 60mms/FP-03
AFL/Fujikura 62S 150°C 35 sec. 60mms/FP-03
Fiber Fox Mini 6S 150°C 30 sec. Long
Greenlee 910FS 150°C 30 sec. 60mm FXFSSHFM3
Fitel SA °C 35 sec. SOC FXFSSHFM4
FX FUSION LC CONNECTOR PX106498-EN REV C Page 3 of 8
900µm TIGHT BUFFER/250µm - INSTALLATION GUIDE
Fusion Splicer setup:
1. Follow the manufacturer’s
instructions:
A. Perform calibration and arc
check.
B. Select the appropriate splicing
mode based on fiber type
(SM or MM).
C. If applicable remove the left
fiber holder.
D. Set the heating mode by
referring to the heat setting
table on the first page.
2.Just before use, open the sealed
bag of the FX Fusion Splice-On SC
Connector Kit.
3. Open the clamshell carefully by
lifting the top cover and sliding
your finger toward both sides
(right and left).
Clamshell open:
Splice protection sleeve
with spring
Rear housing with boot
Connector front
housing
Ferrule stub assembly
Ferrule stub’s
dust cap
FX FUSION LC CONNECTOR PX106498-EN REV C Page 4 of 8
900µm TIGHT BUFFER/250µm - INSTALLATION GUIDE
4Remove the ferrule stub assembly
from the clamshell by grabbing
the dust cap.
DON’T
TOUCH
the fiber.
5. Place the ferrule stub assembly
in the FX Fusion splice holder
and push it to the right up to the
position shown below.
NOTE: It is recommended to remove the
holder from the splicer.
6.Load the splice holder in the fusion
splicer.
7. Load the rear housing and the
splice protection sleeve with the
spring on the 900µm tight buer
cable.
8. Use the guide on the clamshell
and mark the cable
at 25 mm.
FX FUSION LC CONNECTOR PX106498-EN REV C Page 5 of 8
900µm TIGHT BUFFER/250µm - INSTALLATION GUIDE
9. Strip the cable from that mark.
To avoid breaking the fiber the
cable should be stripped about
5 mm at a time.
IMPORTANT: When stripping, the
buer and the 250µm coating
must be completely removed to
allow to cleave the fiber.
10. Clean the fiber.
11. Cleave the fiber at 10 mm.
For both Belden, cleaver’s the
10 mm mark is where the fiber
holder ends as shown on red
arrows.
DON’T TOUCH or attempt to
clean the cleaved fiber.
Groove for
250m
FX FUSION LC CONNECTOR PX106498-EN REV C Page 6 of 8
900µm TIGHT BUFFER/250µm - INSTALLATION GUIDE
12. Place the cleaved fiber in the
V-groove (on the right side) of
the fusion splicer.
NOTE:
The placement of the end face is
important. Fibers end face should
be located in between the V-groove
and electrodes as shown.
13. Perform the fusion.
14. Bring the splice protection
sleeve with the spring close to
the splicer.
15. Open the splice holder and, by
holding the cable and the dust
cap, remove the spliced cable
assembly from the splicer.
FX FUSION LC CONNECTOR PX106498-EN REV C Page 7 of 8
900µm TIGHT BUFFER/250µm - INSTALLATION GUIDE
16. Carefully slide the splice
protection sleeve until the
buer cable of the ferrule stub
assembly is completely covered.
1 7. Place the cable assembly in the
splicer heater and follow the
manufacturer’s instructions and
Belden’s heat settings.
Heat the splice protection
sleeve.
18. Remove the cable assembly
from the heater.
Spring will be hot once
removed from the heater.
19. Bring the front housing close to
the splice protection sleeve.
The round mark on the metal
ferrule must be facing up when
the latch of the housing is
facing down.
FX FUSION LC CONNECTOR PX106498-EN REV C Page 8 of 8
900µm TIGHT BUFFER/250µm - INSTALLATION GUIDE
20. Align the rear housing tabs with
the front housing cutouts and
assemble the parts together.
21. Cut the excess of the dust cap
rod.

Other Belden Cables And Connectors manuals

Belden ELWIKA 5012 PG9 User manual

Belden

Belden ELWIKA 5012 PG9 User manual

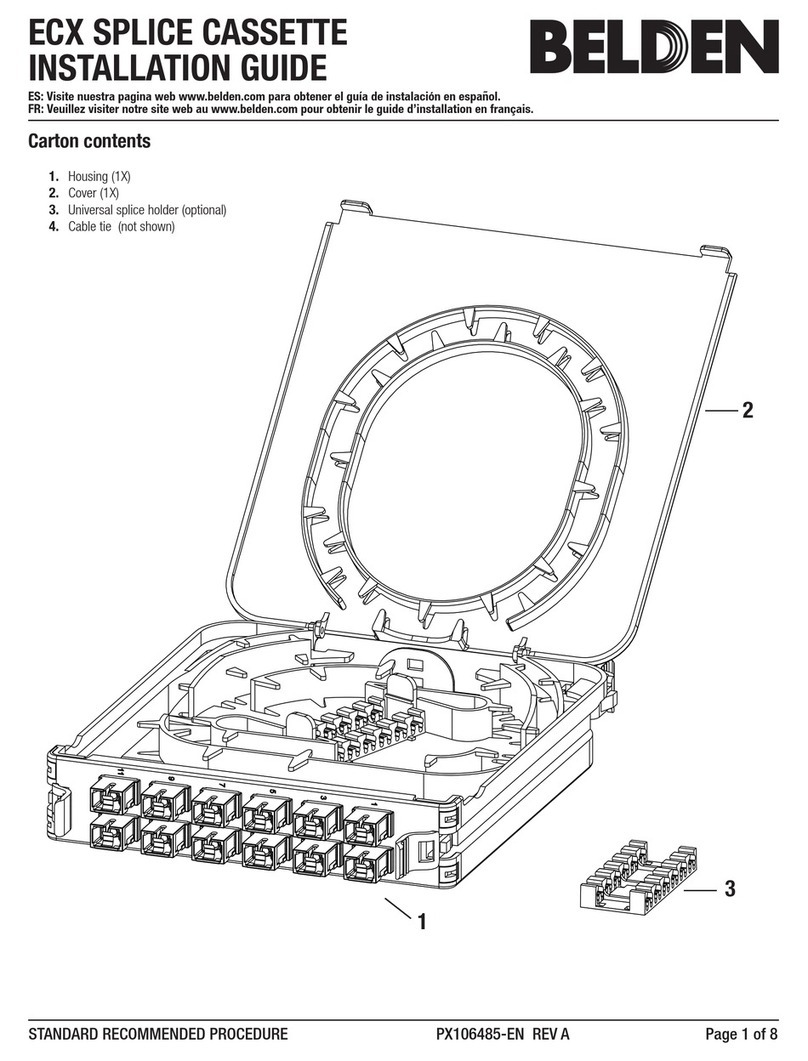
Belden FX ECX Cassette OM4 12P Splice User manual

Belden

Belden FX ECX Cassette OM4 12P Splice User manual

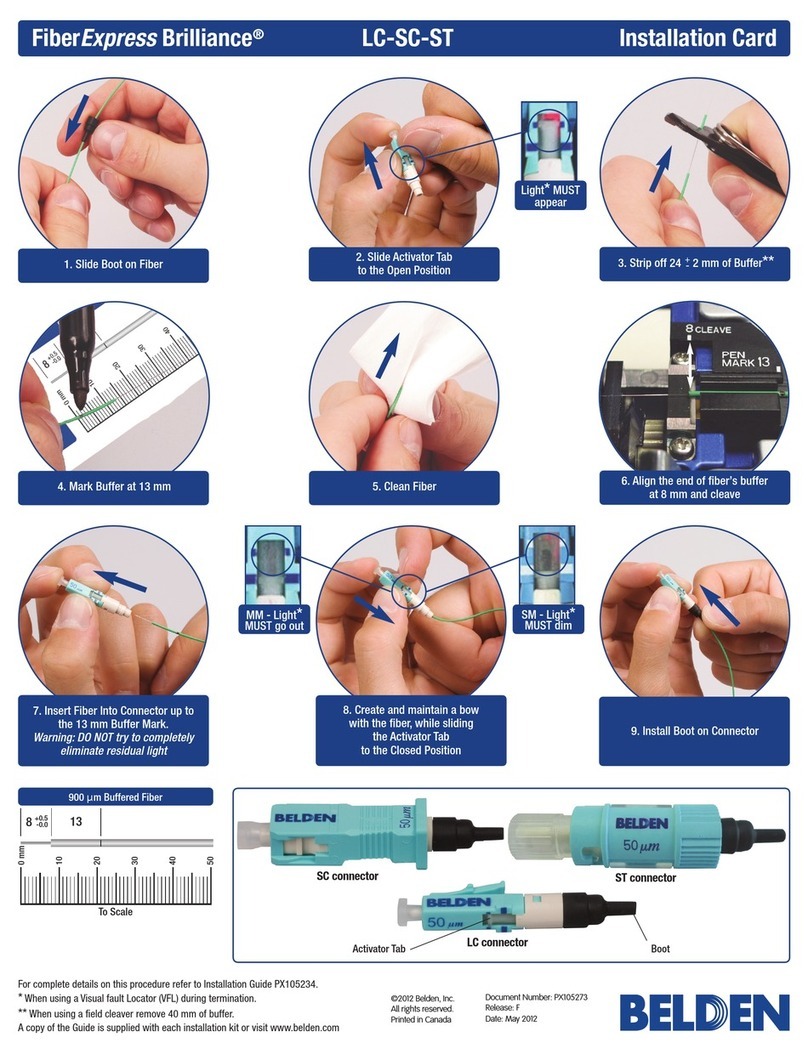
Belden FiberExpress Brilliance LC-SC-ST Parts list manual

Belden

Belden FiberExpress Brilliance LC-SC-ST Parts list manual

Belden HIRSCHMANN BAT-R User manual

Belden

Belden HIRSCHMANN BAT-R User manual

Belden FiberExpress Brilliance User manual

Belden

Belden FiberExpress Brilliance User manual

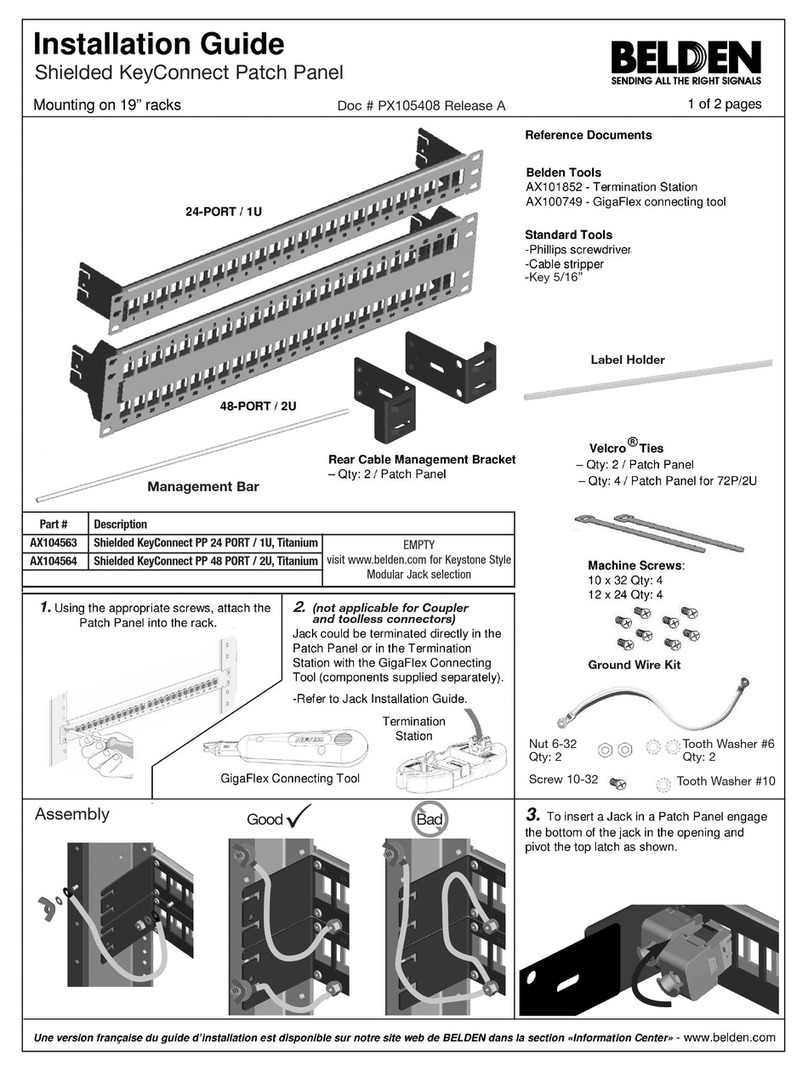
Belden Shielded KeyConnect Patch Panel User manual

Belden

Belden Shielded KeyConnect Patch Panel User manual

Belden grass valley ICONTROL IC-BASE-EDITION-V3 User manual

Belden

Belden grass valley ICONTROL IC-BASE-EDITION-V3 User manual

Belden FX FUSION SC CONNECTOR User manual

Belden

Belden FX FUSION SC CONNECTOR User manual

Belden FX FUSION SC CONNECTOR User manual

Belden

Belden FX FUSION SC CONNECTOR User manual

Belden GDS Series User manual

Belden

Belden GDS Series User manual

Popular Cables And Connectors manuals by other brands

Wöhner QUADRON CrossBoard manual

Wöhner

Wöhner QUADRON CrossBoard manual

auray ABC Series owner's manual

auray

auray ABC Series owner's manual

Sven TRIDENT 3G user manual

Sven

Sven TRIDENT 3G user manual

Lindy 32862 Installation and use manual

Lindy

Lindy 32862 Installation and use manual

HARTING Han 09 10 008 3001 Assembly instructions

HARTING

HARTING Han 09 10 008 3001 Assembly instructions

Bachmann Top Frame Mounting instructions

Bachmann

Bachmann Top Frame Mounting instructions

CommScope ION-M7P manual

CommScope

CommScope ION-M7P manual

LAPP H-DD 24 - 216 Assembly instruction

LAPP

LAPP H-DD 24 - 216 Assembly instruction

Masimo SET GE Directions for use

Masimo

Masimo SET GE Directions for use

Goobay 68876 manual

Goobay

Goobay 68876 manual

Monoprice HS-104 owner's manual

Monoprice

Monoprice HS-104 owner's manual

Speaka Professional 98 93 44 operating instructions

Speaka Professional

Speaka Professional 98 93 44 operating instructions

Rocstor Y10C195-B2 user manual

Rocstor

Rocstor Y10C195-B2 user manual

BK Radio KAA 0700 manual

BK Radio

BK Radio KAA 0700 manual

IPEX ISH instruction manual

IPEX

IPEX ISH instruction manual

Philips SWV3127NZ Specifications

Philips

Philips SWV3127NZ Specifications

GoMax Electronics SP-5028E user manual

GoMax Electronics

GoMax Electronics SP-5028E user manual

Burndy Wiley ACC-F90-1 installation instructions

Burndy

Burndy Wiley ACC-F90-1 installation instructions

manuals.online logo
manuals.online logoBrands
  • About & Mission
  • Contact us
  • Privacy Policy
  • Terms and Conditions

Copyright 2025 Manuals.Online. All Rights Reserved.