BELIZE BICYCLE
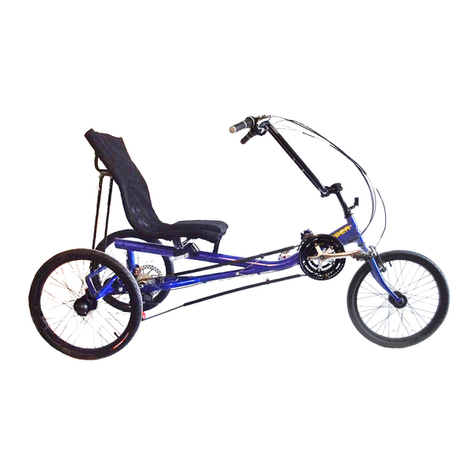
TRI-RIDER R-3 Recumbent Trike Assembly Guide Revision 2019-04-02
Page 5 of 7
8. Install the front wheel assembly making sure that the tabs on the safety washers fit into
the holes on the fork and that the rim is centered in the fork arch before tightening the axle
nuts.
9. Install the gooseneck and handlebar assembly past the minimum depth marked on the
gooseneck. This is a recumbent so the gooseneck is installed facing BACKWARDS.
Secure by tightening the stem expander bolt after installing the handlebars. Be sure to
center the stem with the front wheel so it tracks in a straight line. Brake levers and grips
are installed on the handlebar using the single cable lever for the front V-brake and the
double cable lever to operate the two rear disc brakes.
10. Complete the rear disc-brake cable installation by passing the cable through the rear
cable housing guides, looping under the basket and through the adjuster to the anchoring
nut. Adjust cable tension so that parking brake is fully engaged when brake lever is
parallel to the handlebar.
11. Complete the rear disc brake adjustment. The inner pad must be advanced so that the
caliper just touches it when the rotor is centered in the caliper. Lock down the caliper bolts
in this position, anchor the brake cable with the cable fixing screw and make final
adjustments by slightly backing off the rear pad adjustment and fine tuning the cable
adjustment.
12. Complete the front V-brake adjustment. The pads must be aligned square to the rim
and evenly spaced on each side. After locking the cable in place at the brake arm the
brake pull can be fine tuned using the cable adjusters.
13. Install cable crimps after adjusting and trimming the brake cables.
14. Install the main seat on the seat base and install on the frame using the three quick
releases provided. The seat position can be adjusted slightly by sliding the seat
backwards or forwards on the frame to adjust leg reach.
