manuals.online logo
Brands
  1. Home
  2. •
  3. Brands
  4. •
  5. Bell'O
  6. •
  7. Indoor Furnishing
  8. •
  9. Bell'O PVS4257 User manual

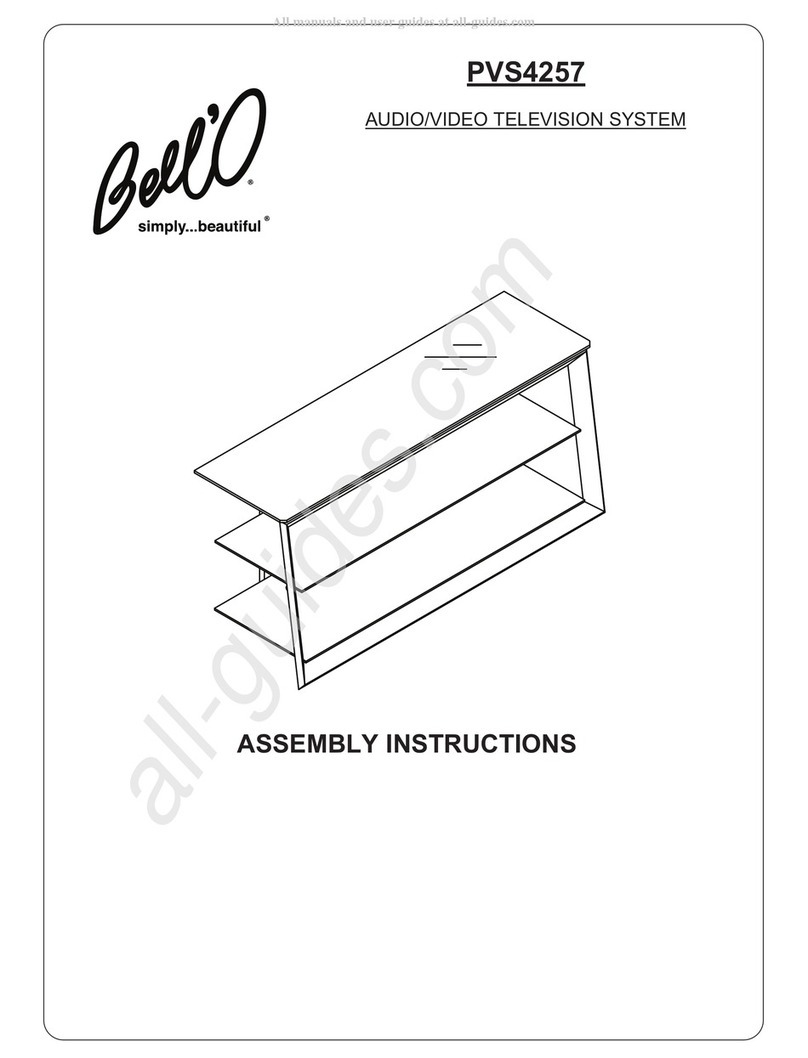
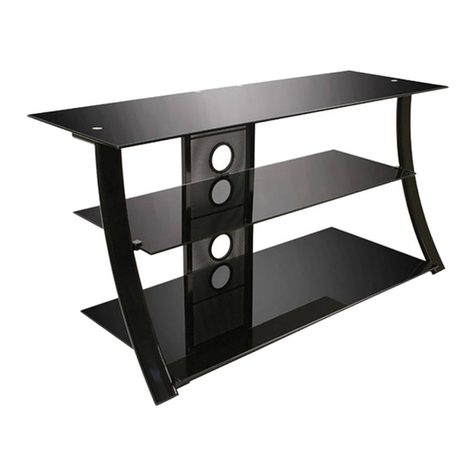
Bell'O PVS4257 User manual

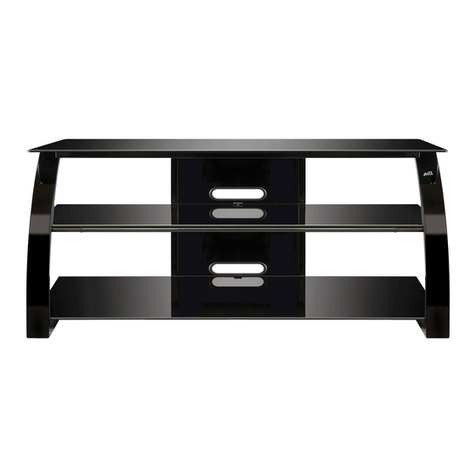
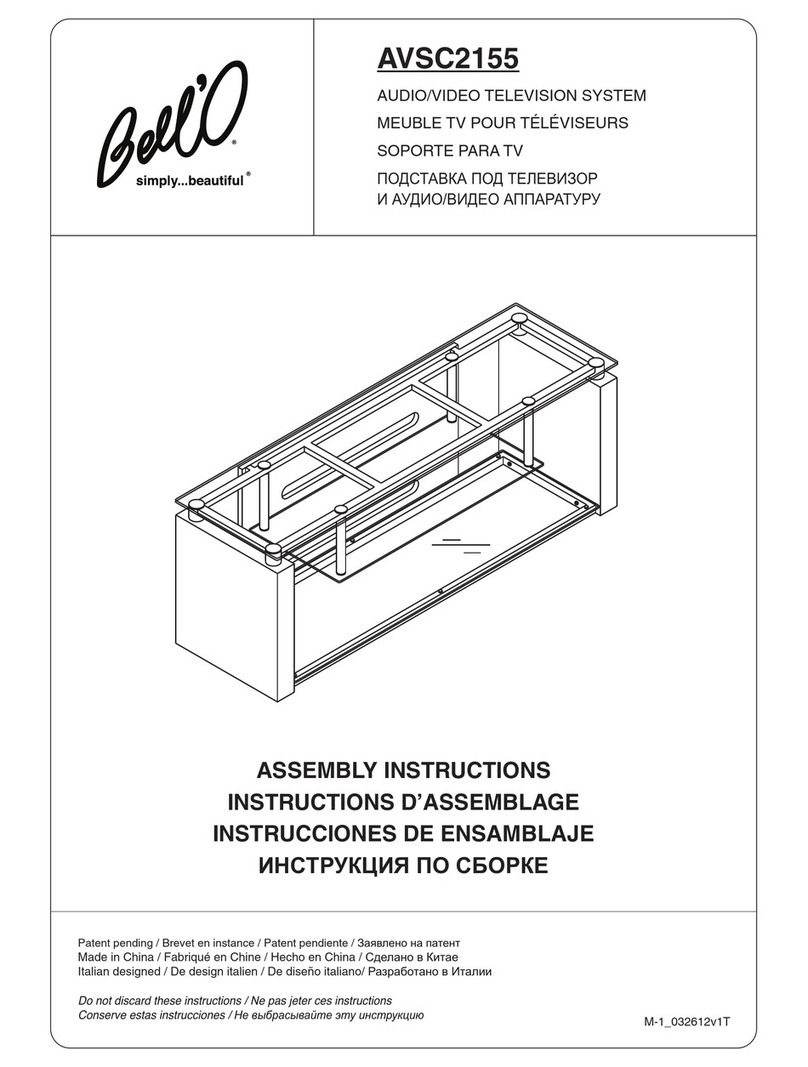
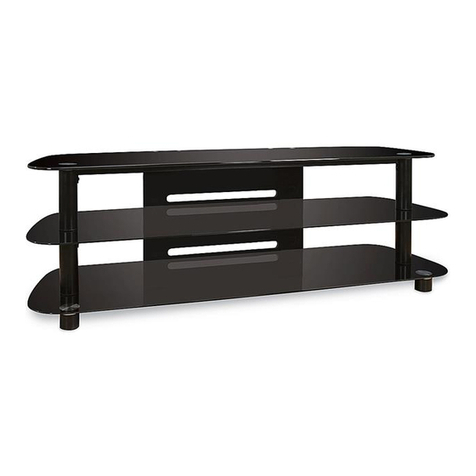
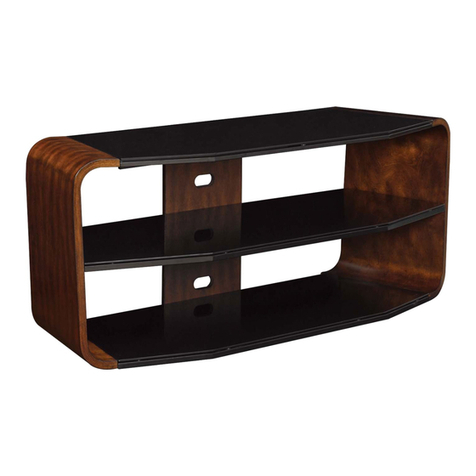
PVS4257
AUDI /VIDE TELEVISI N SYSTEM
ASSEMB Y INSTRUCTIONS
Bell’O International Corp. will not be responsible for failure to assemble as directed or for the improper assembly, use or handling of this stand.
FOR YOUR AFETY, PLEA E FOLLOW THE E PRECAUTION :
!
DO NOT P ACE ITEMS ON THE SHE VES WHICH EXCEED THE MAXIMUM WEIGHT IMITS OF 125 BS. FOR TOP SHE F,
50 BS. FOR THE MIDD E SHE F, AND 75 BS. FOR THE BOTTOM SHE F.
A WAYS P ACE THE HEAVIEST
COMPONENTS ON THE BOTTOM SHE F.
! ALWAYS REM VE THE TV AND THER EQUIPMENT FR M THE FURNITURE PRI R T M VING THE ASSEMBLED UNIT.
! D N TM VE THE ASSEMBLED FURNITURE AFTER THE GLASS SHELVES HAVE BEEN INSTALLED, AND/ R
WHEN THERE IS EQUIPMENT L CATED N THE FURNITURE AS THIS MAY CAUSE THE SHELVES AND THER
ITEMS T BEC ME UNSECURED AND FALL.
! WHEN IN USE, THIS FURNITURE MUST BE PLACED N A FLAT, S LID AND LEVEL SURFACE.
! D N T LEAN N THE TV WHEN IT IS N THE TV STAND.
! D N T CLIMB R STEP N THE STAND.
! D N T BANG INT R PLACE Y UR WN WEIGHT N THE GLASS SHELVES.
3
PARTS IST
#
YF1
YF2
YF3
YF4
YF5
YF7
YF8
YF9
YF6
4
2
3
5
2
2
1
4
8
Quantity
Part
#
YF10
YF11
YF12
YF13
YF14
YF16
YF17
YF15
1
2
1
1
1
1
1
1
Quantity
Part
12 mm
12 mm
18 mm
48 mm
4
1. ATTACH the Right Side Metal Frame (YF11) to the back of the Front Frame (YF10) as shown above.
SECURE the Right Side Metal Frame using four 12 mm Screws (YF1). Tighten all fully.
2. REPEAT the procedure for the Left Side Metal Frame (YF12) as shown.
ASSEMB Y INSTRUCTIONS
NOTE: 2 PE PLE ARE REC MMENDED T ASSEMBLE THIS FURNITURE. T AV ID DAMAGE DURING ASSEMBLY, IT SH ULD BE ASSEMBLED N A
S FT SURFACE.
Fig. 1
YF11
YF12
YF1
YF10
5
3. ATTACH the first Rear Support Bar (YF13) to the top portion of the Right and Left Metal Side Frames (YF11, YF12) as shown above and
SECURE the Rear Support Bar using two 48 mm Bolts (YF2). Do not yet fully tighten!
4. ATTACH the second Rear Support Bar (YF13) to the bottom portion of the Right and Left Metal Side Frames (YF11, YF12) as shown and
SECURE the Rear Support Bar using two 48 mm Bolts (YF2). Do not yet fully tighten!
5. MAKESURE all parts are properly assembled and that the preassembled stand is sitting on a flat and level floor surface.
Now go back and FU Y TIGHTEN all four 48 mm Bolts (YF2).
Fig. 2
YF12
YF11 YF13
YF13
YF2
6
6. ATTACH the Rear CMS®(Cable Management System) Panel (YF14) to the top and bottom Rear Support Bars (YF13), and
SECURE the Panel using four 12 mm Screws (YF3) as shown. Tighten, but be careful not to overtighten!
7. ATTACH the Shelf Support Clips (YF4) to the Right and Left Metal Side Frames (YF11, YF12). Tighten, but be careful not to
overtighten! (NOTE: MAKE URE the small screw in each Clip is in a downward position, and unscrewed enough to allow
for the shelf to enter into the clip.)
Fig. 3
YF4
YF13
YF13
YF3
YF3
YF14
YF11
YF12
YF4
7
8. APP Y five Soft Glass Pads (YF6) to the bottom portions of the Right and Left Metal Side Frames (YF11, YF12) and Front Frame
(YF10) as shown above.
9. INSERT three Glass Pad Inserts (YF5) into the holes along the top edge of the Front Frame (YF10). Make sure they are
completely inserted — you may need to apply firm pressure.
10. SCREW in two Adjustable Shelf Supports (YF8) into the threaded holes in the top edges of the Right and Left Metal Side Frames
(YF11, YF12) as shown above. (NOTE: These helf upports are adjustable by turning to ensure that the TopGlass helf
(YF15) is properly supported once it is installed.)
Fig. 4
YF6
YF6
YF10
YF5
YF11 YF8
YF8
YF12
YF5
YF6
YF5
YF6
8
Fig. 5
YF15
YF16
YF8
YF17
YF4
YF7
11. CAREFU YP ACE the Top Glass Shelf (YF15) down onto the Right and Left Metal Side Frames (YF11, YF12). MAKESURE
the small metal discs on the underside of the Top Shelf are properly inserted into the holes in the Right and Left Metal Side
Frames. SECURE the Top Shelf from underneath using two 18 mmScrews (YF7) as shown. Be careful not to overtighten!
(NOTE: If necessary, TURN the Adjustable helf upports (YF8) to ensure the TopGlass helf is properly supported and
level).
12. CAREFU YP ACE the Bottom Glass Shelf (YF17) down into place. MAKE SURE it is properly and evenly supported and sit-
ting on all five Soft Glass Pads (YF6).
13. CAREFU YP ACE the Middle Glass Shelf (YF16) down into place. MAKE SURE it is fully inserted into the Shelf Support Clips
(YF4). Carefully TIGHTEN the small screws under the Shelf Support Clips to hold the Shelf in place.
ALWAY MAKE URE THE FURNITURE I PROPERLY UPPORTED ON A FLAT, LEVEL FLOOR URFACE AND THAT ALL
HELVE ARE ECURED AND LEVEL BEFORE PLACING ANY COMPNENT ON THEM.

Other Bell'O Indoor Furnishing manuals

Bell'O ODL792-51-D915 User manual

Bell'O

Bell'O ODL792-51-D915 User manual

Bell'O CW343 User manual

Bell'O

Bell'O CW343 User manual

Bell'O CW340 User manual

Bell'O

Bell'O CW340 User manual

Bell'O WAVS99152 User manual

Bell'O

Bell'O WAVS99152 User manual

Bell'O WAVS-327 User manual

Bell'O

Bell'O WAVS-327 User manual

Bell'O WMFC504 User manual

Bell'O

Bell'O WMFC504 User manual

Bell'O WAVS321 User manual

Bell'O

Bell'O WAVS321 User manual

Bell'O AVSC2141 User manual

Bell'O

Bell'O AVSC2141 User manual

Bell'O PVS-4216 User manual

Bell'O

Bell'O PVS-4216 User manual

Bell'O WAVs99144 User manual

Bell'O

Bell'O WAVs99144 User manual

Bell'O WMFC505 User manual

Bell'O

Bell'O WMFC505 User manual

Bell'O AVSC2131 User manual

Bell'O

Bell'O AVSC2131 User manual

Bell'O AVSC2126 User manual

Bell'O

Bell'O AVSC2126 User manual

Bell'O NT2145 User manual

Bell'O

Bell'O NT2145 User manual

Bell'O BFA50-94892-MDC User manual

Bell'O

Bell'O BFA50-94892-MDC User manual

Bell'O 82206PM User manual

Bell'O

Bell'O 82206PM User manual

Bell'O EC6449RW22 User manual

Bell'O

Bell'O EC6449RW22 User manual

Bell'O AVS-4601HG User manual

Bell'O

Bell'O AVS-4601HG User manual

Bell'O PVS4257 User manual

Bell'O

Bell'O PVS4257 User manual

Bell'O AVS-2572 User manual

Bell'O

Bell'O AVS-2572 User manual

Bell'O PR-35 User manual

Bell'O

Bell'O PR-35 User manual

Bell'O PR-32 User manual

Bell'O

Bell'O PR-32 User manual

Bell'O CW349 User manual

Bell'O

Bell'O CW349 User manual
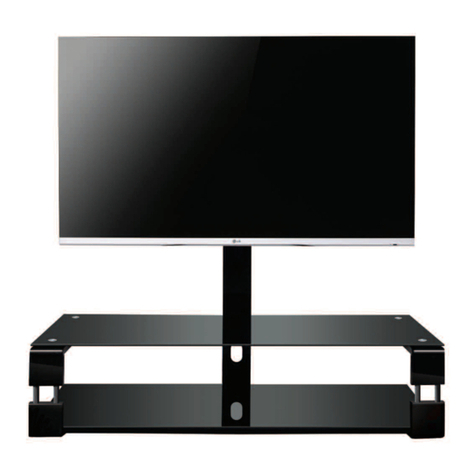
Bell'O AVSC2164 User manual

Bell'O

Bell'O AVSC2164 User manual

Popular Indoor Furnishing manuals by other brands
Heart of House abingdon 4147718 Assembly instructions

Heart of House

Heart of House abingdon 4147718 Assembly instructions

LIBRARY PEOPLE WB 13 Assembly guide

LIBRARY PEOPLE

LIBRARY PEOPLE WB 13 Assembly guide

Hepsiburada DENIZ HBV000000E7R3 Assembly manual

Hepsiburada

Hepsiburada DENIZ HBV000000E7R3 Assembly manual

Argos Home Penton TV Unit 609/7093 Assembly instructions

Argos Home

Argos Home Penton TV Unit 609/7093 Assembly instructions

Dorel Home Products 2138459UK quick start guide

Dorel Home Products

Dorel Home Products 2138459UK quick start guide

AKANTE RIO DT440 Assembly instructions

AKANTE

AKANTE RIO DT440 Assembly instructions

Furniture of America YNJ-1449 Assembly instructions

Furniture of America

Furniture of America YNJ-1449 Assembly instructions

1home Furniture PP050115 instructions

1home Furniture

1home Furniture PP050115 instructions

Lifely Muzi MZI-TV1840-WOK Assemble instructions

Lifely

Lifely Muzi MZI-TV1840-WOK Assemble instructions

Amart Furniture Lucida 62902 Assembly instruction

Amart Furniture

Amart Furniture Lucida 62902 Assembly instruction

Uplift Desk Coffee Table Legs manual

Uplift Desk

Uplift Desk Coffee Table Legs manual

Furniture of America FOA3779PC-2PK Assembly instructions

Furniture of America

Furniture of America FOA3779PC-2PK Assembly instructions

Blanco BLANCORADOS TRADITIONAL 157-068 Specification sheet

Blanco

Blanco BLANCORADOS TRADITIONAL 157-068 Specification sheet

Tauris taipan 1592 Assembly instructions

Tauris

Tauris taipan 1592 Assembly instructions

meubar JAIPUR DR6 Assembly instructions

meubar

meubar JAIPUR DR6 Assembly instructions

WorkSimpli CREDENZA SHELL PL 143GG Assembly instructions

WorkSimpli

WorkSimpli CREDENZA SHELL PL 143GG Assembly instructions

U-Line BIG AND TALL H-7819 quick start guide

U-Line

U-Line BIG AND TALL H-7819 quick start guide

Walker Edison BT40TB Assembly instructions

Walker Edison

Walker Edison BT40TB Assembly instructions

manuals.online logo
manuals.online logoBrands
  • About & Mission
  • Contact us
  • Privacy Policy
  • Terms and Conditions

Copyright 2025 Manuals.Online. All Rights Reserved.