manuals.online logo
Brands
  1. Home
  2. •
  3. Brands
  4. •
  5. Benchmark Scientific
  6. •
  7. Medical Equipment
  8. •
  9. Benchmark Scientific H3710-H User manual

Benchmark Scientific H3710-H User manual

Operations Manual
Items: H3710-H, H3710-S,
And H3710-HS
Introduction:
This manual covers the Benchmark Scientific line of
digital Hotplates, Stirrers, and Hotplate/Stirrers
(Series H3710). In order to ensure the safe
operation of the equipment enclosed, please read
this manual prior to use.
Specifications
Speed:
150-1500 rpm*
Temperature:
Ambient +5°C – 400°C*
Platform Dimensions:
10” x 10”
Electrical:
Power Consumption:
115V/60Hz or
230V/50Hz
Max: 1500W
Warranty:
2 Years
*Speed and Temperature control are not available with all
models.
Installation:
Place your new Hotplate/Stirrer on a flat, level service with at
least 4 inches (10 cm) clearance on all sides. If desired,
attach the optional support rod to the rear of the unit by
screwing the threaded end into its designated hole. Attach
the included power cord to the rear of the unit and plug into
a grounded outlet of appropriate voltage.
Outlet voltage must match voltage listed on
power rating label on the rear of instrument.
Failure to supply appropriate power may
damage instrument and void warranty!
Control Panel - Hotplate/Stirrer Combination:
A) Hot surface indicator light – Safety Warning
B) Digital Display
C) Temperature selection knob – Press to
Start/Stop
D) Speed control knob – Press to Start/Stop
Operation (Hotplate/Stirrer Combination):
- Turn power switch (rear of instrument) to ON position
(“I”).
- Set the stir speed by turning the dial (“D”). The set stir
speed will appear on the digital display. To operate
without stirring, set stir speed to zero.
- Set the temperature by turning the dial (“C”). The set
temperature will appear on the digital display.
- When the desired temperature appears on the display
PRESS the selection knob to begin heating. The
temperature will begin to rise to the set parameters.
HOT surface indicator light turns on at 50°C. HEAT
indicator light blinks while heating.
Caution: HOT surface! Once temperature selection
knob has been pressed the surface of the instrument
will begin to heat. Avoid bodily contact or personal
injury may occur.
Operation (Hot Plate):
- Turn power switch (rear of instrument) to ON position
(“I”).
- Set the temperature by turning the dial on the left.
- When the desired temperature appears on the display
PRESS the selection knob to begin heating. HOT
surface indicator light turns on at 50°C. HEAT indicator
light blinks while heating.
Caution: HOT surface! Once temperature selection
knob has been pressed the surface of the instrument
will begin to heat. Avoid bodily contact or personal
injury may occur.
Operation (Stirrer):
- Turn power switch (rear of instrument) to on position
(“I”).
- Set the stir speed by turning the dial on the right.
- Stir speed will rise until selected stirring speed is
achieved. While operating, stir speed can be adjusted
by turning the knob. PRESS the selection knob to stop
stirring.
Maintenance:
- To ensure performance and longevity of the
instrument please keep the outer body and surface
plate clean. To clean the instrument, disconnect from
power source and use a lint free rag to wipe down all
surfaces when cool. Do not immerse in water or spray
cleaner directly on the instrument.
- The instrument is covered by a 2-year warranty. In the
event of failure or defect, disconnect the unit from the
power source and contact the manufacturer as soon
as possible.
Troubleshooting:
Check
Trouble Shooting
Not heating Or
Not stirring
Check power Supply Cord
Plug firmly into socket
Check Fuse
Replace Fuse
Accessories:
H3770-ROD
Optional support rod
H3770-TP
Optional temperature probe
H3770-CS
Clamp assembly with support rod and
clamps for securing thermometers/probes
H3770-CST
F
Clamp Set, chemically resistant/inert
Teflon, includes rod and clamp
Operation of External Temperature Probes:
To utilize the external temperature probe, turn power switch
to OFF and connect the probe to the port on the backside of
the hotplate/hotplate-stirrer. Turn power switch to ON. The
device will now display the temperature measured by the
external temperature probe. Place the vessel on the top
plate and place the probe inside the vessel. A support rod
and clamp can also be used with the probe. Place the
external probe inside the clamp so that it is supported and
submerged properly within the vessel. NEVER start heating
without a vessel on the top plate or before submerging the
probe.

This manual suits for next models

2

Other Benchmark Scientific Medical Equipment manuals

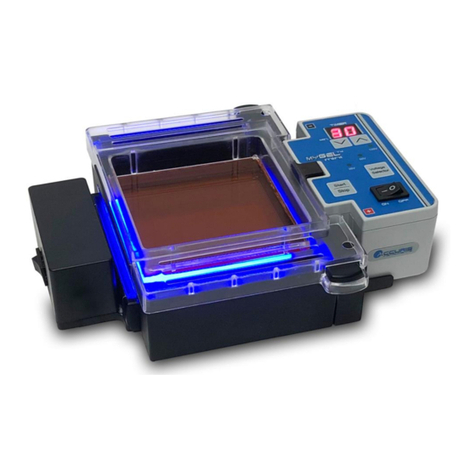
Benchmark Scientific MyGel E1201-E User manual

Benchmark Scientific

Benchmark Scientific MyGel E1201-E User manual

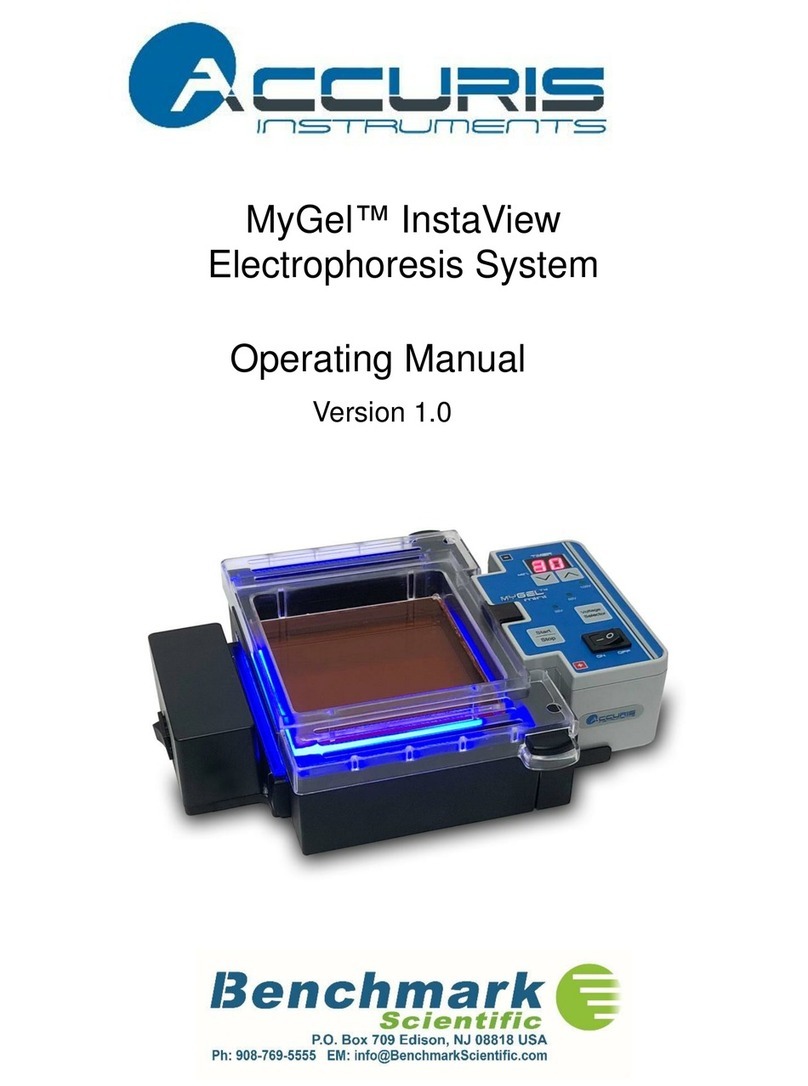
Benchmark Scientific Accuris Instruments MyGel InstaView User manual

Benchmark Scientific

Benchmark Scientific Accuris Instruments MyGel InstaView User manual

Popular Medical Equipment manuals by other brands

OmniPod DASH System quick start guide

OmniPod

OmniPod DASH System quick start guide

IGEA I-ONE user manual

IGEA

IGEA I-ONE user manual

Vaunn Medical M881N-SICR-YYVM manual

Vaunn Medical

Vaunn Medical M881N-SICR-YYVM manual

Masimo iSpO2 Quick reference guide

Masimo

Masimo iSpO2 Quick reference guide

Factory Direct Medical PAINLESS TENS instructions

Factory Direct Medical

Factory Direct Medical PAINLESS TENS instructions

Asskea proVisio M28 Instructions for use

Asskea

Asskea proVisio M28 Instructions for use

Hitachi L43K instruction manual

Hitachi

Hitachi L43K instruction manual

burmeier DALI II 24 Volt instruction manual

burmeier

burmeier DALI II 24 Volt instruction manual

Fahl OPTIFLAUSCH H Instructions for use

Fahl

Fahl OPTIFLAUSCH H Instructions for use

Dräger Infinity C700 Quick reference guide

Dräger

Dräger Infinity C700 Quick reference guide

Pari BOY mobile S manual

Pari

Pari BOY mobile S manual

Acelity V.A.C.ULTA Safety information and application instructions

Acelity

Acelity V.A.C.ULTA Safety information and application instructions

Nasco Life/form LF03633U instruction manual

Nasco

Nasco Life/form LF03633U instruction manual

ROHO AirLITE Operation manual

ROHO

ROHO AirLITE Operation manual

Thermo Scientific signos RT Bladder quick start guide

Thermo Scientific

Thermo Scientific signos RT Bladder quick start guide

PamMobility SYNAGO Instructions for use and maintenance

PamMobility

PamMobility SYNAGO Instructions for use and maintenance

Konica Minolta Pulsox-2 Multi Lingual Short Form Instruction Manual

Konica Minolta

Konica Minolta Pulsox-2 Multi Lingual Short Form Instruction Manual

Welch Allyn 88002 Operating	 instruction

Welch Allyn

Welch Allyn 88002 Operating instruction

manuals.online logo
manuals.online logoBrands
  • About & Mission
  • Contact us
  • Privacy Policy
  • Terms and Conditions

Copyright 2025 Manuals.Online. All Rights Reserved.