Benchmark BM Series User manual

BM SERIES
TM
MANUAL

This product is supported by Midland Power. Contact us
directly for assistance and warranty help. Do not return this
product to store.
You must register online for your warranty to be valid.
It only takes a minute, do it now while you still have your
purchase receipt.
Support for your product is available online, including parts,
service center locations, and live expert advice.
Or call us anytime at 1-877-528-3772.
TM
MC
Register Your Product Online
www.benchmark.midlandpowerinc.com/
register-warranty
Visit us online at
www.benchmark.midlandpowerinc.com

Thanks for choosing the BM Series!
You're excited to get started, we'll keep this brief.
READ THIS ENTIRE GUIDE BEFORE USING THIS
PRODUCT AND SAVE FOR LATER USE.
This user guide contains important instructions including safety,
setup, operation, and maintenance that must be followed. All
information in this guide is based on information available at
the time of print. This guide or revised editions can be found on
our website for download. No part of this publication may be
reproduced without written permission.
THIS PRODUCT MEETS ALL CERTIFICATION REQUIREMENTS FROM:
The engine exhaust from this product contains chemicals known
to cause cancer, birth defects or other reproductive harm.
©2023 Benchmark. All Rights Reserved.
BM_Manual_EN_2023-01-11

TABLE OF CONTENTS
1. Safety 1
2. Learn About Your Lawn Mower 5
3. Getting Started 8
4. Pre-Operation Check 20
4.1 Check Oil Level 20
4.2 Check the Fuel Level 22
5. Starting the Engine 23
5.1 Manual Recoil Start 24
5.2 Electric Start (BM2050E Only) 25
6. Stopping the engine 26
7. Using your lawn Mower 27
7.1. Clean Flooded Engine 27
7.2. Using the Self-propelled Function 28
7.3 Emptying the Grass Bag 30
7.4 Mowing Tips 31
7.5 Carburetor Modification for High Altitude Operation 32
8. Maintenance 34
8.1 Maintenance Schedule 35
8.2 Changing the Engine Oil 36
8.3 Cleaning the Air-Filter 38
8.4 Replacing the Blade 40
8.5 Spark Plug Service 41
8.6 Fuel Filter Maintenance 42
8.7 Emission Control System 42
9. Transportation & Storage 44
10. Troubleshooting 46
11. Technical Specifications 47
12. Limited Warranty 48

1BM SERIES
1. SAFETY
DANGER!
Using a engine indoors can kill you in minutes.
The engine exhaust from this product contains chemicals known
to cause cancer, birth defects or other reproductive harm.
1.1 OPERATOR SAFETY
WARNING!
Always perform an oil, fuel and air lter check before starting the engine.
Properly clean and maintain the equipment.
Operate the lawn mower according to instructions for safe and
dependable service.
Before operating the lawn mower, read the user guide carefully.
Otherwise, it may result in personal injuries or equipment damage.
NEVER run the lawn mower in an enclosed area to avoid harm from
exhaust emissions of a poisonous carbon monoxide gas.
Be careful not to touch the exhaust system during operation due to risk
of burns.
Pay attention to the warning labels. The engine exhaust system will
become heated during operation and remain hot immediately after the
engine is stopped.
Gasoline is a highly ammable and explosive liquid. Refuel in a well
ventilated area with the engine stopped.
Use of gasoline with an ethanol content greater than 10% can damage
the engine and fuel system and will void the manufacturer’s warranty.
When refueling the lawn mower, keep it away from cigarettes, open
ames, smoke and/or sparks.

2
TM
Place the lawn mower at least 3 feet away from buildings or other
equipment during operation.
Run the lawn mower on a level surface. Tilting the lawn mower may
result in fuel spills.
Know how to stop the lawn mower quickly and understand operation
of all the controls. NEVER permit anyone to operate the lawn mower
without proper instructions.
Keep children, pets and machinery with rotating parts away during
operation.
DO NOT operate the lawn mower in rain or snow.
DO NOT operate the lawn mower if damaged. Have the machine
repaired before use.
DO NOT touch the spark plug while the engine is operating or shortly
after the engine has been shut down.
Wear ear and eye protection while operating this unit.
1.2 USE SAFETY
WARNING!
DO NOT operate the lawn mower in a conned space where dangerous
carbon monoxide fumes can collect.
Refuel outdoors only and DO NOT smoke while refueling.
NEVER remove the cap of the fuel tank or add gas while the engine is
running or when the engine is hot.
If gas is spilled, DO NOT attempt to start the engine but move the
machine away from the area of spillage and avoid creating any source of
ignition until gas vapours have dissipated.
Aways visually inspect to see that the blades, blade bolts and cutter
assembly are not worn or damaged. Replace worn or damaged blades
and bolts in sets to preserve balance.
Mow only in daylight or in good articial light.
Avoid operating the equipment in wet grass, where feasible.
Always be sure of your footing on slopes.
Walk, NEVER run.
Exercise extreme caution when changing direction on slopes.
DO NOT mow excessively steep slopes.
Use extreme caution when reversing or pulling the lawn mower towards
you.
Stop the blade(s) if the lawn mower has to be tilted for transportation

3BM SERIES
when crossing surfaces other than grass, and when transporting the
lawn mower to and from the area to be mowed.
NEVER operate the lawn mower with defective guards, or without safety
devices, for example deectors and/or grass catchers, in place.
DO NOT change the engine governor settings or over speed the engine.
Disengage all blade and drive clutches before starting the engine.
Start the engine or switch on the motor carefully according to
instructions and with feet well away from the blade(s).
DO NOT tilt the lawn mower when starting the engine or switching on
the motor, except if the lawn mower has to be tilted for starting. In this
case, do not tilt it more than absolutely necessary and lift only the part
which is away from the operator.
DO NOT start the engine when standing in front of the discharge chute.
DO NOT put hands or feet near or under rotating parts. Keep clear of
the discharge opening at all times.
NEVER pick up or carry a lawn mower while the engine is running.
Stop the engine and disconnect the spark plug wire, make sure that all
moving parts have come to a complete stop and, where a key is tted
remove the key.
Before refueling.
Before clearing blockages or unclogging chute.
Before checking, cleaning or working on the lawn mower.
After striking a foreign object. Inspect the lawn mower for damage
and make repairs before restarting and operating the lawn mower.
If lawn mower starts to vibrate abnormally, check immediately.
Whenever you leave the lawn mower.
1.3 MAINTENANCE SAFETY
WARNING!
Turn off the engine before performing any maintenance. Failure to do so
can cause severe personal injury or death.
Use rubber gloves when coming into contact with engine oil.
After any maintenance is performed, wash immediately using soap and
clean water, repeated exposure to lubricant may cause skin irritation.
DO NOT clean the lter element with ammable liquids like gasoline, an
explosion may occur.
Allow the lawn mower to cool down before performing any maintenance.

4
TM
Always stop the lawn mower before removing the oil ller cap.
To reduce the re hazard, keep the engine, silencer, battery
compartment and gasoline storage area free of grass, leaves, or
excessive grease.
Drain the fuel tank outdoors only.
Check the grass catcher frequently for wear or deterioration.
Only qualied maintenance personnel with knowledge of fuels and
machinery hazards should perform maintenance procedures.
See ‘Maintenance Schedule’ for the recommended maintenance
schedule.
1.4 OTHER SAFETY TIPS
WARNING!
Running engines give off carbon monoxide, an odourless poisonous gas
that can cause nausea, fainting, or death. DO NOT start engine indoors
or in an enclosed area even if the windows and doors are open.
If you start to feel sick, dizzy, or weak after the engine has been running,
move to fresh air RIGHT AWAY. See a doctor. You could have carbon
monoxide poisoning.
Lawn mowers vibrate in normal use. During and after the use of the
lawn mower, inspect the product as well as extension cords and power
supply cords connected to it for damage resulting from vibration.
Have damaged items repaired or replaced as necessary. DO NOT use
plugs or cords that show signs of damage such as broken or cracked
insulation or damaged blades.
TOXIC FUMES HAZARD. Running engines give off
carbon monoxide, an odourless poisonous gas
that can cause nausea, fainting, or death. Do
not start engine indoors or in an enclosed area,
even if the windows and doors are open.
DANGER TOXIQUE. Faire fonctionner un moteur dégage de
l’oxyde de carbone, un gaz inodore toxique qui peut
provoquer la nausée, évanouissement ou la mort. Ne
démarrer pas le moteur à l’intérieur ou dans une espace clos,
meme si les fenêtres et les portes sont ouvertes.

5BM SERIES
2. LEARN ABOUT YOUR LAWN MOWER
This section will show you how to identify key parts of your lawn mower. Going over
the terminology below will make sure we’re on the same page.
2.1 COMPONENT IDENTIFICATION
BM1740
Front Wheel
Self Propelled
Drive Lever
Deck
Grass Box
Lower Handle
Upper Handle
Power Lever
BM1740
Rear Wheel
Starter Handle
Side
Discharge
Cover
Oil Dipstick
Side Discharge
Chute
Cutting Height
Adjusting Handle
Rear Discharge
Cover
Cup Holder
Speed Selection
Lever
Handle Grip
Start Plug Cap
Fuel Tank Cap

6
TM
BM2050E
Front Wheel
Self Propelled
Drive Lever
Deck
Grass Box
Electric
Start Button
Lower Handle
Upper Handle
Power Lever
Rear Wheel
Starter Handle
Side
Discharge
Cover
Oil Dipstick
Side Discharge
Chute
Cutting Height
Adjusting Handle
Rear Discharge
Cover
Cup Holder
Speed Selection
Lever
Handle Grip
Start Plug Cap
Fuel Tank Cap
BM2050E

7BM SERIES
2.2 CONTROL FUNCTIONS
Cutting Height Adjusting Handle
Adjust from position 1 to position 7 to set the cutting height.
The cutting height range from 25mm to 75mm.
Electric Start Button (BM2050E Only)
Start the lawn mower by pressing the electric start button while holding
the power lever to the handle grip.
Grass Box
When installed, the grass bag collects the grass released by the rear
discharge chute.
Power Lever
Press and hold the power lever, the engine will switch ON.
Release the power lever and the engine will switch OFF.
Self Propelled Drive Lever
Press the self propelled drive lever, and the lawnmower will start to
move with the engine running.
Release the drive lever to stop.
Speed Selection Lever
Once engine is running, select drive speed 1, 2 or 3, to adjust the
different propelled speed.
Starter Handle
For manual start, pull the starter handle while holding the power lever to
the handle grip.

8
TM
3. GETTING STARTED
Setup of your lawn mower is designed to get you up and running as quickly as
possible. Cut the four corners of the carton from top to bottom instead of attempting
to lift it out of the box.
3.1 ASSEMBLING THE HANDLE
1. Fasten the lower handle to the device by using two bolts and two small
knobs on each side.
2. Unfold the upper handle and x it to lower handle by using the big knobs
and the bolts on each side.

9BM SERIES
NOTE
Make sure the rope guide is on the right handle, when you stand behind
the mower.
3.2 ASSEMBLING THE RECOIL HANDLE LOOP
Fix the recoil handle connection cord with the recoil handle loop.
Bracket
Power
Lever
Brake Line
Connector
Braket Hole

10
TM
3.3 ASSEMBLING THE CUP BRACKET
1. Put the bracket on the the upper handle, take the connector of brake line
from the power lever, let the connector go through the hole of the bracket.
2. Assemble the brake line connector back to the power lever.
3. Secure the bracket with screws.
NOTE
Only brake line connector need to go through the hole on the bracket.
Bracket
Power
Lever
Brake Line
Connector
Braket Hole

11 BM SERIES
3.4 ASSEMBLING THE SPEED SELECTION HANDLE
1. Put the handle onto the speed selection lever
2. Secure the handle with a screw.
3.5 ASSEMBLING THE GRASS BAG
1. Clip the plastic clips of the grass bag over the metal frame and make sure
they are fully secured to the metal frame.
2. Lift the rear discharge cover with one hand and hook in the grass bag.
3. Release the rear discharge cover to secure the grass bag in position
Speed Selection
Lever
Grass Bag
Rear Discharge
Cover
Speed Selection
Lever
Grass Bag
Rear Discharge
Cover

12
TM
3.6 ASSEMBLING THE MULCHING PLUG
1. Remove the grass bag.
2. Push the plastic mulching plug into the discharge chute until it is locked in
place.
3. Release the ap to close the rear discharge cover.
Mulching Plug
Rear Discharge
Cover
Side Discharge Chute
Side Discharge
Cover

13 BM SERIES
3.7 ASSEMBLING THE SIDE DISCHARGE CHUTE
NOTE
Remove the grass bag and assemble the mulching plug before using
the side discharge function.
1. Lift the side discharge cover with one hand and hook in the side discharge
chute with the other hand.
2. Release the side discharge cover to secure the chute in position.
Mulching Plug
Rear Discharge
Cover
Side Discharge Chute
Side Discharge
Cover

14
TM
3.8 ADD ENGINE OIL
WARNING!
Used motor oil can cause skin irritations if left in long-term
contact with skin. Thoroughly wash off used oil as soon as
possible with soap and water.
1. Ensure the lawn mower is on a level surface.
2. Unscrew one of the oil dipsticks and clean the dipstick.
3. Check the oil level by reinserting the oil dipstick without screwing it back in.
Remove the dipstick and examine the oil level. If the level is at or below
the minimum oil level marked on the dipstick, rell to the maximum oil level
mark.
4. Reinsert the dipstick and tighten securely.
NOTE
Oil max. capacity:
BM1740: 400 mL
BW2050E: 400 mL
SAE10W-30 oil is recommended for general use.
Oil Dipstick
Cutting Height
Adjusting Handle
Maximum Oil Level
Minimum Oil Level

15 BM SERIES
DO NOT OVERFILL.
DO NOT tilt the lawn mower when adding engine oil. This could result in
overlling and damage to the engine.
Using non-detergent or 2-stroke oil could shorten the engine’s working life.
Use high quality engine oil with strong detergents.
Handle and store the engine oil with care, avoid getting dirt or dust into
the engine oil.
DO NOT mix different engine oils.
To avoid the inconvenience of unexpected engine shutoff, check the
engine oil level as often as possible.
Use 4-stroke engine oil, certied to meet or exceed API standard SG,
SF, SAE ratings.
0°C 10 20 30 40 50-10-20-30
20 32°F 40 60 80 100 120
°C
°F0-20
15W-50
10W-30
Synthetic 5W-30
5W-30
Effective Viscosity Range of Engine Oils

16
TM
3.9 SETTING THE CUTTING HEIGHT
WARNING!
Adjust the cutting height only when the engine is switched off
and the spark plug cap has been pulled.
1. Pull the adjusting handle out and select the desired cutting height. The
handle snaps into the desired position.
NOTE
From position 1 to position 7, the cutting height range from 25mm to
75mm.
Oil Dipstick
Cutting Height
Adjusting Handle
Maximum Oil Level
Minimum Oil Level
This manual suits for next models
2
Table of contents
Languages:
Other Benchmark Portable Generator manuals
Popular Portable Generator manuals by other brands
Champion
Champion Cabela's UTDOORSMAN 201007 quick start guide
Clarke
Clarke FG5100ES Operation & maintenance instructions
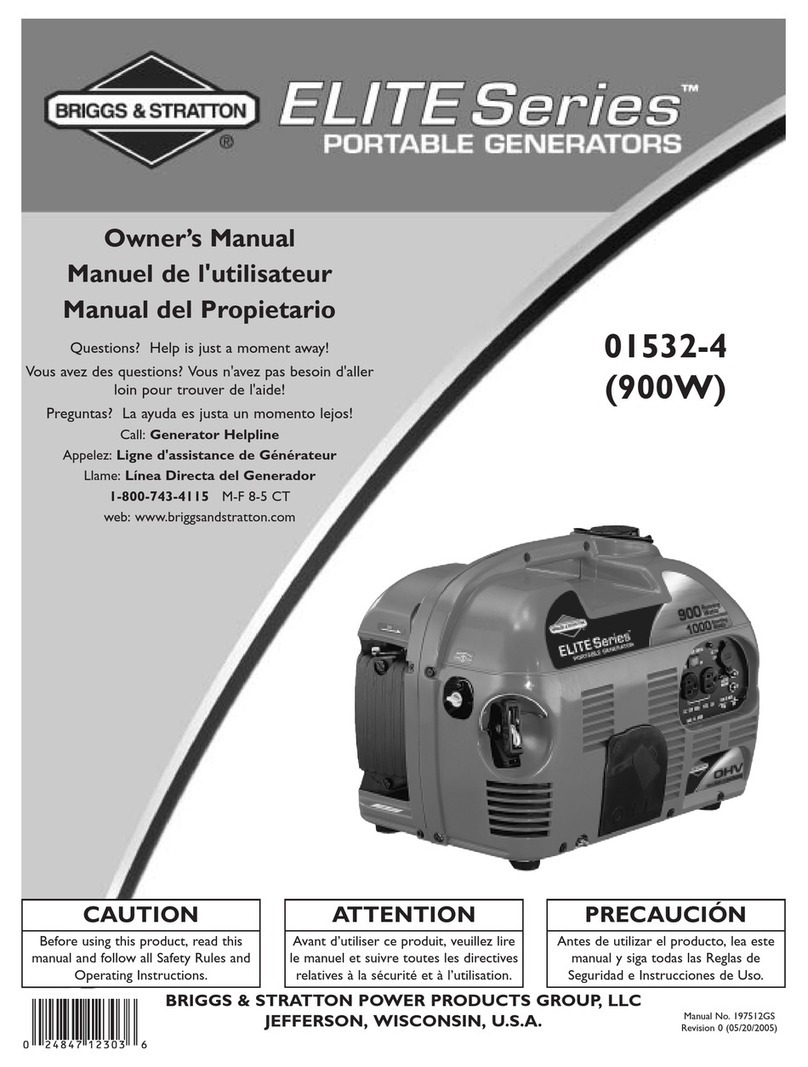
Briggs & Stratton
Briggs & Stratton 01532-4 owner's manual
Mecc Alte spa
Mecc Alte spa EC Series Operating and maintenance instructions
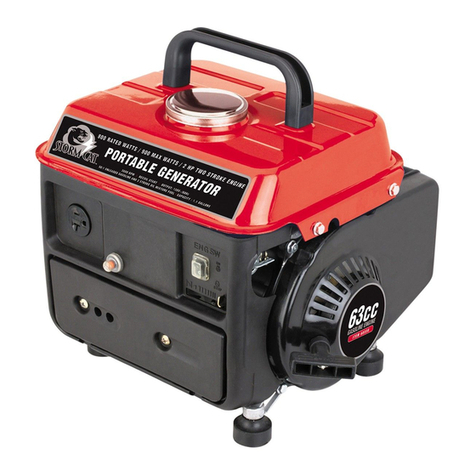
Storm Cat
Storm Cat 60338 Owner's manual & safety instructions
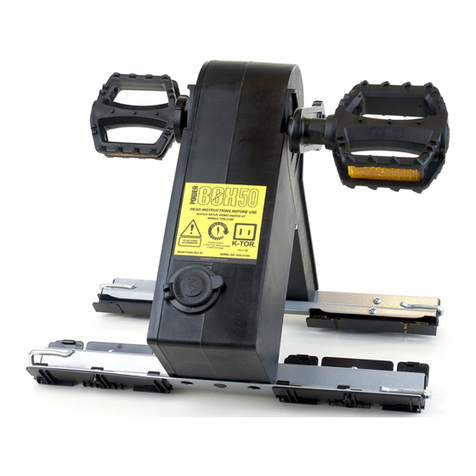
K-TOR
K-TOR POWER BOX instructions
