4 Baumer_KTD3A4-SKTD3A4_OI_DE-EN_1606.indd
5. Mechanische Montageanleitung
5.1. VoraussetzungenfürdieMontage
• Achtung!BeachtenSiedieBesonderenSicherheitshinweiseinKapitel4.
• StellenSiesicher,dasswährendderMontagedesTachogeneratorsder
Antrieb nicht in Betrieb genommen werden kann.
• Vor allen Arbeiten alle Betriebsspannungen ausschalten und Maschinen
stillsetzen.
• Wir empfehlen die Anbauseite gemäss den Masszeichnungen in Kapitel 8 aus-
zuführen. Den jeweiligen Typ des Tachogenerators ist dem Gerätetypenschild zu
entnehmen.
• Typ SKTD: Alternativ ist eine Montage mittels Mitnehmer möglich (vgl. Masszeich-
nungen). Der Mitnehmer ist fest mit der Antriebsseite zu verbinden. Der Rundlauf-
fehlerdesmontiertenMitnehmersdarfmaximal0,02mmbetragen.Mitnehmersind
alsZubehörerhältlich.
• VordemAnbausinddieMotorteile,dieindenTachogeneratorhineinragen,von
Fett,ÖlundSchmutzzureinigen.BeiErwärmungkönnensichdieseFettstoffeauf
demKollektorniederschlagenunddabeiSpannungsverluste,Restwelligkeitsver-
schlechterungen,LamellenkurzschlüsseoderEinlaufrillenmithohemKohleabrieb
verursachen.
• Nur Rotor und Gehäuse mit gleicher Nummer zusammen montieren. Die Nummern
sind auf dem Typenschild des Gehäuses und handschriftlich auf dem Rotor aufge-
führt.
5.2. Vorgehensweise Montage
• DieVoraussetzungenderMontagegemässKapitel5.1.müssenerfüllt
sein.
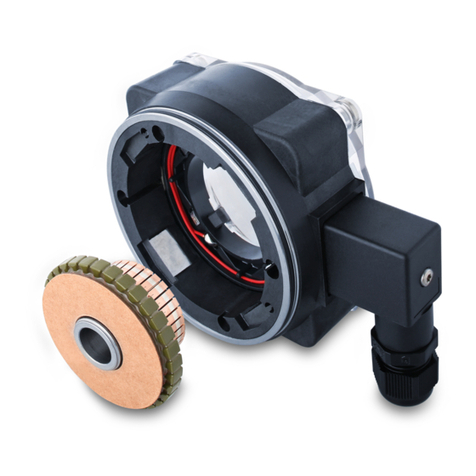
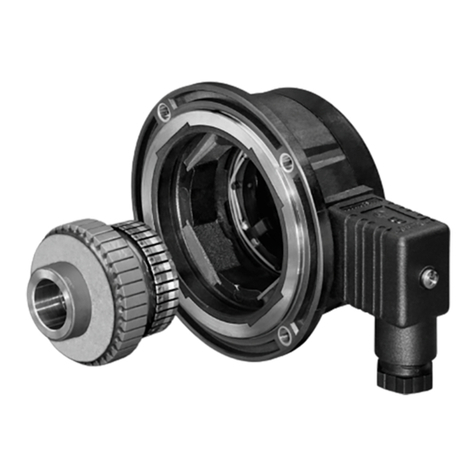
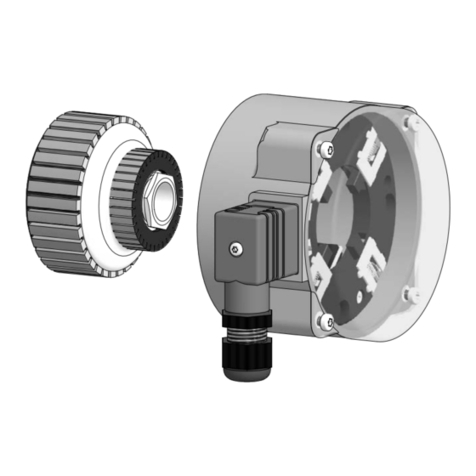
1. EntfernenSiedievier,radialamGehäusebendlichen,Kunststoffschutzkappen.
2. Entnehmen bzw. verschieben Sie die Kohlebürsten aus dem bzw. im Gehäuse.
Hinweis: Die Bürsten sind eingelaufen. Für eine sofortige bestmögliche Funktion ist
essinnvoll,dieBürstennichtkomplettzuentnehmen,sondernlediglichimGerätzu
versetzen.NachkurzerLaufzeitsinddiesejedocheingeschliffen.
3. Schieben Sie den Rotor auf die Aufnahmewelle.
Hinweis:DerRotormusssichvonHand,ohnegrossenKraftaufwand,aufdieAuf-
nahmewelle schieben lassen.
Bei Verwendung eines Presssitzes darf keinesfalls ein Hammer verwendet werden.
BeimAuf-undAbziehenmussindiesemFalleeineVorrichtungverwendetwerden,
die sich auf die Stahlhohlwelle abstützt und den Rotor nicht verkanten lässt.
4. VermeidenSieHautkontaktmitdenLaufächendesKollektors.
