...
Bluetooth pairing
0
EN
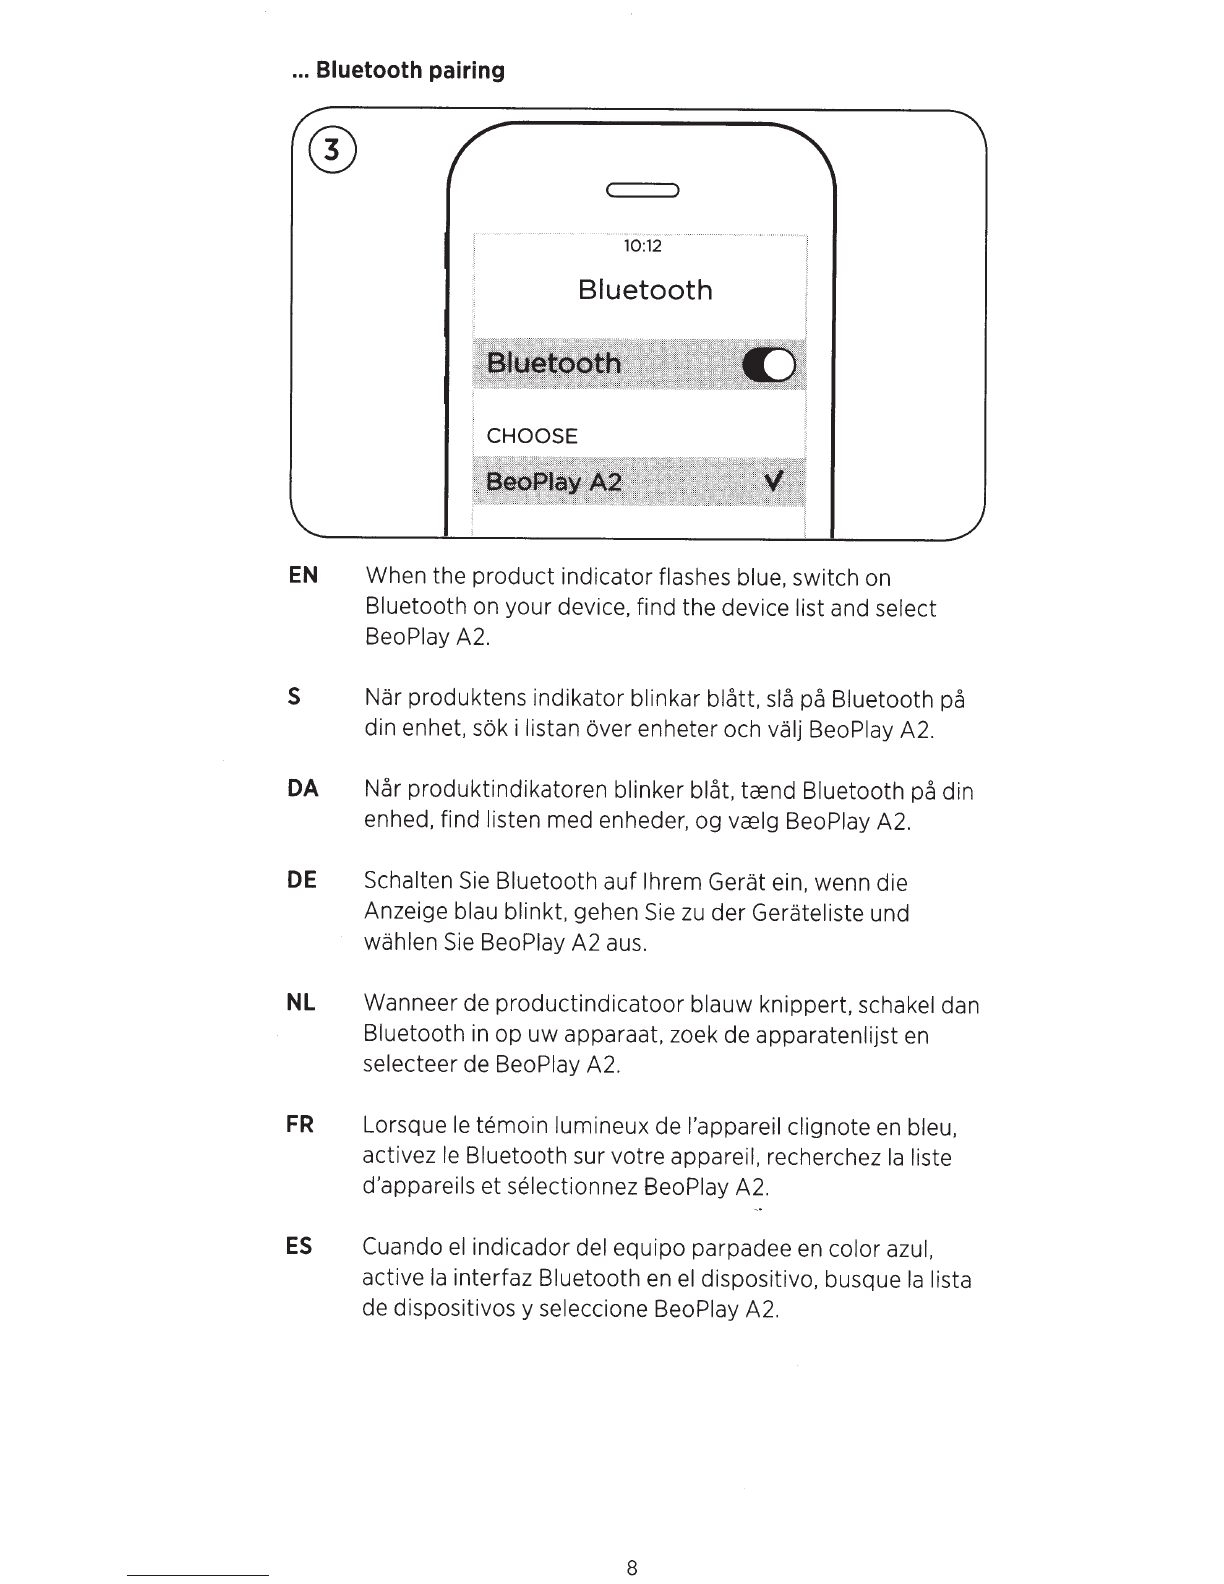
When the
product
indicator flashes blue, switch on
Bluetooth on your device. find the device list and select
BeoPiay A2.
s Nar produktens indikator blinkar blatt,
sla
pa Bluetooth
pa
din enhet, sok i listan over enheter och valj BeoPiay A2.
DA
Nar produktindikatoren blinker blat,
tGBnd
Bluetooth pa din
enhed, find listen med enheder, og
vGBig
BeoPiay A2.
DE
Schalten
Sie
Bluetooth auf lhrem Gerat ein, wenn die
Anzeige blau blinkt, gehen
Sie
zu
der
Gerateliste und
wahlen
Sie
BeoPiay A2 aus.
NL
Wanneer de
productindicatoor
blauw knippert, schakel dan
Bluetooth in
op
uw apparaat, zoek de apparatenlijst
en
selecteer de BeoPiay A2.
FR
Lorsque le temoin lumineux de l'appareil clignote
en
bleu,
activez
le
Bluetooth sur votre appareil, recherchez
Ia
liste
d'appareils et selectionnez BeoPiay A2.
ES
Cuando
el
indicador del equipo parpadee en color azul,
active
Ia
interfaz Bluetooth
en
el
dispositive, busque
Ia
lista
de dispositivos y seleccione BeoPiay A2.
8