.
4
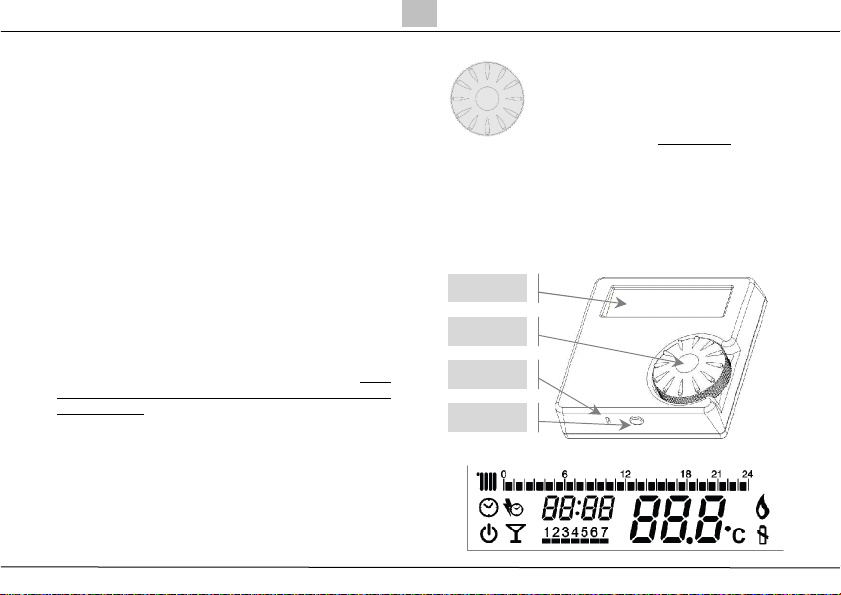
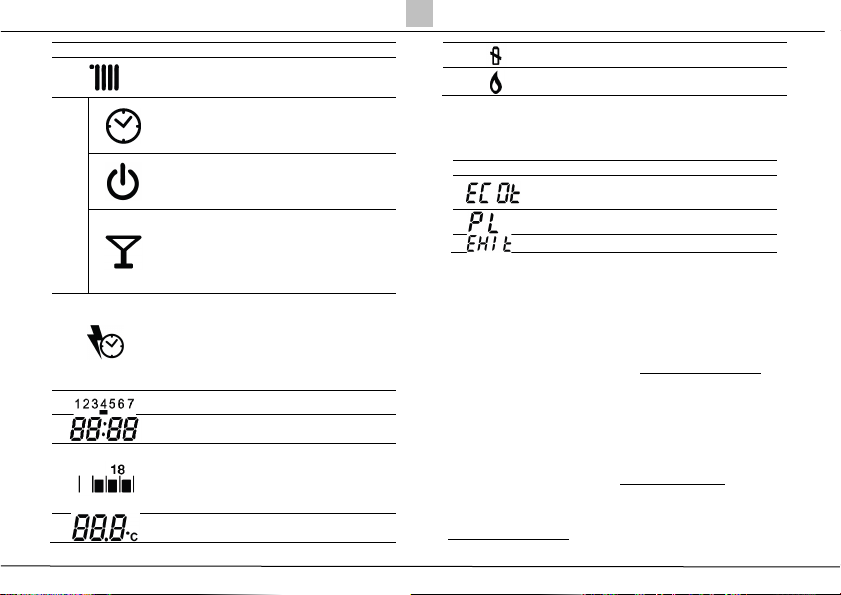
1. Rotate to select the desired temperature and press to enter.
2. Press once to activate or deactivate the ADVANCE function.
Use to “advance” the heating to an ON or OFF period.
3. Press for 3 seconds to enter menu. Rotate to scroll through
the menu choosing between status mode, economy
temperature setting, time of day, day of the week,
programmed times day by day, technical menu (PL) and
exit. Press again to modify selected item.
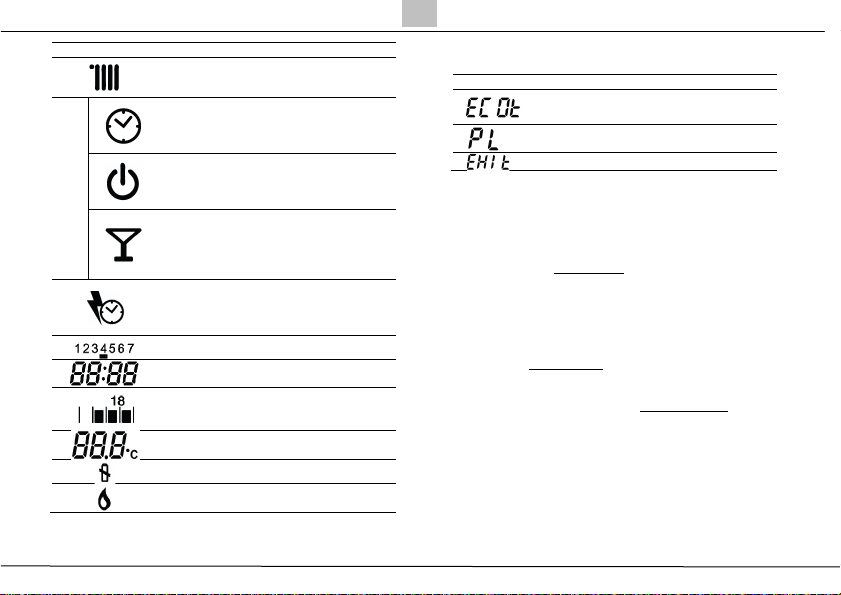
Status mode: rotate to change the thermostat mode
between AUTO, PARTY, and OFF, press to save. The
press from status mode automatically escapes from menu.
Economy temperature ECOt: Rotate to select the desired
economy temperature and press to enter. This temperature
is used when programming time is OFF in AUTO status
mode.
Time of the day: rotate to change the hours, press to save
and move to minutes; rotate to change minutes, press to
save.
Day of the week: rotate to change the day, press to save
Programmed times day 1-7: rotate clockwise to set hour
ON, rotate anticlockwise to select hour OFF. Clockwise and
anticlockwise rotation move ahead the time. Press to save.
Rotate clockwise to move to the following day.
PL: rotate to select the password value, press to enter
inside the technical menu. Rotate to select the parameters:
01 = calibration of the temperature sensor, 02 = frost
protection temperature selection, 03 = hysteresis OFF value
selection, 04 = hysteresis ON value selection, 05 =
encoding and coupling with the RF receiver, 06 = radio
frequency value selection, EHIt = escape from technical
menu. (for technical menu see dedicated paragraph).
Exit: escape from main menu.
I
NSTALLATION AND OPERATING INSTRUCTIONS
T
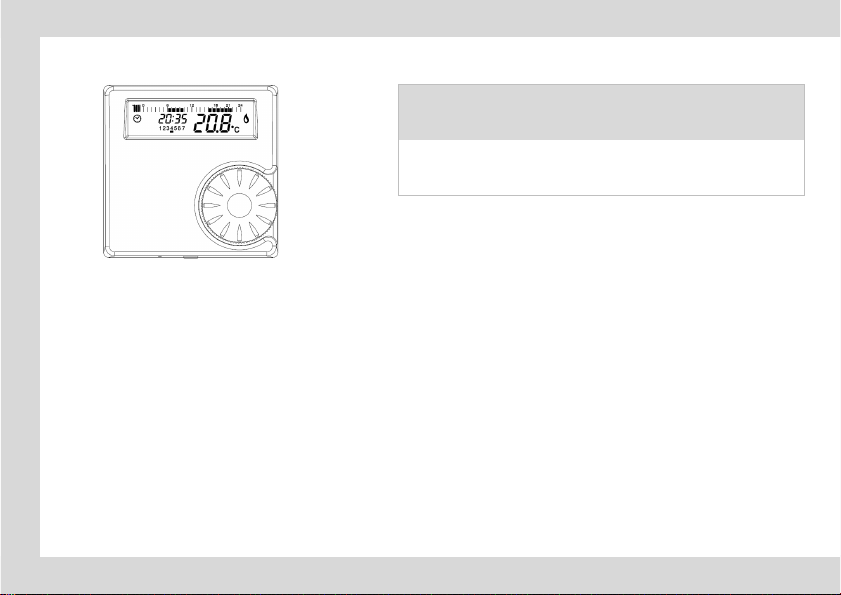
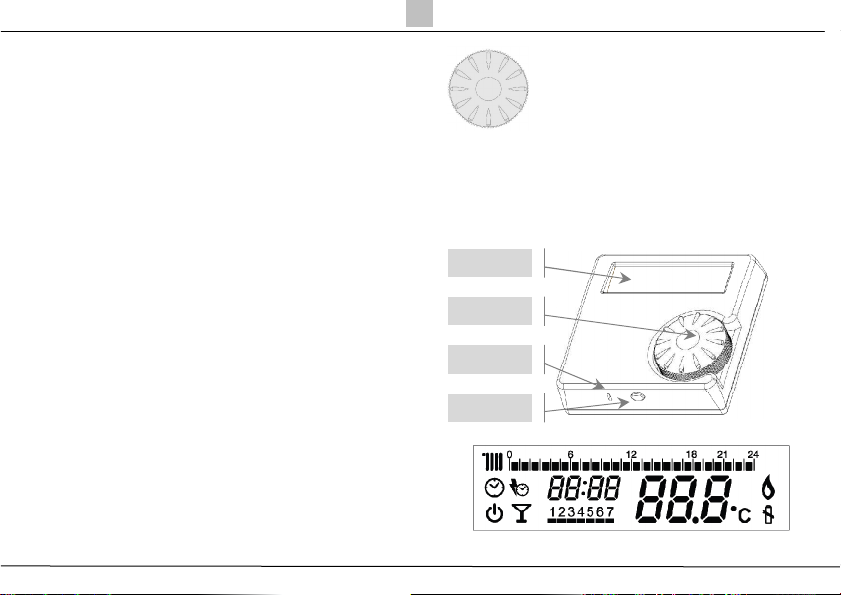
HE THERMOSTAT
is a wall-mounted
timer-thermostat. It can be located
wherever a conventional room thermostat
would normally be sited. The thermostat
need to be wired with the boiler only for
the room thermostat connection, no high
voltage supply is required as it is battery
powered. It must be connected to the
boiler and it can replace a conventional mechanical or
electronic time clock.
P
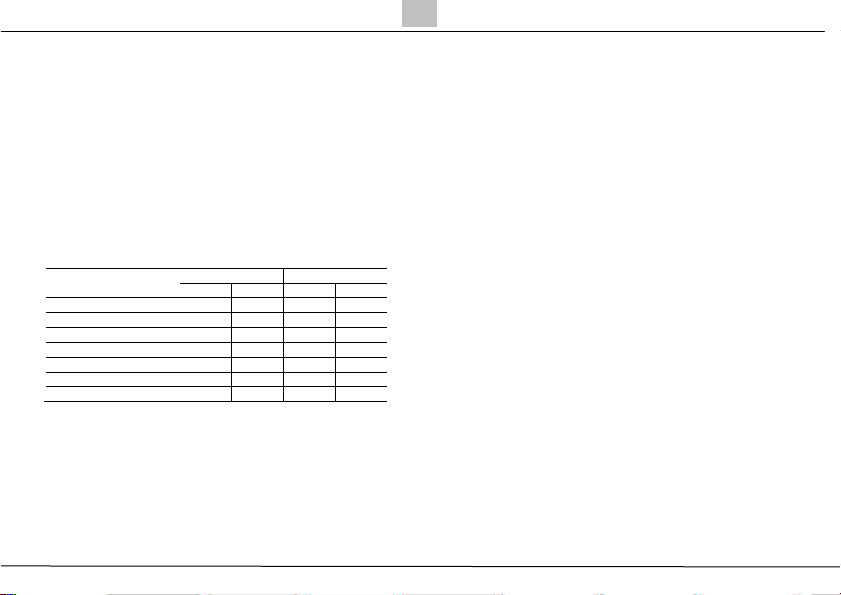
ACKING LIST
Q
TY
•Time-thermostat 1
•Screws and wall plugs (drill 5 mm) 2
•Double side adhesive 2
•Instructions 1
•Batteries 1,5 AAA 2
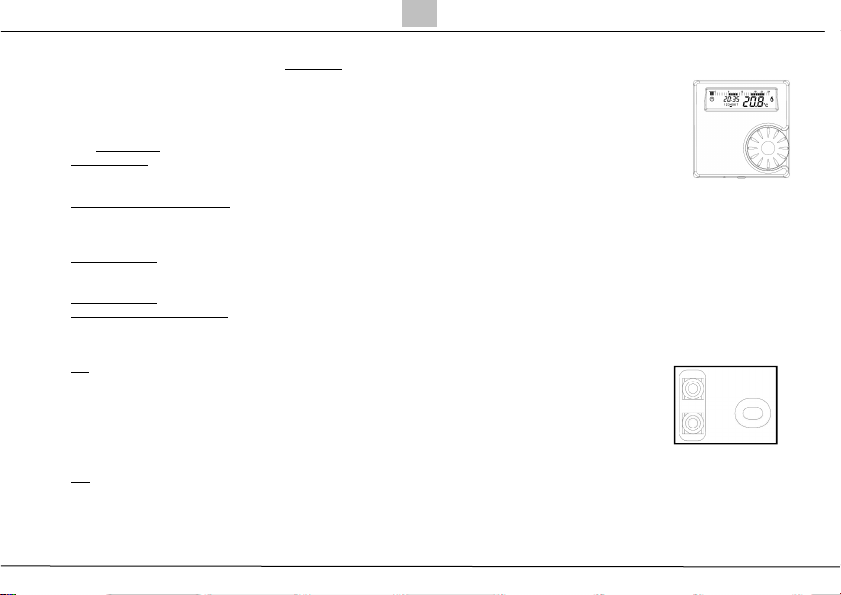
BOILER PREPARATION
:
Isolate the appliance from the electrical
supply and remove the appliance casing and PCB cover (refer
to boiler installation instructions for
specific details).Identify on the boiler
control board the room thermostat
connection. Connect two wires (not
supplied) from the thermostat
terminals – side picture for thermostat
terminals - to the boiler PCB terminals
(room thermostat terminal) - figure below for a sample boiler
connections. The wiring connection is interchangeable.
I
MPORTANT
:
the link-wire (if fitted) must be removed from room
thermostat terminals. Secure the wiring harness to the internal
boiler cable anchors. Wiring must conform to IEE regulations.