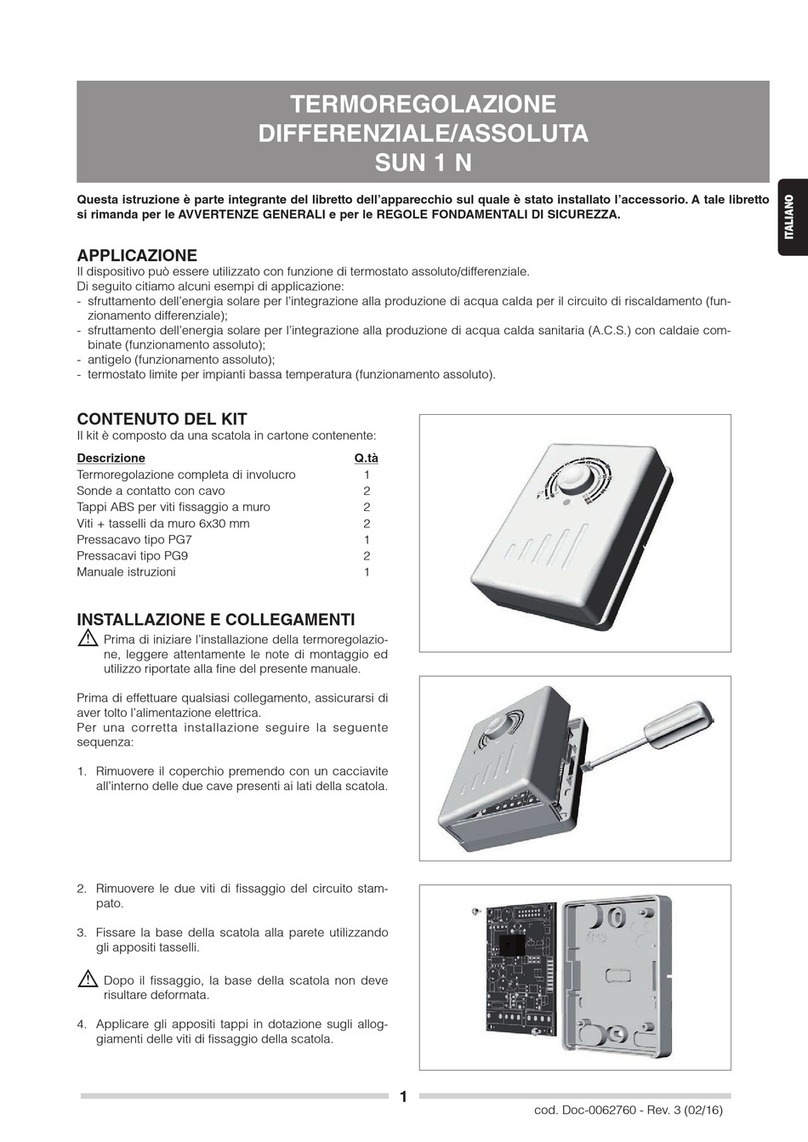
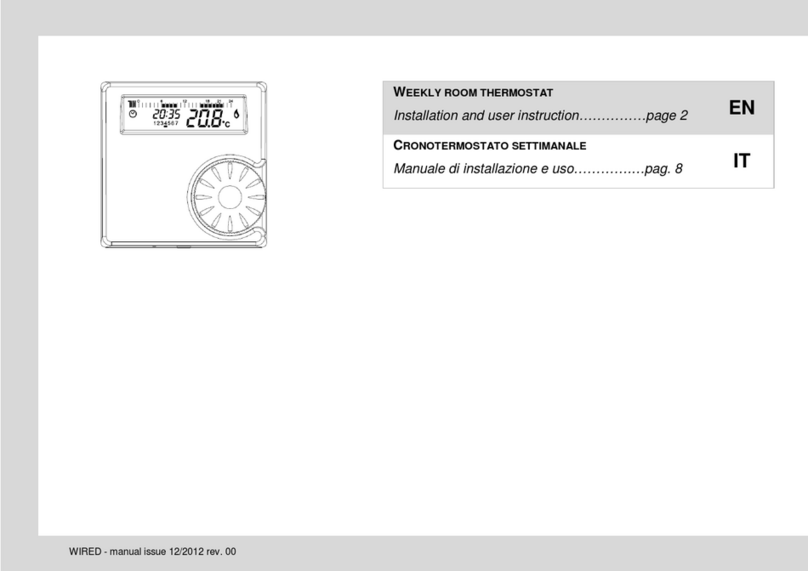
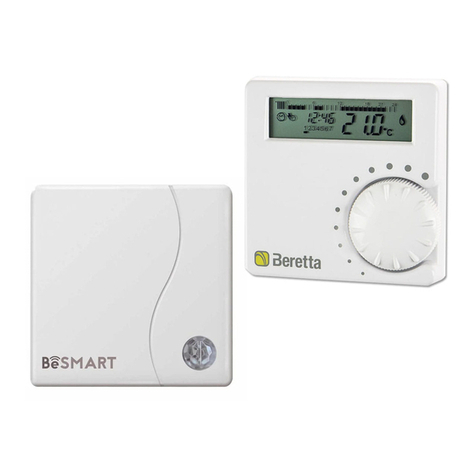
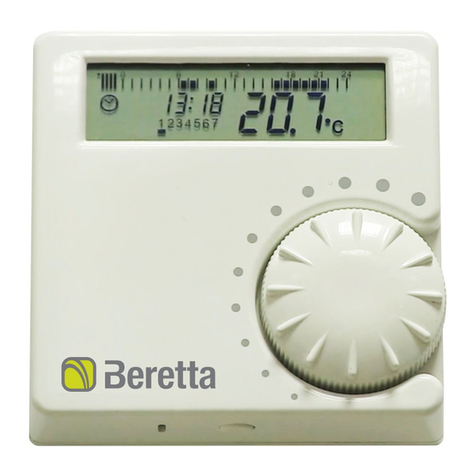
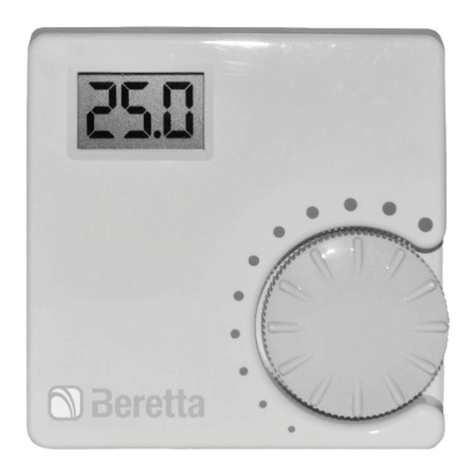
Beretta Alpha DGT User manual

1
P
ROGRAMMABLE
7-
DAY THERMOSTAT
Installation and user instruction
This instructions to be retained by the user

2
Thank you for choosing Beretta’s weekly
programmer.. This central heating control
device is easy to fit, and with correct use,
will deliver improved comfort levels in
your home whilst saving you money.
This thermostat is designed to be used
only with heating controls system with a
maximum switching load of 2A at 30VDC
or 0,25A at 230VAC or with Beretta
boilers fitting a bus protocol connection
If installing for someone else, please
ensure that the instructions are handed to
the householder.
Warning: Please read this manual prior
to installation or use.
Shock Hazard: This unit must be
installed by a competent person, in
accordance with local regulation, or other
relevant national regulations and codes of
good practice. Always isolate the AC
Mains supply before installing this unit.
CE: This product is according R&TTE
Directive 1999/5/EC
Installation warning:
This programmer can be used either as a
central heating ON/OFF thermostat and
as boiler remote control (only with
selected Beretta boilers), therefore is
mandatory to determinate the correct
working mode (denominated TYPE)
before installation and setting.
From the main menu select the TYPE
parameter and those are the following
option (the selection need the batteries to
be done).

3
Type
Description
crt
Room thermostat working with
ON/OFF command to the boiler.
Connect the cable to room thermostat
connection on the boiler. Maximum
switching load of 2A at 30VDC or
0,25A at 230VAC.
rEc
Boiler remote control using a bus
protocol to communicate with the
boiler. Connect the cable to remote
control connection on the boiler.
crS
To be used only when boiler is set in a
“continuous pump running mode”.
Room thermostat working with
ON/OFF command to the boiler.
Connect the cable to room thermostat
connection on the boiler. Maximum
switching load of 2A at 30VDC or
0,25A at 230VAC.
r
ct
To be used only when boiler is set in a
zone valve management mode. Boiler
remote control using a bus protocol to
communicate with the boiler. Connect
the cable to remote control connection
on the boiler. Additionally the wired
device activate the ON/OFF built in
relay at any room heat request directly
to the zone valve.
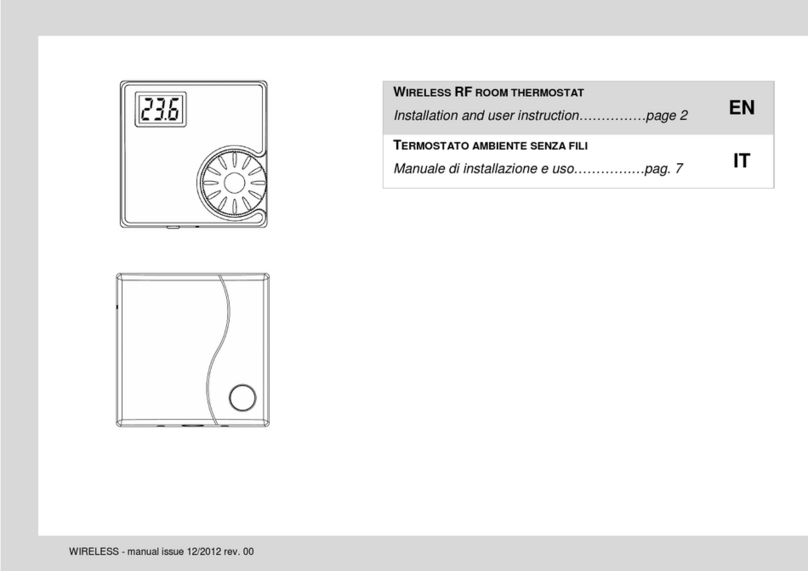
Your programmer is a room thermostat
(recognized by no house icon on display)
– type crt
Your programmer is a boiler remote
control (recognized by house icon on
display) – type rEc

4
Fast room
temperature
adjusting
buttons
Fast
DHW
adjusting
buttons
(rEc only)
Heating
mode button
Programming
button

5
Display
Temperature
sensor
Adjusting
buttons
Heating
mode button
Batteries
flap

6
I
NSTALLATION AND OPERATING INSTRUCTIONS
The installation of the device need two
wires to connect to the boiler, the devise
need the battery if working with type
ON/OFF. Batteries are not needed is the
type selected is rEc.
W
ARNING
:
REMOVE THE BATTERIES
WHEN USED IN R
E
C TYPE
(
REMOTE
CONTROL
)
–
EXPLOSION CAN
HAPPEN
Important: these instructions should be
read in conjunction with the appliance
installation instructions. It is
recommended that this device is installed
by a qualified electrician.
P
ACKING LIST
Q
TY
7-day programmer 1
Anchors and screws 4
Double side adhesive 3
Instructions 1
Carton internal packaging 1
Batteries (used only in crt type) 2
N
OTE
:Eventual additional electronic
boards necessary to connect the
controller to the boiler main board are not
included in this box and need to be
purchased separately
.
P
REPARATION
:Isolate the appliance from
the electrical supply and remove the
appliance casing and PCB cover (refer to
boiler installation instructions for specific
details).

7
I
NSTALLATION OF PROGRAMMER
Position the programmer on a wall
surface away from obstructions and direct
heat sources or draughts, in a room that
is warmed by the heating system. The
fixing of the transmitter can be done
either with the anchors and screws or
with the double sided adhesive (both
supplied). See the diagram below as
reference to drill the wall.
In the case of using anchors, the
transmitter box must be open to fix the
screws to the anchors internally the box.
See the diagrams below for removal from
and re-assembly to backplate. Pay
attention because it could be difficult to
open, follow the diagram for an easier
opening procedure.
W
ARNING
!
D
O
not touch the printed circuit
board of the transmitter as it contains
electrostatically sensitive components.
E
LECTRICAL CONNECTION
On the back side of the programmer,
once open, there are 2 couple of
connections.

8
Connection indicated as OT (printed on
the PCB) = use this when use the
programmer as remote control (type rEc)
Connection indicated as RELAY
(printed on the PCB) = use this when use
the programmer as room thermostat (type
crt).
Important: never connect the OT+
contact to 230V supply to avoid the
destruction of the bus circuit.
Important: the link-wire (if fitted) must be
removed from room thermostat terminals
(both installation type)
W
ARNING
:
select the equivalent
programmer type as installed on the main
menu and remove the batteries after if the
type rEc is selected.
F
UNCTIONS
The Beretta Programmable 7-day
Thermostat has the following functions:
Type Room thermostat (crt): for the
display appearance in this mode, please
refer to the relevant section of this
manual. The internal temperature sensor
detects the temperature and, comparing
with the set point, switches ON or OFF
the heating request (according the
programmed timing). The temperature
sensor is located on the left side of the
item.
Temperatures: there are two level of
selectable temperature:
Comfort temperature T1 and economy
temperature T2 (T1 always > T2).
Both are selectable. Additionally there is
a third level of temperature indicated as
frost protection temperature that is
active all the time (the frost protection
temperature is selectable only inside the
technical menu).

9
T2 always > Frost protection
temperature)
Time: on the display it is possible to set
and read the time (24 hours display
mode)
Day: on the display it is possible to set
and read the day of the week
Programming timing: it is possible by
selecting the relative timing fascia to
select the desired time. The programming
is possible during 7 day 24-hours and the
minimum time fascia is 30 minutes. The
programming is possible in two separated
temperatures: COMFORT (T1 ) and
ECONOMY (T2 ).
Status mode in crt: select the heating
mode button for fast switching between
the 4 status OFF – AUTO – PARTY -
HOLIDAY.
OFF mode, the heating request to
the boiler is off, on display there is not
equivalent icon, the heating layer and the
programming fascia is off. With this mode
only the frost protection function is active.
AUTO mode: the heating request is
according the programmed timing and
room temperature. In AUTO mode it is
possible to increase or decrease
temporary the room set temperature by
pressing the and buttons, only if
the current time is inside in a heating ON
fascia. The temporary new temperature
set (T1) is maintained only inside the
timing fascia. The next heating fascia will
be back to the original T1 set
temperature. It is possible to check the
set temperature by pressing once the

10
or the buttons only if the current time
is inside in a heating ON fascia.
HOLIDAY mode with choice how
many day off (by increasing or decreasing
using the button and ). The
heating request to the boiler is to maintain
the economy temperature on the room
(T2). The number of days off is
considered on the day starting from
midnight. After the counter down is ended
the programmer switch to AUTO mode.
PARTY mode automatically switch
the programmer ON to comfort
temperature (T1). This status is forced up
to midnight, after, the programmer goes
back to the programmed timing fascia.
Type Remote Control (rEc): for the
display appearance in this mode, please
refer to the relevant section of this
manual. The internal temperature sensor
detects the temperature and, comparing
with the set point, calculates the most
suitable boiler flow temperature according
the climatic curve (only if the external
sensor is fitted) and according the
velocity the set temperature is reached.
The programmer continuously
communicates with the boiler control
indicating the target flow temperature (the
values not just an ON/OFF) according to
the calculation made. With this type of
communication it is possible also to
adjust by remote the domestic hot water
(DHW) temperature in case of
instantaneous DHW production or DHW
storage tank controlled by a dedicated
sensor.
The functions of this type (rEc) are the
same as room thermostat type above
11
described. Additionally it is possible to
have a feedback from boiler status and
alarms. The display in rEc type give more
information according the already
mentioned start up indications.
The 4 status mode have additional
functionality compared with the type room
thermostat.
Status mode in rEc: select the heating
mode button for fast switching between
the 4 status OFF – AUTO – PARTY -
HOLIDAY.
OFF mode, the heating request to
the boiler is off, on display there is not
equivalent icon, the heating layer and the
programming fascia is off. With this mode
only the frost protection function is active.
The DHW function is active and it is
possible to increase or decrease the
target temperature by pressing the
and buttons.
AUTO mode: the heating request is
according the programmed timing and
room temperature. In AUTO mode it is
possible to increase or decrease
temporary the room set temperature by
pressing the and buttons, only if
the current time is inside in a heating ON
fascia. The temporary new temperature
set (T1) is maintained only inside the
timing fascia. The next heating fascia will
be back to the original T1 set
temperature. It is possible to check the
target flow temperature communicated to
the boiler (according the various
calculations) by pressing once the
buttons only if the current time is inside in
a heating ON fascia.

12
In the case the outside sensor is fitted
(external temperature displayed) the
and buttons increase or decrease of
equivalent degree indicated on display,
the room comfort level (from – 5 to +5)
HOLIDAY mode with choice how
many day off (by increasing or decreasing
using the button and ). The
heating request to the boiler is to maintain
the economy temperature on the room
(T2). The number of days off is
considered on the day starting from
midnight. After the counter down is ended
the programmer switch to AUTO mode.
PARTY mode automatically switch
the programmer ON to comfort
temperature (T1). This status is forced up
to midnight, after, the programmer goes
back to the programmed timing fascia.
Other functions (common to crt and
rEc modes):
Battery low
Alarms and reset (only for rEc type)
Technical menu (only for experts)
O
PERATING INSTRUCTIONS
The programmer is factory set as room
thermostat type (crt). Most of the
parameters are already set, at the start
up it is necessary to set the time and the
day (please note no solar fuse is pre-
charge inside therefore if during the year
there is time modification it must be
adjusted).
The following operation must done at
start up
E
ND USER MENU
(
MAIN MENU
)

13
Enter inside the end user menu pressing
the button once. Use the button
to escape at any time. Scroll inside the
end user menu pressing any of the
triangle buttons and press again the
button to enter inside the single setting,
the scrolling give access to the following
settings:
Attention: the TYPE of the device (that is
part of the main menu selection) should
have already been set by the installer as
this set is according the installation made
(ON/OFF device or Remote Control
device).

14
icon
Description
Factory set value
Setting the comfort (T1) and economy (T2)
temperatures T1 = 21°C
T2 = 16°C
Setting the time Unset
Setting the day Unset
Setting the programming fascia Unset
Setting the domestic hot water temperature (only
rEc type) 42°C
tyPE
Setting the TYPE crt
PL Setting the technical menu (password required) --
Setting the Domestic hot water programming daily
fascia (only with boiler with tank and parameter 24
ON and only in 24hr time) --

15
Set the target room temperature
(T1 and T2). Use the and to
increase or decrease, use the and
to switch between T1 and T2. The
value selected is automatically
memorized moving at the next setting.
Use the button to enter and exit.
Set the time. Use the and
to increase or decrease, use the
and to switch between hours and
minutes. Use the button to enter and
exit.
Set the day of the week. Use
the and to increase or decrease.
Use the button to enter and exit.
Set the programming heating
fascia. Use the to select the day
(only ahead, not back). Use the to
switch ON or OFF the layer T2 or T2+T1,
once selected maintain the copy to the
following 30 minutes pressing the
button. Move ahead or back the point
using the and buttons. Heating
fascia are pre-set with day 1-5 from 6-
8,30 and from 16 to 22 on T1and days 6-
7 from 8-11 and from 16 to 23 on T1.
The setting is made on 30 minutes

16
Set the target domestic hot water.
Use the and to increase or
decrease the value. Use the button
to enter and exit.
tyPE
Set the device installation type.
Use the and to switch between
the values (see the table at page 2 for
details).
PL
Enter inside the technical menu.
Password required. Use the and
to increase or decrease the password
code. (see specific paragraph for better
details)
Set the daily
programming fascia for domestic hot
water production (only for boilers
installed with tank and sensor).
Parameter active only if the parameter 24
inside the technical menu is set ON. Set
the programming fascia in the same way
used for heating fascia. The setting is
possible daily, not weekly. The heating of
the DHW tank will be done according the
selected programmed fascia.
Battery low
When the controller feels that the battery
are about to be exhausted, the
battery icon will lit up. In this case the
batteries needs to be changed in due
time. If the battery completely run out of
energy, or during the battery
replacement, the settings will be kept in
the controller memory, except for the time
and the day

17
A
LARMS
Should anything occur during the
functioning of the controller, a display will
be shown in the main display, together
with the spanner icon. In most of the
cases it is sufficient to press the
button to reset the system, but exceptions
apply according to the following list:
A
LARMS RELATED TO THE CONTROLLER
The following are alarms related to the
controller only:
A80 = room sensor broken. Replace the
controller
A81 = EEPROM alarms. Following this
alarm after the reset, the set of factory
parameters are recharged in the
controller memory
A83 = (only for rEc mode) the cable
between the programmer and the boiler
is broken or not connected properly.
There is no communication between
receiver and boiler. Or programmer
connected on the room thermostat boiler
connection.
A99 = too many resets. There have been
more than 5 resets in 15 minutes.
Following this alarm, it is necessary to
reset the boiler directly on its dashboard
and is not possible to do it from the
controller.
A
LARMS RELATED TO THE BOILER
(
ONLY R
E
C
TYPE
):
The alarms are displayed as per the
display of the boiler: refer to the boiler
instruction manual for the meaning of the

18
symbols. REMARK: the alarms type A2X
can be reset only from the boiler fascia.
A
LARMS RESET
The reset of the alarms is done pressing
the button on the programmer.
C
LIMATIC CURVES
Below the climatic curves of the
programmer. Curves from 0,2 to 0,8 are
used when the boiler is set for low
temperature (i.e. floor heating)
Curves from 1 to 3 are used when the
boiler is used for high temperature (i.e.
radiator heating),
Selection of the climatic curve can be
made inside the technical menu only.
The climatic curve function is active only
if an external sensor if fitted to the boiler.
If there is not external sensor fitted, the
programmer make an automatically
regulation using the room sensor.
External temperature
Boiler flow temperature

19
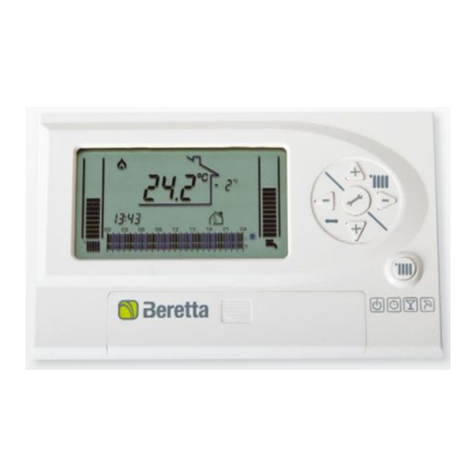
DISPLAY IN crt (ON/OFF) MODE:
When the device is in its standard mode
of functioning, the appearance of the
display will be the following:
The icon means that there is a heat
request from the room to the boiler. The
boiler will switch ON.
The central heating symbol and bar
is a proportional indication of the set-point
of the desired temperature in the room.
Each bar represents to 2°C. They will
disappear when the central heating is
turned OFF.
The temperature display
indicates the actual temperature
measured inside the room
The time display indicates the
actual time
The day icon indicates the
actual day of the week

20
The central heating fascia bar is a
permanent display of the functioning
fascia set for the central heating set point
setting. If a bar is completely blank, the
set-point is the anti-frost level (central
heating OFF). If only the lower part of a
bar is black, the set point is the economy
(T2). If the whole bar is black, the set
point is the comfort (T1). They will
disappear when the central heating is
turned OFF.
The day icon and the night icon
indicate whether the current set point for
the current time is night or day.
The party icon is lit up when the
party mode is selected. In this mode the
central heating fascia bar will be
completely lit up at T1 together with the
day icon. After midnight, the display will
turn back to the pre-set working fascia.
The holiday icon is lit up when the
holiday mode is selected. In this mode
the central heating fascia bar will be lit up
at T2 together with the night icon. After
the holiday counter is over, the display
will turn back to the pre-set working
fascia.
When the icon appears, the controller
is working as to keep the anti-frost
temperature.
Other manuals for Alpha DGT
1
This manual suits for next models
7
Table of contents
Other Beretta Thermostat manuals

Beretta
Beretta HRT-177WS User manual

Beretta
Beretta Alpha 7D User manual

Beretta
Beretta Alpha DGT User manual

Beretta
Beretta HRT-176WS User manual

Beretta
Beretta SUN 1 N User manual

Beretta
Beretta Alpha 7D Guide

Beretta
Beretta Alpha 7D Operation and installation manual

Beretta
Beretta 20050692 Guide

Beretta
Beretta Alpha HRT-176RS User manual