manuals.online logo
Brands
  1. Home
  2. •
  3. Brands
  4. •
  5. Berlebach
  6. •
  7. Camera Accessories
  8. •
  9. Berlebach 510 User manual

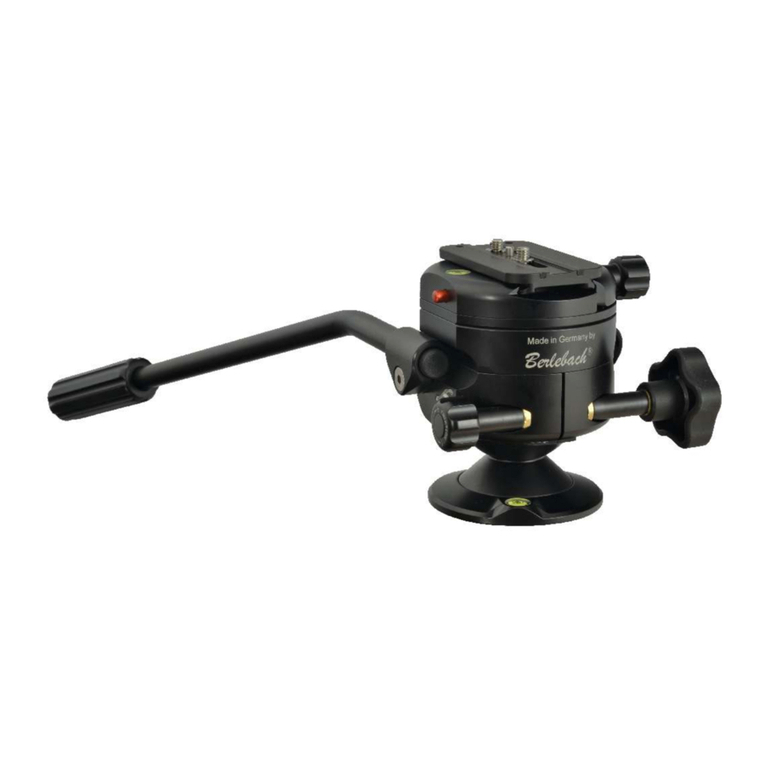
Berlebach 510 User manual

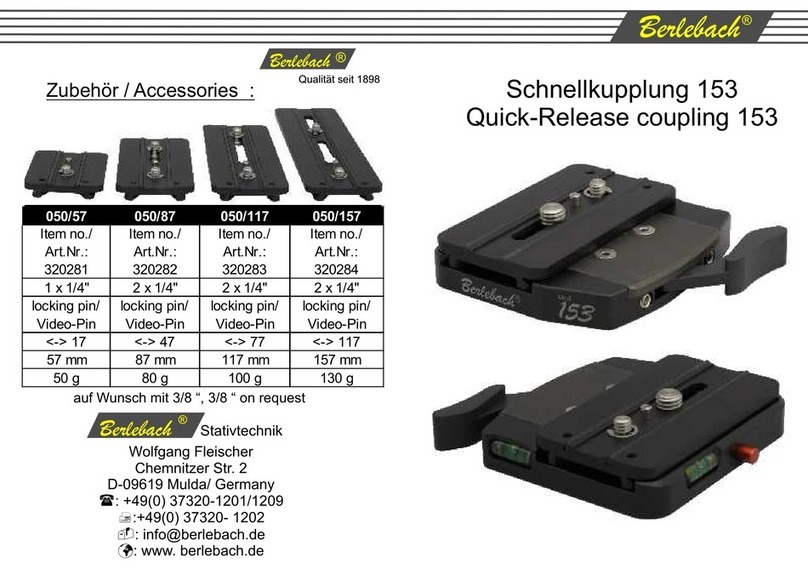
050/40 050/57 050/87 050/117 050/157
Item no./
Art.Nr.:
320280
Item no./
Art.Nr.:
320281
Item no./
Art.Nr.:
320282
Item no./
Art.Nr.:
320283
Item no./
Art.Nr.:
320284
1 x 1/4" 1 x 1/4" 2 x 1/4" 2 x 1/4" 2 x 1/4"
Locking Pin/
Video-Pin
Locking Pin/
Video-Pin
Locking Pin/
Video-Pin
Locking Pin/
Video-Pin
Locking Pin/
Video-Pin
0 17 . 47 . 77 . 117
40 mm 57 mm 87 mm 117 mm 157 mm
38 g 50 g 80 g 100 g 130 g
90 mm
3.5 “
Wechselplatten/
Quick-Change Plates 2-Wege-Neiger Mod. 510
2-Way Tilt Head Mod. 510
# 32023
0,7 kg
1.54 lb
5 kg
11 lb
2 x 90°
Stativtechnik Wolfgang Fleischer
Chemnitzer Str. 2, D-09619 Mulda/ Germany
: +49(0) 37320-1201/1209 :+49(0) 37320- 1202
: [email protected] : www. berlebach.de


Zubehör/ Accessories
Drehen der Schnellkupplung bei Arbeiten
mit Hochformatwinkeln.
How to move the quick-realease coupling
when working with portrait angles.
- Fixierschraube 9 mit
Hilfe des Sechskant-
schlüssels 3 lösen,
- Schnellkupplung nach
oben abziehen und in
gewünschter Richtung
wieder aufsetzen
- Schraube wieder
anziehen
- Unscrew the socket
head screw 9 with the
socket head wrench 3
- Remove the quick-
release coupling
- Attach the qrc in the
required direction and
fix it with the screw
Klappwinkel
Folding L-bracket
135x135 mm
0,3 kg
# 320335
Nivellierplatte N75
Levelling Plate N75
Ø 75 mm / 15°
# 320412
1
11
9 10
12
8
3
24
6
5
Bedienteile
1
2 Feststellschraube
3 Imbusschlüssel
4 Sicherungsstift
5 Video Pin
6 Wechselplatte
7 Rändelschraube
8 Schwenkarmschr.
9 Fixierschraube
10 Dosenlibelle
11 Arretier-Pin
12 Friktionsrad
Schwenkarm
7Dear Customer,
thank you for buying this high-quality
Berlebach product made in Germany, which
will serve your purposes for many years.
Please take the following details on the
product's operation.
This 2-way Tilt Head is equally suitable for left-
and right-handed people. For changing the
lever position, the handle screw 8 is taken
out completely using the hex wrench 3 . Now,
the lever 1 can be taken off. It is attached to
the opposite side again, turned into position
and fixed using the handle screw 8 .
The horizontal and vertical levels of the tilt
head are fixed by turning the locking screw 2 .
The video pin 5 in the quick-change plate 6
can be screwed out if not needed.
-To remove the quick-change plate 6 ,
unscrew the knurled knob 7 by one turn
max., press the safety pin 4 and extract the
quick-change plate in longitudinal direction.
-Fix quick-change plate to the camera.
To insert it again, push in quick-change plate
in longitudinal direction, adjust its position and
lock it with knurled knob.
Important note! When using quick release
plates of other manufacturers it is possible that
the plate can be inserted and removed only in
the direction of the arrow and by keeping the
safty pin 4 pressed .
Sehr geehrter Kunde,
Sie haben sich zum Kauf eines Berlebach
Produkts entschieden. Mit dieser Anschaffung
haben Sie ein hochwertiges Erzeugnis aus
deutscher Produktion erworben, welches Ihnen
bei guter Pflege viele Jahre Freude bereiten
wird.
Wir möchten Ihnen noch einige Hinweise zur
Bedienung geben.
Dieser 2-Wege-Neiger ist für Rechts- und
Linkshänder gleichermaßen geeignet. Zum
Wechseln der Schwenkarmposition wird mit
dem Sechskantschlüssel 3 die Schwenk-
armschraube 8 komplett heraus gedreht. Jetzt
kann der Arm 1 entnommen werden. Er wird
von der Gegenseite wieder eingesteckt, in die
gewünschte Position gebracht und mit der
Schraube 8 befestigt.
Die Fixierung der Horizontal- und Vertikalebene
wird durch Drehen der Feststellschraube 2
erreicht.
Der Videopin 5 in der Wechselplatte 6 kann
einfach herausgedreht werden, wenn er nicht
benötigt wird.
- Zum Entfernen der Wechselplatte 6
Rändelschraube 7 max. eine Umdrehung
lösen, Sicherungsstift 4 drücken, und
Wechselplatte in Längsrichtung herausziehen.
- Wechselplatte an der Kamera befestigen.
- Zum Einsetzen Wechselplatte in Längs-
richtung einschieben, Position
einrichten und mit Rändel-
schraube 7 feststellen.
Wichtiger Hinweis!
Bei der Verwendung von Wechselplatten
anderer Hersteller ist es möglich, daß das Einsetzen, wie
auch das Herausnehmen nur in Pfeilrichtung und mit
gedrücktem Sicherungsstift 4 möglich ist.
Controls
1
2 Locking screw
3 Hex-wrench
4 Safety pin
5 Video pin
6 Quick-change plate
7 Knurled knob
8 Lever screw
9 Fixing screw
10 Bubble Level
11 Latching pin
12 Friction adjustment
Lever
Other Berlebach Camera Accessories manuals

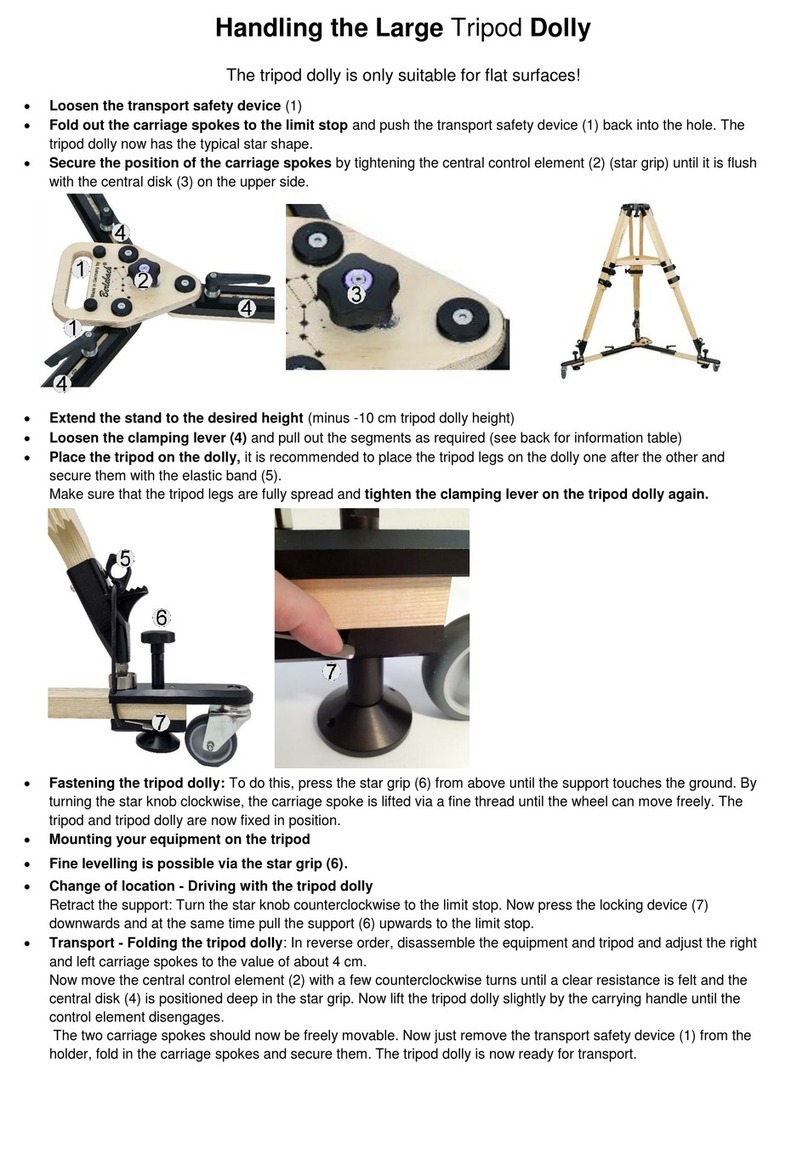
Berlebach Large Tripod Dolly User manual

Berlebach

Berlebach Large Tripod Dolly User manual

Berlebach Albatros User manual

Berlebach

Berlebach Albatros User manual

Berlebach Pegasus User manual

Berlebach

Berlebach Pegasus User manual

Berlebach 31008 User manual

Berlebach

Berlebach 31008 User manual

Berlebach SPEEDY User manual

Berlebach

Berlebach SPEEDY User manual

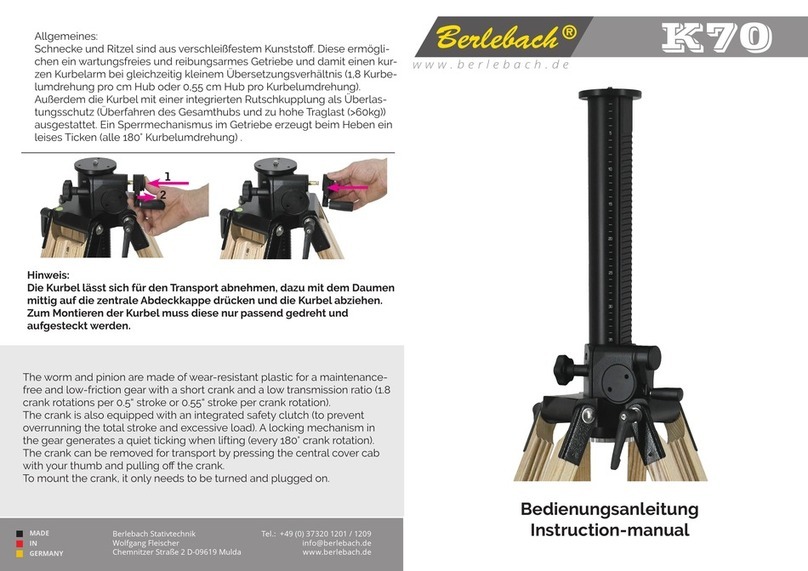
Berlebach K70 User manual

Berlebach

Berlebach K70 User manual

Berlebach 31008 User manual

Berlebach

Berlebach 31008 User manual

Berlebach Minitripod User manual

Berlebach

Berlebach Minitripod User manual

Berlebach 153 050/57 User manual

Berlebach

Berlebach 153 050/57 User manual

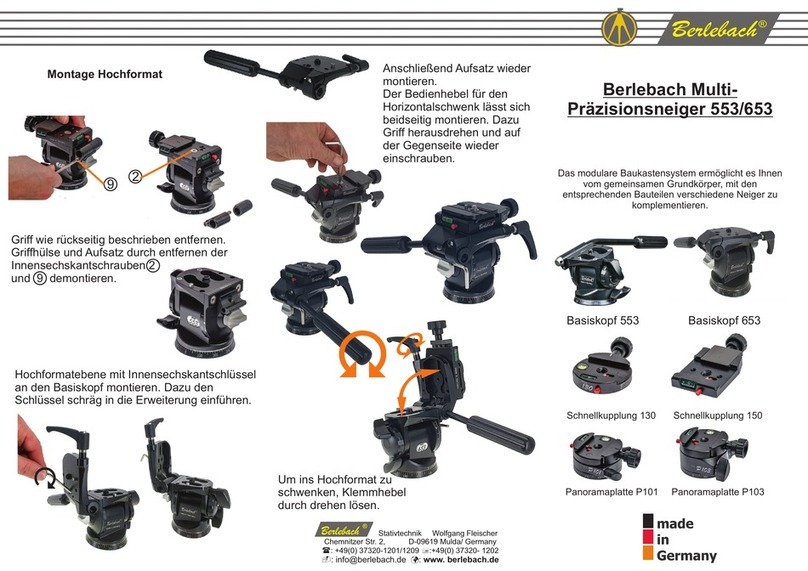
Berlebach Multi-Precision Tilt Head 553 User manual

Berlebach

Berlebach Multi-Precision Tilt Head 553 User manual

Popular Camera Accessories manuals by other brands

Dräger Evita V Series manual

Dräger

Dräger Evita V Series manual

Sanyo KR-1500SC Cadnica Specifications

Sanyo

Sanyo KR-1500SC Cadnica Specifications

Orion 5302 instruction manual

Orion

Orion 5302 instruction manual

Revo EPH-6 user manual

Revo

Revo EPH-6 user manual

Adam Hall SWU375 user manual

Adam Hall

Adam Hall SWU375 user manual

Tiffen FilmGuard Camera Bag brochure

Tiffen

Tiffen FilmGuard Camera Bag brochure

GPI PRO SLED II owner's manual

GPI

GPI PRO SLED II owner's manual

Panasonic WV-Q158C operating instructions

Panasonic

Panasonic WV-Q158C operating instructions

Sneaker Dolly Deluxe Kit owner's manual

Sneaker Dolly

Sneaker Dolly Deluxe Kit owner's manual

Nikon UT-1 user manual

Nikon

Nikon UT-1 user manual

Green Cubes Lithium Safeflex Series quick start guide

Green Cubes

Green Cubes Lithium Safeflex Series quick start guide

Tesla Powerwall 2 installation manual

Tesla

Tesla Powerwall 2 installation manual

Sanyo Cadnica KR-10000M Specifications

Sanyo

Sanyo Cadnica KR-10000M Specifications

Revo SR-500 instructions

Revo

Revo SR-500 instructions

Nikon TC-14E II instruction manual

Nikon

Nikon TC-14E II instruction manual

HIMCEN 200 Product instructions

HIMCEN

HIMCEN 200 Product instructions

Bioenno Power BLF-2410A user manual

Bioenno Power

Bioenno Power BLF-2410A user manual

PhaseOne H 101 Getting started

PhaseOne

PhaseOne H 101 Getting started

manuals.online logo
manuals.online logoBrands
  • About & Mission
  • Contact us
  • Privacy Policy
  • Terms and Conditions

Copyright 2025 Manuals.Online. All Rights Reserved.