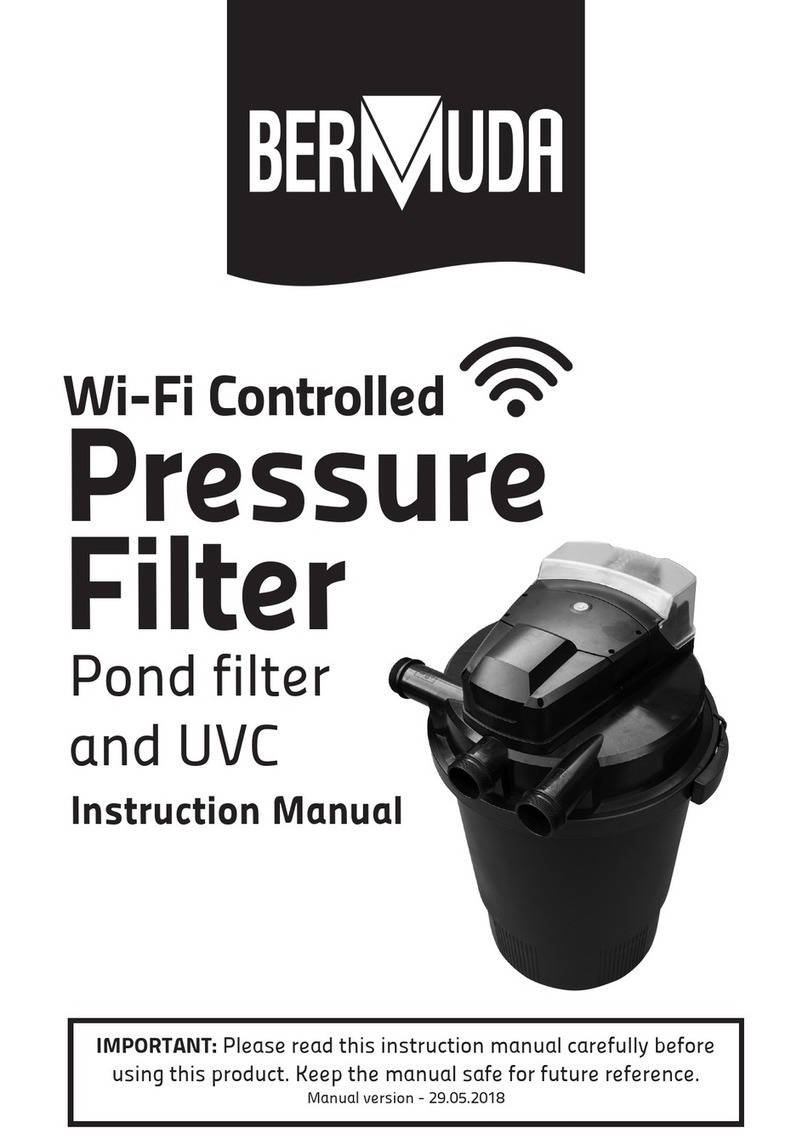
Bermuda BER0101 User manual

Instruction Manual
Pond filter
and UVC
IMPORTANT: Please read this instruction manual carefully before
using this product. Keep the manual safe for future reference.
Pressure
Wi-Fi Controlled
Filter

2
Thank you for purchasing a Bermuda Wi-Fi Controlled Pressure Filter.
The Bermuda Wi-Fi Controlled Pressure Filter combines mechanical and
biological filtration with a powerful UV clarifier, to create clear, healthy
pond water.
Being pressurised, the Bermuda Wi-Fi Controlled Pressure filter can be
situated below the water level of raised ponds, for discrete placement, at
the base of watercourses, or even a long distance away from the pond,
hidden away from view. Cleaning the Bermuda Wi-Fi Controlled Pressure
filter is easy by way of turning it to waste and winding a handle. Media
can be cleaned and dirty water flushed away without getting hands wet.
Attention
1. Keep out of reach of children
2. A drip loop should be installed in the power cable of the UV, to prevent
water running downwards into an outdoor socket or outdoor switchbox.
3. An RCD (of which the rated working current is not over 30mA) must be
installed when using the pump and UV, and the power sockets must be
connected to an earth.
4. The Bermuda Pressure Filter is intended for outdoor use only.
Although shower proof it must never be placed in the pond.
5. The filter must never be used to filter any flammable liquids,
or water over 35⁰C.
6. Always disconnect the power supply when handling,
servicing or maintaining the UV.
7. Do not attempt to unplug or unwire the UV with wet hands.
8. Do not carry or retrieve the Pressure Filter by the electrical cable.
9. Power cable to UV cannot be replaced. If cut too short or in any way
damaged, discard the unit. Do not attempt to access the
electricals inside.

3
Features
• Mechanical and biological filtration combined
• Powerful UV clarifier to tackle green water
• Can be buried in the ground up to its lid.
• Water can be pumped through the filter then uphill
• Capable of high flow-through of water
• Ideal for use with Bermuda Filter Force pumps
Usage
Only suitable for outside garden ponds. UV can be run continuously,
24 hours per day.
• If using 1¼” or 1½” hose, cut off the smaller diameter step(s)
on each of the three supplied hosetails.
• Make sure the clamp ring is secured while the filter is running.
• Always unplug UV before viewing or handling.
• Do not look at UV bulb when lit and plugged in.
• Spend 30 minutes checking for leaks after installing.

4
Filter set-up
Filter maintenance
Step 1 - To clean the filter turn the valve
from RUN to CLEAN. Water will stop
returning to pond and instead leave by
the drain on the rear of the filter lid.
Step 3 - Turn the filter valve back to RUN,
and normal filtration and return to pond
will resume.
Step 2 - Wind handle on filter to squeeze
sponge inside and help remove dirt.
Dirty water will then be pumped out of
the drain to waste.
Step 4 - To access the sponges for
inspection or replacement, slide clasp on
clamp ring to the right, while at the same
time depressing the left hand side of the
clasp and pulling to the left. Use two hands.

5
Filter maintenance (continued)
Step 9 - To clean black Bio Balls in the
base of the filter, remove by hand and
wash in old pond water, then replace.
Step 10 - Reverse steps 4 to 9 to ensure
the clean Bio Balls and sponges are
re-installed correctly and lid is closed.
Step 5 - Lift the lid and connected
sponges out of the filter body and turn
upside down
Step 6 - Remove the bottom shield
Step 7 - Using a screwdriver (not supplied)
undo the screws in the bottom
support plate.
Step 8 - Sponges can then be lifted off
and replaced.

6
Step 1 - Prize off the valve with a
screwdriver. ENSURE POWER IS
SWITCHED OFF.
Step 3 - Lift off the blue filter casing.
Step 2 - Unscrew the 3 screws.
Step 4 - Undo the screws on the lid of the
UV compartment.
Step 5 - Undo the large screw at the back
of the UV compartment.
Step 6 - Lift out the whole UV assembly.
Step 7 - Unscrew locking nut to release
the quartz sleeve.
Step 8 - Unclip the bulb and replace.
CAUTION: NEVER LOOK AT A LIT UV BULB.
UVC maintenance

7
Trouble shooting
1. If water is leaking around the hosetails, check that the supplied rubber
washers have been fitted. Check that the hose is the right size for the
hosetail and that the hoseclip has been properly tightened.
2. If water is leaking from the clamp, check that it is done up properly and
tight, and that the O-ring is present inside the filter casing.
3. If the red ball is floating at the top of the clear indicator vessel on top of
the filter, the filter needs cleaning - refer to filter maintenance on pg 4.
4. If the water turns green, check that the UV is plugged in and running
24 hours per day. If more than six months old the lamp will need replacing.
Check that the quartz sleeve is clean and clear, to allow the UV light to
penetrate the water. Check that the pump and filter have been properly
matched for the pond size.
5. If filter sponges do not spring back after cleaning, replace old sponges
for new.
Specifications
MODEL BER CODE OUTPUT POWER MAX HEIGHT
10000 BER0101 10,000 litres / 2,200 gallons 3,500lph / 770gph 18W
15000 BER0102 15,000 litres / 3,300 gallons 5,000lph / 1,100gph 24W

8
Exploded view - Pressure filter

9
Exploded view - UVC

10
Exploded view - Sponge

11
Guarantee
This product is guaranteed against defects in material and workmanship
for one year from the date of purchase, under normal usage.
The guarantee DOES NOT APPLY in case of improper use, negligence,
lack of maintenance or accidental damage to the pump. If the pump fails
due to a manufacturing fault within this period it will be either repaired
or replaced free of charge. Moving parts or wearable parts including the
impeller and any washers or O rings, also quartz sleeves and UV bulbs
are not covered by the guarantee and are available to order from your
Bermuda retailer.
Should your Bermuda product stop working refer first to trouble shooting
and if this does not help, return the product to the place of purchase.
Liability is limited to replacement of the faulty product only. No other
costs will be reimbursed. This guarantee is not transferable and does not
affect your statutory rights.
Do not attempt to tamper with or access electrical components inside
the pump body. Doing so will invalidate the warranty.
The manufacturer or supplier shall not be responsible, or held liable
for any damages caused by defective components or materials of
this product, or for loss incurred by interruption of service, or any
consequential/incidental damages and expenses arising from the
production, sale use or misuse of this product or any other
consequential loss.
Any warranty claim must be accompanied by a valid, dated proof of
purchase. Evolution Aqua, Bermuda, its distributors and dealers shall not
be held liable for any loss of fish, plants or any other livestock as a result
of any failure or defect of this product.
The installation and use of your product outside of our recommendations
as printed in this manual may also void the warranty.

www.bermudawatergardens.com
BERMUDA an Evolution Aqua brand.
Evolution House, Kellet Close, Wigan, Lancashire, WN5 0LP
DISTRIBUTED BY: Certikin, Witan Park, Avenue 2,
Station Lane Industrial Estate, Witney, Oxfordshire, UK, OX28 4FJ
This manual suits for next models
3
Table of contents
Other Bermuda Water Filtration System manuals
Popular Water Filtration System manuals by other brands

HYDAC FILTER SYSTEMS
HYDAC FILTER SYSTEMS OLFP-3 Series Installation and maintenance instructions

KRUEGER
KRUEGER CRFF-E Installation operation & maintenance

Whirlpool
Whirlpool WHAROS5 Installation and operation manual

Danfoss
Danfoss VLT AAF006 Service manual

Atlas Filtri
Atlas Filtri DOSAPROP quick start guide

Master Water Conditioning
Master Water Conditioning MBA Series Installation and operation manual