manuals.online logo
Brands
  1. Home
  2. •
  3. Brands
  4. •
  5. Beyerdynamic
  6. •
  7. Microphone System
  8. •
  9. Beyerdynamic Synexis User manual

Beyerdynamic Synexis User manual

Synexis TH Handheld Transmitter










Electret condenser microphone head, cardioid polar pattern
LED to display mute or charging status (refer to the Synexis charger manuals)
Button with mute function
Arrow-shaped buttons for channel selection and frequency display
OLED display
On/off and Set button
Battery compartment
Gain switch Hi/Low
Lid of the battery compartment
Charging contacts on the right and left hand side
Operating instructions for Synexis TH handheld transmitter
1. Turn on the handheld transmitter by pressing the on/off button  for approx.
3 seconds.
2. If you wish to select a different channel, press the on/off button and one
of the two arrow-shaped buttons simultaneously for approx. 2 seconds
until the channel display  will flash. Use the upper or lower arrow-shaped
button to select the requested channel. The channel will automatically be
stored after approx. 2 seconds. If you press briefly the on/off button , the
channel will immediately be stored.
3. There are three different mute functions available:
Push-To-Mute (PTM): Hold down the mute button  to mute the micro-
phone.
Push-To-Talk (PTT): Hold down the mute button  to activate the micro-
phone.
Mute Toggle (MTG): Press the button  briefly to switch between muted
and activated microphone.
To select a different mute function, press the on/off button  and the mute
button simultaneously for approx. 2 seconds until the channel and mute
display  will start to flash. Use the mute button  to select the requested
mute function. After approx. 2 seconds the selected mute function will auto-
matically be stored.
If the LED will illuminate blue, the microphone is activated. If the LED 
will flash red, the microphone is muted.
4. After use turn off the handheld transmitter by pressing the on/off button 
for approx. 3 seconds.
5. If the battery status displays only one bar , you should recharge the trans-
mitter or replace the alkaline batteries as soon as possible. If the transmitter
is equipped with rechargeable NiMH batteries, turn it off and put it into the
appropriate charger (e.g. Synexis C8). The LED indicates the charging
status:
LED is flashing blue . . . . . . . . . . . . . . The batteries are being charged
LED illuminates blue . . . . . . . . . . . . . The batteries are fully charged
LED is flashing red. . . . . . . . . . . . . . . Error
Operating instructions for Synexis TP beltpack transmitter
1. Connect a microphone to the 4-pin mini XLR socket . Make sure the
connector will correctly lock in place.
Note
In order to avoid popping noise in the Synexis RP receiver, you should
connect the microphone when Synexis receiver is turned off.
2. Turn on the beltpack transmitter with the on/off switch . The LED  will
illuminate blue. The selected channel and the battery status are displayed .
Make sure that transmitter and receiver operate on the same channel.
3. If you wish to select a different channel, Use one of the two channel selector
buttons to select the requested channel. If you release the channel selector
button , the channel will automatically be stored after approx. 3 seconds.
If you would like to lock the selected channel to avoid accidental shifting,
hold down the Set button for about 3 seconds. A key symbol will be
displayed . The channel is locked.
If you would like to unlock a locked channel, hold down the Set button for
about 3 seconds. The key symbol in the display  will disappear.
4. If you would like to mute the connected microphone, press the mute button .
The LED will flash red. “Mute” is displayed . In order to turn off the mute
function, press the mute button  once again.
5. You can connect an audio source (e.g. MP3 player) to the Line In input , if
you want to play recordings during guided tours.
6. After use turn off the beltpack transmitter with the on/off switch . The
LED will go out.
7. If the battery status displays only one bar , you should recharge the trans-
mitter or replace the alkaline batteries as soon as possible. If the transmitter
is equipped with rechargeable NiMH batteries, turn it off and put it into the
appropriate charger (e.g. Synexis C8 or C10). The LED indicates the charging
status:
LED is flashing blue . . . . . . . . . . . . . . The batteries are being charged
LED illuminates blue . . . . . . . . . . . . . The batteries are fully charged
LED is flashing red. . . . . . . . . . . . . . . Error
Synexis TP Beltpack Transmitter
 
 











On/off switch
LED to display operating or charging status (refer to the Synexis charger manuals)
Push-button to mute the microphone
Microphone connection, 4-pin mini XLR
Set button
Line-In input to connect an audio source such as MP3 player, mini stereo jack (3.5 mm)
Belt clip
Lid of the battery compartment
Charging contacts on the right and left hand side
Channel selector buttons
OLED display
Mounting for strap
Gain switch, 3 stages Hi/Mid/Low
Battery compartment
Antenna
Quick Start Guide – Synexis
beyerdynamic GmbH & Co. KG | Theresienstr. 8 | 74072 Heilbronn – Germany | Tel. +49 (0)7131 / 617-400 | conference@beyerdynamic.de | www.beyerdynamic.com | For further distributors worldwide, please go to www.beyerdynamic.com
E1/PI Synexis Quick Start Guide (07.12)/634.840 • Non-contractual illustrations. Contents subject to change without notice.

 
 







Headphone socket, mini jack (3.5 mm)
LED to display operation or charging status (refer to the Synexis charger manuals)
On/off and volume control
Set button
Charging contacts
Lid of the battery compartment
Belt clip
Channel selector buttons
OLED display
Mounting for strap
Battery compartment for two 1.5 V batteries or rechargeable NiMH-batteries
Operating instructions for Synexis RP beltpack receiver
1. Connect a beyerdynamic headphone with mono or stereo mini jack plug to
the headphone socket .
2. Switch on the beltpack receiver by turning the control clockwise to the
right.
3. The LED  will illuminate:
blue, when a transmitter is turned on and reception available.
red, when there is no transmitter turned on or no reception available.
4. Use the control  to set the requested volume by turning it more clockwise.
Important: Do not set the volume too high, because listening at a high
volume can damage your hearing.
5. The selected channel and the battery status are displayed . Make sure that
the receiver is operated on the same channel as the transmitter. To select a
different channel use one of the two channel selector buttons . If you
release the channel selector button , the channel will automatically be
stored after approx. 3 seconds. If you would like to lock the selected channel
to avoid accidental shifting, hold down the Set button for about 3 seconds.
A key symbol will be displayed . The channel is locked. If you would like to
unlock a locked channel, hold down the Set button for about 3 seconds.
The key symbol in the display  will disappear.
6. After use, switch off the receiver by turning the control  anti-clockwise. The
LED will go out.
7. If the battery status displays only one bar , you should recharge the receiver
or replace the alkaline batteries as soon as possible. If the receiver is equipped
with rechargeable NiMH batteries, turn it off and put it into the appropriate
charger (e.g. Synexis C8 or C10). The LED indicates the charging status:
LED is flashing blue . . . . . . . . . . . . . . The batteries are being charged
LED illuminates blue . . . . . . . . . . . . . The batteries are fully charged
LED is flashing red. . . . . . . . . . . . . . . Error
Synexis RP Beltpack Receiver Accessories for Synexis RP Beltpack Receiver
DT 1 (Order # 724.521)
• Particularly suitable for the frequent
use in factory tours, tourism, museums
and whenever it is important to hear
acoustic warning signals.
• With elastic ear piece for different
ear sizes.
• Can be worn on the left or right ear.
• 32 ohms.
• Cable length 90 cm [35.43"].
• With mini stereo jack plug (3.5 mm).
DT 2 (Order # 484.679)
• Particularly suitable for the use in
interpretation applications, factory
tours, with loud environmental noise
and whenever binaural listening is
requested.
• With adjustable headband.
• 32 ohms.
• Cable length 80 cm [31.5"].
• With mini stereo jack plug (3.5 mm).
DT 3 (Order # 484.571)
• Suitable for the same applications as
DT 2, but due to neckband especially
for applications where it is required
to wear a helmet.
• 32 ohms.
• Cable length 80 cm [31.5"].
• With mini stereo jack plug (3.5 mm).
DT 4 (Order # 724.548)
• Minimum-cost disposable earphones
for all applications regarding guided
tours; especially when taking back
and cleaning are to be avoided; can
be kept as a souvenir.
• 32 ohms.
• Cable length 90 cm [35.43"].
• With mini stereo jack plug (3.5 mm).
Synexis IL 100 (Order # 722.944)
• Induction loop for Synexis RP
beltpack receiver
• For people who are wearing
hearing aids.
• Cable length 100 cm [39.37"].
• With mini stereo jack plug (3.5 mm).

Other manuals for Synexis

1

This manual suits for next models

3

Other Beyerdynamic Microphone System manuals

Beyerdynamic Opus 500 User manual

Beyerdynamic

Beyerdynamic Opus 500 User manual

Beyerdynamic UHF Wireless System Opus 900 User manual

Beyerdynamic

Beyerdynamic UHF Wireless System Opus 900 User manual

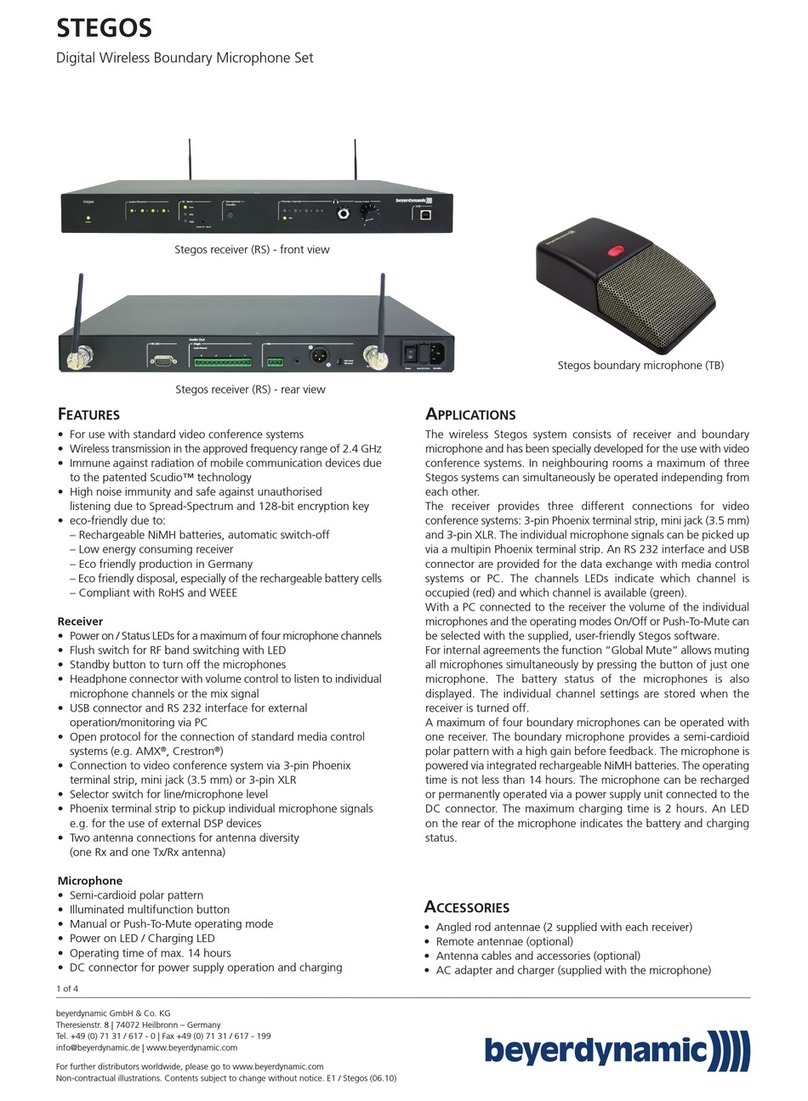
Beyerdynamic STEGOS User manual

Beyerdynamic

Beyerdynamic STEGOS User manual

Beyerdynamic TG 1000 User manual

Beyerdynamic

Beyerdynamic TG 1000 User manual

Beyerdynamic Opus 910 User manual

Beyerdynamic

Beyerdynamic Opus 910 User manual

Beyerdynamic TG 100 Beltpack Set User manual

Beyerdynamic

Beyerdynamic TG 100 Beltpack Set User manual

Beyerdynamic Opus 910 User manual

Beyerdynamic

Beyerdynamic Opus 910 User manual

Beyerdynamic TG 1000 User manual

Beyerdynamic

Beyerdynamic TG 1000 User manual

Beyerdynamic STEGOS User manual

Beyerdynamic

Beyerdynamic STEGOS User manual

Beyerdynamic Opus 100 User manual

Beyerdynamic

Beyerdynamic Opus 100 User manual

Beyerdynamic TG 100 Beltpack Set User manual

Beyerdynamic

Beyerdynamic TG 100 Beltpack Set User manual

Beyerdynamic TG 500 User manual

Beyerdynamic

Beyerdynamic TG 500 User manual

Beyerdynamic TG 100 Beltpack Set User manual

Beyerdynamic

Beyerdynamic TG 100 Beltpack Set User manual

Beyerdynamic UHF Wireless System Opus 900 User manual

Beyerdynamic

Beyerdynamic UHF Wireless System Opus 900 User manual

Beyerdynamic TG 500 Operating and maintenance instructions

Beyerdynamic

Beyerdynamic TG 500 Operating and maintenance instructions

Beyerdynamic TG 1000 User manual

Beyerdynamic

Beyerdynamic TG 1000 User manual

Beyerdynamic SIS User manual

Beyerdynamic

Beyerdynamic SIS User manual

Beyerdynamic STEGOS Configuration guide

Beyerdynamic

Beyerdynamic STEGOS Configuration guide

Beyerdynamic Opus 600 User manual

Beyerdynamic

Beyerdynamic Opus 600 User manual

Beyerdynamic Opus 600 User manual

Beyerdynamic

Beyerdynamic Opus 600 User manual

Beyerdynamic TG 1000 User manual

Beyerdynamic

Beyerdynamic TG 1000 User manual

Beyerdynamic Opus 600 User manual

Beyerdynamic

Beyerdynamic Opus 600 User manual

Popular Microphone System manuals by other brands

Otto Earphone Kit user manual

Otto

Otto Earphone Kit user manual

Transistor modeX 3.0 Teacher manual

Transistor

Transistor modeX 3.0 Teacher manual

Telex ENG-4 operating instructions

Telex

Telex ENG-4 operating instructions

audiophony UHF410 Series user guide

audiophony

audiophony UHF410 Series user guide

Sonken Ezy Mic owner's manual

Sonken

Sonken Ezy Mic owner's manual

himbol ZOlink 600 manual

himbol

himbol ZOlink 600 manual

TPCAST VIVE instructions

TPCAST

TPCAST VIVE instructions

TechBrands MS6210 owner's manual

TechBrands

TechBrands MS6210 owner's manual

Chiayo Q-818 Operation manual

Chiayo

Chiayo Q-818 Operation manual

Voscom VOS-2010FBT Series installation manual

Voscom

Voscom VOS-2010FBT Series installation manual

Rockville RWM-4Z owner's manual

Rockville

Rockville RWM-4Z owner's manual

Galaxy Audio Galaxy Trek GT-INST-6 user manual

Galaxy Audio

Galaxy Audio Galaxy Trek GT-INST-6 user manual

AUSTRALIAN MONITOR ZMPS Installation and operation manual

AUSTRALIAN MONITOR

AUSTRALIAN MONITOR ZMPS Installation and operation manual

Philips AEA7000 user manual

Philips

Philips AEA7000 user manual

Banner SureCross DX80 manual

Banner

Banner SureCross DX80 manual

Conductix-Wampfler ProfiDAT compact Mounting instructions

Conductix-Wampfler

Conductix-Wampfler ProfiDAT compact Mounting instructions

Audio Technica ATW-R1810 Installation and operation

Audio Technica

Audio Technica ATW-R1810 Installation and operation

Malone Duett Pro V1 manual

Malone

Malone Duett Pro V1 manual

manuals.online logo
manuals.online logoBrands
  • About & Mission
  • Contact us
  • Privacy Policy
  • Terms and Conditions

Copyright 2025 Manuals.Online. All Rights Reserved.