Bike Friday Mid-drive e-assist User manual

Mid-drive e-assist
Getting Started Guide
System Components:
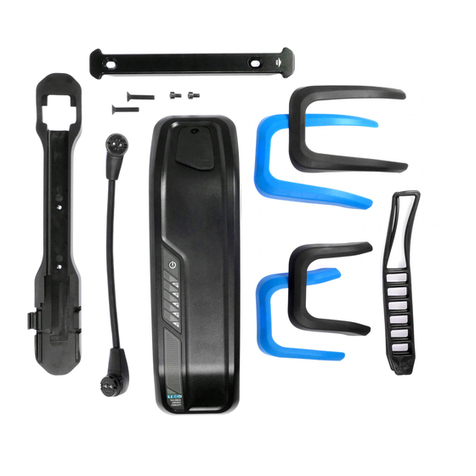
a) Battery Carrier*
b) 36v Battery*
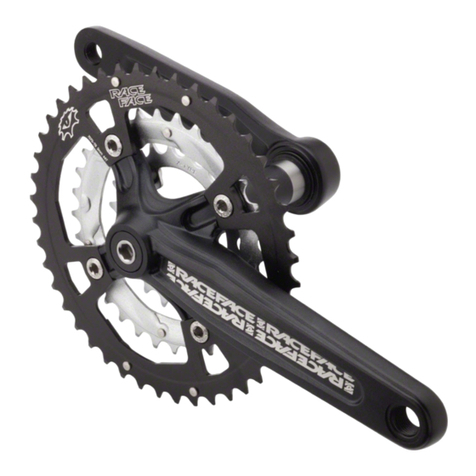
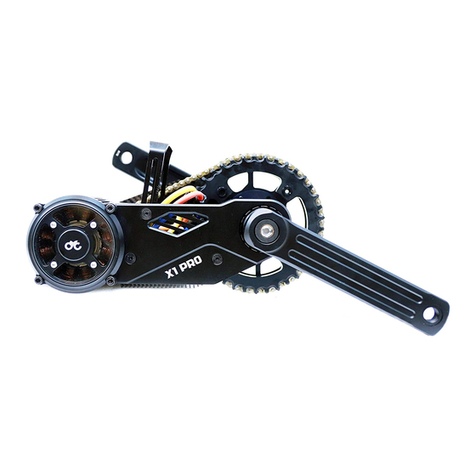
c) Mid-Drive Crankset & Motor Assembly
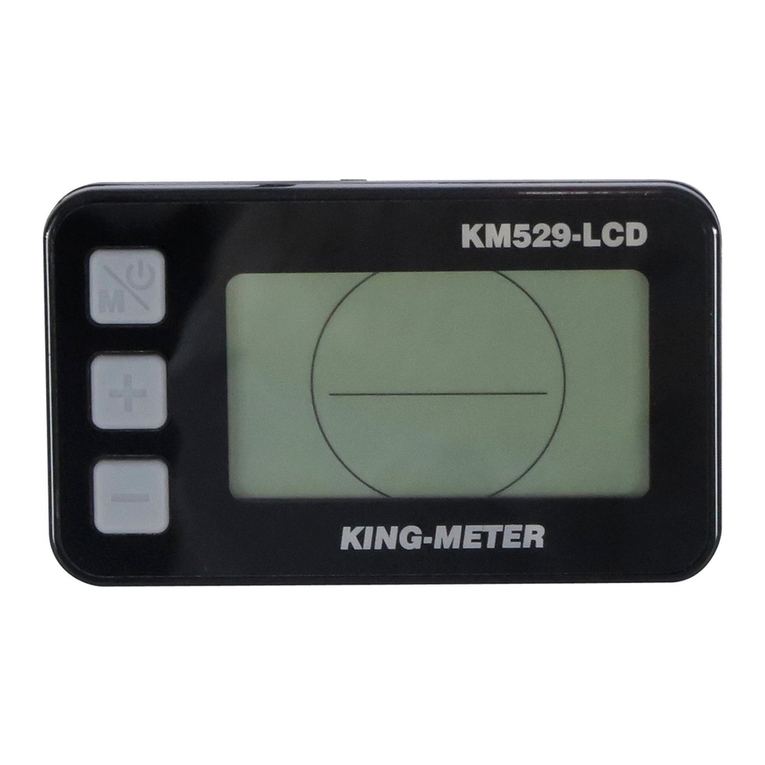
d) andlebar Control Console
e) Speedometer Sensor
f) Power Cable Connection
g) Speedometer Cable Connection
* Several 36v battery systems are available. Battery location, appearance, and associated
accessories will vary.
Description:
The Bike Friday Mid- rive e-assist system includes a motor and torque sensor in the crankset. That
means the harder you pedal, the more the electric motor will assist. This helps you feel powerful and
capable, and still feels like riding a bike (vs a throttle-based motor vehicle)! A console on the
handlebar lets you fine-tune how much proportional assist is provided plus displays speed and other
ride details.
1
a
)
c
)
e
)
f
)
d
)
b
)
g
)

Assembling Your e-assist Components:
1. Connect Speedometer Cable
Locate the cable from the rear wheel speed sensor and connect it to the corresponding cable
attached to the motor assembly.
NOTE: There may be 2 identical ports
on the speedometer cable (as shown).
Connect to either - they are
interchangeable.
2. Install Battery Carrier
NOTE: if you have a different battery system than pictured, and/or if your bicycle has the
Carrier pre-installed, skip to Step 3.
a. Remove battery from Battery
Carrier. First use key to unlock
battery from carrier, then pivot
battery out of carrier.
b. Bolt Battery Carrier
to frame, using
provided bolts to
water-bottle mount.
c. Connect Power Cable
from Battery Carrier to Motor
2

3. Charge Battery(s)
NOTE: Battery(s) may be delivered in a partially-discharged state due to shipping
regulations. Please fully charge battery(s) before your first ride.
See Battery Maintenance and Operation section for more information.
Assembling Your e-assist Components (cont):
4. Install and connect battery(s):
a. Bottle Battey: Install battery LiGo: Install battery
into carrier. bag under saddle.
NOTE: Several bag
options are available,
depending on the
number of Li o
batteries your system
includes.
Bottle Battery:
1) Insert tabs on back of battery.
2) Pivot battery onto carrier.
3) Use key to lock battery onto the
carrier.
Li o Battery(s):
1) Connect modular batteries together (see
Battery Maintenance and Information
Section) and insert block of batteries into bag.
2) Secure bag with velcro strap through saddle
rails and around seatpost.
b. LiGo: Connect red and black
connectors from battery(s) to controller
box. Store extra cable length inside
battery and/or controller bag.
c. Power on battery(s)
NOTE: For more information, see Battery Maintenance and Operation section
3

Assembling Your e-assist Components (cont):
5. Operate andlebar Control Console
a. Power on/off - NOTE: battery(s) must first be powered on (see above):
With the bike stationary, and your feet off the pedals, tap to power on system
(old to power off)
b. Set Assist Level - efault setting at power on = ECO (minimal assist)
Tap + / - to set assist level
“OFF” = no pedal assist power
ECO = minimum pedal assist power
TOUR = moderate pedal assist power
SPEED = increased pedal assist power
TURBO = maximum pedal assist power
c. Adjust Display
i. Tap i to cycle through display option
isplay 1 = Odometer (O O)
isplay 2 = Trip istance (TRIP)*
isplay 3 = Average Speed (AVG)*
isplay 4 = Trip Riding Time (TIME)
*To reset TRIP, AVG, and TIME, old i for 3 seconds.
d. Backlight: After power is on, Tap to toggle on/off display backlight.
4

Tips for Riding an e-bike:
● Before each ride, check that brakes are functioning correctly, and that all frame connections
and/or quick-release levers are secure.
● Start in a lower assist power setting, especially when the bike is new to you.
● Use only as much e-assist power as you need. This will help maximize battery life and keep
you aware of situations you encounter.
● Be aware of obstacles and loose surfaces (sand, gravel, etc.). You may be riding at faster
speeds than without electric assist, so give yourself extra time to stop or avoid these
conditions. The extra torque from the motor can make it easier to lose traction on loose
surfaces.
● Be mindful of other cyclist, pedestrians, and vehicle drivers who may be surprised by the
rapid speed or acceleration of an e-bike rider.
● Charge batteries regularly to ensure maximum range is available for longer rides.
● o not store batteries in a depleted state. This can result in dramatically shortened battery
life.
5

Battery Information:
Bottle Battery Details:
● Use key to install/remove
battery from frame.
●To turn on/off, toggle
rocker switch.
● Check charge state by
pressing button on front
of battery.
○5 LE s change color to
indicate percentage of
battery charged.
■ All Green
= fully charged
■ All Orange
= fully discharged
NOTE: This function only works when battery main power
switch is in the “on” position.
●Charge battery by inserting
charge cord into socket on
rear section of battery, with
charger plugged into 00V-
240V power supply.
○ LED on charger box will
change from red to green
when battery is fully
charged.
○ Battery power switch can be in either “on” or “off” position while charging.
6

Battery Information (cont.):
Grin Technologies LiGo Battery Details:
Grin's modular LiGo battery was born in response to the massive transportation restrictions placed on larger
lithium e-bike packs. Batteries under 100 watt-hours are largely exempted from the dangerous goods shipping
restrictions and are even allowed aboard passenger aircraft with your carry-on luggage when disconnected
and powered off.
Connecting LiGo Battery Modules:
Each battery module has two pairs of +/ - leads on
them, which are terminated in Anderson
Powerpoles. That allows you to string any number
of packs together in parallel, with two connectors
left open. One connects to the controller and the
other could run lights or act as a charging port.
Turning on a LiGo Battery:
For each battery, press and hold the button until
the first LE goes green, then immediately
release the button.
○ The green LE s light up all the way and
show the battery’s current charge level.
○ Then, one LE will show a green
“heartbeat” pulse for approximately 20
minutes to confirm that the battery is on.
Turning off a LiGo Battery:
Press and hold the button until the first LE goes
red, then immediately release the button.
○ The battery should be turned off for
shipping, airline travel, or extended
storage.
Charging LiGo Batteries:
Connect the charger to one of the open sets of
Anderson connectors, and to 100V-240V supply.
○ Green LE s on batteries will flash while
charging, then turn off when charging is
complete.
○ Battery(s) can remain connected to
controller while charging; use the extra
open connector as the charge port.
The battery may be connected to a computer or phone via bluetooth pairing to check battery usage history,
adjust BMS settings, and upgrade the LiGo firmware. Contact Grin Technologies for information about the
necessary software to connect your device.
7

Battery Information (cont.):
Battery Maintenance Guidelines:
E-bike batteries will rapidly become unusable if stored for extended periods of time in a depleted
state. Conversely, with proper care and maintenance your battery will provide years of usable life.
● Before periods of disuse longer than several weeks:
○ Ensure the battery is turned off
○ Ensure the battery is fully charged
● When storing your bike and/or battery(s) without use for a month or more, plug the battery into
the charger approximately once a month to ensure the battery is topped off with a full storage
charge. This will help maintain overall battery health.
● Unplug the battery from the charger between charging sessions. While it is fine to leave a
battery on a charger overnight to allow a full charge, do not leave the battery connected
indefinitely to a charger.
● uring regular use (riding and charging at least once a week), it is ok to leave the battery packs
on for convenience when not riding and/or while charging.
8

Troubleshooting:
If system will not power on:
● Check that all cable connections are fully seated, and free of moisture and corrosion.
(some are hidden inside controller bag)
● Ensure batteries are powered on and charged sufficiently.
If system powers on, but does not provide assistance:
● Ensure both feet are on the ground and off the pedals. The unit calibrates the torque
sensing every time it’s switched on, and 95% of riders put one foot on the pedal and
then turn the unit on. By consequence, the calibration of the torque assist is “off kilter”
and you get almost no assist. To prevent this, keep your feet of the pedals when you
turn it on.
● Set assist level at console to “ECO” or higher.
○Tap + / - to set assist level
○“Off” = no pedal assist power
● Check that Speedometer sensor is positioned 5mm-10mm from the magnet on the
spokes.
○ In some situations, it may be possible for the sensor to get knocked out of
position. Rotate the sensor and/or magnet as necessary to a functional
position.
○ These components are located on the rear wheel and frame.
● Check that all cable connections are fully seated, and free of moisture and corrosion.
Warranty Information:
We always want to keep you riding so we offer a warranty on electric assist products. The electric
assist world has very limited warranties so Green Gear Cycling is shouldering the cost of what we
offer in most cases.
Green Gear Cycling Inc.
Electric Assist Product Warranty
First we expect to deliver a fully functional product to you. We warrant our electric assist components
(motor, controller, throttle, charger, and displays) against defects in workmanship and materials for 1
year. Batteries come with a one month warranty. The most likely issues arise when a battery has not
been maintained properly. We recommend watching our "Proper Care of Your e-Assist Battery" video
to get the longest life out of your battery, plus review the Battery Maintenance uidelines section
above.
This warranty is expressly limited to the repair or replacement of the defective part at the discretion
of Green Gear Cycling. This is the sole remedy of the warranty. This warranty applies only to the
original owner and is not transferable.
The cost of shipping of the defective components back to Green Gear Cycling is the sole
responsibility of the purchaser. Please call Green Gear Cycling to register a claim and obtain an
Return Authorization Number prior to shipping anything back to Green Gear Cycling.

Common problems NOT covered by the warranty:
● "Axle spin out"- spinning out the axle inside of your dropouts if your wheel wasn’t fastened
tightly.
● Water damage to the battery or corrosion of the connectors from water exposure
● Improper care of battery- Our batteries are sophisticated pieces of electronics that will
provide years of reliable service if properly cared for OR can be easily damaged due to
misuse. Please watch our " Proper Care of Your e-Assist Battery " for techniques to ensure a
reliable, long life from your battery, plus review the Battery Maintenance uidelines section
above.
● amage and failure due to misuse, neglect, improper storage (example: 45 days without
using or charging your battery can damage it) or other forms of use not designed for but not
limited to jumping, competition, or use of 3rd party components.
● Broken spokes- a situation that is not unique to electric assist wheels and can happen to any
bicycle wheel.
This warranty does not cover normal wear and tear, improper assembly or maintenance, or
installation of parts or accessories not originally intended or compatible with the electric assist
system as sold. Green Gear Cycling Inc. is not responsible for incidental or consequential damages.
This warranty gives you specific rights, and those rights may vary from place to place. This warranty
does not affect the statutory rights of the consumer. The warranty applies to electric assist
components purchased directly from Green Gear Cycling, Inc., or from its authorized dealers. Except
as provided herein, this product is provided “as is” without any additional WARRANTY of any kind,
including the WARRANTY OF MERCHANTABILITY and the WARRANTY of FITNESS FOR A
PARTICULAR PURPOSE, whether EXPRESSE or IMPLIE .
Last edited by Kent Peterson 2/14/2019
Table of contents
Other Bike Friday Bicycle Accessories manuals

