Ca Go Ergonomic-Child-Seat User manual

EN
Ergonomic-Child-Seat
Assembly instructions

2
Safety notices ................................................................................................................
General information .....................................................................................................
Intended use ..................................................................................................................
Scope of delivery ...........................................................................................................
Technical data ...............................................................................................................
Installation .....................................................................................................................
Adjusting the Ergonomic-Child-Seat to the body height of the child .............
Strapping in and adjusting the strap lengths .......................................................
General notes on care ................................................................................................
Contents

3
Notice
Provides information about how
to handle the product or refers to
a passage in the user manual that
deserves special attention.
Safety notices
This user manual contains various types of notice.
The notices are designed as follows:
Caution
Warns you about incorrect
behaviour that can result in
material and environmental
damage.
Danger
Potential hazards for your health
and the health of your co-riders and
other road users if you fail to observe
the respective instructions or do not
take corresponding precautions.
Separate instructions
Refers you to other assembly
instructions for your FS200 Life
which describe the respective
assembly step in more detail if
needed.

4
General information
The FS200 Life can be equipped with one or two original Ca Go Ergonomic-
Child-Seats. They allow to transport children in the EPP transport box, secured
with a ive-point harness. The Ergonomic-Child-Seats can be conigured to
suit the height of the child by adjusting the head restraint, the height of the
shoulder straps and the length of the harness straps. The Ergonomic-Child-
Seat offers progressive suspension provided by parabolic suspension elements.
Fig.1
Fig.2
The optional Ortho-Safety-Collar
can be mounted on the transport
box for a higher degree of protection
for the shoulder and neck area of
young passengers.
It also serves as the necessary basis
for the All-Weather-Top.

5
The seats must be installed
completely as described in these
instructions to be able to transport
children safely in them. This means:
Every seat is hung in on the bottom
crossbar and screwed in at the top
seat bar with two screws.
All children MUST be placed in suit-
able seats (depending on height
and weight) and strapped in safely!
We strongly recommend using bicy-
cle helmets. This Ergonomic-Child-
Seat is designed for children aged
9months to 7years weighing up
to 22kg. The children must be able
to sit independently and may not
obstruct the free movement of the
handlebar while wearing a helmet
(at least 30mm clearance).
Intended use
The child seat cannot be used
together with the transport box lid.
The child seats must be removed
before the box lid can be installed.
It is possible to install one infant
carrier installation set in the box
together with the child seat, so that
two children of different ages can be
transported in the box.
6
Scope of delivery
Technical data
. x Ergonomic-Child-Seat, pre-assembled and ready for use,
with ive-point harness and height-adjustable head restraint.
. x Rain cover for the Ergonomic-Child-Seat
. pcs. assembly screw set, consisting of
• x Socket head screw Mxmm, black
• x Washer M, black
• x Plastic semi-circular washer M
• x Rubber O-ring
LxWxH folded: x x mm
LxWxH unfolded: x x mm
Weight: Approx. .kg
Base frame material: Aluminium
Seat material: EPP
Padding material: Foam/polyester
Small parts: Plastic/metal
Fig.3

7
Installation
The inside of the safety rail has four threads for the installation of one or
two Ergonomic-Child-Seats. To install the Ergonomic-Child-Seats in the
FS200 Life, irst unclip the back pad (Fig.4).
It is not necessary to fully remove the back pad, however the following illustrations
do not show the back pad for a clearer view.
Fig.4
Some of the installations steps
described here are also necessary
when setting the correct height of
the shoulder straps for your child’s
height. Therefore, we recommend
setting the height BEFORE installing
the Ergonomic-Child-Seat in the box.

8
Prepare to screw in the seat as follows: From the seat’s front side, push in
one screw with washer; from the rear side, thread one saddle washer and the
O-ring as retainer onto the screw (Figs.5 and 6).
Please note: The fastening holes to be used depend on the position in which
the seat is installed, i.e. in the centre (Fig.7, outside holes), or on one of the
sides (Fig.8, inside holes).
Fig.5 Fig.6
Fig.7 Fig.8

9
To install the seat, lift it into the box and place it on the bottom crossbar with
the fork bracket (Fig.8).
It can now be folded into the rear
wall of the box and aligned laterally
for fastening in the desired position.
Tighten the screws to 5–8Nm torque
with a 5mm Allen key.
As the inal step, clip the back pad
back in (Fig.10).
Fig.9
Fig.10
Please check before every ride
that the Ergonomic-Child-Seat
are installed securely in the box.
Children may never be transported
in child seats that are not properly
secured! If you have any questions
or uncertainties, please contact the
Ca Go dealer.

10
The seat can be folded up when not in use (Fig.11) to free up more space in
the box. When folded up, it is fastened with the fabric tab (Fig.12).
To protect against the weather and
dirt, the rain cover (included in the
scope of delivery) can be deployed
when the seat is folded up
(Figs.13 and 14).
The rain cover can be stowed away
in the head restraint when not in use.
The pads are not watertight and
can absorb moisture in inclement
weather. We therefore recommend
you use the rain cover whenever
parking the vehicle and when riding
in rainy weather without the All-
Weather-Top.
Fig.11
Fig.13
Fig.12
Fig.14

11
Adjusting the seat to the body height of the child
The height of the shoulder straps can be set in three distinct positions.
To do this, the Ergonomic-Child-Seat needs to be unscrewed from the
FS200 Life by following the installation steps in reverse order (see above).
The rear side of the seat is equipped with plastic clips, which have to be
undone (Figs.16, 17, 18).
When this has been done, the strap
can be pulled out toward the front.
It is then looped back in the new
position and secured with the plastic
clips as before.
The height of the head restraint can
(and should!) be adjusted to suit the
height of the child’s head. To do this,
simply pull the head restraint out
of the backrest or push it in until it
reaches the desired height (Fig.19).
If the head restraint is adjusted
correctly, the head with the helmet
will come to lie against the centre of
the head restraint.
Fig.15
Fig.16
Fig.17 Fig.18
Fig.19

12
Strapping in and adjusting the strap lengths
Before the child sits down, we recommend increasing the length of the straps
(Fig.20) and pushing the shoulder pads upward (Fig.21).
Once the child is seated, close the straps by irst connecting the shoulder
straps with the lap straps (Fig.22), then connecting the two sides with each
other (Fig.23).
Fig.22
Fig.20
Fig.23
Fig.21

13
In a third step, lock the strap with the buckle. The mechanism works
magnetically and should close with an audible click. The strap lengths
can now be shortened so that the child sits comfortably while being
strapped in securely (Fig.24).
The seat belt buckle can be opened again by pushing in both bolts
simultaneously (Fig.25).
Fig.24
Fig.25
Click!

14
When it comes to cleaning and caring for the Ergonomic-Child-Seat, the use
of water is completely suficient in most cases. If needed, you can use a mild
detergent, such as dishwashing liquid or hand soap. If this is not suficient, the
Ergonomic-Child-Seat can be dismantled into its components (Fig.26).
To do this, remove the seat from the bike (see instructions for installation).
Remove the back pad and the seat pad (Figs.27 and 28).
General notes on care
Never use aggressive cleaning agents,
acids or solvents to clean the set.
Such substances can corrode or
damage surfaces. This may affect
the stability of the components.
Fig.26
Fig.27 Fig.28

15
The covers can be
washed
at 30°C as they
are while observing
the
care instructions on the
label.
Statutory warranty / guarantee
Service
The legal statutory warranty applies. You can ind more details on the warranty
on our website: www.cagobike.com/en/warranty
Export to the USA and Canada is not permitted (product liability)!
If you have questions concerning this user manual, please contact your
Ca Go dealer or your Ca Go service team.
Fig.29 Fig.30
Remove the plastic clips from the belt slots (Figs.29 and 30).
The appearance of the materials
may change slightly over time.
Please note that the vehicle should
be protected from effects of the
weather as best as possible.

Item no. 930 005 45
Managing directors: Franc Arnold
Company register
Court of record: District Court Koblenz / register no.: HRB 26998 / VAT Id no. DE326206636
Responsible for distribution and marketing of the user manual: Ingo Kahnt
Ca Go Bike GmbH reserves the right to change product speciications without prior notice.
Typographical errors, mistakes and modiications reserved. Version of 03/2023
©Reproduction, reprint and translation, as well as any use for economic purposes (including as extracts, in print or electronic form)
without prior written approval is forbidden.
Published by:
Ca Go Bike GmbH
Am Autobahnkreuz 7
56072 Koblenz
Germany
+49 261 914090-600
info@cagobike.com
www.cagobike.com
Table of contents
Other Ca Go Bicycle Accessories manuals

Ca Go
Ca Go All-Weather-Top User manual

Ca Go
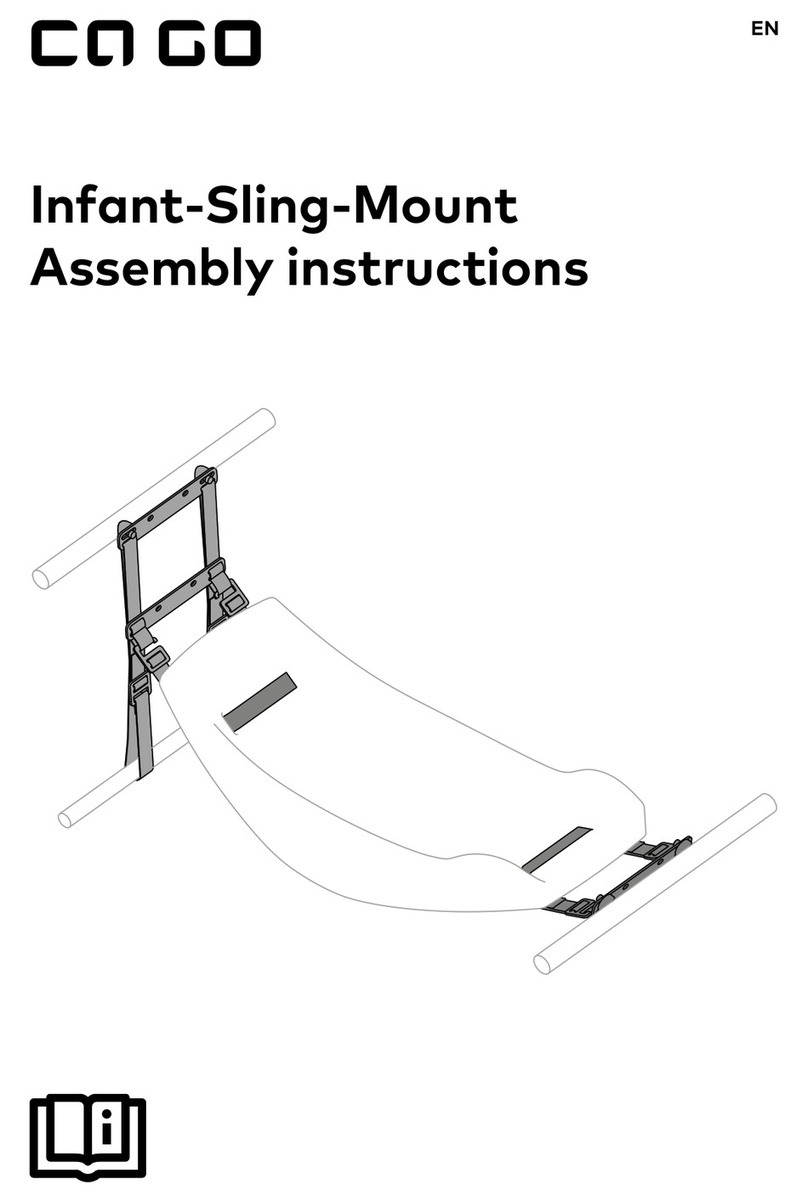
Ca Go Infant-Sling-Mount User manual

Ca Go
Ca Go Cover & Carry Bag User manual

Ca Go
Ca Go Lockable Cargo Box Lid User manual

Ca Go
Ca Go Mounting Set for ISOFIX Compliant Child... User manual

Ca Go
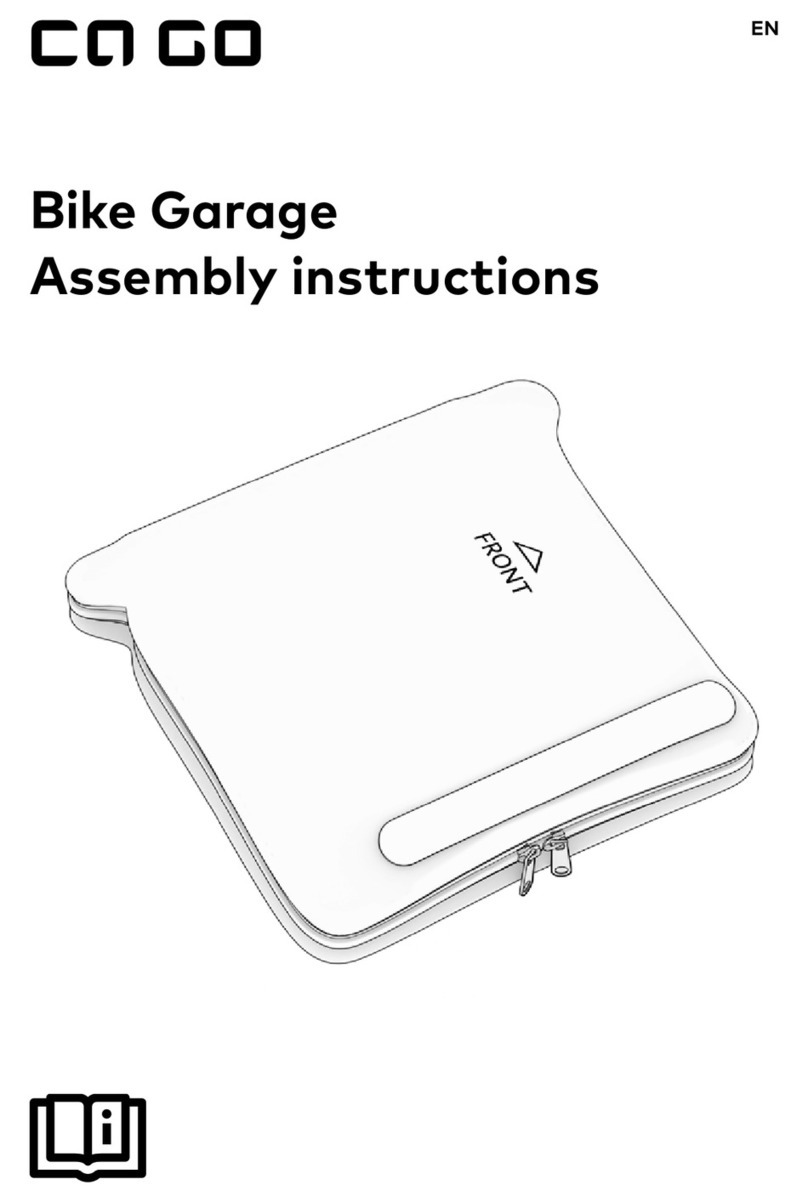
Ca Go Bike Garage User manual

Ca Go
Ca Go Ortho-Safety-Collar User manual
Popular Bicycle Accessories manuals by other brands

Norco
Norco KLICKfix manual

Dan's Comp
Dan's Comp Front Load Stem installation manual

Miche
Miche RACE AXY-WP Manual of maintenance and use

Ardi Technology
Ardi Technology BIKE GUARD 708A3 PLUS user manual

Nashbar
Nashbar TEMPO CADENCE BN-T11C user manual

Bosch
Bosch Nyon BUI275 Original operating instructions