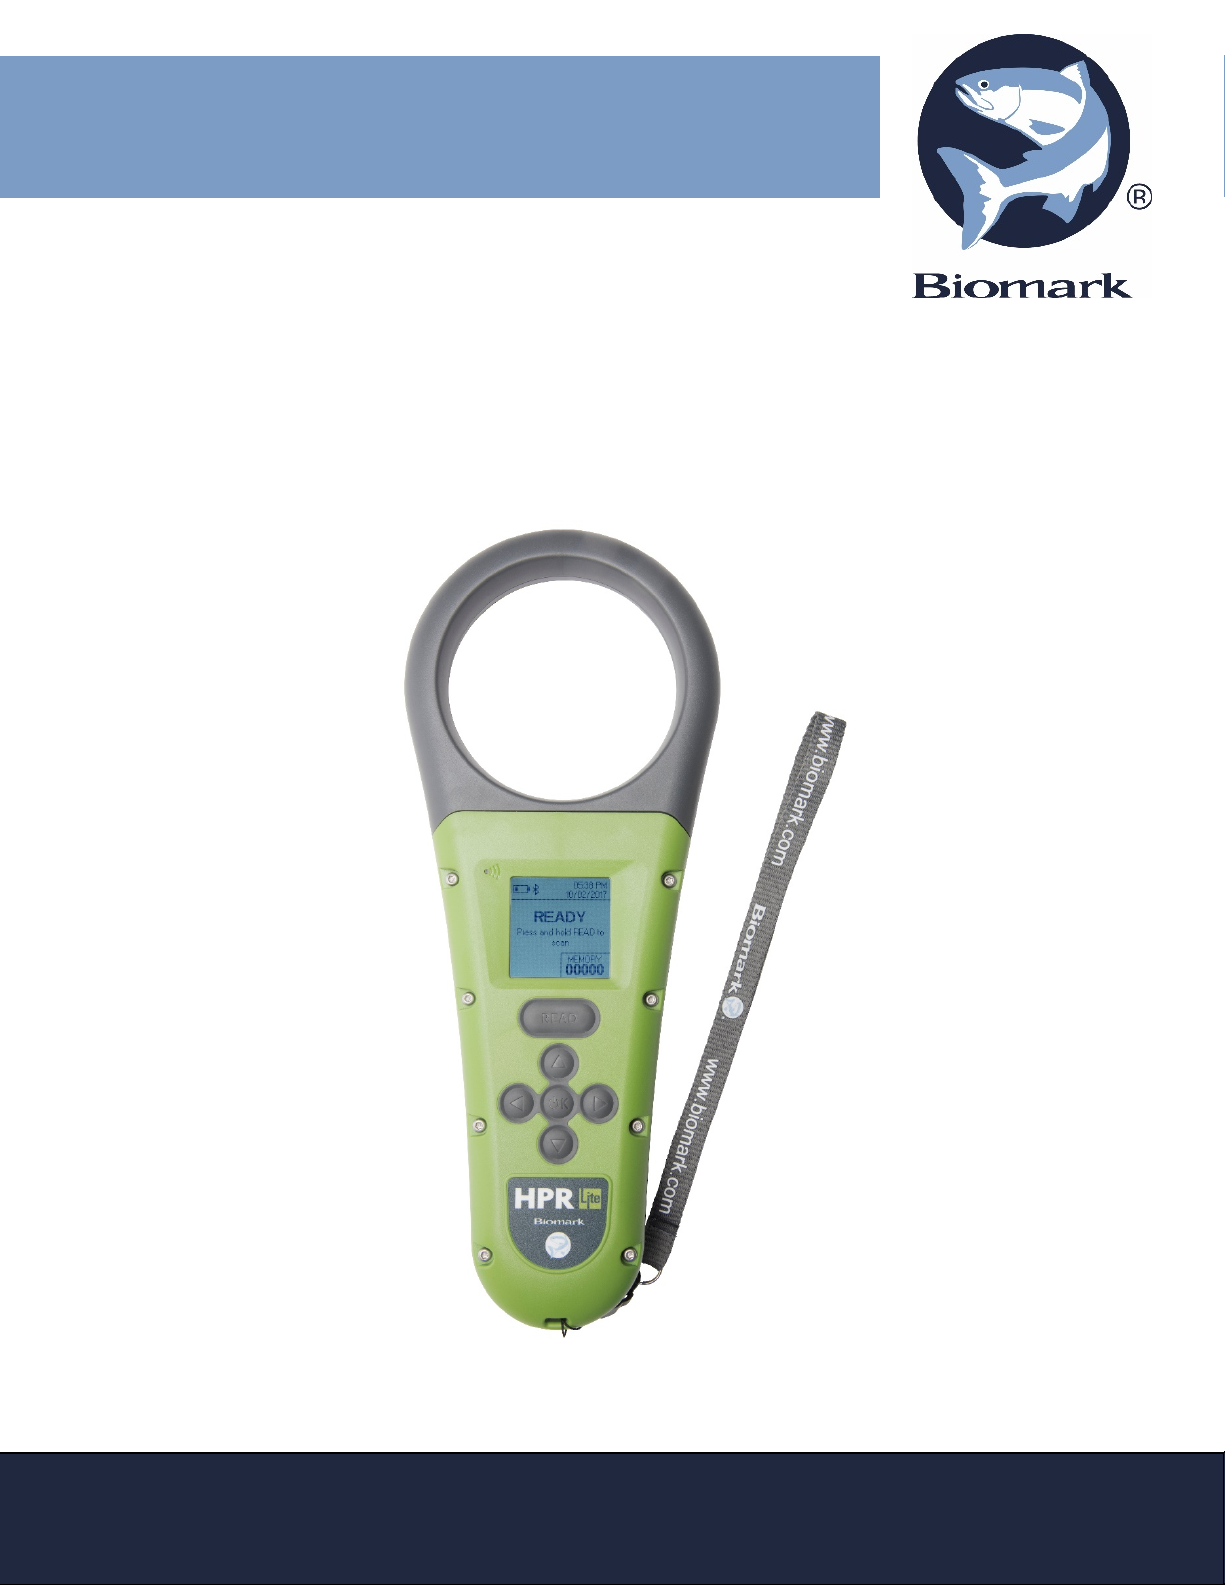
Copyright and Trademarks
Any changes or modifications not expresslyapproved by the party responsiblefor compliance
could void the user’s authority to operate the equipment.
This portable equipment with its antenna complies with FCC’s radiation exposure limits set forth
for an uncontrolled environment. To maintain compliance, followthe instructions below: (1) This
transmitter must not be co-located or operating with any other antenna or transmitter; (2) Avoid
direct contact to the antenna,or keep contact to a minimum while using this equipment.
Canada - Industry Canada (IC)
This device complies with Industry Canada’s license-exempt RSSs. Operation is subject to the
following two conditions: (1) This device may not cause interference, and (2) this device must
accept any interference received, including interference that may cause undesiredoperation of
the device.
This portable equipment with its antenna complies with FCC’s radiation exposure limits set forth
for an uncontrolled environment. To maintain compliance, followthe instructions below: (1) This
transmitter must not be co-located or operating with any other antenna or transmitter; (2) Avoid
direct contact to the antenna,or keep contact to a minimum while using this equipment.
Le présent appareil est conforme aux CNR d’Industrie Canada applicablesaux appareils radio
exempts de licence. L’exploitation est autorisée auxdeuxconditions suivantes: (1) L’appareil
ne doit pas produire de brouillage; (2) l’utilisateur de l’appareil doit accepter tout brouillage
radioélectrique subi, même si le brouillage est susceptible d’en compromettre le
fonctionnement.
Cet équipement portable avecses antennes est conforme auxlimites d’expositions de la
CNR102 applicables pour un environnment non contrôlé. Pour maintenir la conformité suivez
les instructions ci-dessous: (1) Cet émetteur ne doit pas être co-localisé ou opéré en
conjonction avec toute autre antenne ou émetteur; (2) Éviteztout contact direct avec l’antenne
ou gardezle contact au minimum pendant l’utilisation de cet équipement.
Avis aux consommateurs:
Toutes les modifications non expressément approuvées par la partie responsable de la
conformité peuvent annuler le droit de l’utilisateur à cet équipement.
Miscellaneous Information
Snapshots are according to the latest version at the moment this document was released.
Changes may occur without notice.
Apple - Legal Notice
iPhone, iPad are a trademark of Apple Inc., registered in the U.S. and other countries.
“Made for iPhone,” and “Made for iPad” mean that an electronic accessory has been designed
to connect specifically to iPhone, or iPad, respectively, and has been certified by the developer
to meet Apple performance standards.
Apple is not responsible for the operation of this device or its compliance with safety and
regulatory standards.
Please note that the use of this accessory with iPhone or iPad may affect wireless performance.