Biotechne ProteinSimple Milo User manual

Toll-free: (888) 607-9692
Tel: (408) 510-5500
Fax: (408) 510-5599
info@proteinsimple.com
proteinsimple.com 035-056 REV 3
© 2018 ProteinSimple. Milo, scWest, ProteinSimple and the ProteinSimple
logo are trademarks and/or registered trademarks of ProteinSimple.
Milo Installation Guide
Congratulations on taking the first step
to bring Single-Cell Westerns™ into
your lab! This quick guide will help you
get your Milo™ set up so you can start
running experiments right away.
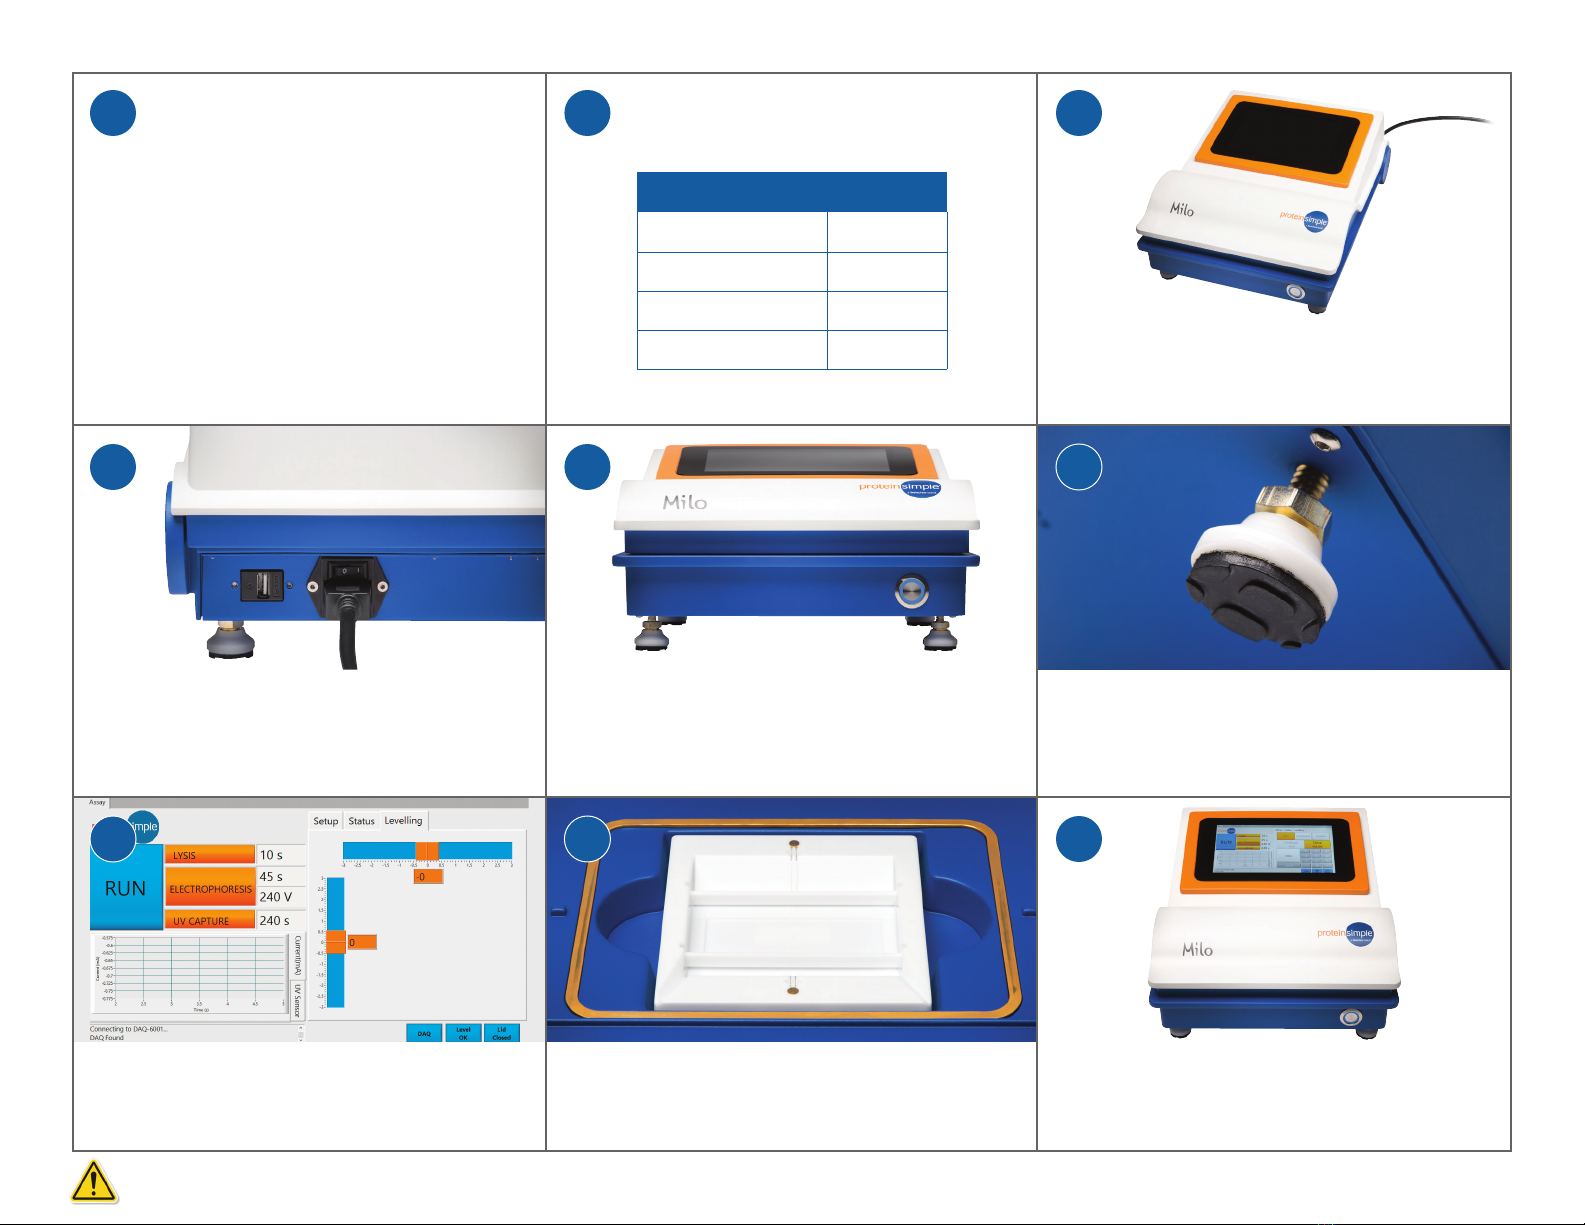
Unpack the Milo instrument, electrophoresis cell,
accessory kit and power cord.
Plug the instrument into a standard wall outlet by
inserting the power cord into the back of the instrument.
Switch on the master power switch located above the
power cord inlet on the back of the instrument.
Touch the “Leveling” tab on the touchscreen interface. Finish
adjusting the height of all four instrument feet until both electronic
levels read a value of 0 (±0.2 degrees). It is easiest to adjust the level
one axis at a time (i.e. first left to right, then back to front).
Turn on the instrument by pushing the button located
on the front right of the instrument. Wait for the user
interface to load on the touch screen. Do not power off
the instrument until the user interface is displayed.
Open Milo’s lid and place the electrophoresis cell into the
recessed region inside Milo. Close the instrument lid.
To level the instrument, start with the feet screwed in all
the way. Then, adjust the foot height by turning the nut
at the top of the white foot until all the instument feet
are touching the bench surface.
That’s it! Your Milo is ready to go!
Please visit: proteinsimple.com/milo to download the latest Milo
User Guide. Scout image analysis software can be downloaded at:
proteinsimple.com/scout/downloads/
7 9
54
8
32
6
Components
1
Includes Quantity
Milo instrument 1
Electrophoresis cell 1
Accessory kit 1
Power cord 1
Important: To avoid damaging your Milo when powering on
or off, please follow the “Powering Milo On & Off” guidelines in
Chapter 3 of the Milo User Guide.
Other Biotechne Laboratory Equipment manuals


Popular Laboratory Equipment manuals by other brands


Belden
Belden HIRSCHMANN RPI-P1-4PoE installation manual

Koehler
Koehler K1223 Series Operation and instruction manual

Globe Scientific
Globe Scientific GCM-12 quick start guide

Getinge
Getinge 86 SERIES Technical manual

CORNING
CORNING Everon 6000 user manual

Biocomp
Biocomp GRADIENT MASTER 108 operating manual


