Birch CD-108E User manual

1
Introduction..................................................................... 3
Installation....................................................................... 4
PinAssignments............................................................. 5
Method of Programming................................................. 7
Interfaceselection......................................................... 10
ReadingMode................................................................11
RS –232 Communication Parameters............................12
KeyboardWedge Parameters.........................................14
Output Characters Parameters..................................... 16
WandEmulation............................................................ 17
OCIAModeParameters................................................ 18
Bar CodeType Selection.............................................. 21
UPC/EAN/JAN.............................................................. 24
Code39........................................................................ 26
Code128...................................................................... 28
Interleave25................................................................. 30
Industrial25................................................................... 32
Matrix25........................................................................ 34
CODABAR/NW7........................................................... 36
Code93......................................................................... 38
Code 11............... ......................................................... 40
MSI/PLESSEY............................................................... 42
BC412.......................................................................... 44
China Postage..............................................................46
Language Selection....................................................... 48
Bar Code ID.................................................................. 50
Table of Contents

2
ReadingLevel.............................................................. 53
Accuracy...................................................................... 53
Sensitivity of Continuous Reading Mode..................... 53
Buzzer Beep Tone........................................................ 54
PnP/Notebooks........................................................... 54
Reverse Output Characters.......................................... 54
SetupDeletion.............................................................. 55
SetupInsertion.............................................................. 59
AppendixA..................................................................... 63
AppendixB.....................................................................64
AppendixC.....................................................................68
Table of Contents

3
Thank you for selecting Birch barcode input product, CD-
108E CCDbarcode reader. The reader is equipped with up
to date optical technology. It auto-discriminates nearly
twenty different kinds of barcode symbologies. Birch also
provides other barcode related products to meet your
application.
The easily plug and play design of the keyboard wedge
interface, provides a flexible solution to your application to
explore the magic of the barcode system.
This manual provides an easily method to modify the
decoding options and interface protocols of the CD-108E
by scanning the barcode in the manual. Before starting,
please make sure that the barcode reader is properly
powered. For PC keyboard emulation type interface, power
is directly come from the system. For RS-232 or other non-
PC keyboard emulation type interface, an external power is
alwaysneeded.
Codes Read
ALLUPC/EAN/JAN , Code 39, Code 39 Full ASCII, Code
128,Interleave25,Industrial25,Matrix25,CODABAR/NW7,
Code11, BC 412,MSI/PLESSEY, Code 93, China Postage,
Code 32
Introduction

4
Installation
Installing the Keyboard Wedge Reader
To install a keyboard wedge reader, follow the steps below:
1. Turn off the power of the PC orTerminal.
2. Unplug keyboard from the PC or Terminal.
3. Make sure you have theYCable with appropriate
connector type for your PC orTerminal.
4. Connect Scanner to your PC or Terminal
5.Connectthekeyboardconnectortothefemaleconnector
of the Y cable
6. Turn on the power of PC orTerminal.
If the installation is successful , theGreen LEDlight on the
top of the reader should light up, and you should hear three
beeps from reader.
Installing the RS232 Reader
To install a RS232 reader, follow the steps below :
1. Turn off the power of the PC orTerminal.
2. Make sure the connector type from RS232 to the PC or
Terminal is correct.
3. PlugACAdaptor connector into connector of the reader.
4. Turn on the power of PC orTerminal.
5. Setup the Interface of the reader to RS232 mode by
scanning the barcode in the Interface Selection section.
If the installation is successful, theGreen LEDlight on the
top of the reader should light up, and you should hear three
beeps from reader.

5
1. Keyboard Output
DIN 5 MALE DIN 5 FEMALE
PinNo. Function PinNo. Function
1 HOST CLK 1 KB CLK
2 HOSTDATA 2 KBDATA
4 GND 4 GND
5 Vcc(+5V) 5 Vcc(+5V)
DIN 5 Male DIN 5 Female
PinAssignment PinAssignment
MiniDIN 6 MALE MiniDIN 6 FEMALE
PinNo. Function PinNo. Function
1 HOSTDATA 1 KBDATA
3 GND 3 GND
4 Vcc 4 Vcc
5 HOST CLK 5 KB CLK
MiniDIN 6 Male MiniDIN 6 Female
PinAssignment PinAssignment
PinAssignments
45
3
2
1
54
1
2
3
3
1
5
4
2
6
3
1
5
4
2
6

6
6
1
5
9
6
1
5
9
DB 9 Female Pin Assignment
2. RS-232 Output
DB 9 Female PinNo. Function
2 TXD
3 RXD
5 GND
7 CTS
8 RTS
Power Lead Vcc +5V
DB 9 Female PinAssignment Male DC Jack
+5V GND
3. WAND Emulation Output
DB 9 Female
PinNo. Function
2DATA
7 GND
9 Vcc (+5V)
PinAssignments

7
Setup Flow Chart
Loop of Programming
The philosophy of programming parameters has been
shown on the flow chart. Basically user should
1. Scan Start of Configuration.
2. Scan all necessary labels for parameters that meet
applications.
3. Scan End of Configuration to end the programming.
4.To permanently save the settings you programmed, just
scan label for Save Parameters.
5.To go back to theDefault Settings, just scan label for Set
AllDefaults.
Start
Configuration Set All
Defaults
Recall
Parameters
Interface Selection
Input Port Selection
Communication
Parameters
Bar Codes Parameters
MSR Parameters
Misc. Parameters
etc.
End
Configuration
Save
Parameters
Abort
Configuration
Method of Programming

8
Factory Default Settings
The factory default settings are shown with < > and bold in
the following sections. You can make your own settings by
following the procedures in this manual. If you want to save
thesettingspermanently, youshould scan thelabelof"Save
Parameters" on page 9, otherwise the settings will not be
saved after the decoder power is off, and all settings will go
back to previous settings.
By scanning "SetAllDefault" label, the settings will go back
to the factory default settings.
Download/Upload Settings
This decoder offers an easy way to config all parameters
from RS232 or PC keyboard interface. Just one click to
download or upload confiuration data instead of scanning
bar codes in this menu.
Scan the Download/Upload bar code below to proceed
downloadingor uploading.
Download/Upload
Method of Programming
%$ + / 7

9
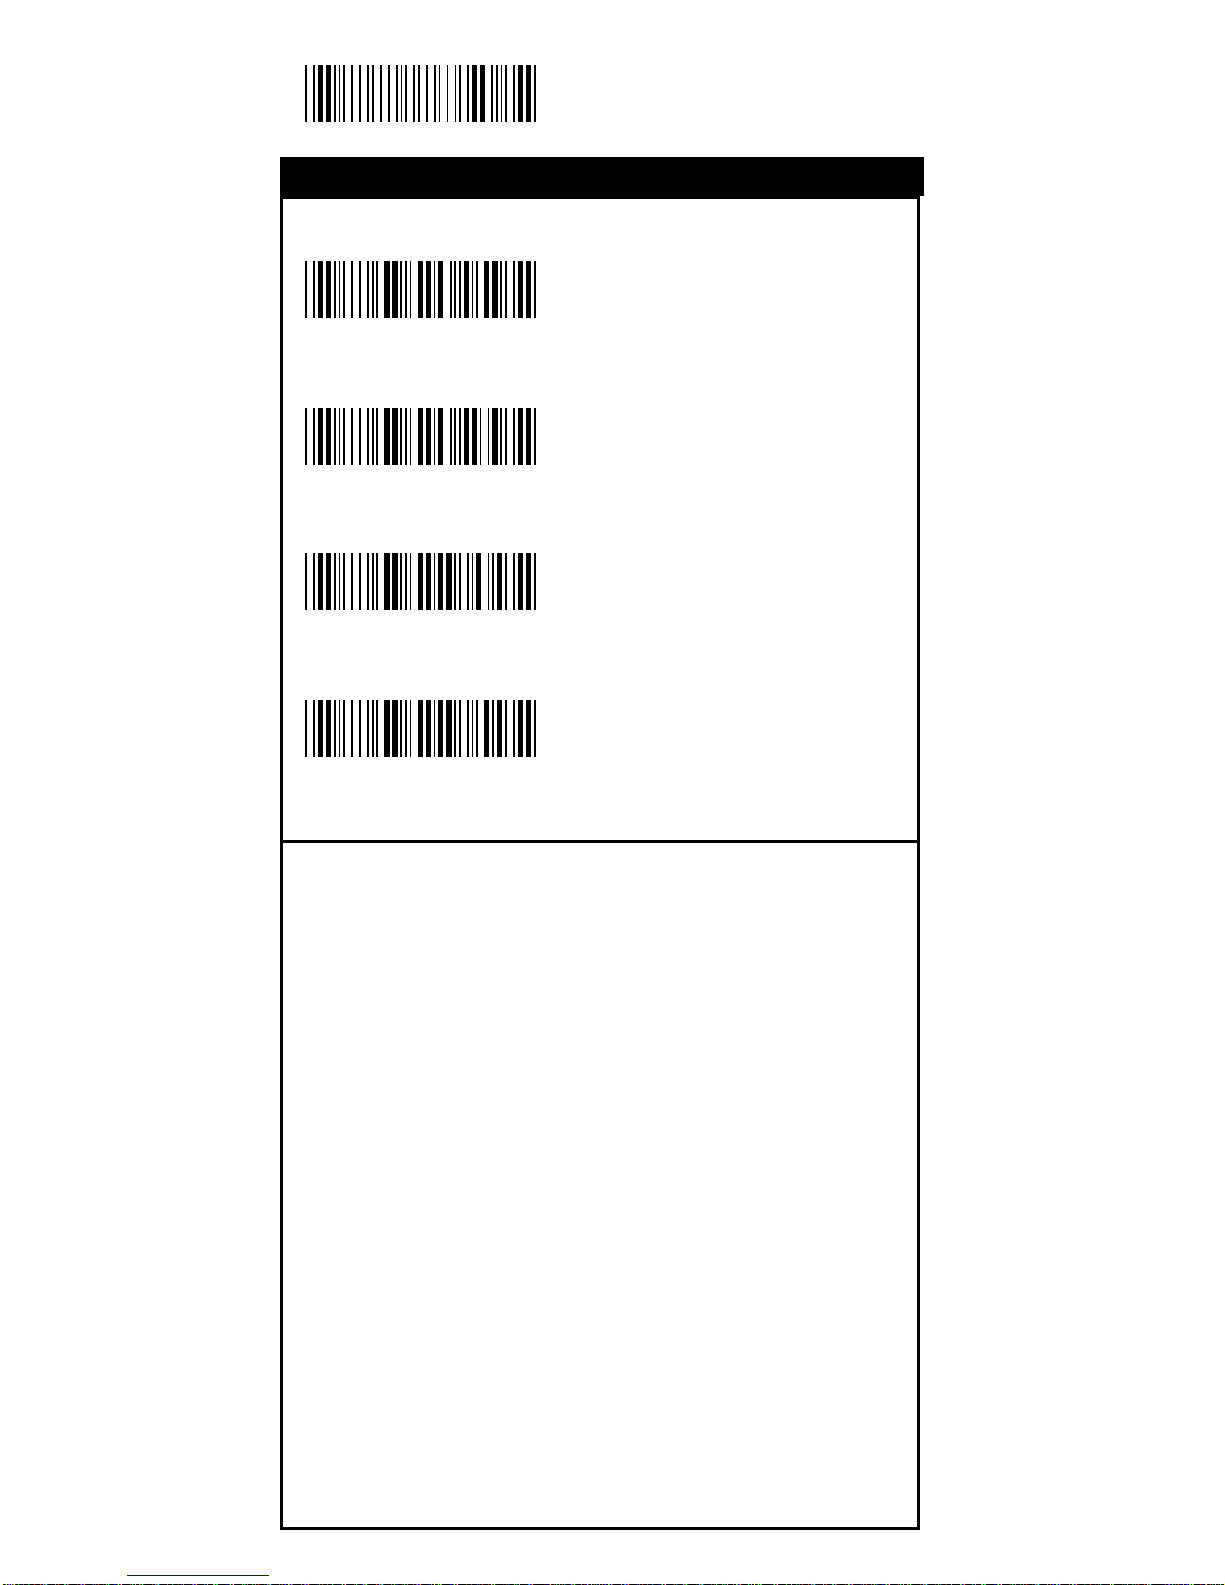
Save Parameters
Save the parameter settings
permanently.
Recall Stored
Parameters
Replace the current parameters
by which you had saved last time.
SetAllDefaults
Set all the parameters to
the factory default settings.
Start Configuration
End Configuration
Abort Configuration
Terminate current
programming status.
Version Information
Display the decoder version
information and date code.
%$ + / 0
%$ + / 1
%$ + / 2
%$ + / 3
%$ + / 4
%$ + / 6
%$ + / 5
SetupCommands
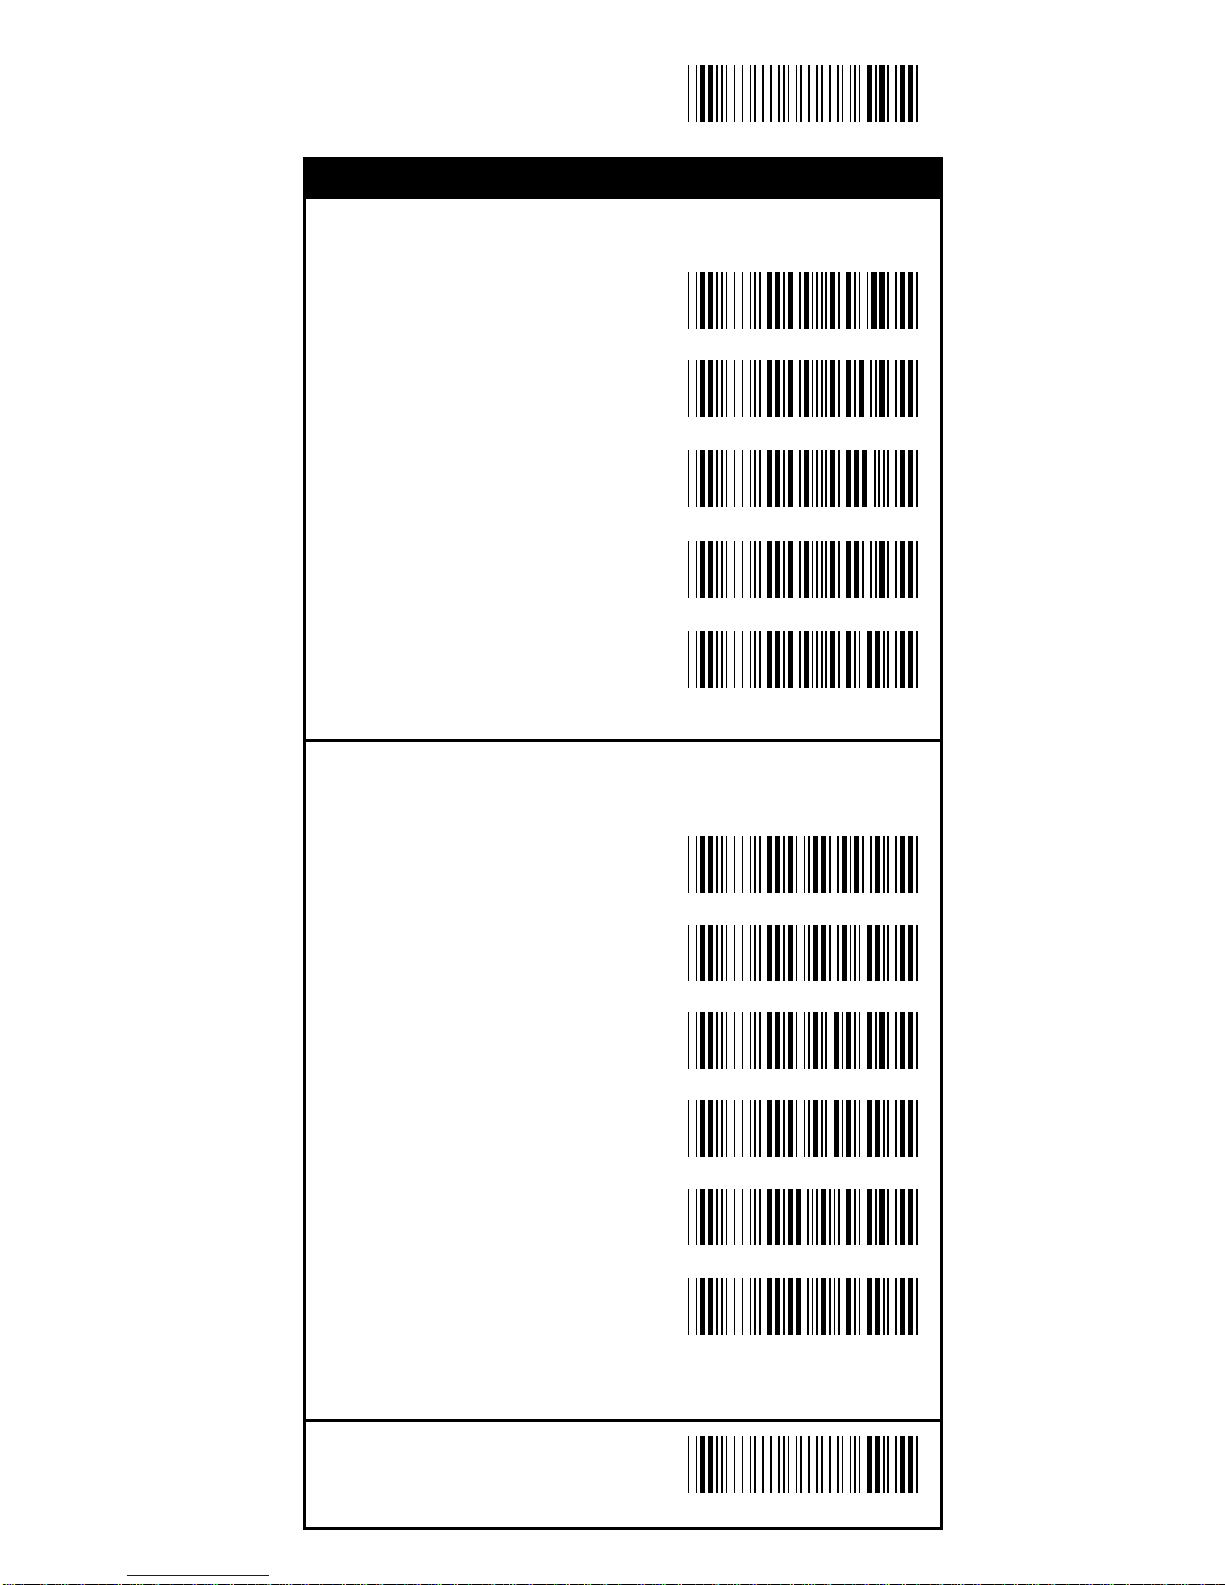
10
StartConfiguration
<Keyboard/USB Mode>
RS232 Mode
WANDEmulation
OCIAMode
%0 0 U 0
%0 0 U 8
%0 0 M2
%0 0 M4
Interface Selection
Interface

11
EndConfiguration
SaveConfiguration
<Good Read OFF>
Trigger ON/OFF
Continuous/Trigger OFF
Continuous/NoTrigger
Flash
Testing
Reserved1
Reserved2
%0271
%0270
%0272
%0275
%0273
%0274
%0276
%0277
Reading Mode
Reading Mode
SaveConfiguration

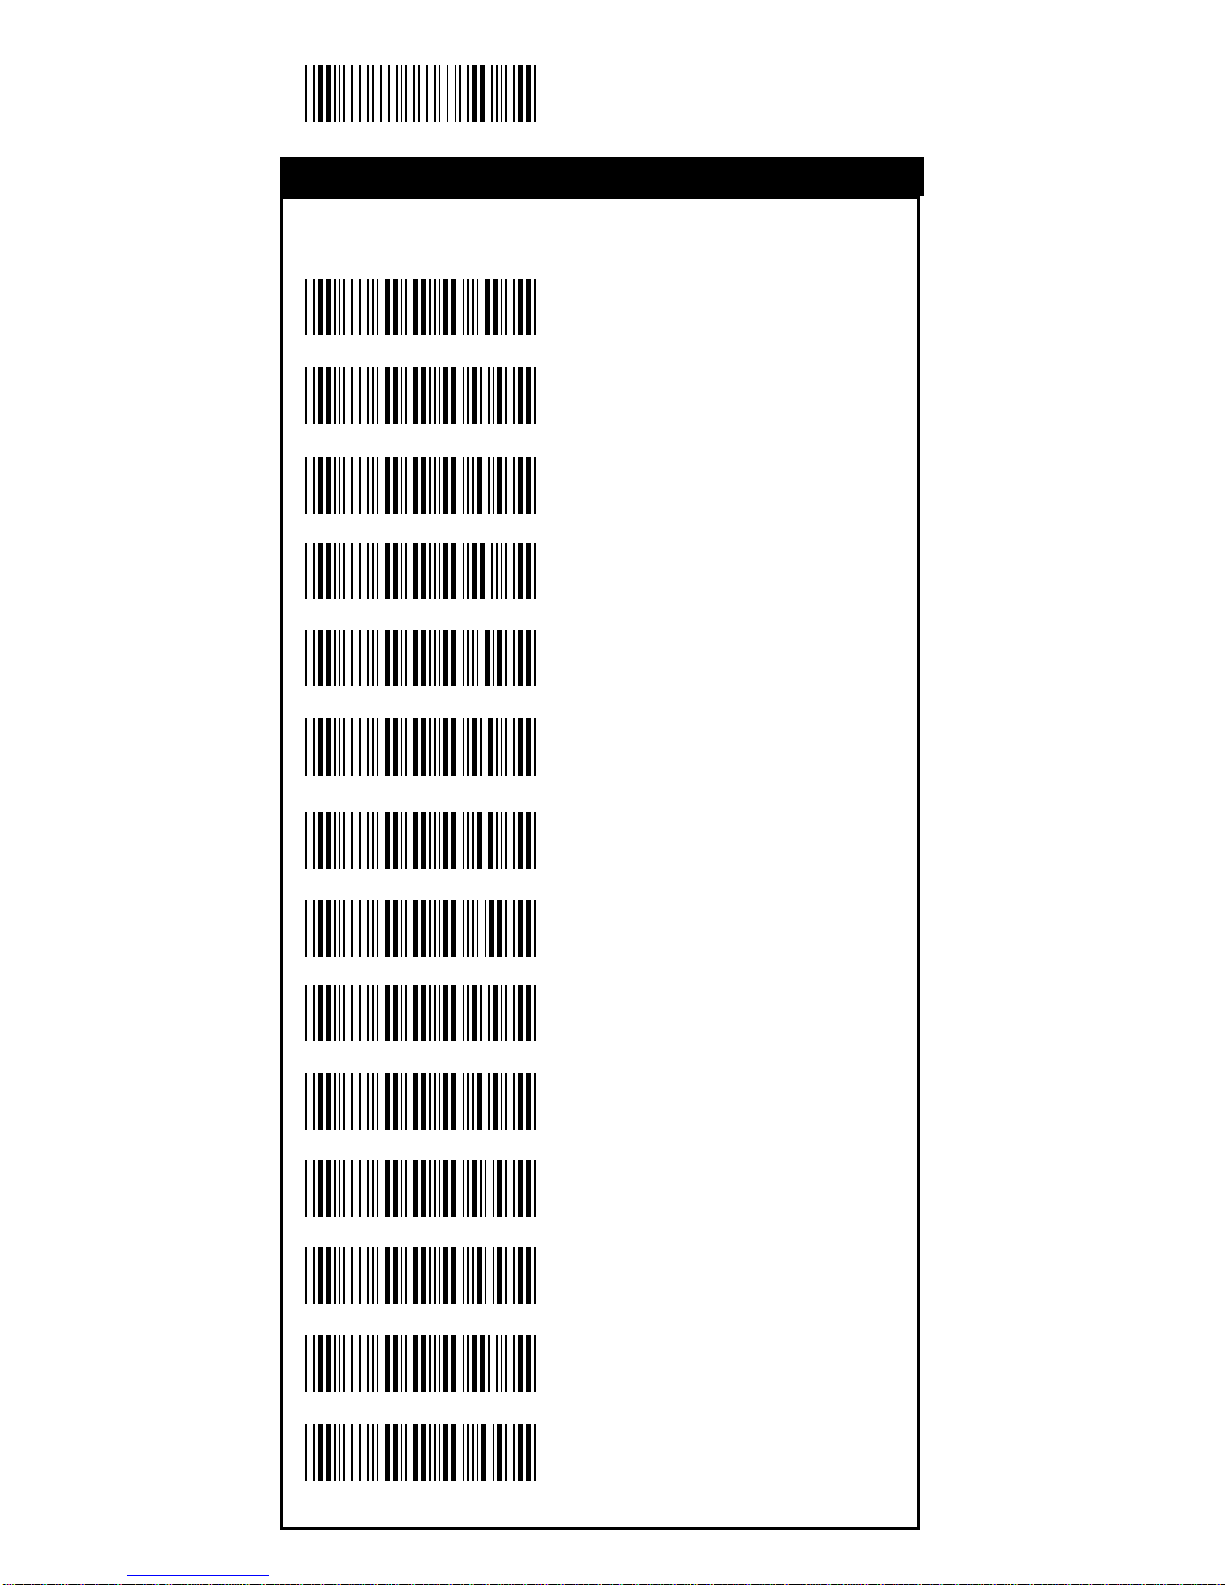
12
StartConfiguration
Set Up BAUD Rate
600
1200
2400
4800
<9600>
19200
Set Up Data Bits
7 Data Bits
<8 Data Bits>
Set Up Stop Bits
<1 Bit>
2 Bits
%0 Y 8 0
%0 Y 8 8
%0 Y 7 0
%0 Y 7 1
%0 Y 7 2
%0 Y 7 3
%0 Y 7 7
%0 Y 7 4
%0 Y O 8
%0 Y O 0
RS-232 Communication Parameters
RS-232 Communication
13
EndConfiguration
SaveConfiguration
Set Up Parity
<None>
Even
Odd
Mark
Space
Handshaking
RTS/CTS Enable
<RTS/CTS Disable>
ACK/NAKEnable
<ACK/NAKDisable>
XON/XOFFEnable
<XON/XOFF Disable>
%0 Y N 7
%0 Y N 2
%0 Y N 3
%0 Y N 1
%0 Y N 0
%0188
%0180
%0144
%0140
%0 3 K 4
%0 3 K 0
RS-232 Communication Parameters
RS-232 Communication
14
StartConfiguration
Terminal Type
<IBM PC/AT, PS/2>
IBMPC/XT
IBM PS/2 25, 30
NEC9800
ADB
IBM5550
IBM 122 Key (1)
IBM102Key
IBM 122 Key (2)
Reserved 1
Reserved 2
Reserved 3
Reserved 4
Reserved 5
%0ZF0
%0ZF1
%0ZF2
%0ZF3
%0ZF4
%0ZF5
%0ZF6
%0ZF7
%0ZF8
%0ZF9
%0ZFA
%0ZFB
%0ZFC
%0ZFD
KeyboardWedge Parameters
Keyboard Wedge

15
EndConfiguration
SaveConfiguration
Upper/Lower Case
<No Change>
Upper Case
Lower Case
Send Character by ALT Method
Enable
<Disable>
Select Numerical Pad
ON
<OFF>
%0 3 O 8
%0 3 O 0
%0 1 K 4
%0 1 K 0
%0330
%0331
%0332
KeyboardWedge Parameters
Keyboard Wedge

16
StartConfiguration
Select Terminator
<CR+LF>
None
CR
LF
Space
HT(TAB)
STX-ETX
Time-out Between Characters
<0 ms>
5 ms
10 ms
25 ms
50 ms
%0070
%0071
%0072
%0073
%0074
%7 S 0 +
%7 S 2 +
%7 S 4 +
%7 S 5 +
%7 S 7 +
%7 S 1 +
%7 S 3 +
Output Characters Parameters
Output Parameters

17
EndConfiguration
SaveConfiguration
TTL Level Representation
<Bar equals High>
Bar Equals Low
Scan Speed Selection
<Fast>
Slow
Output Format Selection
<Output as Code 39>
Output as Code 39
FullASCII
%0 2 K 4
%0 2 K 0
%0288
%0280
%0 2 O 8
%0 2 O 0
Wand Emulation
Wand Emulation

18
StartConfiguration
OCIA Mode Parameters
<NCR 8 Bit Format>
NCR 9 Bit Fomat
Spectra-Physics
Nixdorf
OCIAMode Parameters
%0 2 J 0
%0 2 J 1
%0 2 J 2
%0 2 J 3
OCIAMode

19
EndConfiguration
SaveConfiguration
UPC-A<ON>
OFF
UPC-E<ON>
OFF
EAN-13/JAN-13
<ON>
OFF
EAN-8/JAN-8
<ON>
OFF
CODE 39
<ON>
OFF
%0 A 4 4
%0 A 4 0
%0 B O 8
%0 B O 0
%0 A 2 2
%0 A 2 0
%0 A 1 1
%0 A 1 0
%0 E O 8
%0 E O 0
Bar Code Type Selection
Symbology

20
StartConfiguration
CODE 128
<ON>
OFF
CODABAR/NW7
<ON>
OFF
Interleave25
<ON>
OFF
Industrial25
ON
<OFF>
Matrix25
ON
<OFF>
Bar Code Type Selection
%0 GO8
%0 GO0
%0 H O 8
%0 H O 0
%0 I O 8
%0 I O 0
%0 F O 8
%0 F O 0
%0 J O 8
%0 J O 0
Symbology
Table of contents
Other Birch Barcode Reader manuals


Popular Barcode Reader manuals by other brands

Agilent Technologies
Agilent Technologies Microscan 610-0002 Installation and operation manual

Argox
Argox AS-9300 user manual

Leuze
Leuze DCR 258i Original operating instructions

Datalogic
Datalogic Cobalto CO5330 Product reference guide

Renkforce
Renkforce LS6300BU operating instructions

Omron
Omron V460-H user manual


