manuals.online logo
Brands
  1. Home
  2. •
  3. Brands
  4. •
  5. Bircher Reglomat
  6. •
  7. Accessories
  8. •
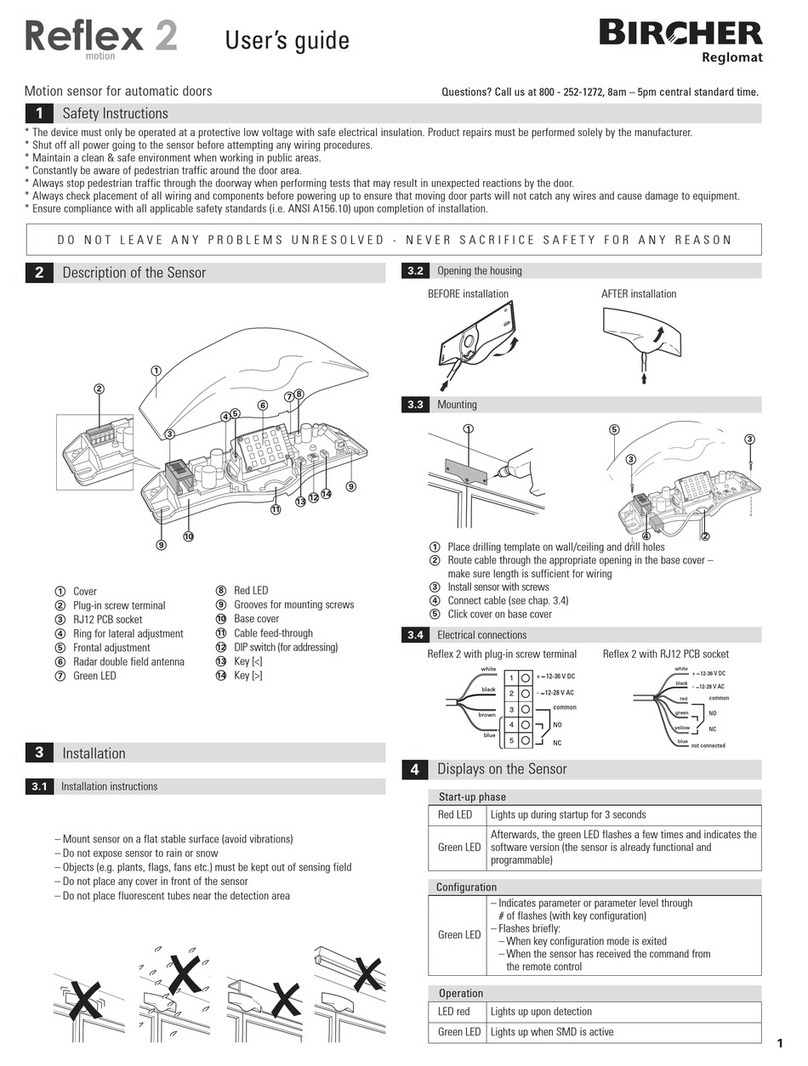
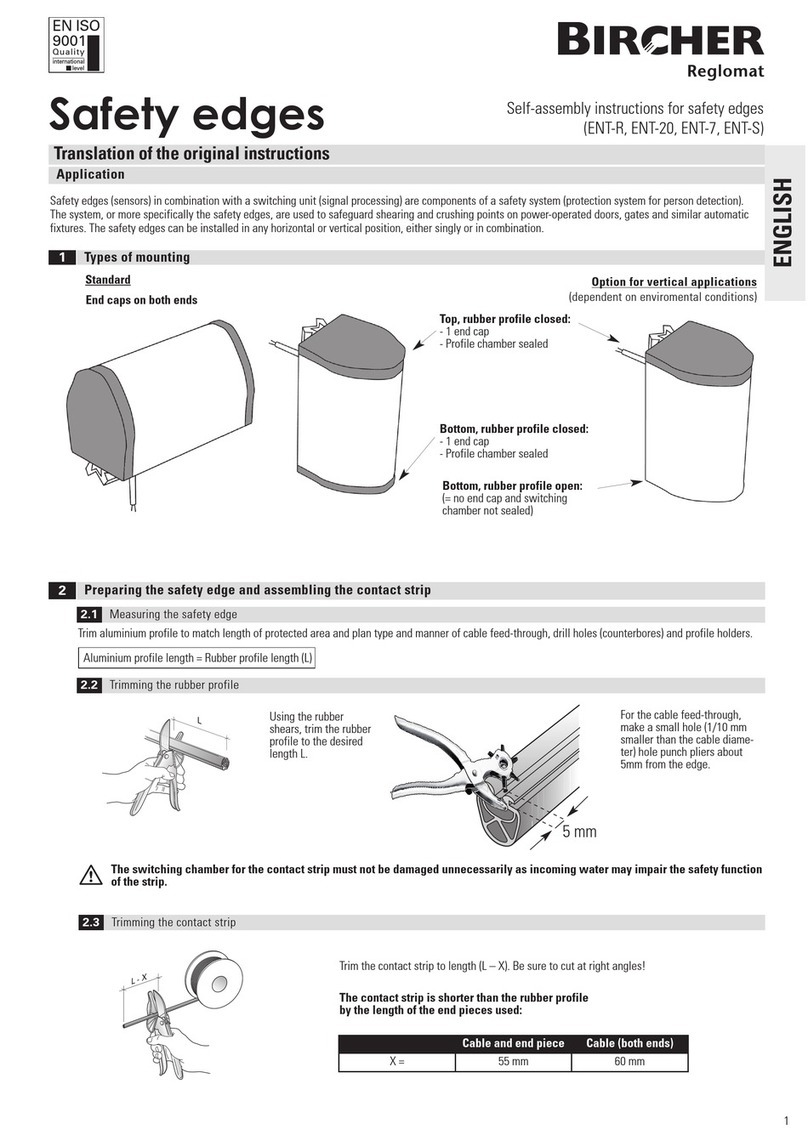
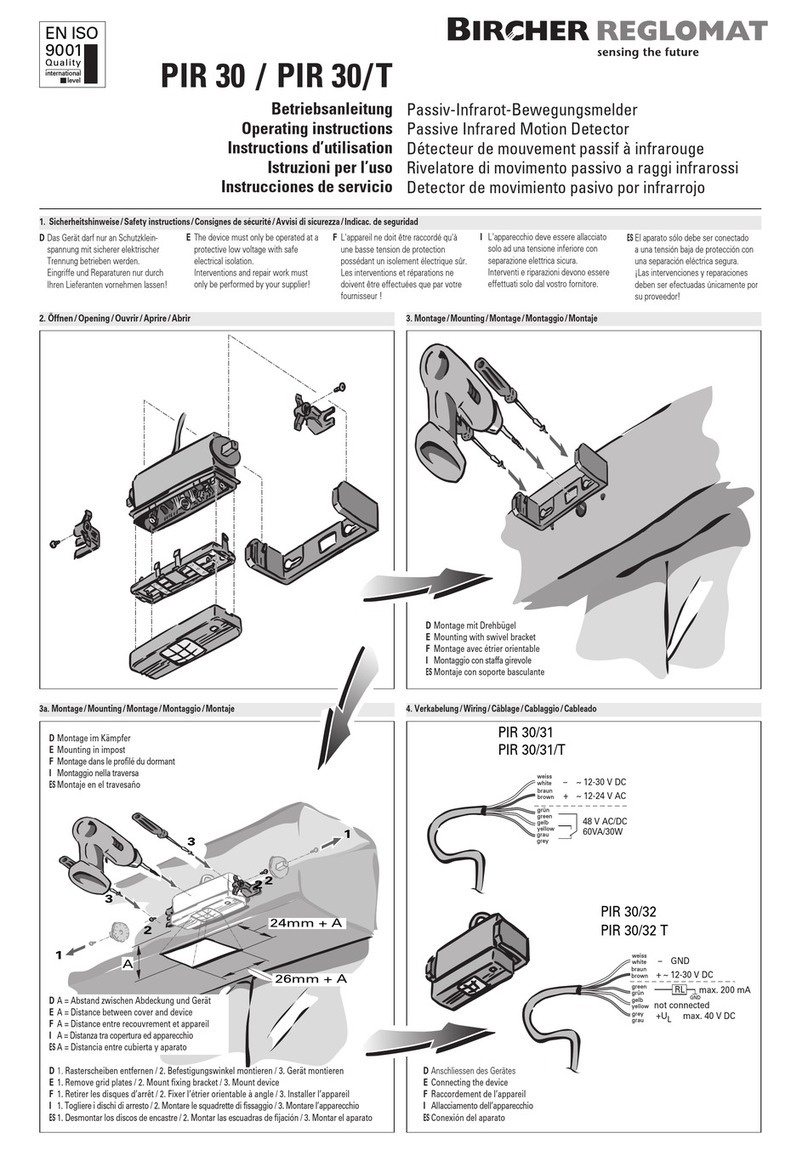
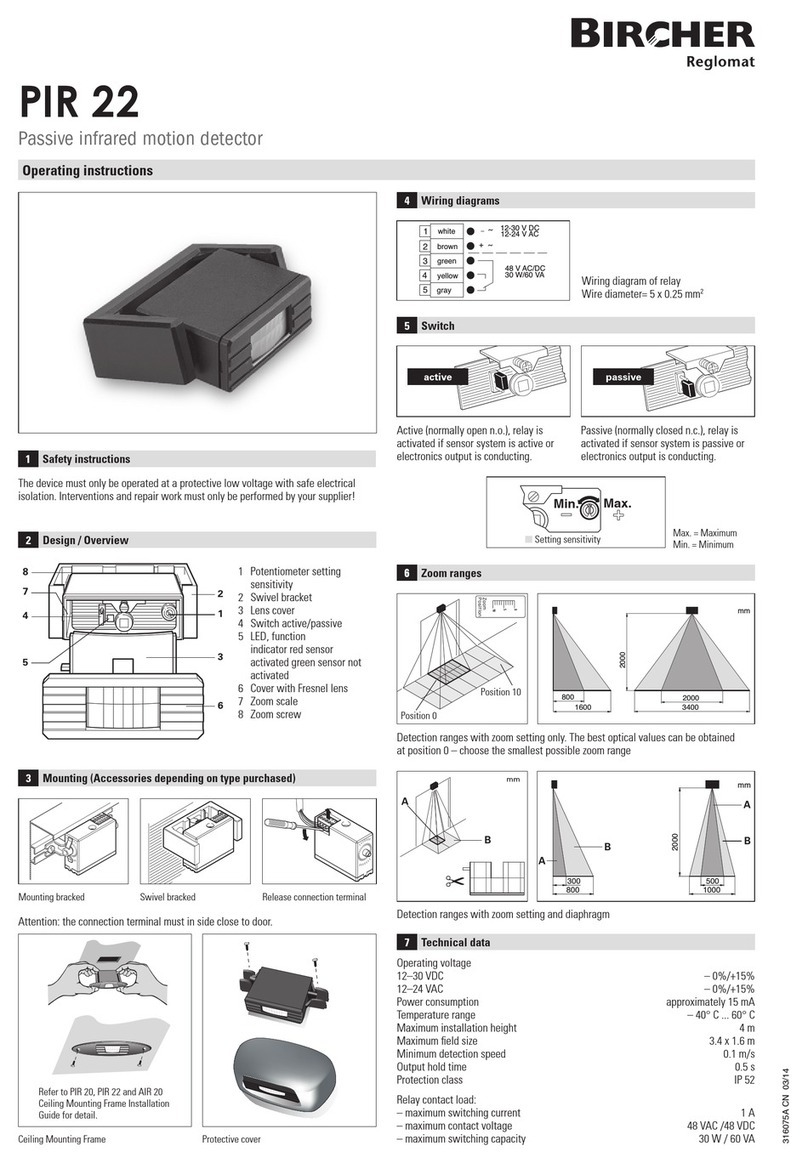
  9. Bircher Reglomat MIS User manual

Bircher Reglomat MIS User manual

MIS – Merkur Integration Set
Deckeneinbausatz zu Merkur
Radar-Bewegungsmelder
Bei automatischen Türanlagen werden aus Designgrün-
den die Sensoren für die Aktivierung oft direkt in die
Decke eingebaut.
Für die Radar-Bewegungsmelder der Merkur-Familie
bietet sich hierfür der Deckeneinbausatz MIS, das Mer-
kur Integrations-Set, an. Dieses speziell auf diese Sen-
sor-Familie abgestimmte Zubehör ist die optimale und
einfache Lösung für den Einbau sowohl in Hohl- als
auch Massivdecken.
Mit MIS kann also auch bei Anwendungen, die eine
integrierte Montage erfordern, von den Funktionen und
Vorteilen des Merkurs profitiert werden.
Integration
Ceiling Integration Set for
Merkur Radar Motion Detector
For design reasons, the activation sensors for auto-
matic doors are often flush mounted in ceilings.
In such cases the MIS ceiling installation set – the Mer-
kur Integration Set – is ideal for all Merkur radar motion
detectors. This accessory, designed specially for this
sensor family provides an optimum and simple solution
for flush mounting in cavity and solid ceilings.
MIS enables you to benefit from the functions and
advantages of Merkur radar motion detectors, even
with applications requiring an integrated installation.
Integration
MIS – Merkur Integration Set
1. Die Gewährleistung und Haftung der Bircher Reglomat AG richten
sich nach dem Kaufvertrag.
2. Die Gewährleistung und Haftung erlischt vorzeitig, wenn der Kunde
oder Dritte das Produkt nicht gemäss der vorliegenden Betriebsanlei-
tung einsetzen und/oder bedienen, der Kunde oder Dritte unsach-
gemässe Änderungen oder Reparaturen vornehmen, der Kunde oder
Dritte, falls ein Mangel aufgetreten ist, nicht umgehend alle geeig-
neten Massnahmen zur Schadensminderung treffen und der Bircher
Reglomat AG Gelegenheit geben, den Mangel zu beheben.
3. Von der Gewährleistung und Haftung ausgeschlossen sind Schäden,
die nicht nachweisbar infolge schlechten Materials, fehlerhafter
Konstruktion oder mangelhafter Ausführung entstanden sind sowie
Schäden, die aus anderen Gründen entstanden sind, welche die
Bircher Reglomat AG nicht zu vertreten hat.
4. Eine Haftung für Folgeschäden ist ausgeschlossen, soweit zwingende
produktehaftpflichtrechtliche Bestimmungen dem nicht entgegen-
stehen.
5. Die Gewährleistungsansprüche aus dem Kaufvertrag gegenüber dem
Händler werden durch diese Bestimmungen nicht berührt.
6. Bircher Reglomat AG entwickelt ihre Produkte zum Nutzen ihrer
Kunden stetig weiter. Bircher Reglomat AG behält sich das Recht vor,
ohne vorherige Ankündigung, an jedem in dieser Dokumentation
erwähnten Produkt, Änderungen vorzunehmen.
Gewährleistung und Haftung
1.
The warranty and liability of Bircher Reglomat AG are based on the
sales contract.
2. The warranty and liability shall expire prematurely, should the client or
third parties not use and/or operate the product in compliance with
existing operating instructions, should incorrect changes or repairs be
made by the client or third parties, should the client or third parties,
when a fault has occurred, not take suitable steps at once for a re-
duction of possible damage/losses and offer Bircher Reglomat AG
a chance for remedying the said fault.
3. The warranty and liability shall exclude any damage for which there is
no proof that it is due to poor materials, faulty construction, poor
workmanship, and any damage caused by other reasons, for which
Bircher Reglomat AG cannot be held liable.
4. No liability can be assumed for any consequential damage, provided
this is not governed otherwise by applicable product liability laws and
regulations.
5. Warranty claims made against the seller on the basis of the sales
agreement are not affected by these regulations.
6. For the benefit of its customers Bircher Reglomat AG constantly
develops its products further. Bircher Reglomat AG reserves the right
to make changes to any of the products described in this document
without prior notice.
Warranty and liability
Bircher Reglomat AG
Hauptstrasse 22
CH-9042 Speicher
Telefon +41 (0)71 343 83 83
Telefax +41 (0)71 343 83 80
[email protected]
www.bircher-reglomat.com
Ihr Ansprechpartner Your contact
Bestellangaben Ordering information
Artikel-Nr. Article No. Beschreibung Designation Farbe Colour
F539.89330 MIS weiss white
Technische Daten
Abmessungen
Bügel (B x H) 223 x 86 mm
Ausschnitt in Decke (B x H) 207 x 92 mm
Einbautiefe 50 mm
ø Abdeckung 246 mm
Material
Bügel Peraluman silber
Abdeckung PVC weiss (geeignet zur Lackierung*)
Technical data
Dimensions
Bracket (W x H) 223 x 86 mm
Cut-out in ceiling (W x H) 207 x 92 mm
Mounting depth 50 mm
Cover ø 246 mm
Material
Bracket Peraluman silver
Cover PVC white (suitable for painting*)
*Hinweis: die Farbe darf keine Metall- oder Russpartikel enthalten. *The painting may not contain particles from metall nor soot.
K6201.051 10/04
➊Befestigen Sie den Sensor mit den beiden mitgelie-
ferten Metallschrauben am Haltebügel.
➋Verwenden Sie die mitgelieferte Schablone zur
Positionierung und zum Anzeichnen der Öffnung in
der Decke.
➌Achten Sie beim Einbau darauf, dass das Radar-
modul in die Richtung zeigt, woher die Personen
detektiert werden sollen. Ziehen Sie das Anschluss-
kabel durch das vorgesehene Loch und führen Sie
den Haltebügel in die Öffnung ein. Drücken Sie
dabei beide Haltefedern nach hinten und lassen Sie
diese dann vorsichtig los.
➍Schliessen Sie das Kabel an und nehmen Sie alle
notwendigen Einstellungen und Programmierungen
am Sensor vor. Das Anschlusskabel darf nicht im
Bereich vor dem Radarmodul sein. Beachten Sie zu-
dem die Hinweise in der Betriebsanleitung zum
Sensor.
4. Hinweise: der seitliche Winkel für die Drehung des
Radarmoduls darf nicht grösser als 20° sein.
Dies entspricht maximal 4 Rasterstellungen.
4. Der Neigungswinkel des Moduls muss, gemessen
zur Decke, im Bereich von 45° bis 90° sein.
➎Schliessen Sie die Öffnung mit der Abdeckung und
den mitgelieferten Kunststoffschrauben. Dabei
muss der Lichtleiter über den Anzeigeelementen
(rote und grüne LED) zu liegen kommen.
4. Tipp: Für weitere Einstellungen müssen nicht beide
Schrauben der Abdeckung entfernt werden. Eine
der beiden Schrauben muss nur leicht gelöst wer-
den, um die Abdeckung zur Seite drehen zu kön-
nen.
Einfache Montage Simple mounting
➊Fix the sensor to the bracket, using the metal
screws provided.
➋Position and mark the hole to be cut in the ceiling,
using the template provided.
➌On installation, make sure that the radar module
faces in the direction in which people are to be
detected. Pass the connection cable through the
hole provided and insert the bracket into the cut-out
in the ceiling by pressing back both springs. Then
gently release the springs.
➍Connect the cable and carry out all necessary
settings and programming operations to the sensor.
The cable is not to be placed in front of the radar
module. Refer also to the sensor instruction
manual.
4. Notes: The rotation angle for the radar module
must not exceed 20°, corresponding to a maximum
rotation of 4 steps.
4. The angle of inclination, measured from the ceiling,
4. must be between 45° and 90°.
➎Close the cut-out with the cover and the plastic
screws provided. The fiber-optic light guide must be
positioned above the two indicating elements (red
and green LEDs).
4. Tip: For further settings it is not necessary to
remove both screws from the cover. Only one of
the screws has to be released to turn the cover.
MIS
➊➋
➌ ➍
➎Tipp/Tip

This manual suits for next models

1

Other Bircher Reglomat Accessories manuals

Bircher Reglomat PIR 22 User manual

Bircher Reglomat

Bircher Reglomat PIR 22 User manual

Bircher Reglomat MicroScan User manual

Bircher Reglomat

Bircher Reglomat MicroScan User manual

Bircher Reglomat ENT-R User manual

Bircher Reglomat

Bircher Reglomat ENT-R User manual

Bircher Reglomat PrimeTec User manual

Bircher Reglomat

Bircher Reglomat PrimeTec User manual

Bircher Reglomat Reflex motion 2 User manual

Bircher Reglomat

Bircher Reglomat Reflex motion 2 User manual

Bircher Reglomat PIR 30 User manual

Bircher Reglomat

Bircher Reglomat PIR 30 User manual

Popular Accessories manuals by other brands

Omron E3Z series brochure

Omron

Omron E3Z series brochure

ROSE DISPLAYS ANOGOTCHA SQUARE WITH CABLE AND SAUCER manual

ROSE DISPLAYS

ROSE DISPLAYS ANOGOTCHA SQUARE WITH CABLE AND SAUCER manual

Calex PyroNFC Series Operator's guide

Calex

Calex PyroNFC Series Operator's guide

SICK MIS operating instructions

SICK

SICK MIS operating instructions

Waterpik Water Flosser WF-06 manual

Waterpik

Waterpik Water Flosser WF-06 manual

Digital Treasures Powerflask user guide

Digital Treasures

Digital Treasures Powerflask user guide

Philips InfraCare HP3631 manual

Philips

Philips InfraCare HP3631 manual

Klarstein 10027671 manual

Klarstein

Klarstein 10027671 manual

novotechnik RSC-2800 user manual

novotechnik

novotechnik RSC-2800 user manual

Atom Medical Corporation V-2100G Operation manual

Atom Medical Corporation

Atom Medical Corporation V-2100G Operation manual

Hytronik HC028V/RF instruction manual

Hytronik

Hytronik HC028V/RF instruction manual

Modena Finestra Series User manual book

Modena

Modena Finestra Series User manual book

Bresser Vixen AXJ Equatorial Mount instruction manual

Bresser

Bresser Vixen AXJ Equatorial Mount instruction manual

Sentry WF001 manual

Sentry

Sentry WF001 manual

Panasonic EX Series instruction manual

Panasonic

Panasonic EX Series instruction manual

NISBETS ESSENTIALS DB303 instruction manual

NISBETS ESSENTIALS

NISBETS ESSENTIALS DB303 instruction manual

GP M20B instruction manual

GP

GP M20B instruction manual

Onix T624W100DA2b instruction manual

Onix

Onix T624W100DA2b instruction manual

manuals.online logo
manuals.online logoBrands
  • About & Mission
  • Contact us
  • Privacy Policy
  • Terms and Conditions

Copyright 2025 Manuals.Online. All Rights Reserved.