BK Radio KAA 0700 User manual

Contents
Introduction..........................................................................................1
Operation..............................................................................................1
KNG as Source Radio .........................................................................3
KNG as Target Radio...........................................................................6
KNG-S to KNG-S Cloning....................................................................7
KNG-S to KNG Cloning .......................................................................8
Quick Reference .................................................................................9


- 1 -
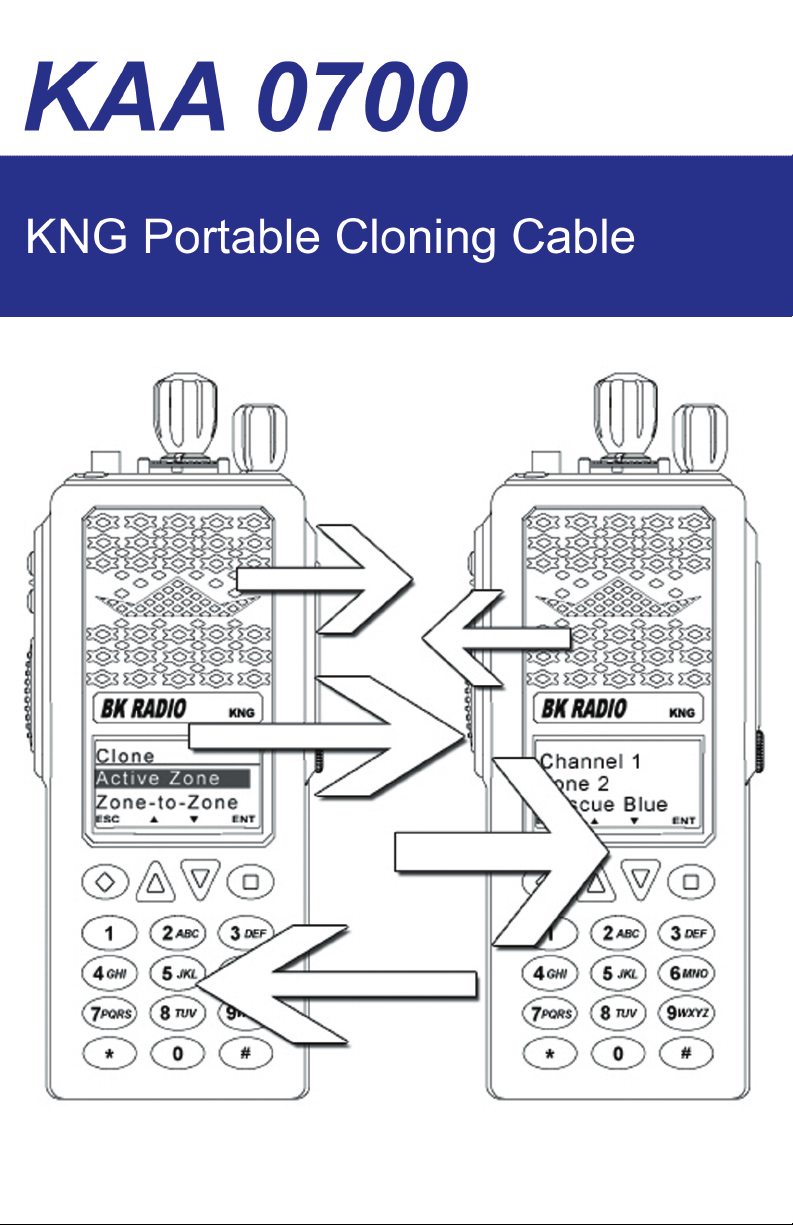
Introduction
The KAA0700 Cloning Cable oers radio users to ability to share
programmed information between KNG portable radios.
Operation
The Source radio is a radio programmed with the desired radio
frequencies and settings you wish to transfer to another radio of the
same frequency range.
In order to clone radio information the Source radio must have a menu
item programmed, via PC Radio Editor KAA0730, to allow cloning.
(Refer to the “Menus/Controls” section of the radio editor.)
The radio receiving the program is referred to as the Target.
Target radios can be programmed to block incoming cloning information
on a zone by zone basis.
KNG radios only allow one cloning option: Active Zone.
KNG-S radios allow for three cloning options: Active Zone, Zone-to-Zone
or Entire Radio.
Active Zone - Copies the information in the Source radio’s active zone
to the Target radio’s active zone.
Zone-to-Zone - Allows for selection of any zone in the source radio to
be copied into any non-blocked zone in the Target radio (functional on
KNG-S to KNG-S cloning only.)
Entire Radio - Copies all non radio specic data from the Source radio
to the Target radio. Radio specic data includes P25 ID, serial number,
encryption keys and passwords. (functional on KNG-S to KNG-S cloning
only.)

- 2 -
Zone Cloning Information
Cloned zone information includes:
Channel and Zone Labels Bandwidth
Frequencies Low Power Selection
Operating Modes ANI Settings
Code Guards (CG)* Zone Priority Settings
Network Access Codes
(NAC)*
Zone Scan List Selection
Squelch Operation Security Settings**
Talk Groups* OTAR Channel**
Scan List
*If picklist selections are assigned in the source radio, the associated
value will be cloned to the target radio. For instance, if a channel has a
picklist selected NAC whose value is $123, then $123 will be sent to the
target radio. The target radio picklists will not be aected.
**Security and OTAR functions require radio encryption options.
Encryption keys are not clonable.
NOTE: Some zones may be blocked by PC programming to prevent them
from being overwritten. Only unlocked zones will accept incoming clones.
Entire Radio Cloning Information
When “Entire Radio” is selected from the cloning menu, information
from the all zones is sent to the corresponding zones of the radio being
cloned.
NOTE: Radios programmed with any zone(s) blocked from receiving
cloning information will not accept an “Entire Radio” clone.
Entire Radio cloning transfers all radio information except the following:
Radio Serial Number
P25 Identication Number
Encryption Keys
Passwords
- 3 -
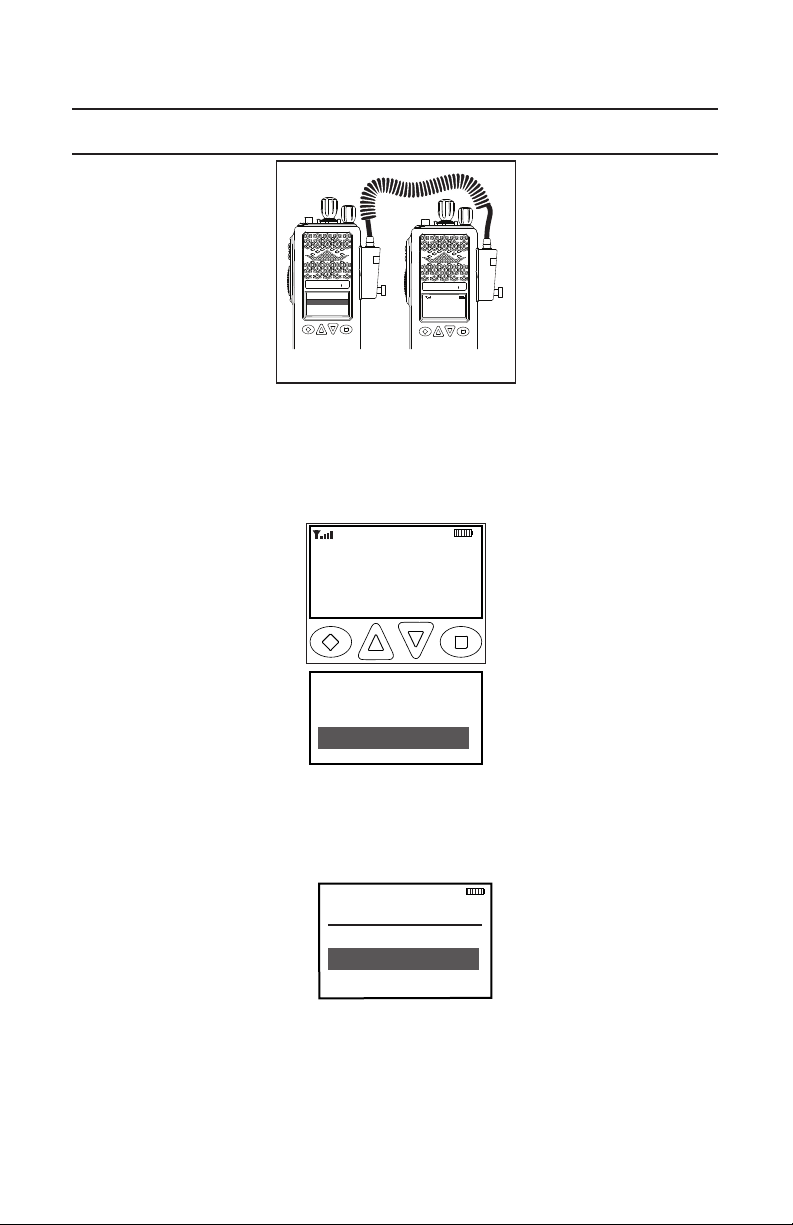
KNG as Source Radio
Ch 1
K N G - P 2 5
17 1. 5 8 5 0 0 M H z
LIGT T/AMENU LCK
RXD
Clone
Active Zone
Zone-to-Zone
ESC ▲ ▼ ENT
KNG
BK RADIO
KNG
BK RADIO
Source
Radio
Target
Radio
Connect the KAA0700 Cloning Cable to the side connector of the Source
and target radios and power up both radios.
On the Source radio:
Cloning Mode
Dest, Zone
→ Zone 1
Zone 2
ESC ▲ ▼ ENT
Source Zone
Zone 1
Zone Label
ESC ▲ ▼ ENT
Zone-to-Zone
Successfully
Cloned
ESC ▲ ▼ ENT
Talkaround
Tx Power
Cloning
ESC ▲ ▼ ENT
Clo n e
Active Zone
Zone-to-Zone
ESC ▲ ▼ ENT
Ch 1
KNG - P25
171.58500 MHz
LIGT T/A MENU LCK
RXD SCN
1. Press the Menu button.
2. Use the up/down buttons to select “Cloning”.
3. Press the [ENT] button.
Cloning Mode
Dest, Zone
→ Zone 1
Zone 2
ESC ▲ ▼ ENT
Source Zone
Zone 1
Zone Label
ESC ▲ ▼ ENT
Zone-to-Zone
Successfully
Cloned
ESC ▲ ▼ ENT
Talkaround
Tx Power
Cloning
ESC ▲ ▼ ENT
Clone
Active Zone
Zone-to-Zone
ESC ▲ ▼ ENT
Ch 1
KNG - P25
171.58500 MHz
LIGT T/A MENU LCK
RXD SCN
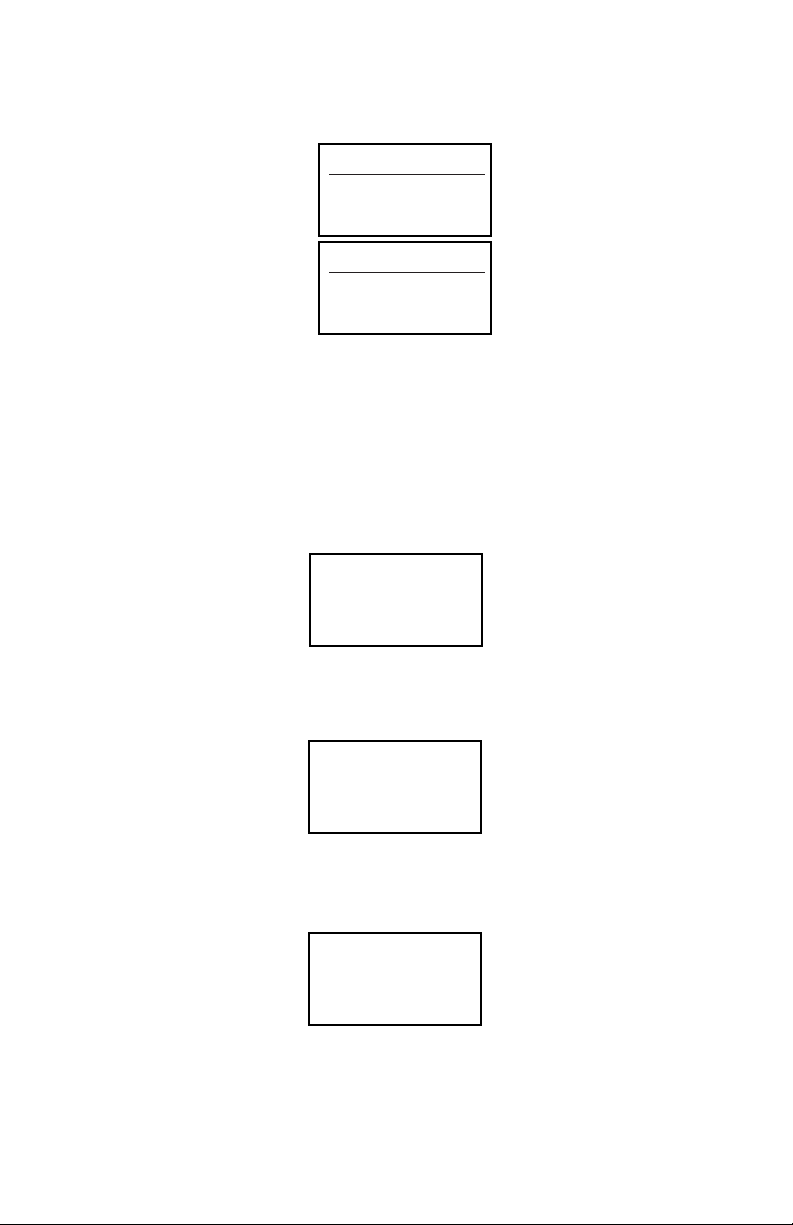
4. Use the up/down buttons to select the cloning type.
NOTE: When “Active Zone” is selected, information from the currently
selected zone will be sent to the currently operating zone in the Target
radio.
Clone
Active Zone
Zone-to-Zone
- 4 -
The following additional steps are required for Zone-to-Zone cloning:
Cloning Mode
Dest, Zone
→ Zone 1
Zone 2
ESC ▲ ▼ ENT
Source Zone
Zone 1
Zone Label
ESC ▲ ▼ ENT
Zone-to-Zone
Successfully
Cloned
ESC ▲ ▼ ENT
Talkaround
Tx Power
Cloning
ESC ▲ ▼ ENT
Clo n e
Active Zone
Zone-to-Zone
ESC ▲ ▼ ENT
Ch 1
KNG - P25
171.58500 MHz
LIGT T/A MENU LCK
RXD SCN
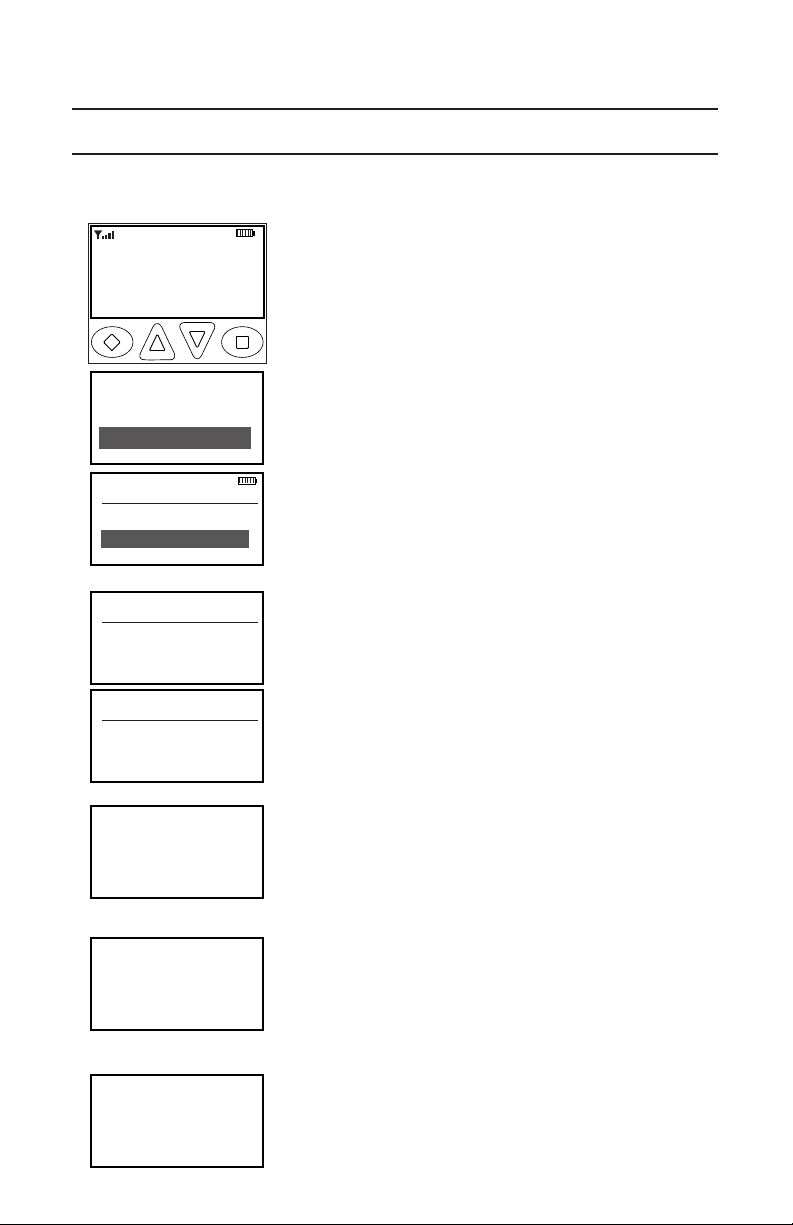
Use the up/down buttons to select the desired source radio 4a.
zone.
Press the Enter button.4b.
Use the up/down buttons to select the desired target radio 4c.
zone.
5. Press the Enter button to send the cloning information.
Cloning Mode
Dest, Zone
→ Zone 1
Zone 2
ESC ▲ ▼ ENT
Source Zone
Zone 1
Zone Label
ESC ▲ ▼ ENT
Zone-to-Zone
Successfully
Cloned
ESC ▲ ▼ ENT
Talkaround
Tx Power
Cloning
ESC ▲ ▼ ENT
Clo n e
Active Zone
Zone-to-Zone
ESC ▲ ▼ ENT
Ch 1
KNG - P25
171.58500 MHz
LIGT T/A MENU LCK
RXD SCN
While sending or receiving information “Cloning Mode” will be shown on
the Target radio display.
Cloning Mode
Zone-to-Zone
Successfully
Cloned
ESC ▲ ▼ ENT
Clone Failed:
Target Zone
Locked
ESC ▲ ▼ ENT
After a successful information transfer, “Cloning Successful” is displayed
on the Source radio before reverting to Send Clone mode.
Cloning Mode
Zone-to-Zone
Successfully
Cloned
ESC ▲ ▼ ENT
Clone Failed:
Target Zone
Locked
ESC ▲ ▼ ENT
If the cloning process fails or the target radio’s zone is blocked form
accepting an incoming clone, a failure message will appear on the
Source radio.
Cloning Mode

- 5 -
Error Notications
Destination Clone
Locked
KNG Source
KNG Target
Source Clone Error
If the targeted zone is blocked from
cloning, or the clone is not successful any
other reason, the KNG Source radio will
display “Source Clone Error” and require
radio power to be cycled.
If a KNG targeted zone is blocked
from cloning the target will display the
“Destination Clone Locked” message and
requires radio power to be cycled.
KNG-S and Legacy target radios do not
display any error messages.

- 6 -
KNG as Target Radio (rmware version 4.6.2 and higher)
To clone to a KNG radio, it must be put in “Destination Clone Mode.” The
KNG radio can only receive “Active Zone” or “Picklist” clone information.
Cloning Mode
Successfully
Cloned
ESC ▲ ▼ ENT
Cloning
Clone Active Zone
Clone Picklists
► Enter Dest Clone
ESC ▲ ▼ ENT
ESC PREV NEXT ENT
On the KNG Target radio:
1. Select the Menu button.
2. Use the up/down buttons to select “cloning”.
3. Press the [ENT] button.
4. Select “Enter Dest Clone”.
Cloning Mode
Successfully
Cloned
ESC ▲ ▼ ENT
Destination Clone
Mode
Waiting...
ESC ▲ ▼ ENT
EXIT
When the KNG Target radio is in “Destination
Clone Mode”, the Source radio can initiate the
cloning of the “Active Zone” or “Picklist”.
When cloning has started, the KNG Target
radio will display “Destination Clone Start”
After a successful information transfer,
“Power o” is displayed and the radio will
restart.
The only cloning functions supported by the
KNG Target radio are “Active Zone” and
“Picklist”. All other functions are unsupported.
Destination Clone
Start
ESC ▲ ▼ ENT
ESC ▲ ▼ ENT
Powering off
ESC ▲ ▼ ENT
Cloning Mode
Successfully
Cloned
ESC ▲ ▼ ENT
Zone to Zone
Unsupported
ESC ▲ ▼ ENT
- 7 -
KNG-S to KNG-S Cloning
Connect the KAA0701 Cloning Cable to the side connector of the Source
and Target radios and power up both radios.
Cloning Mode
Dest, Zone
→ Zone 1
Zone 2
ESC ▲ ▼ ENT
Source Zone
Zone 1
Zone Label
ESC ▲ ▼ ENT
Zone-to-Zone
Successfully
Cloned
ESC ▲ ▼ ENT
Talkaround
Tx Power
Cloning
ESC ▲ ▼ ENT
Clo n e
Active Zone
Zone-to-Zone
ESC ▲ ▼ ENT
Ch 1
KNG - P25
171.58500 MHz
LIGT T/A MENU LCK
RXD SCN
On the Source radio:
Press the Menu button.1.
Use the up/down buttons to select 2.
“Cloning”.
Press the [ENT] button.3.
Use the up/down buttons to select the 4.
cloning type.
Press the Enter button to send the 5.
cloning information.
The following additional steps are required
for Zone-to-Zone cloning:
Use the up/down buttons to select the a.
desired Source radio zone.
Press the Enter button.b.
Use the up/down buttons to select the c.
desired Target radio zone.
Press the Enter button to send the d.
cloning information.
While sending or receiving information
“Cloning Mode” will be shown on the
Target radio display.
Cloning Mode
Zone-to-Zone
Successfully
Cloned
ESC ▲ ▼ ENT
Clone Failed:
Target Zone
Locked
ESC ▲ ▼ ENT
After a successful information transfer,
“Cloning Successful” is displayed on the
Source radio before reverting to Send
Clone mode.
If the cloning process fails or the Target
radio’s zone is blocked form accepting
an incoming clone, a failure message will
appear on the Source radio.

- 8 -
KNG-S to KNG Cloning
Connect the KAA0701 Cloning Cable to the side connector of the Source
and Target radios and power up both radios.
On the KNG-S Source radio select the zone with the information to be
cloned by pressing the Zone button, or selecting “Zone Select” from the
menu, then entering the number of the desired zone.
On the Target radio select the Zone or Group to which the information is
to be sent.
For Legacy radio models select a target group by pressing the [#] key
and entering the number of the desired group.
Cloning Mode
Successfully
Cloned
ESC ▲ ▼ ENT
Talkaround
Tx Power
Cloning
ESC ▲ ▼ ENT
Clo n e
Active Zone
Zone-to-Zone
ESC ▲ ▼ ENT
Ch 1
KNG - P25
171.58500 MHz
RXD SCN
ZONE T/A MENU LPW
On the KNG-S Source radio:
Press the Menu button.1.
Use the up/down buttons to select 2.
“Cloning”.
Press the [ENT] button.3.
Select “Active Zone” cloning.4.
Press the Enter button to send the 5.
cloning information.
Cloning Mode
Active Zone
Successfully
Cloned
ESC ▲ ▼ ENT
Clone Failed:
Target Zone
Locked
ESC ▲ ▼ ENT
After a successful information transfer,
“Cloning Successful” is displayed on the
Source radio before reverting to Send
Clone mode.
Cloning Mode
Active Zone
Successfully
Cloned
ESC ▲ ▼ ENT
Clone Failed:
Target Zone
Locked
ESC ▲ ▼ ENT
If the cloning process fails or the target
radio’s zone is blocked form accepting an
incoming clone, a failure message will
appear on the Source radio.

- 9 -
Quick Reference
KNG to Any Compatible Model
Put Source and Target radios in the desired Zone.1.
Select “Cloning” from the menu.2.
Press the ENT button to send.3.
KNG-S to Any Compatible Model
Select “Cloning” from the menu.1.
Select “Active Zone” from the cloning menu.2.
Press the ENT button to send.3.
KNG-S to KNG-S
Select “Cloning” from the menu.1.
Select “Active Zone”, “Zone-to-Zone” or “Entire Radio” from the 2.
cloning menu.
2(a). If “Zone-to-Zone” is selected, select desires source and target
zones.
Press the ENT button to send.3.
This manual suits for next models
1
Table of contents
Other BK Radio Cables And Connectors manuals


