Blackmagicdesign H.264 Pro User manual
Operation Manual
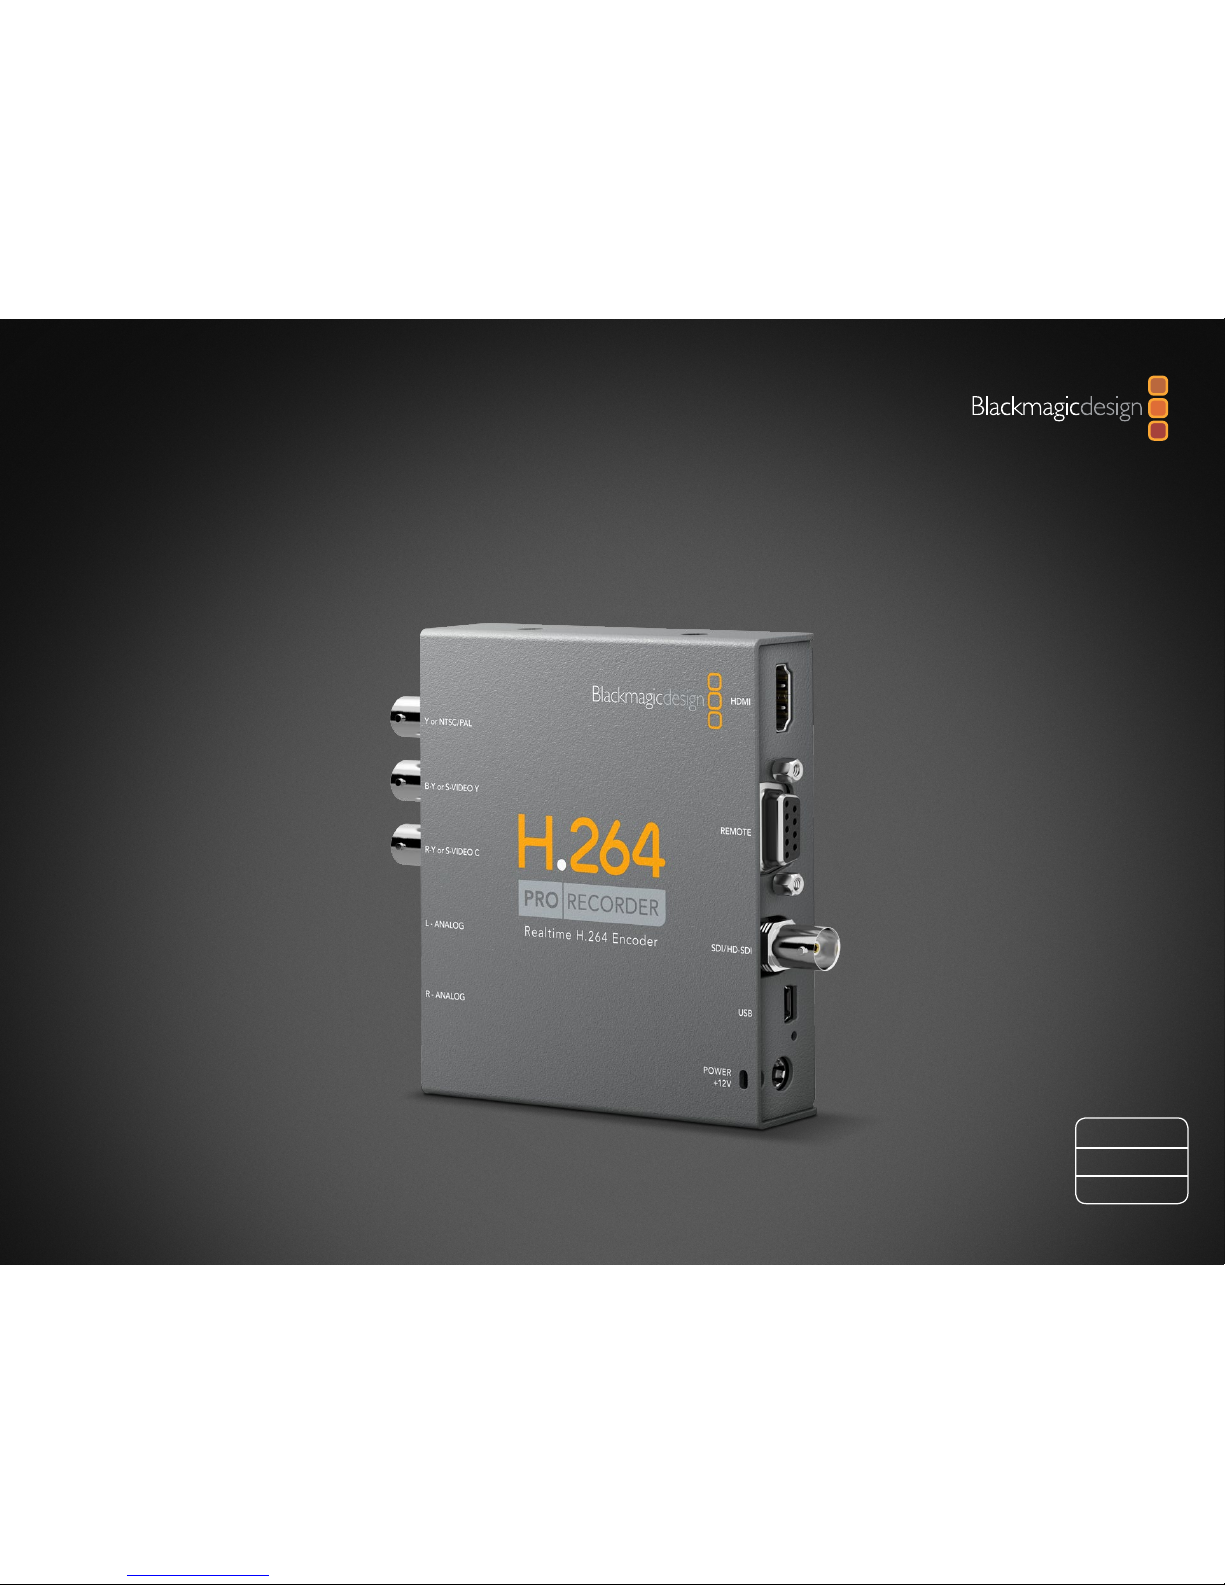
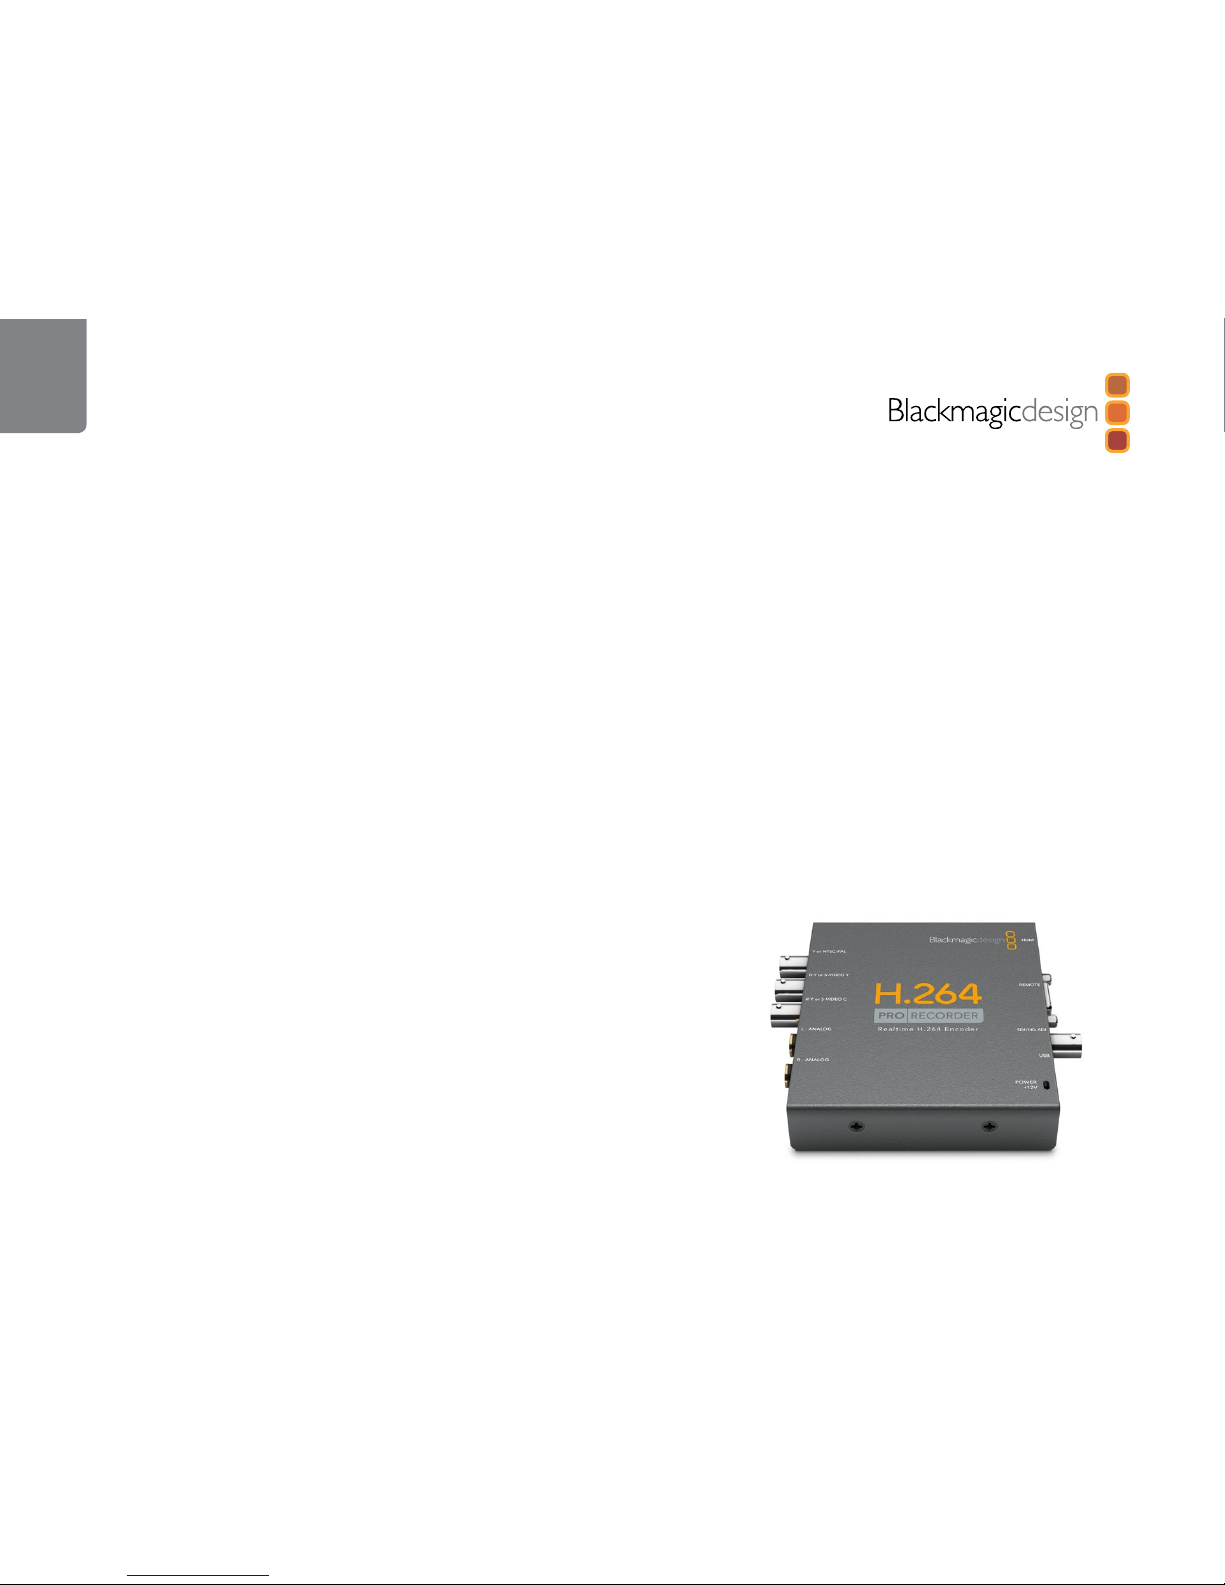
H.264 Pro Recorder
Windows™
June 2011
Mac OS X™
Contents
H.264 Pro Recorder Operation Manual
How to Install
Installation 5
H.264 Pro Recorder product diagram 5
Pre-installation overview and planning 6
Installing the software on Mac OS X 7
Installing the software on Windows 8
Updating the firmware 9
Software
Blackmagic Media Express 11
Media Express overview 11
Device Menu 13
Preferences 14
Media List 15
Capture 16
Playback 19
Helpful Information
Support 22
Which connections should I use for best quality video? 22
Consumer Level Analog Audio Signals 24
RS-422 remote device control 25
Help 26
04
10
Connection Diagrams
Component Analog Video Connections 28
S-Video Analog Connections 29
Composite Analog Video Connection 30
Betacam SP analog deck 31
SDI digital deck 32
Sony HDCAM SR deck in 4:2:2 33
HDMI camera 34
Warranty
Warranty Terms and Conditions 36
27
35
21

Welcome
3
Welcome to Blackmagic H.264 Pro Recorder!
Thank you for purchasing H.264 Pro Recorder. Now you can easily convert your videos to H.264 in real time
for the web, iPhone, iPad, Apple TV, YouTube and more!
Previously, H.264 encoding was either a very slow software process or required fast, expensive computer
hardware. H.264 Pro Recorder has a built-in high quality H.264 hardware-encoding engine and image
processor so you get amazing quality H.264 video in real time.
H.264 Pro Recorder produces stunning quality digital video from the highest quality SDI, HDMI and
component analog video as well as regular composite analog video. It can even work with S-Video via a
third party S-Video breakout cable (not included) and supports 2 channels of professional balanced audio
input. With all these connections supported, you can encode from practically any device out there. It even
has an RS-422 remote control port so you can batch capture H.264 video from your decks just as you would
with normal video!
We think it should take you approximately 5 minutes to complete the installation. Before you install H.264
Pro Recorder, please check our website at www.blackmagic-design.com/support/ and click the support
page to download the latest updates to this manual and H.264 Pro Recorder software.
Lastly, please register your H.264 Pro Recorder when downloading software updates. We would love
to keep you updated on new software updates and new features for your H.264 Pro Recorder. We are
constantly working on new features and improvements, so we would love to hear your suggestions for
improvements to the software!
Grant Petty
CEO Blackmagic Design

How to Install
4

Installation
5
Blackmagic H.264 Pro Recorder
Audio Left
Audio Right
Y or NTSC/PAL
Analog video input
Analog audio input
on 1/4” TRS jacks
B-Y or S-VIDEO Y
R-Y or S-VIDEO C
RS-422 Deck Control
3G/HD/SD-SDI Input
USB 2.0 Connection
Power
Other manuals for H.264 Pro
1
Table of contents
Other Blackmagicdesign Recording Equipment manuals

Blackmagicdesign
Blackmagicdesign UltraStudio Pro User manual

Blackmagicdesign
Blackmagicdesign HyperDeck Studio User manual

Blackmagicdesign
Blackmagicdesign Blackmagic Video assist User manual

Blackmagicdesign
Blackmagicdesign HyperDeck Studio User manual

Blackmagicdesign
Blackmagicdesign DeckLink Series User manual

Blackmagicdesign
Blackmagicdesign ATEM Camera Converter User manual

Blackmagicdesign
Blackmagicdesign Video Recorder User manual

Blackmagicdesign
Blackmagicdesign Audio Monitor User manual

Blackmagicdesign
Blackmagicdesign ATEM Camera Converter User manual

Blackmagicdesign
Blackmagicdesign URSA Broadcast G2 User manual


