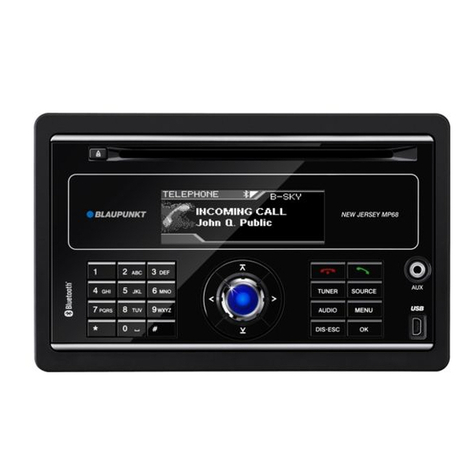
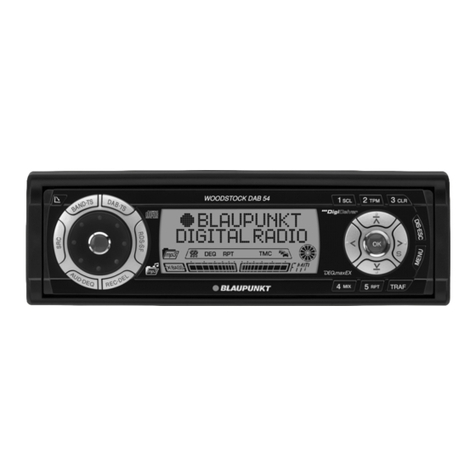
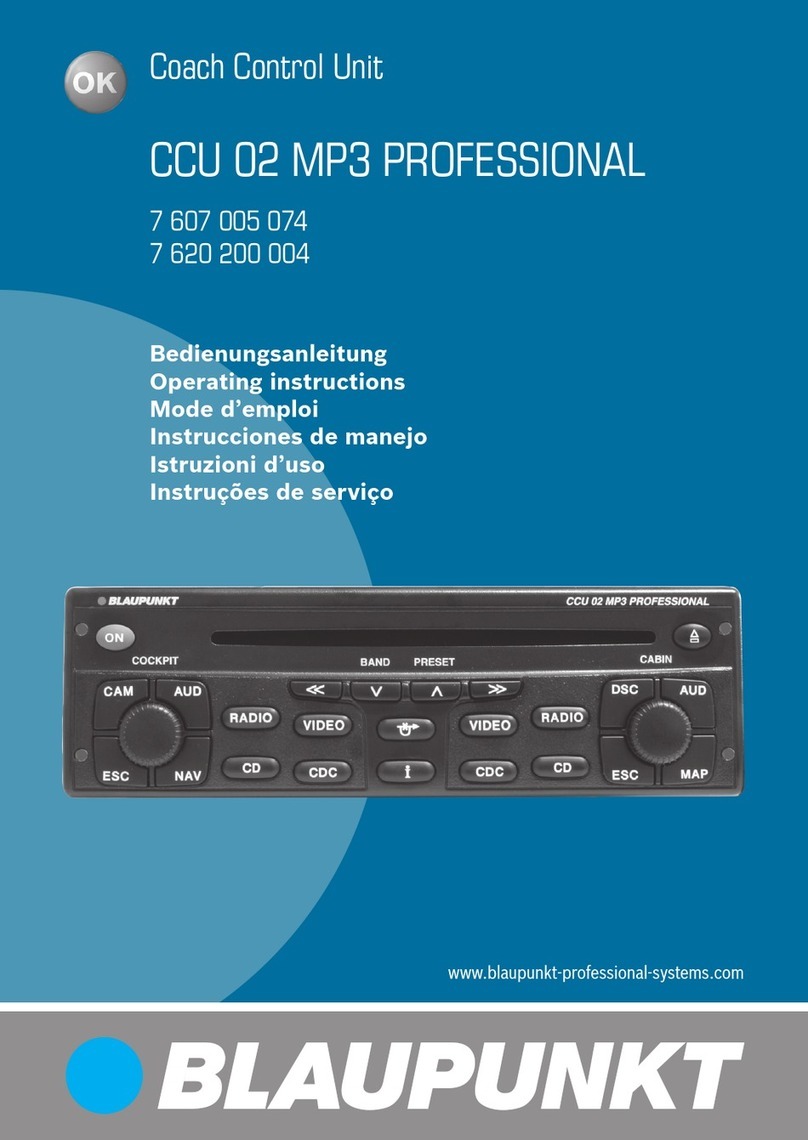
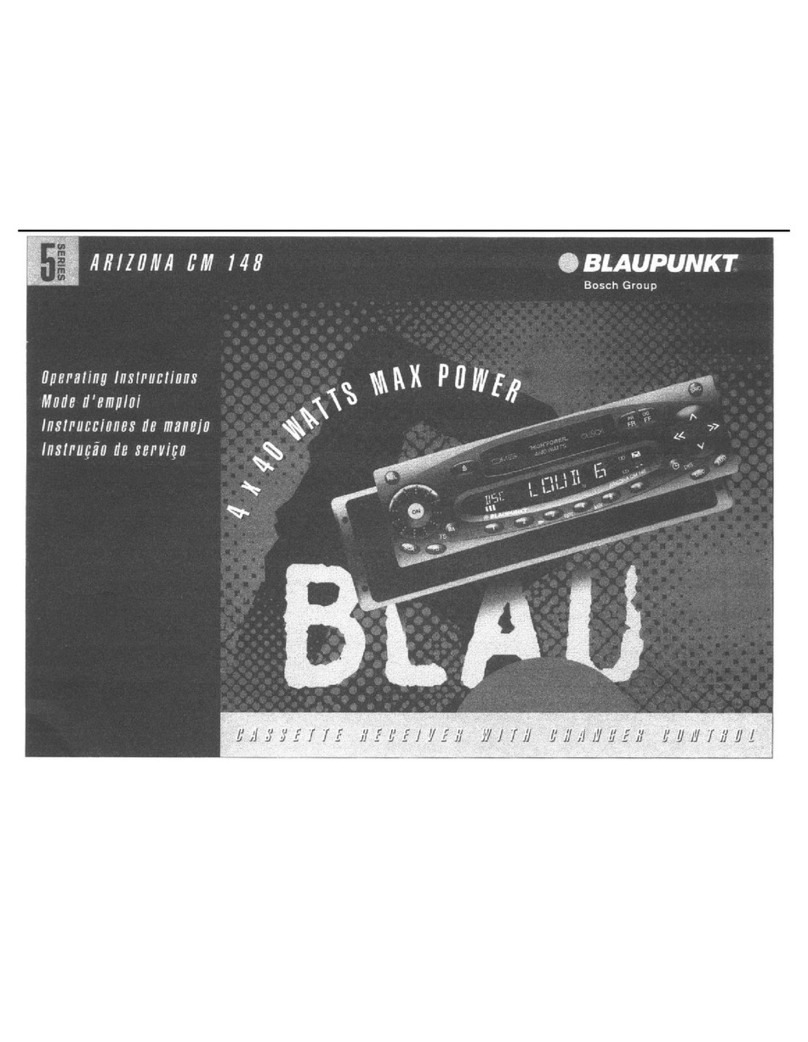
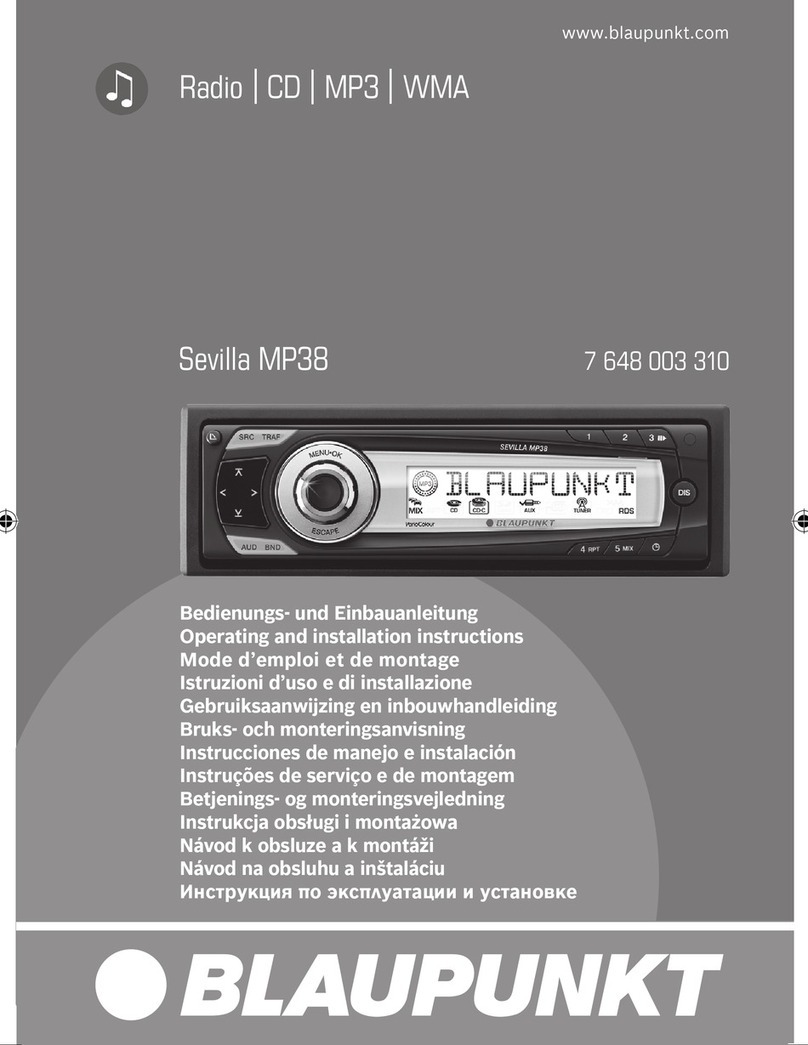
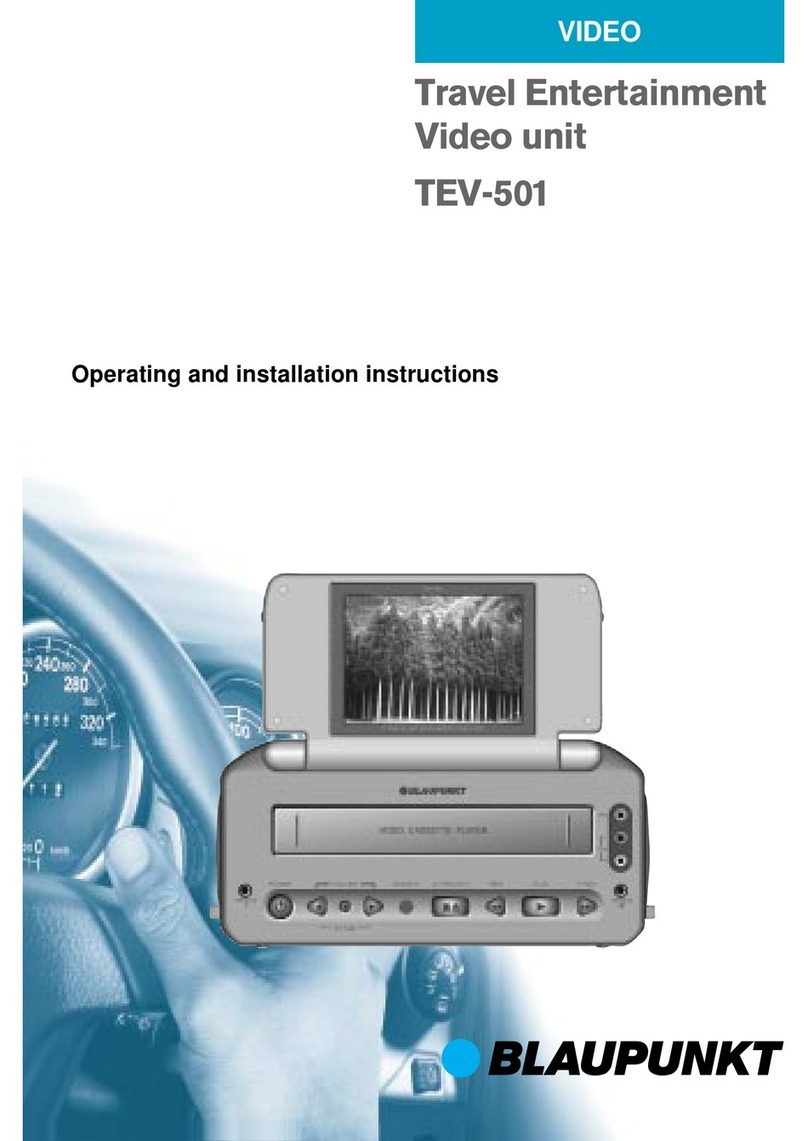
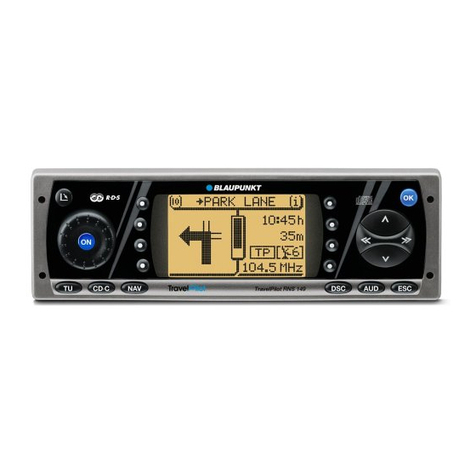
LOCATION OF CONTROLS
Loudness
Press
LO
Bu,,on
10
actwafe
o,
deactwe loudness
L_-_.
_~___~
INSTRUCTIONS-GENERAL OPERATION
“Press” means momentary press
ol
less than
l/2
seconds.
Ignition-Off Clock Recall
-
You can check
the
lime when the vehicle ignition is off by
simply pressing the AUD Button. The time stays displayed for five seconds.
Turning Untf On
-
Vehlcte
,g”,t,o”
must be
on
To
turn
““,t
on,
press PWR Button
0,
insert
a
disc.
Turning Unit Off
-
Press the PWR Button to turn the unit off.
Volume
-
Press the + and
-
Buttons lo quickly increase or decrease the volume lo the
dewed
level.
The
volume
level is indicated in the Display Window. To make a fine
adfustments
to the volume level, press the other volume butlon before the volume level
disappears from the display. You can then gradually adjust the volume in either
direction. making precise adjustment easy.
Adjustable Turn-On Volume
-
First
adjust the volume
lo
the (maxImum) volume level
dewed when the
u”,,
IS
turned on Press and hold
the
PWR Button for more than
hvo
seconds. The unit turns off and the turn-on volume level is memorized. When the unit is
turned on, the volume will be at the memorized level, even it the unit was turned Ott
wh,le
the volume was at a
higher
level. However, it the volume is turned off when the
volume level is towe, than the sto,ed Turn-On volume level. the volume will be al the
lower level when the unit is turned back
on.
Se,,,,,g
t,,e
tX&
-Press
Ihe
A”D
as
many
,,mes
as
needed to
access
the
clock
with
the
how
bl,“k,,,q
Ad,“,.,
the ho”,
“s,“g
Ihe
+
andlo,
-
buflon
Press the AUD
button
once
mole
10
ad,&
fhe m,nu,es also
us,ny
,he
+
andlo,
button
Press AUD once
mole
to
,e,u,n
10
the
normal mode
Changing the Information
Olsplayed
. To change the
display
pnonty. press
the
AUD
Butlo”
for two seconds The display
pnonty changes. In the
,ad!o
mode, the
dlsptay
pnonty
chotces
are
clock and
radio
frequency. In the CD mode, the
display
pnonty choices are
CloCk.
track “umber, and
elapsed track
11me
. To change the display temporarily. press and release the AUD Button one
Or
two
times to access the desired information.’ After five seconds, the display changes back IO
the priority inlotmation.
Bass and Treble
Press AUD Button as needed lo select
tt)e
Bass
cmce
more lo reach Treble mode. The
level is indicated in the Display Window. Press the +
Button
0,
-
Bulton to increase 0,
decrease the
level:
BalanCa
Press AUD
Butlon
as needed to select the Balance
mode
The balance IS
mdlcated
,n
the
Display
Wmdow
Press the +
bunon
to
shift
sound to
the
left Press
-
button to
shdt
sound
io
right.
Fader
Press AUD Button as many times as needed to select the Fader mode. The level of
output for
Iron1
and back speakers is indicated in the Display Window. Press the +
button to shift sound lo the front. Press
-
button lo shift sound to ,ea,.
.
FM
seconds
alter
you
complete you, adtustments. the unit will
automatically
return to
the volume mode and the display
wilt revert
back to the
p,wity
display. clock 0,
function.
You can also p,ess and release AUD as needed to
return
to the priority
dlsptay.
AU0
Button Summary
.
Press,,,g
a,,,,
,c,e.,s,,,g
the
A,,[)
Bull,,”
a,:~~s~os
,,,CSO
,““,,“s
I”
11~2
SIIC,:USL~“”
.
,u,,,,,ura,y
D,s,,,ay ~:f,a,,gc(s) tl.,ss
,,clllc.
~alcmco. kadc,. Il,,~,,~.
MIIIIIIUS
NII,,,IJ
.
P,ess,,,g
the
A”,,
B”,,on
10,
I’.“”
suc”r,ds
,:ha,,~t?s.
I,,”
dlS,,lay
p,l~,Q
.
Whle
I” any AUD mode (except to, hour and minute
adtust).
11
no button IS pressed
to,
/we
seconds,
,he
un!,
,e,u,ns
lo
the volume
adtustmen,
mode and
prlor~ty
display
Radio
receptlo”
Trouble
Preset
stations
are not receivable. Causa/Solutlon
. The broadcast IS too weak
Automatic tuning Is not possible . The broadcast IS
lw
weak
-
rnil”,,R,
tun,no
RADIO OPERATION
Automatic
Steraaono
Reception Adjustment
When an FM
stereo
program with a signal strength of at lea+ 50
dBt
is tuned in, the
ste,eo indicator
(“a”)
appears in the Display Window. It the FM stereo program is weak
and noisy. the unit automatically blends the signals, eliminating the noise and
gadually
converts
to
the monaural o,“mono” mode. The stereo symbol will disappear from the
Display.
Selecting the Band
Press the BND
bulton
as many times as
necessan/
to select the desired band.
Selactlng FM Tuning Standards: US
I
European (RPC 435X only)
Locate the opening on the bottom of the unit
designated
wth
a label. It
“ecessaly.
move
the switch in the opening to the desired FM tuning standard as indicated by the label.
Automatic Seek Tuning
Select the desired band. Press and release the
A
or
V butlon to
s&k
the next receivable
station. To stop seeking and return to the previously tuned Irequency, press the other of
the A
0,
V buttons.
Manual Tuning
Select the dewed band.
To
beg,”
manual luning. press and hold the
e
0,
w
button
fO,O
5
seconds. The band lndlcation blinks while the manual tuning mode is
active.
Fou,
seconds
alte,
you
complete you,
ad,“s,mentS.
the
Tuning
Controls
,eYe,t
10
Seek
T”“,“g
station scan
P,ess
Ihe
SCN
Bulfon
10
ac,,“ate
s,a,,on
scan Scanned
trequencles
will
blink
TO
Stop
scan press the same butlo”
preset scan
Press the SCN button for
more
than 2 seconds to activate preset scan. The
unit
scans
recewable stations for 10 seconds then returns lo the starting frequency. To end preset
scan and listen to a desired preset station, press SCN again.
Travelstore
Th,s
featwe
allows
you to
automat,ca,ty
store 6
,ece,vabte
FM and 6
receivable
AM
s,a,,ons
wh,ch
IS
espec,a,ty
handy when you
,,avet
to a d,“e,e”t
,ecept,on
a,ea
S&c,
the dewed
band
The” press
BND,TS
buflon for 2 seconds
Beg,““,“g
wth the last
s,a,,on
recewed
Lhe‘““,,
automat,catly
scans. the band for the SIX stallons
wlh
strong
s,gnals
Once compleled, the
“n,,
relums
to
Ihe
prewusly-tuned
frequency
Selecting preset stations
S&cl
the
das,,ed
band.
P,ess
the desired preset button. Then the frequency
a”d
Ihe
preset number wll appear
Manually Storing lndlvldual Preset Stations
1. Select the desired band using the BND button.
2. Tune in the desired frequency using seek
0,
manual tuning.
3. Press and hold down the desired preset
button
for 2 seconds.
4. The frequency blinks and the audio mutes to one second to confirm storage.
COMPACT DISC OPERATION
Playing A Disc-Check Display to make sure that “DISC IN” indicator is not lit. Insert a
disc into the Disc Slot with the label sulfate facing up. “LOAD” and “DISC IN” appear in
the display. The track number and “DISC IN” indicator will appear in the Display. Play
starts at the
beginning,ot
the first
selection
(TRACK)
Do not insert a
3.inch
CD.
When a CD is already in the unit, simply
press
the CD Button to switch from radio lo CD
playback.
Ejactlng A Disc
-To
eject a disc, press the eject button. Once ejected, the disc should be
put in the case.
Track
Up/Down
-Press the A Button or V Bulton to
locate
the desired track. Track
number appears in the display.
Cue and Review
-
Press and hold the A
Bunon
or V Button lo rapidly advance forward 0,
backward to the desired position of the track during playback.
Repeat Play -Press the RPT (Repeal Play) Bulton to repeat the same selection. The
“RPr
indicator is displayed in the Display. To cancel. press this butlon again.
Mix Play -Press the MIX
Bullon
to play the tracks in random order. The indicator “MIX
will appear in the Display. To cancel, press this button again.
CD Scan -Press SCN Button to
$ta,t
CD Track Scan; start of scan mode is tndlcated by
me
,,,,,\k,,~(l
0,
Ihe
lrack m,mt,e,
The
L
N,,,
stnps
at
cat,,
,KKk
101
111
surmrlds
1’11!!.!:
d,ilJ!J
10
“llll
Ill”
SCilll
IIIOLID
Pause -Press the Pause Button
(II>)
during playback. Play will stop. Press
agaln
to
,esume
play.
?e
disc is inselted with the labeled side
,wnwards.
I
TROUBLESHOOTING GUIDE
_.
.
The toltowng check wll
as?&
m
the
co,recl,on
of
most
problems
which
you
may
encounte,
wllh
you,
““,I
Belore
gomg
through the check
lkst
below.
refer
back
10
lhe
connect,~”
and
operallng
procedures
atched. Eject and insert clean, undamaged disc
property (print side up).
Try
e,ect,“g and
remsertlng
under
normal
temperature
condthons
Under
normal
temoerature
cond,t,o”s.
It the above
menhoned
sotuhons
do not help to improve the
sltuatlon,
ConSuIt
your
nearest
(I
qect
and ,nse” clean, undamaged disc
properly
Blaupunld
dealer
o,
,n
the
Umled
States call 1-800-i ----
parts
and
sewce
Call l-800-950-2528 lor dealer
rel,
!66-2xx! to, technical assistance.
~,,a,
o, to ,e”uest
oroduct
brochure. E-04 Mechanical error. Eject and reinsert.
1

