BleBox mremote User manual

The product contains batteries described in Directive
2013/56 / WE, which can not be disposed of with other
household waste.
CONTROL DEVICES WITH A REMOTE CONTROL
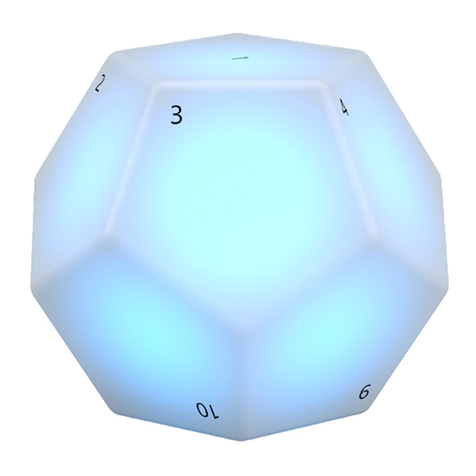
miniature universal remote control
The remote control has a multi-colored LED diode and a vibration function. It
is powered from a built-in lithium battery, charged via a micro-usb connector,
with a standard 5V charger or USB connector.
Feature for the remote control is available in devices of the wBox series, with
software version above 0.500
The remote control communicates directly with wBox controllers - no router is
required. Communications of the remote control is two-way, the user receives
feedback information about the execution of the command by the controller
by using a vibration and the signal of the LED. The red LED indicates that an
error has occurred.
1GENERAL INFORMATION
There are currently four groups (channels) to which drivers can be assigned.
The selection of the group is made by shortly pressing the "menu" button,
which will changes the colors of the LED signaling, indicating the selection of
the group.
2GROUP SELECTION
The unpairing is a procedure aimed at removing the connection between
the remote control and the wBox controller.
Pairing is a procedure aimed at creating a safe connection between the
remote control and the wBox controller.
Method 1 – remove the remote control from the list of “remote controls” in
the controller.
This is a standard method in case we have access to the controller but we do
not want to control it anymore with the remote control. In the controller
settings, in the “remote controls” section, delete the determined remote
control from the list. The controller from now on will not respond to the
commands of the remote control, while the remote control at the rst attempt
to control, will automatically remove the association with the device, and will
signal the error with a blink of a red LED and vibration.
Method 2 – remove the controller association in the remote.
This method is recommended when we do not have access to the controller,
and we want to clear the memory of the whole group. Follow the pairing
procedure in accordance with points 1-4. However, in point 5, instead of
pressing the button (1), it is necessary to press the button (2) for a long time
(about 2 seconds). The control remote immediately unpairfrom all the
controllers in this group and will not be able to control them anymore. It
should be noted that in the controller settings, in the “remote controls”
section, the given pilot will still be visible in the device list.
3PAIRING
You need to prepare the controller which is to be paired to the remote control,
by connecting to the phone with the application wBox and going to the
settings menu and next:
An error in the previous procedure will be signaled by a blinking LED in red
color. In thes case youneed to repeat the procedure from the beginning.
1.
2.
3.
4.
5.
6.
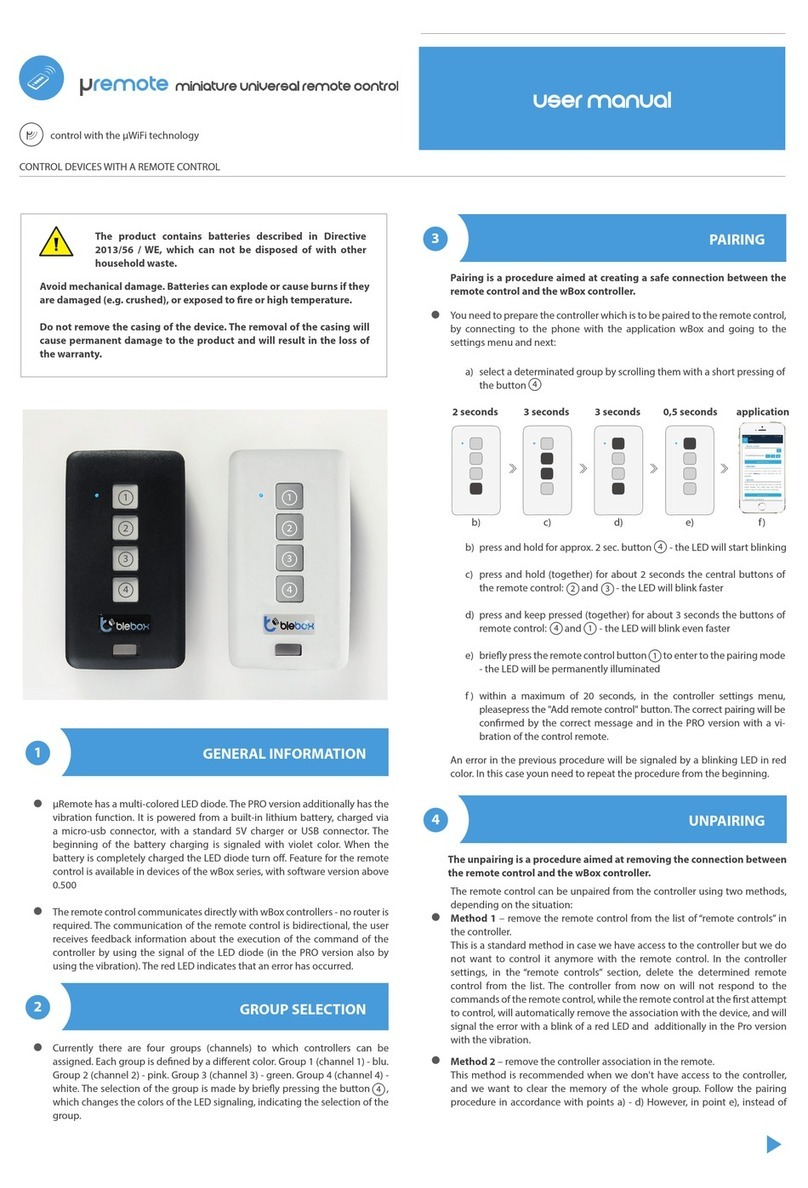
select a determinated group by scrolling them with a short pressing
of the button (4)
press and hold for approx. 2 sec. button (4) - the LED will start
Flashing
press (but not simultaneously - with a minimal delay) and hold
(together) for about 2 seconds the central buttons of the remote
control : (2) and (3) - the LED will blink faster
press (but not simultaneously - with a minimal delay) and keep
pressed (together) for about 2 seconds thebuttons ofremote control:
(4) and (1) - the LED will blink even faster
briey press the remote control button (1) to enter to the pairing
mode - the LED will be permanently illuminated
Within a maximum of 20 seconds, in the controller settings menu,
pleasepress the "Add remote control" button. The correct pairing will
beconrmed by the correct message and a vibration of the control
remote.
The remote control can be unpaired from the controller using two methods,
depending on the situation:
4UNPAIRING
control in the μWiFi technology
Avoid mechanical damage. Batteries can explode or cause burns if they
are damaged (e.g. crushed), or exposed to re or high temperature.
Do not remove the device housing. Removal of the housing will cause
permanent damage to the product and will void the warranty.
User manual
EN
1
2
3
4
1
2
3
4

For more information
visit our website
www.blebox.eu
Technical support is available
shutterBox: (1) –go up, (2) - stop, (3) – go down, (4) - menu
gateBox: (1) - open / stop / close, (2) - additional gate function, (3) - no
functions, (4) – menu
It is possible to change the default actions of the wBox controller after
pressing a given button on the remote control. Connect to the determined
controllerfrom the wBox app and go to its settings menu. In the “remote
controls” section, next to the given remote control, click on the key icon - a
pop-up window will appear, in which is possible to change for a given group
of action it is possible to change the action type for the selected button (1-3)
of the remote control. The behavior of the button (4) can not be changed.
5CHANGE THE DEFAULT BUTTON FUNCTIONS
Ultra-safe communication
The μRemote uses cryptographic technologies used in banking, more
eective than the currently used, includingamong others two-way key
negotiations, conrmation communications, and encryption using elliptic
curves.
6SECURITY
TECHNICAL SPECIFICATIONS
Number of buttons 4
Dimensions 72x39x13mm
Power supply lithium-polymer battery
Charging standard microUSB charger5V
(not included)
Transmission frequency 2.4GHz
Transmission with conrmation, encrypted
µWiFiTransmission protocol
Number of groups
Signaling
Haptic Feedback Display
4
RGB LED
yes
ADDITIONAL INFORMATION
REMOTE CONTROL SOFTWARE UPDATE
Prepare the remote control for updating by recharging it and pairing it with
the controller. Next connect to the controller with the phone by using the
wBox application and go to its settings menu.
If a new version of the software is released, the update icon will appear in the
“remote controls” section of the remote control. Clicking on the icon will
appear an appropriate with the message about the possibility of updating the
software in the remote control. Then is necessary within a maximum of 30
seconds, induce the remote control into the update mode following the
remote control pairing procedure in accordance with points 1-4. However, in
the point 5, instead of pressing the button (1), it is necessary to press the
button (3) for a long time (about 2 seconds). The remote control will blink the
LED in the color of the current group and will remain on during update (about
3 minutes).
After properly carried out the update, the diode will turn o immediately. If
the LED lights blink on red color - an error has occurred, then repeat the
wholeprocedure.
DEFAULT KEY FUNCTIONS
DEPENDING OF THE CONTROLLED PRODUCT
wLightBox
wLightBoxS
switchBox
switchBoxD
dimmerBox
- available soon
- available soon
- available soon
- available soon
- available soon
Other BleBox Remote Control manuals
Popular Remote Control manuals by other brands

Raynor
Raynor 974RGD owner's manual
Garmin
Garmin Fusion Apollo MS-ERX400 owner's manual
Hearth and Home Technologies
Hearth and Home Technologies SMART-BATT-II Installation and operating instructions

Panasonic
Panasonic AK-HRP200G operating instructions

Ele
Ele 600 series user manual
Faro Barcelona
Faro Barcelona 33929 installation guide
