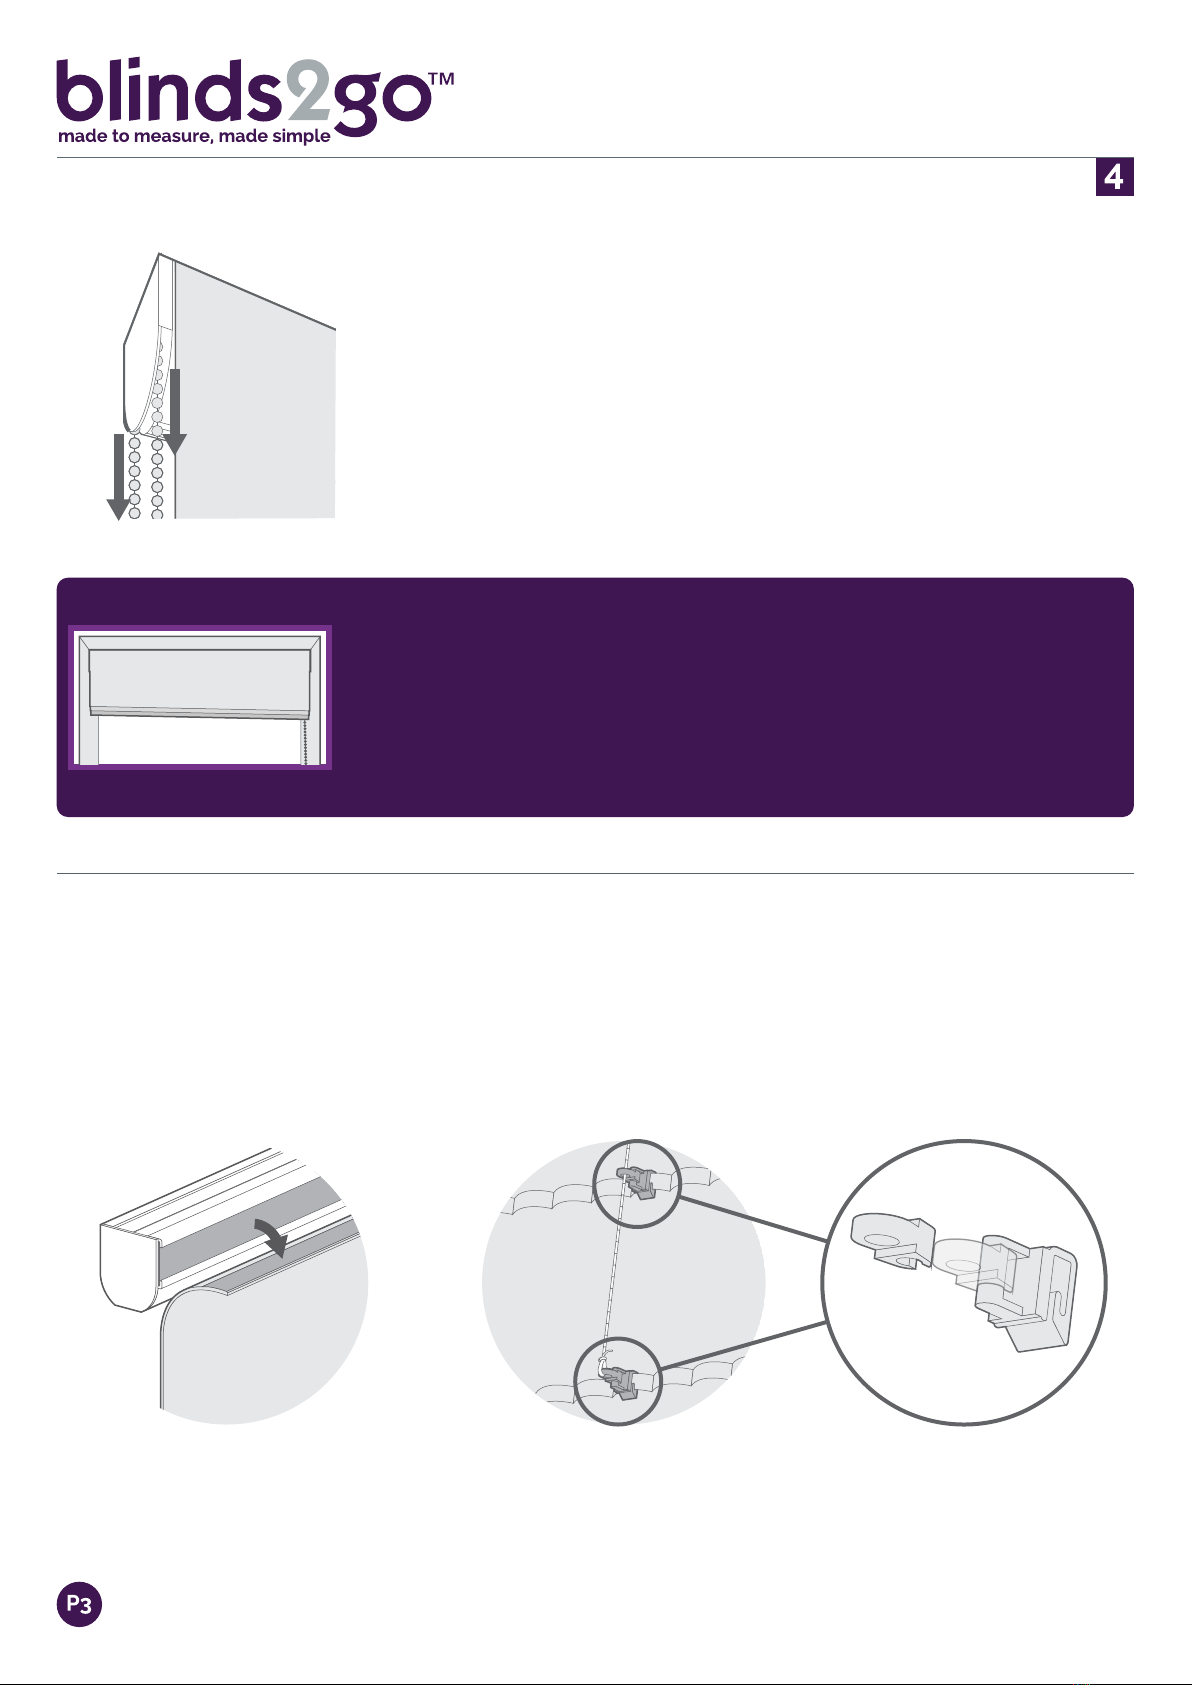
BLINDS2GO Roman User manual


This manual suits for next models
1
Other BLINDS2GO Window Blind manuals


Popular Window Blind manuals by other brands

SOLARMATIC
SOLARMATIC 3.64 installation manual

MHZ
MHZ 11-8225 Installation and operating instructions

Inspire
Inspire 10425405 installation instructions

TOSO
TOSO Mytec 01 Loop Double Type instruction manual

Rollos
Rollos Roller blind M cassette R76 Assembly and operating instructions

SelectBlinds
SelectBlinds Classic Grommet Custom Made Drapes installation instructions

Renaissance
Renaissance AutoMoto Setup & operating instruction

Roma
Roma .P Assembly instruction

Hallis Hudson
Hallis Hudson Rolls Super glide instructions

weinor
weinor VertiTex ZipR Maintenance Instructions and Directions for use for the end user

Clic
Clic HF 12 instructions

Hella
Hella TOP FOAM RvU Installation instructions and instructions for use


