04
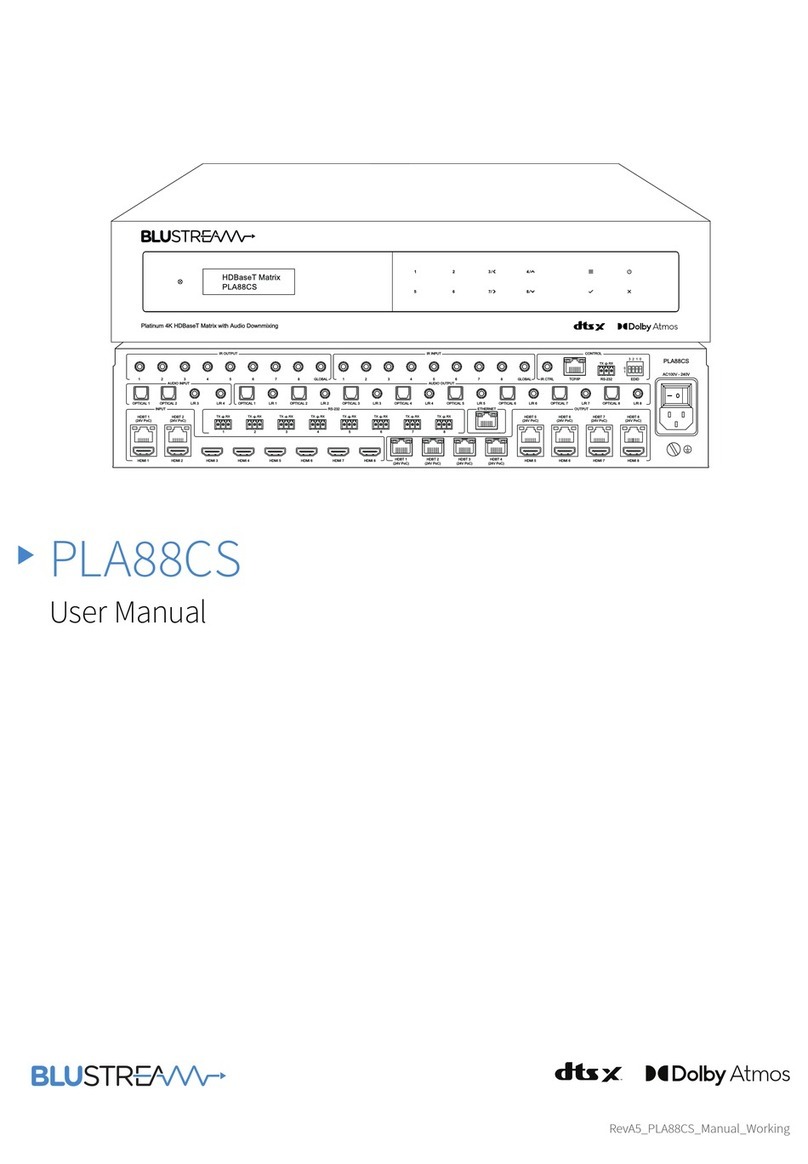
Rear Panel
HMXL44AB ZONE
7 8 8 8 8 9 10 117 7 7
1 3 3 12 13
6
4 5
1 IR inputs – 3.5mm stereo jack.
Transmits IR to the zone receiver
(Displays). When using the provided
cable ensure the end marked ma-
trix is used
2 IR outputs – 3.5mm mono jack – IR
returning from extender (Room
end) to supplied IR emitters.
3 Zone specific bidirectional RS232
ports – Connect to PC or control
processer to control RS232 devices
in the rooms via the HDbaseT room
receivers RS232 port.
4 RJ45 – Connect to LAN for TCP &
GUI control
5 RS232 port – For control of the
matrix switcher from PC or control
processer
6 HDMI inputs – Connect to HDMI
sources
7 HDBT output – Connect to HDBa-
seT receivers.
8 HDMI output – works simultane-
ously with HDBaseT output.
9 IR input for matrix control – For
hard wired IR connection. Use
mono cable only. Connect to
control processor or IR connecting
block.
q POH Power port – Use supplied
12V/5A DC adaptor to power the
HDBaseT extenders.
w Power port – Use supplied 12V/5A
DC adaptor to power matrix.
e L/R analogue audio output –
3.5mm stereo jack. Extracted audio
will follow the I/O selection. Please
note: input must be PCM. Bitstream
cannot be decoded by matrix
r GND – Connect to ground.
Remote Control Description
OUTPUT AND INPUT SELECTION
A Selects the zone OUTPUT you wish to
change the source on (Numbers 1 - 4
correspond to the zone outputs 1 - 4)
B Selects the source INPUT you wish
to change on the selected zone (Num-
bers 1 - 4 correspond to the source
inputs 1 - 4)
EXAMPLE
To switch source 2 to zone 4 you would
press 4 in the output section (A) followed
by pressing 2 in the Input section (B).
ALL button: The all button selects all the
inputs or outputs in its corresponding box.
Example: (The “All” button in the Output
box selects all the zones so all zones will
change to what source input is selected
next)
PTP: This button will align all the zone
outputs with the like numbered source
inputs. Example: Input 1 to output 1, input
2 to output 2, etc
EDID SET UP
The MX44AB provides a comprehensive
range of EDID settings. Below are three
examples of how to deploy the desired
EDID setting when using the supplied
remote.
A. Fix EDID to an INPUT or ALL in-
puts: Press the desired video resolu-
tion button (1080I / 1080P / 3D / 4K),
then select the desired audio format
(2.0CH / 5.1CH / 7.1CH), then select
the source input you want this EDID
information allocated to by pressing
the INPUT 1 – 4 or the ALL button
B. Copy EDID of OUTPUT-X to an
INPUT or ALL: Press the COPY but-
ton then select the OUTPUT you wish
to copy the EDID information from,
then select the source input you want
to copy this EDID to by selecting the
INPUT 1-4 or the ALL button.
C. User defined EDID to an INPUT or
ALL inputs: Press USER1 / USER2
button then select the source you
wish to assign this EDID to by select-
ing INPUT 1-4 or the ALL button
NOTE: The button press sequence should
be finished in 5 seconds, otherwise the
operation is discarded.
A
B
EDID


