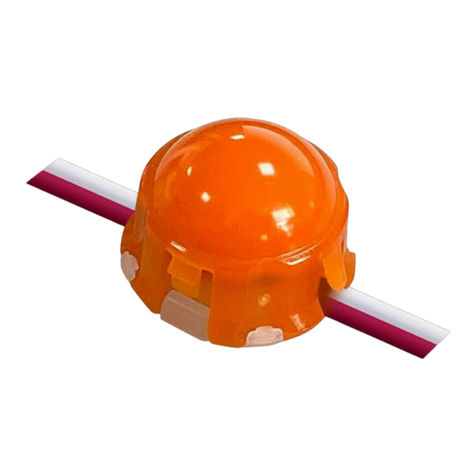
Blueview M8-B User manual

SQUARE LED MODULE
M8-B
1
■ Tel: +86-28-8148 0011
■ Fax: +86-28-8148 1258
■ Web.: www.blueviewled.com
■ Email: [email protected]
■ Add.: No. 1000, Section 2, Konggang 2nd Road, Shuangliu,
Chengdu 610207, Sichuan, CHINA
1. Self designed lens with 170°beam angle for uniform light
2. High-end design, requiring fewer products per unit area
3. Single module cuttable
4. Adopt 2835 LED
Suitable for 8-20cm depth advertising light box, stretch ceiling and ceiling light box, background wall and irregular light box.
Fix by screws
Features
Application
Installation
2835 IP20
170° 12V 3Years

SQUARE LED MODULE
M8-B
2
■ Tel: +86-28-8148 0011
■ Fax: +86-28-8148 1258
■ Web.: www.blueviewled.com
■ Email: [email protected]
■ Add.: No. 1000, Section 2, Konggang 2nd Road, Shuangliu,
Chengdu 610207, Sichuan, CHINA
Note: for detail drawing,please consult sale rep.
Model No.
Model No.
Color
Temperature(K)
8000-9000WM8-B 388170° 80+ 12 497
Typical Luminous
Flux value(lm/pcs)
Ecacy
(lm/W)
Voltage
(V DC)
M8-B
Beam
Angle CRI Power
(W/pcs)
Quantity
(LED Qty/pc)
-20~+60℃-20~+70℃
Specication
Other Parameters
4 12 1272.5*72.5*7.0
Working
Temperature
Storage
Temperature
Standard Run
(pcs)
Product Size
L*W*H(mm)
Max Run(single
feed) (pcs)
Light Color
NOTE:
Test environment temperature : 20±2°C.
The above data is typical values. The actual data of each single product may dier from the typical values. The data is subject to change without notice.
The luminous ux is tested with single color light on.
Dierent color temperature will make luminous ux dierent.
The luminous ux and power tolerance within ±10%.
Unit:mm[inch]
Prole Drawings

SQUARE LED MODULE
M8-B
3
■ Tel: +86-28-8148 0011
■ Fax: +86-28-8148 1258
■ Web.: www.blueviewled.com
■ Email: [email protected]
■ Add.: No. 1000, Section 2, Konggang 2nd Road, Shuangliu,
Chengdu 610207, Sichuan, CHINA
AVERAGE BEAM ANGLE(50%):171.6°
C0 /180,173.6°
Unit:cd
C90/270,169.6°
NOTE:The above two gures are tested with the sample M8-B at 8000-9000K, for other data, please consult sales rep.
Luminous Intensity Distribution Diagram
Average Illumination
Flux Out: 363.8lm 8000-9000K
Height Eavg,Emax Beam Angle:169.61° Diameter

SQUARE LED MODULE
M8-B
4
■ Tel: +86-28-8148 0011
■ Fax: +86-28-8148 1258
■ Web.: www.blueviewled.com
■ Email: [email protected]
■ Add.: No. 1000, Section 2, Konggang 2nd Road, Shuangliu,
Chengdu 610207, Sichuan, CHINA
Connection Diagram
packing
Prepare the desiccant and
bind the product.
Put the static shielding bag
side by side into carton box.
Seal the box. Label the box; Use packing belt to pack after
adding the edge protectors.
Put the product and desiccant
into static shielding bag.
Seal and label the static
shielding bag.
Note: For other packaging methods, the packaging quantity and weight will be dierent. The actual weight is subject to the actual product.
Packaging information
Model No.
M8-B 390*390*325 24 16 12.50(1±10%) 13.80(1±10%)72.5*72.5*7.0
Product Size
L*W*H(mm) Carton Size(mm) PCS/Bag Bag/Carton Box Net Weight(kg) Gross Weight(kg)
Installation
AC 220V input
Power Supply

SQUARE LED MODULE
M8-B
5
■ Tel: +86-28-8148 0011
■ Fax: +86-28-8148 1258
■ Web.: www.blueviewled.com
■ Email: [email protected]
■ Add.: No. 1000, Section 2, Konggang 2nd Road, Shuangliu,
Chengdu 610207, Sichuan, CHINA
Installation Reference
Model No
M8-B
8
5*5
6*6 16*16
4*4
3*3
3*3
3*3
25*25
33*33
33*33
33*33
20*20
0.83 1445670-6840
White Soft
Film
3680-4330
2690-3120
1960-2280
1682-1889
1567-1704
OK
10 0.85 100
12
15
18
20
0.86
0.86
0.89
0.92
64
36
36
36
Surface
Material Depth (cm) EvennessIllumination (lux) Density
(pcs/m²)
Spacing
(X*Y)cm
Power Density
(W/m²)
Visual
Eects
1. X indicates the horizontal center spacing between modules;
2. Y indicates the longitudinal center spacing between modules;
3. Single LED modules are arranged in a square, X=Y.
4. When the depth of lightbox H>20cm, use more products to satisfy Illumination demand
5. For other data,Please consult sales rep.
6. Customized wire length available.
7. The above data is for common demand , you can increase the density for actual demand.
8. The module rotates around the center point does not change use effect, see the figure below.
Note:
Common Arrangements

SQUARE LED MODULE
M8-B
6
■ Tel: +86-28-8148 0011
■ Fax: +86-28-8148 1258
■ Web.: www.blueviewled.com
■ Email: [email protected]
■ Add.: No. 1000, Section 2, Konggang 2nd Road, Shuangliu,
Chengdu 610207, Sichuan, CHINA
Accessories & Tools
Installation steps
LED power supply
1. Clean the mounting surface free of dust and debris.
2. Peel away the self adhesive tape on the back of product and mount it onto the lightbox bottom.
3. Prex the product and make sure it is at and evenly arranged in light box.
4. Fix the product with screws and check and ensure correct wiring, then power on for self-test.
① ② ④③
Screw(M4) Connection terminal Insulation tape
Diagonal pliers

SQUARE LED MODULE
M8-B
7
■ Tel: +86-28-8148 0011
■ Fax: +86-28-8148 1258
■ Web.: www.blueviewled.com
■ Email: [email protected]
■ Add.: No. 1000, Section 2, Konggang 2nd Road, Shuangliu,
Chengdu 610207, Sichuan, CHINA
Statements and Recycling
Warning
- Do not disassemble or retrot the light. Do not touch the surface of the light with a sharp object.
- Do not do live-line working during installation,especially for high voltage product.
- Do not use any organic chemical solvents.
- Use neutral glass adhesive to x this product and it needs to be dried 24 hours in the open environment after operation.
- Treat the ends and the circuit connection points that are not connected to the main line with insulation,waterproof, and anti-corrosion in the installation.
- Use 18AWG (0.75mm² cross-sectional area) or thicker core wire to avoid adverse consequences caused by overheating, if the power cable need to lengthen.
- Make sure the input voltage meets the requirements and lines are connected correctly before lighting on.
- This product is for signage, and do not use as general lighting.
- Series connection within the max run.
- The length of the power cable between the power supply and the led strip should not exceed 2 meters.Otherwise, large circuit loss will lead to inconsistent brightness.
- Installation, maintenance and repair should be operated by a qualied technician.
Quick Guide
Problems
All LEDs can not light on.
LEDs can not light on partly.
Brightness of LED is
inconsistent tor insucient.
LED icker.
Automatic power protection from the open or short
circuit in output of the power supply. Fix the short circuit problem.
Correctly connection.
Replace with more powerful power.
Make sure the working voltage of the product within ±5%
of standard voltage, or keep balance by circuit power
consumption.
Reduce the quantities of the product in series
connection to meet requirement.
Wrong connection of power supply.
Some switching mode power supplies are not powered.
Power supply line error.
Mistaken wire connection of some of products
Power overloaded.
Connection point fault. Remove bad connection point.
Replace a new power supply.
Please follow the instructions
Power supply circuit excessive consumption.
Excessive quantities in series connection of the product
Switching power supply failure.
Wrong Installation or use of products
Reasons
No electric supply.
Solutions
- Repair should be operated by a qualied technician, if the external circuit or main line of this product is damaged.
- The parameters given in this manual are typical values and for reference only.
- All illustrations and drawings in this manual are for reference.
- This product is subject to change without notice.
Statements:
- LED lighting products belongs to electronic products, please do recycling treatment according to the relevant WEEE directives.
Recycling:
Common Faults and Troubleshoot
Attentions before installation
- Before installation, check that the product parameters are consistent with the requirements (Seeing product specications or product labels)
- Load voltage, current, power and power supply should be matched with the product.
- Follow the instructions of wiring diagram (rst connect the load and then the power supply) to avoid short circuit.
- Make sure the correct connection of positive and negative poles between products and power supply. Otherwise, the light will not be on.
- Make sure the power cord rmly screwed into the terminal and it should not be pulled out by hands.
- The terminal should have insulation,waterproof and anti-corrosive treatment.
- After installation, the fabric light box must be covered with cloth within 48 hours. Please avoid leaving the light box idle for a long time.
Table of contents
Other Blueview Control Unit manuals
Popular Control Unit manuals by other brands

PS Engineering
PS Engineering 11645R Installation and operation manual
Toto
Toto TS970C1 installation manual

American Standard
American Standard R127 installation instructions
NCD
NCD ZigBee ZSCAN16 MIRROR manual
KEYBOARDPARTNER
KEYBOARDPARTNER HX3.5 WiFi Module installation guide
Edwards
Edwards A528-44-404 instruction manual
National Instruments
National Instruments PXIe-4480 user manual
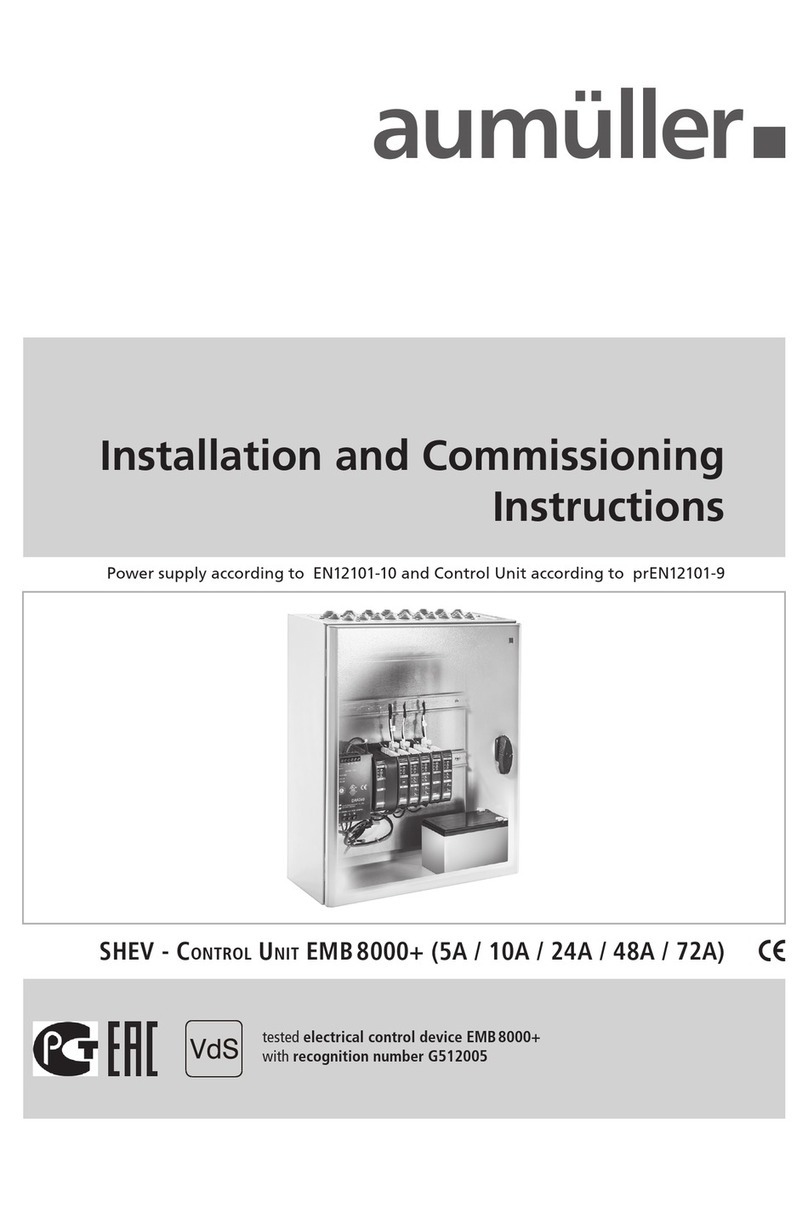
Aumuller
Aumuller SHEV EMB 8000+ Series Installation and commissioning instructions
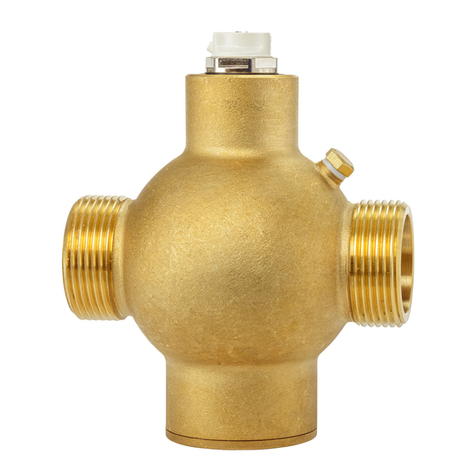
IMI PNEUMATEX
IMI PNEUMATEX Ferro-Cleaner Installation & operation
Comelit
Comelit UT8020 Technical manual
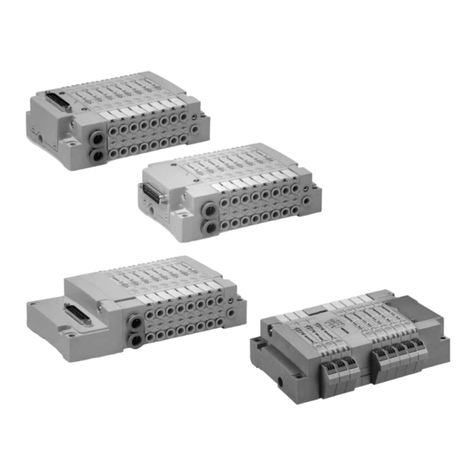
Aventics
Aventics LS04 operating instructions
ABB
ABB ACS850 series Quick installation guide
