16
Operation
en
Using the pusher
W Risk of injury!
Never use the pusher without the lid
attached!
Fig. E
■Take out measuring cup.
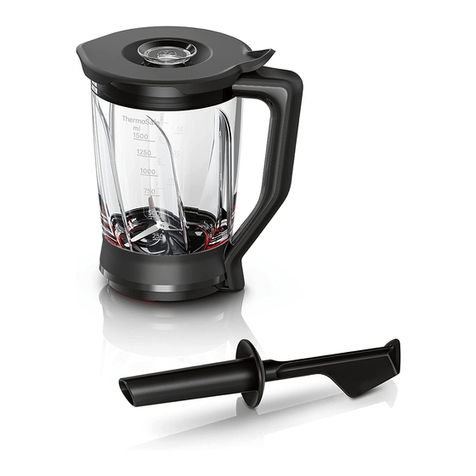
■Place the pusher provided into the
opening.
■Push the ingredients with the pusher
towards the blender knife by guiding the
pusher along the corners and sides of
the blending jug.
■Then remove the pusher again
immediately. Put on the measuring cup.
Note: Using the pusher can considerably
improve the quality of the blending result.
Working with the smoothie insert
With this insert it is particularly easy to
make smoothies made of fresh fruits, milk,
soya milk, yoghurt and juices.
Fig. C
■Prepare blender as described above.
■After attaching and screwing on the
blender jug, the smoothie insert is
inserted into the blender jug.
■Put lid on and press down all the way.
■Insert the mains plug.
■Put ingredients through the feed tube
into the blender jug; chop up fruit
beforehand if required.
Warning!
Do not put large, hard ingredients in the
blender jug, e.g. stones from avocados or
plums.
■Insert measuring cup into feed tube.
■Switch on the appliance.
After using the appliance
■Set the rotary switch to .
■Remove mains plug.
■Remove the blender jug by rotating it in
an anti-clockwise direction.
■ Take the lid o the blender jug.
■Empty blender jug.
Instructions for the smoothie insert:
Take measuring cup out of the lid and plug
into the smoothie insert. This prevents
integral components from falling out of the
insert into the drink.
■Turn blender jug over and put down with
the opening face down.
■Remove blade holder. To do this, fold
the handle upwards and pull out the
blade holder.
■Clean all parts, see “Cleaning and
servicing”.
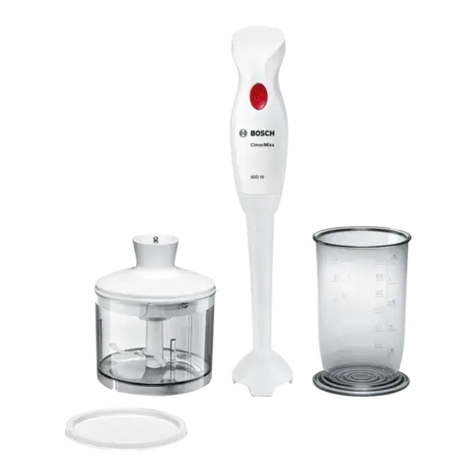
Universal cutter
for cutting smaller quantities of meat, hard
cheese, onions, parsley, garlic, fruit and
vegetables.
Pay attention to Figure Hin the table!
It is not permitted to cut coee beans,
pepper corns, sugar, poppy seeds and
horseradish.
Note: If the universal cutter is not
included with the hand blender, it can
be ordered from customer service
(order no. 12007111).
W Risk of injury from sharp blades/
rotating drive!
Do not remove or attach universal cutter
until the appliance has been switched o
and the drive has come to a standstill.
Fig. D
■Put down universal cutter jug with the
opening face up.
■Add food, which is to be cut, in the
universal cutter.
■Place seal on the blade holder. Ensure
that the seal is positioned correctly.
Important information
If the seal is damaged or not correctly
positioned, liquid may run out.
■Grip blade holder by the handle and
insert into the universal cutter jug.
Note shape of the parts (Fig. D-2)!
■Move handle (Fig. D-3). This locks the
blade holder in the universal cutter jug.
■Turn universal cutter jug over.