10 en | Testing and Programming Carephone 10
953.43d | v2.0 | 2009.01 User Manual Bosch Security Systems
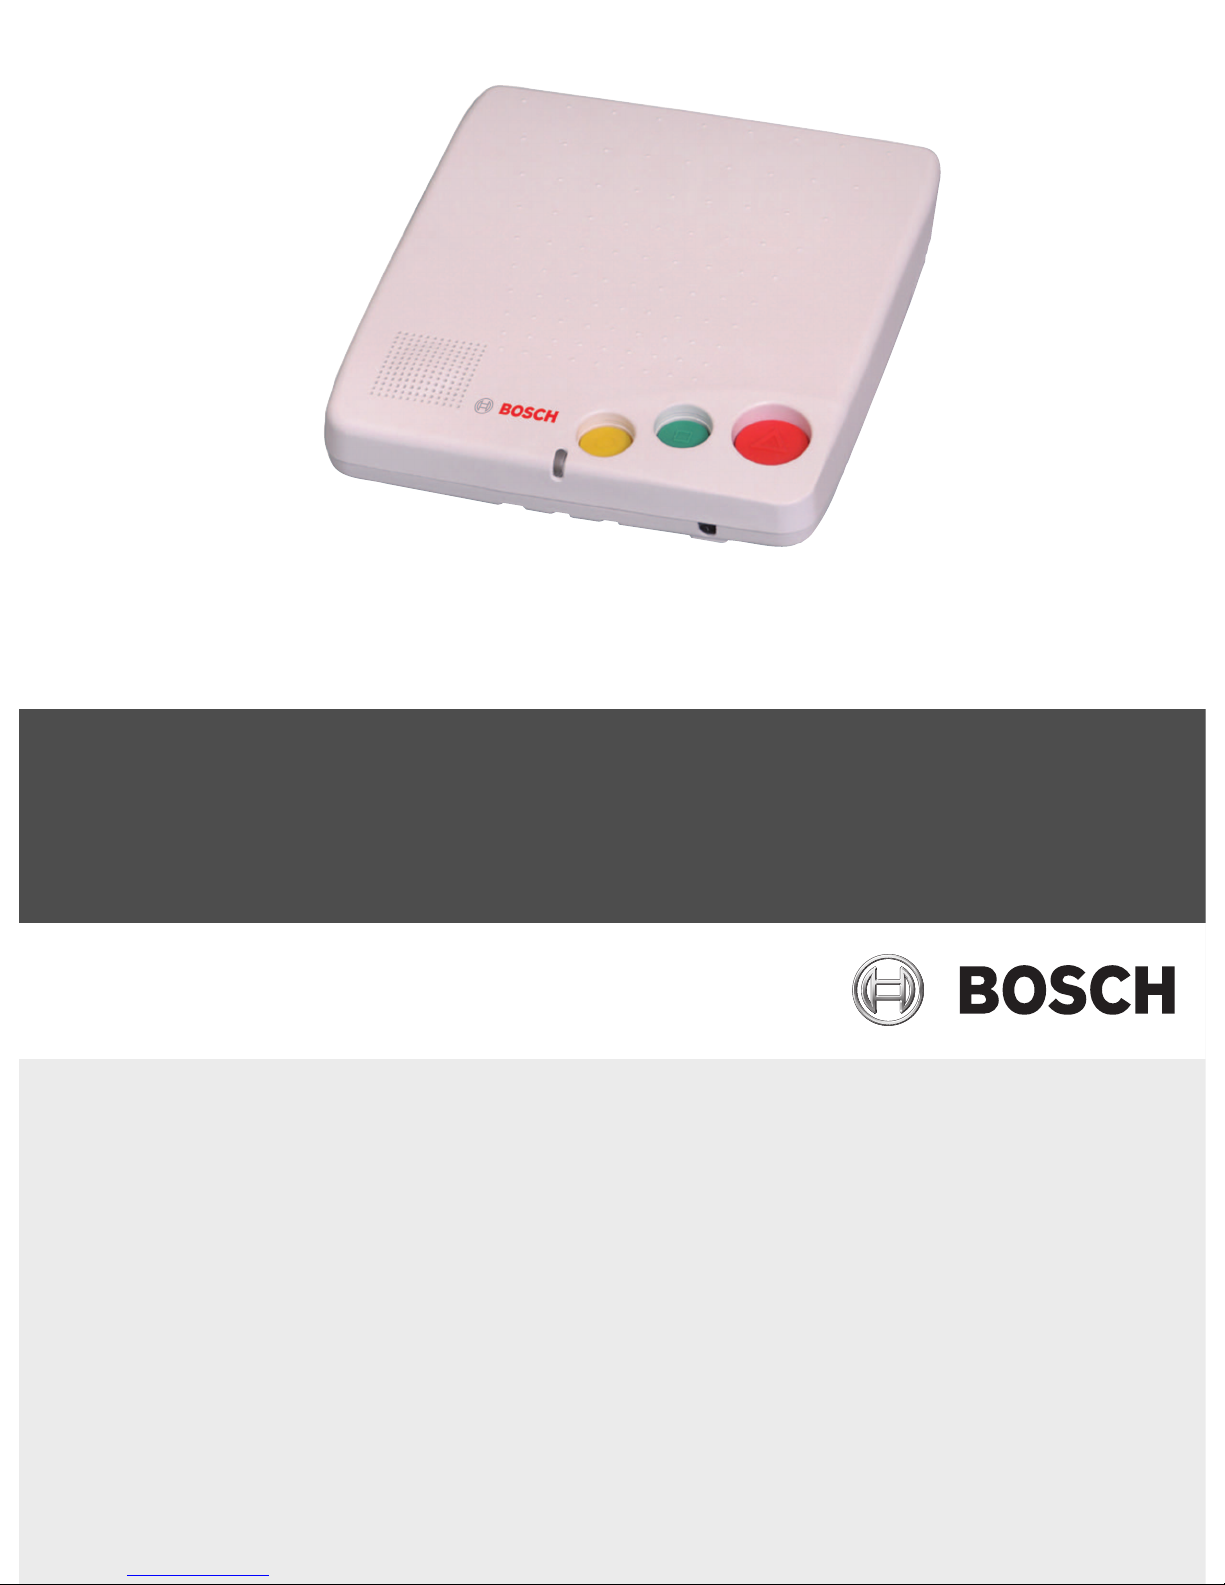
4 Testing and Programming
Your Carephone has a built-in function that enables you to perform a range test of a radio unit,
e.g. your Wristband Transmitter, without issuing an alarm. You can also install new radio units
and erase old ones, e.g. when replacing your Wristband Transmitter. Your Carephone has
allocations for four radio units with the following basic functions (if you want other functions,
contact your supplier).
1. Assistance alarm
2. Assistance alarm
3. Panic alarm
4. Smoke alarm
Proceed as follows.
4.1 Start
Press the STOP button while turning the power switch from OFF to ON. The Carephone now
enters the test/programming mode, the LED indicator switches between green and red. Now,
choose among the following alternatives: range test, installation of a radio unit, or erase all
radio units.
4.2 Range test
Walk around in the apartment and press the Wristband Transmitter. When the Carephone
recognizes the radio signal from your Wristband Transmitter, it beeps. Check that the covered
area is acceptable.
4.3 Installation of a radio unit
1. Choose which radio unit to install by pressing the ALARM button 1 to 4 times. The Care-
phone indicates chosen unit with 1 to 4 beeps.
2. Press the button of your radio unit, e.g. your Wristband Transmitter. If the Carephone
accepts the new radio unit, the LED indicator turns green and the Carephone beeps con-
tinuously. If the LED indicator turns red, the radio unit is already installed in another
place.
3. Accept the installation by pressing the ALARM button.
4.4 Erase all radio units
1. Press the ALARM button for more than 3 seconds. The LED indicator turns green and a
continuous beep starts.
2. Accept the erasing by pressing the ALARM button.
4.5 End
Quit and return to normal mode by pressing the STOP button. The LED indicator returns to
green.
i
NOTICE!
After an installation, you should always test the new radio unit by activating an alarm with it.