English | 17
Bosch Power Tools 1 609 92A 43W | (6.9.17)
Operation
Before any work on the vacuum cleaner itself, pull the
mains plug.
Starting Operation
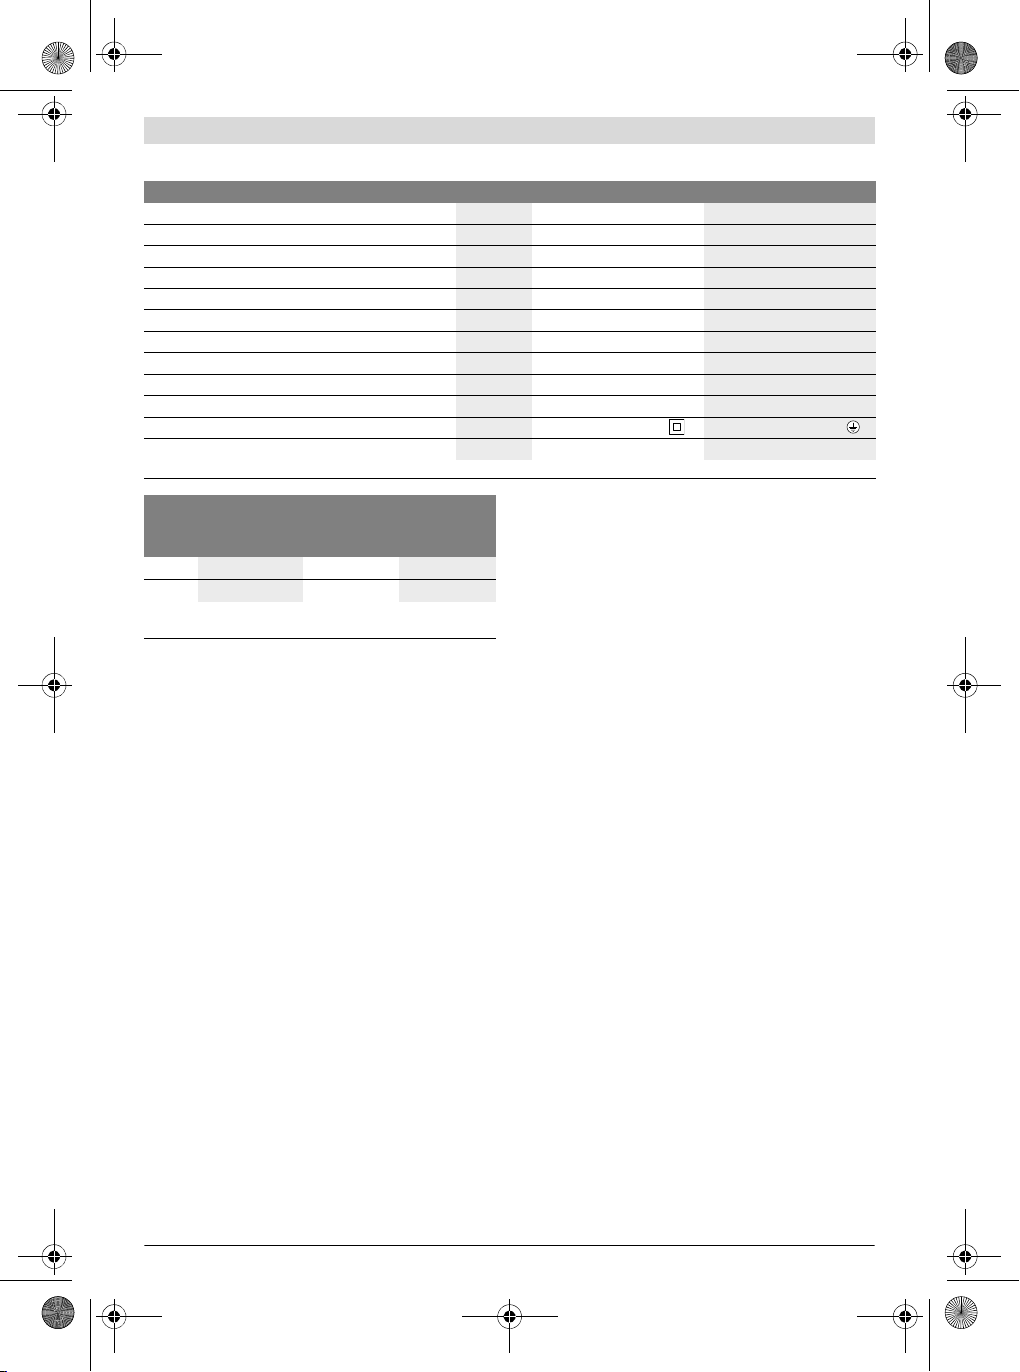
Observe correct mains voltage! The voltage of the pow-
er source must agree with the voltage specified on the
nameplate of the vacuum cleaner. Equipment marked
with 230 V can also be operated with 220 V.
Only use an undamaged filter (no cracks, small holes,
etc.). Replace a damaged filter immediately.
Products sold in AUS and NZ only: Use a residual current de-
vice (RCD) with a rated residual current of 30 mA or less.
The vacuum cleaner may generally not be used in rooms
where the danger of an explosion exists.
To save energy, only switch the vacuum cleaner on when us-
ing it.
To ensure optimal vacuuming performance, always complete-
ly unwind the vacuum hose 16 from the vacuum cleaner lid 7.
Dry Vacuuming
Vacuuming of deposited dust
UniversalVac 15:
AdvancedVac 20:
Extraction of dust resulting from running power tools
(see figure E)
– Fit the extraction adapter 17 (see “Fitting the extraction
adapter or curved nozzle”, page 16).
– Insert the extraction adapter 17 into the dust extraction
outlet for the power tool.
Note: When working with power tools that have a low air feed
into the vacuum hose (e.g. jigsaws, sanders, etc.), the air dif-
fuser 31 of the vacuum hose 16 must be opened. This will im-
prove the total output of the vacuum cleaner and the power
tool.
To do so, turn the ring above the air diffuser 31 until the max-
imum opening is produced.
AdvancedVac 20:
A socket outlet with earthing contact 4is integrated in the
vacuum cleaner. An external power tool can be connected
there. Observe the maximal allowable load of the connected
power tool.
–Tostartthe operationof the vac, switch on the power tool
connected to the socket 4. The vacuum cleaner starts au-
tomatically.
– Switch the power tool off to end the vacuuming.
The delayed action shutdown of the Automatic Start/Stop
continues to run for up to 6 seconds in order to extract re-
sidual dust from the vacuum hose.
Wet Vacuuming
CAUTION! This appliance is not suitable for picking up
hazardous dust. Do not vacuum inflammable or explo-
sivefluids;forexample,benzene, oil,alcohol,solvents.
Do not vacuum hot or burning dust. Do not operate the
machine in rooms where the danger of an explosion ex-
ists. The dusts, vapours or fluids can ignite or explode.
The vacuum cleaner may not be used as a water pump.
The vacuum cleaner is intended for vacuuming air and wa-
ter mixtures.
Before any work on the vacuum cleaner itself, pull the
mains plug.
– Unlock the latches 8and remove the vacuum lid 7.
– Before wet vacuuming, remove the dust bag 29, the fabric
filter 32 and empty the container 1.
– Clean the filter 33 (see “Cleaning/replacing filters”,
page 18).
– Reattach the vacuum lid 7again and lock the latches 8.
– AdvancedVac 20:
Insert the rubber lip 23 into the floor nozzle 21 (see
“Changing inserts for the floor nozzle”, page 16).
The vacuum cleaner is equipped with a float. The suction pow-
er decreases when the maximum filling level is reached.
Switch the vacuum cleaner off immediately (on/off switch
5/mode selector switch 5to the “Vacuuming” symbol).
–Emptythecontainer1.
AdvancedVac 20: Empty the container using the drain hole
for liquids 2.
To prevent the formation of mould after wet vacuuming:
– Remove the vacuum lid 7and leave it to dry thoroughly.
– Remove the filter 33 and leave this to dry thoroughly as
well (see “Cleaning/replacing filters”, page 18).
Maintenance and Service
Maintenance and Cleaning
Before any work on the vacuum cleaner itself, pull the
mains plug.
For safe and proper working, always keep the vacuum
cleaner and ventilation slots clean.
If the replacement of the supply cord is necessary, this has to
be done by Bosch or an authorized Bosch service agent in or-
der to avoid a safety hazard.
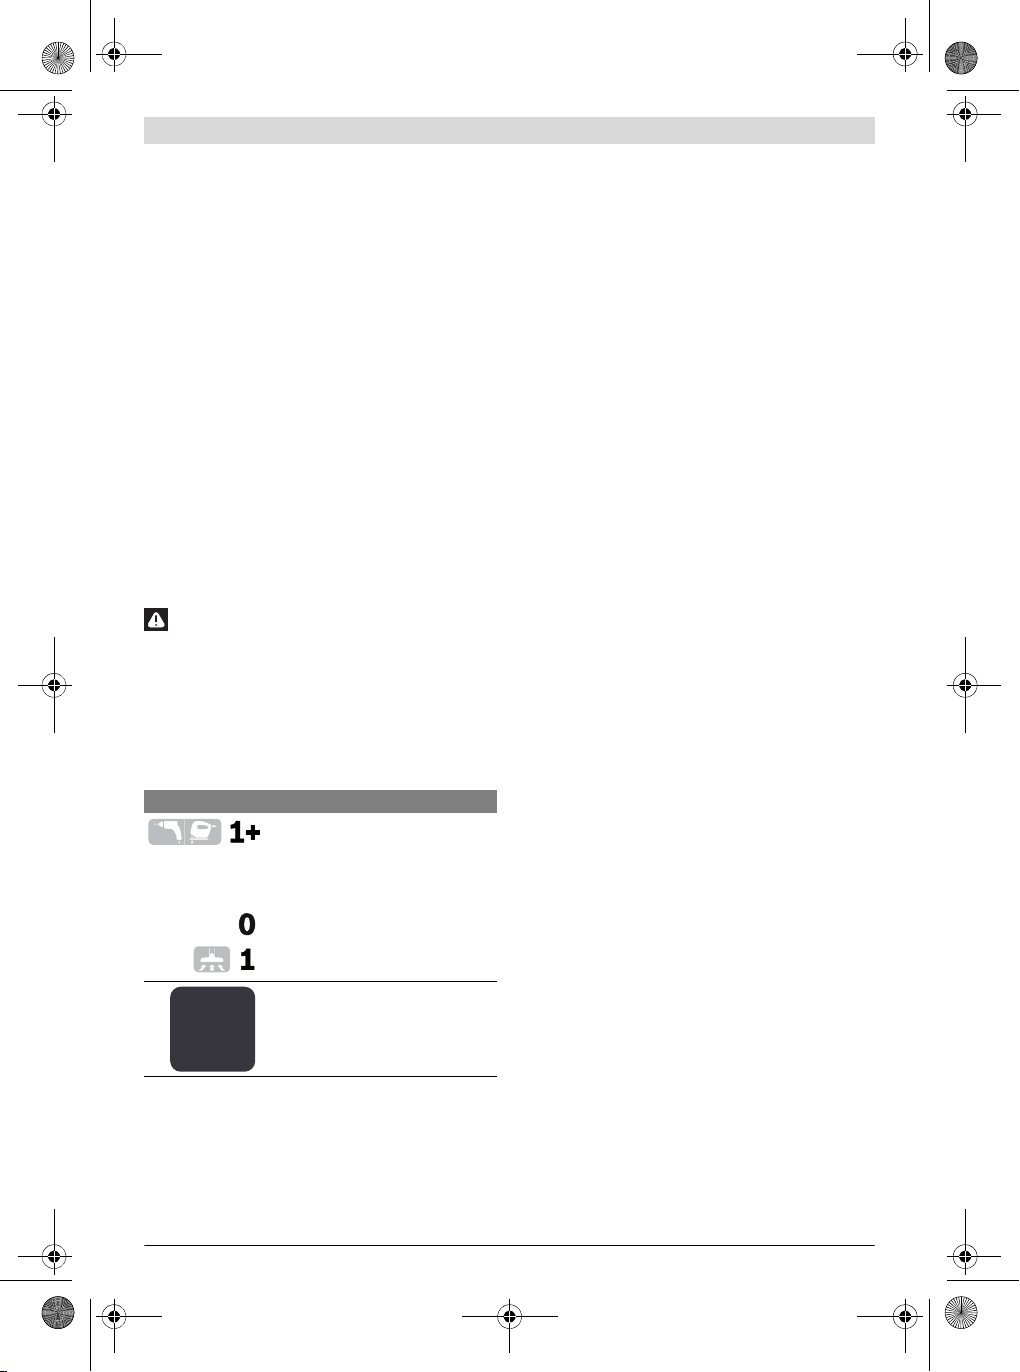
–Toswitch on the vacuum cleaner, set the
on/off switch 5to the “Vacuuming” symbol.
–Toswitch off the vacuum cleaner, set the
On/Off switch 5to the “Switching Off” sym-
bol.
–Toswitch on the vacuum cleaner, set the
mode selector switch 5to the “Vacuuming”
symbol.
–Toswitch off the vacuum cleaner, set the
mode selector switch 5to the “Off” symbol.
–Toactivate the automatic
start/stopof the vacuum cleaner, set
the mode selector switch 5to the
“Automatic Start/Stop” symbol.
–Toswitch off the vacuum cleaner, set the
mode selector switch 5to the “Off” symbol.
OBJ_BUCH-3012-003.book Page 17 Wednesday, September 6, 2017 3:04 PM