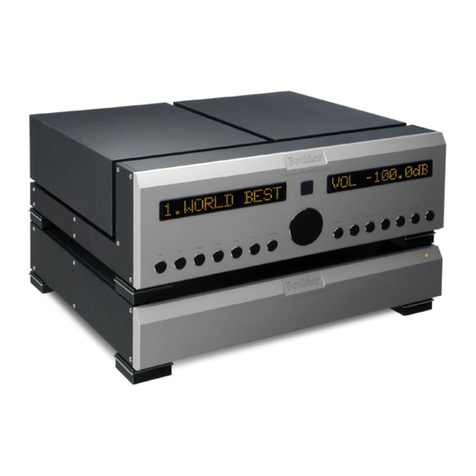
Boulder 2110 User manual

Boulder Ampliers, Inc.
3235 Prairie Ave.
Boulder, CO 80301
(303)449-8220
www.boulderamp.com
2110 Preamplier
Owners Manual
7/22/2014
P/N: 91040

Getting StartedOperationRemote ControlProgramingBoulder LinkRecording
2

3
Congratulations and thank you for selecting the Boulder 2110 Preamplier
for your high-performance sound system. We are certain it will provide you
with many years of unrivaled listening pleasure.
The 2110 represents the concerted efforts of numerous Boulder craftsmen,
designers, engineers, and technicians working to bring you the very nest
audio playback components in the world. The 2110 preamplier is also the
culmination of thirty years of evolving design expertise and improvements
in manufacturing processes that enable it to stand out in a world of lesser
products.
Please take a few minutes to read through this owner’s manual prior to
using your 2110. This will help you to understand the numerous functions,
user-adjustable settings, and various abilities of your preamplier in order
to realize its full performance potential and maximize your enjoyment of the
2110.
The serial numbers of your new Boulder preamplier and power supply are:
2110 Preamplier:
2100 Power Supply:
As with all Boulder products, these components have undergone intense
laboratory testing for safety, functionality, and performance. In addition, your
preamplier has been subjected to rigourous listening trials in our sound
room, utilizing a wide variety of musical material. Finished products never
leave our factory until we are completely satised that they perform as
designed—to achieve the greatest possible potential.
Thank You

Getting StartedOperationRemote ControlProgramingBoulder LinkRecording
4
Table of Contents
Getting Started 1-1
Introduction 1-1
Before You Start 1-1
Placement of the 2110 Preamplier 1-3
Connecting the 2100 Power Supply to the 2110 Chassis (part 1) 1-5
Connecting the 2100 Power Supply to the 2110 Chassis (part 2) 1-7
Connecting to the Mains Outlet 1-9
Polarity 1-11
Connecting to a Balanced Source 1-11
Connecting to an Unbalanced Source 1-13
Connecting to a Balanced Power Amplier 1-15
Connecting to an Unbalanced Amplier 1-17
Setting The Boulder Link Switch 1-19
Operation 2-1
Powering Up 2-1
Input Selections 2-3
Volume 2-5
Balance 2-7
Theater Mode and Balance 2-9
Mute 2-11
Polarity 2-13
Display 2-15
Remote Control 3-1
Batteries 3-1
Batteries 3-3
Remote Control 3-3
Source Selection 3-5
Volume, Balance, and Mute 3-7
Polarity 3-9
Display Brightness 3-11
Programming 4-1
Inputs 4-1
Programming the Input Features 4-3
I. Input Balance: 4-3
II. Input Polarity: 4-3

5
III. Input Mode: 4-5
IV. Record Mode: 4-5
Programming the Volume Control 4-7
I. Volume Scale: 4-7
II. Volume Resolution: 4-7
III. Unit ID: 4-9
IV. Remote ID: 4-9
V. Baud Rate: 4-9
Output Balance Oset 4-11
Mute Level 4-13
Main Output Polarity 4-15
Auxiliary Output Polarity and Source 4-17
Restore to Factory Defaults 4-19
Programming from the Remote Control 4-21
Program the Inputs from the Remote Control 4-23
Output Balance 4-31
Mute Level 4-31
Output Polarity 4-31
Boulder Link 5-1
Connecting Boulder Link 5-1
Setting Boulder Link ID Numbers 5-1
Power Up By Boulder Link 5-3
Boulder Link Messages 5-5
Recording 6-1
Connecting a Recording Device 6-1
Record Source Selection 6-3
Programming for Recording 6-5
Appendix 7-1
Specications 7-1
Troubleshooting 7-3
Notes: 7-5
Table of Contents

1-1
Introduction
Congratulations on your selection of the Boulder 2110 Preamplier. Please
be sure to read this manual before attempting to connect or use the 2110.
Before You Start
To get started listening, you only need to connect the 2110 as you would
any other preamplier and the power supply as on page 1-3, but you should
take note of the following.
WARNING: The polished volume control is attractive. Because it is optically
controlled and has no stops, it is very tempting to spin it. ONLY DO
THIS WITH THE POWER OFF! It must be given respect as it can rotate
incredibly quickly and has ability to get loud very fast. By the time you have
turned it up to -40.0 dB with a source connected and turned on, you should
hear music. If not, do not continue to raise the volume until the problem is
solved. Please see the troubleshooting section.
If your 2110 is connected to other Boulder components through Boulder
Link, The rear panel MASTER/SLAVE switch should be set to MASTER.
Getting Started
Getting Started

1-2
Getting Started
Getting Started

1-3
Getting Started
Getting Started
Placement of the 2110 Preamplier
Your Boulder 2110 Preamplier is designed to reduce the effects that
external magnetic elds and radio frequencies (RF) have on its circuitry.
While placement is not critical, known magnetic elds should be avoided
whenever possible. Also, the preamplier should be placed in line of sight
from the intended listening position. This is necessary for the remote control
to function properly.
Because the preamplier and its power supply are heavy, a solid, stable
surface should be used. Both chassis will generate some heat, so they
should be placed with plenty of good air circulation around them. In
particular, make sure that the slots on the rear of the power supply are not
blocked. You may also want to have some access to the rear panels for
cable changes.

1-4
Getting Started
Getting StartedGetting Started

Getting Started
1-5
Connecting the 2100 Power Supply to the 2110 Chassis (part 1)
Your Boulder 2110 Preamplier is supplied with a Boulder 2100 Power
Supply. Each of the four internal supplies is independent of the others
except for the front panel LED, which conrms the correct operation of all
four internal power supplies.
Three cables are provided for connecting the power supply to its matched
preamplier chassis. Two of these cables have 5 pin connectors and are
used for connecting the left and right audio supplies (±27V). The third one
has 7 pin connectors and is used for the digital supply (+5V). Care must be
taken not to confuse these as any attempt to insert the wrong connector will
result in damage.
CAUTION: Connect and disconnect these cables ONLY after the power
supply has been turned off for at least one minute.
Getting Started
Getting Started

Getting Started
1-6

Getting Started
1-7
Connecting the 2100 Power Supply to the 2110 Chassis (part 2)
Alignment of the male and female connectors is best accomplished by
positioning the connectors so that the at edge of the contact housing
is facing downward (see gure 1). To assist in alignment, ensure that
the embossed arrows on the stainless collar of the connectors is facing
upward (see gure 2). To make connection, ensure all pins are aligned with
their corresponding contacts and press the cable connector into the rear
panel connector. Then lock the cable in place by rotating the stainless ring
clockwise until it ‘clicks’.
CAUTION: Connect and disconnect these cables ONLY after the power
supply has been turned off for a minimum of one minute.
Getting Started
Getting Started

Getting Started
1-8
Getting Started
Flat edge of contact
housing.
Embossed arrow
on stainless collar.
Figure 1
Figure 2

Getting Started
1-9
Connecting to the Mains Outlet
Your 2110 Preamplier is supplied with a mains cord appropriate for the
location it was purchased.
The 2100 power supply is universal and automatically adjusts for the mains
voltage. Simply plug it into any standard outlet. Exact voltage and frequency
compatibility is stated in the specications section.
Getting Started
Getting Started

1-10
Getting Started
Getting Started

Getting Started
1-11
Polarity
Please note that the 2110 Preamplier conforms to the standard of pin 2 as
high or “hot” for all analog balanced inputs and outputs. Because input and
output polarities are handled through the program menu and the remote
control, concern for polarity is unnecessary while connecting sources.
Connecting to a Balanced Source
To fully realize the sonic potential of your 2110 Preamplier, use balanced
connections whenever possible. Balanced cables minimize interference
from magnetic and RF sources.
Connect each line source to one of the six inputs provided. Later, you will
be able to program each input with the source’s name, so you may want to
make a list as you connect them.
Getting Started
Getting Started

1-12
Getting Started
Getting Started

Getting Started
1-13
Connecting to an Unbalanced Source
Although the inputs are all of the 3 pin type, an unbalanced source is easily
accommodated by using a special cable. This cable has an RCA phono
type connector on the source end and a 3 pin connector for the input on the
2110 Preamplier.
The negative input (pin 3) should be wired to ground only at the RCA
phono connector. This brings the minus input reference of the 2110 to the
unbalanced source ground, thus reducing ground loops.
Another option for accommodating unbalanced sources is that of the
Boulder ABL2 input adapter. It converts a balanced input into a RCA phono
input right at the rear of the 2110. Like the above cable, the negative input
of the 2110 is connected to the ground of the RCA phono. However, this
negative side will then share the shield wire with the chassis ground and
will not have the best hum rejection.
Getting Started
Getting Started

1-14
Getting Started
Getting Started

Getting Started
1-15
Connecting to a Balanced Power Amplier
With your 2110 Preamplier’s balanced outputs driving the balanced input
of a power amplier, you can realize the sonic advantage by having short
speaker cables and correspondingly longer interconnect (input) cables.
With the low output impedance of the 2110, distances of more than 50
meters between preamplier and power amplier are practical.
Connect the amplier inputs to the preamplier outputs labeled “MAIN
OUT”. If desired, the 2110 can be used with up to six power ampliers. This
can be accomplished by utilizing splitters. If in doubt, consult your Boulder
dealer.
Getting Started
Getting Started
Table of contents
Other Boulder Amplifier manuals
Boulder
Boulder 2010 User manual
Boulder
Boulder 2008 User manual

Boulder
Boulder 1108 User manual
Boulder
Boulder 508 User manual
Boulder
Boulder 810 User manual
Boulder
Boulder 1110 User manual
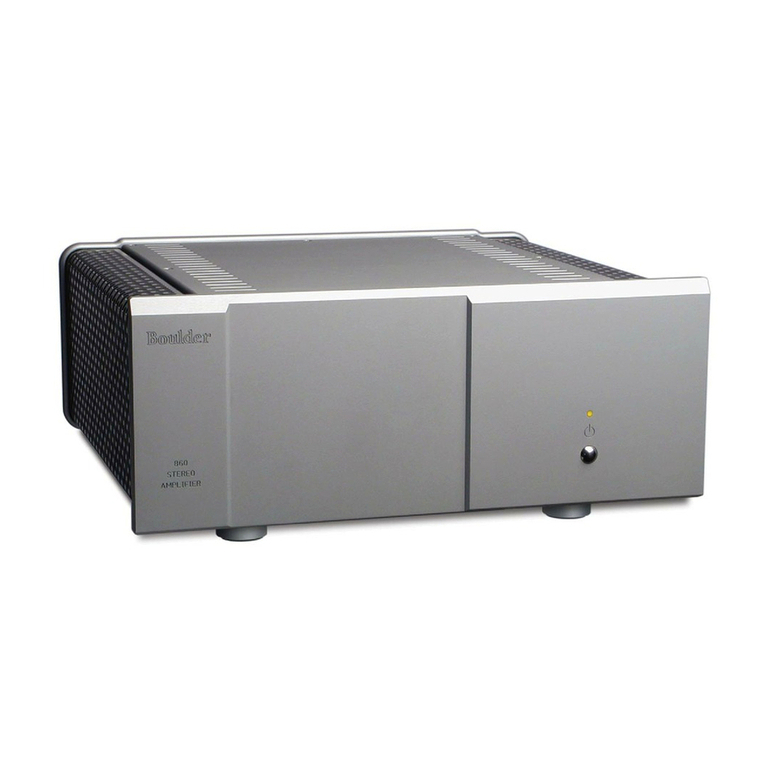
Boulder
Boulder 860 User manual
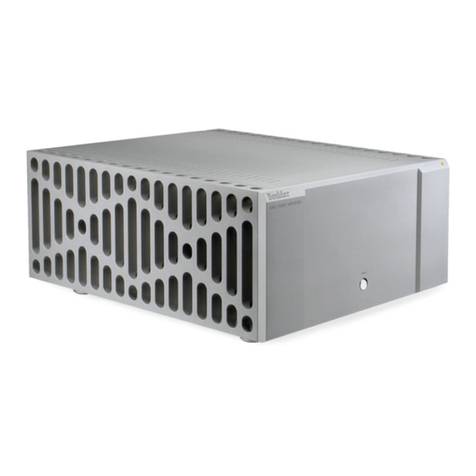
Boulder
Boulder 1060 User manual
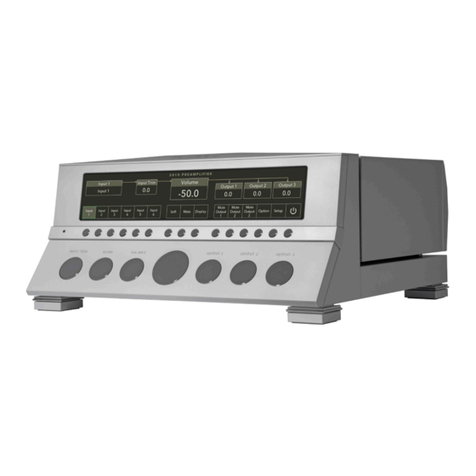
Boulder
Boulder 3010 User manual
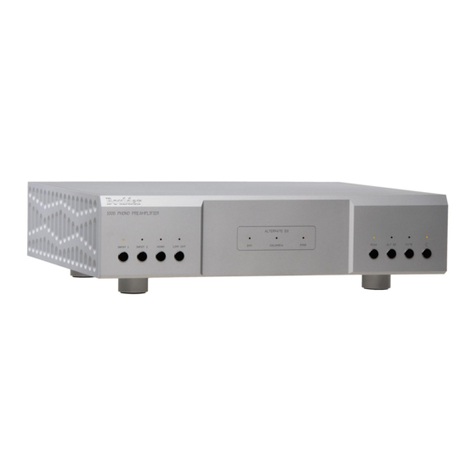
Boulder
Boulder 1008 User manual
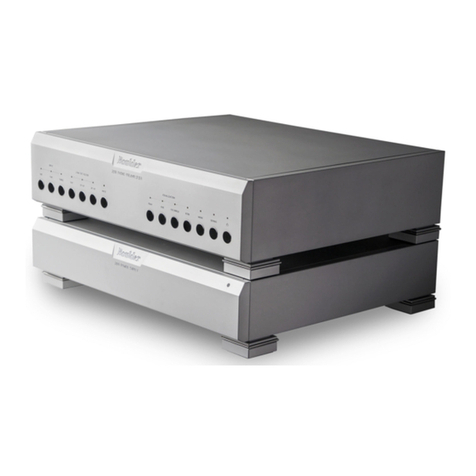
Boulder
Boulder 2108 User manual
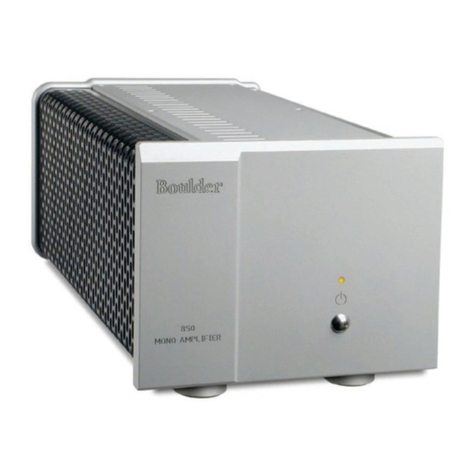
Boulder
Boulder 850 User manual
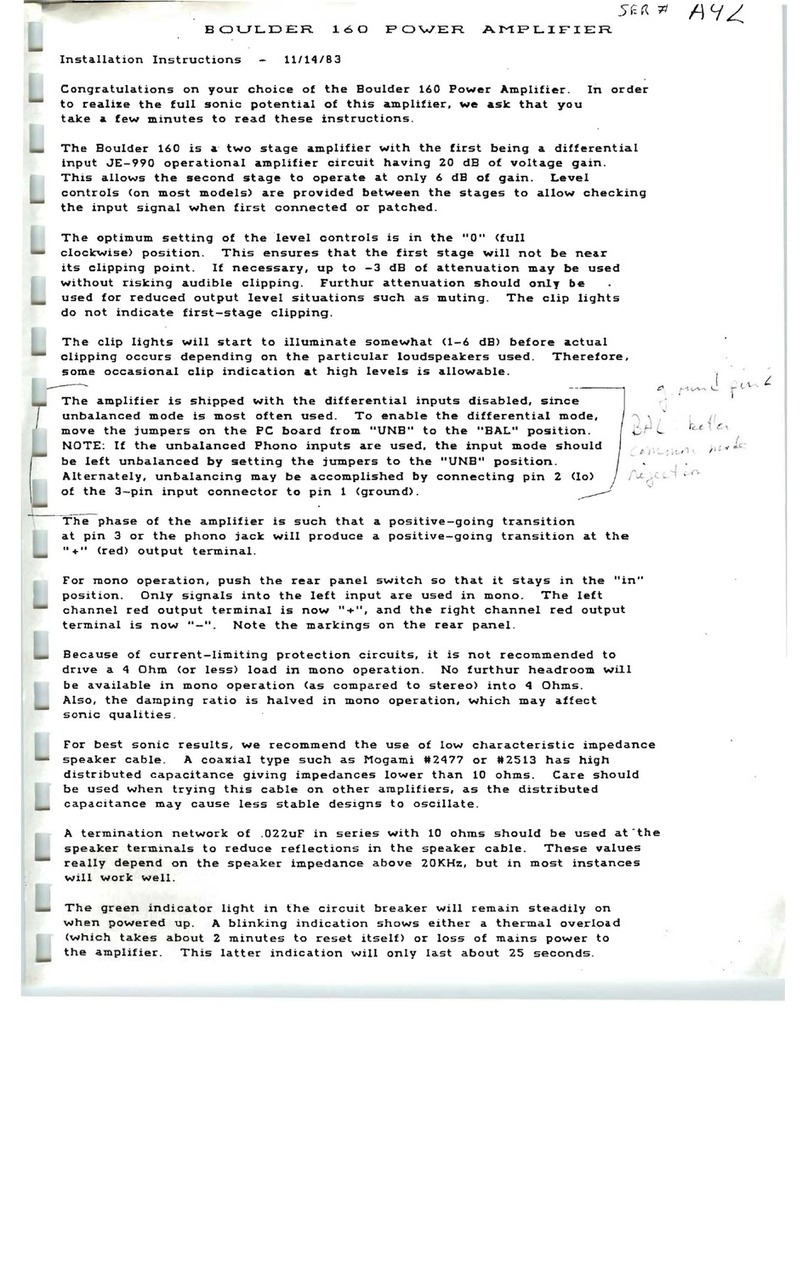
Boulder
Boulder 160 User manual

Boulder
Boulder 861 User manual
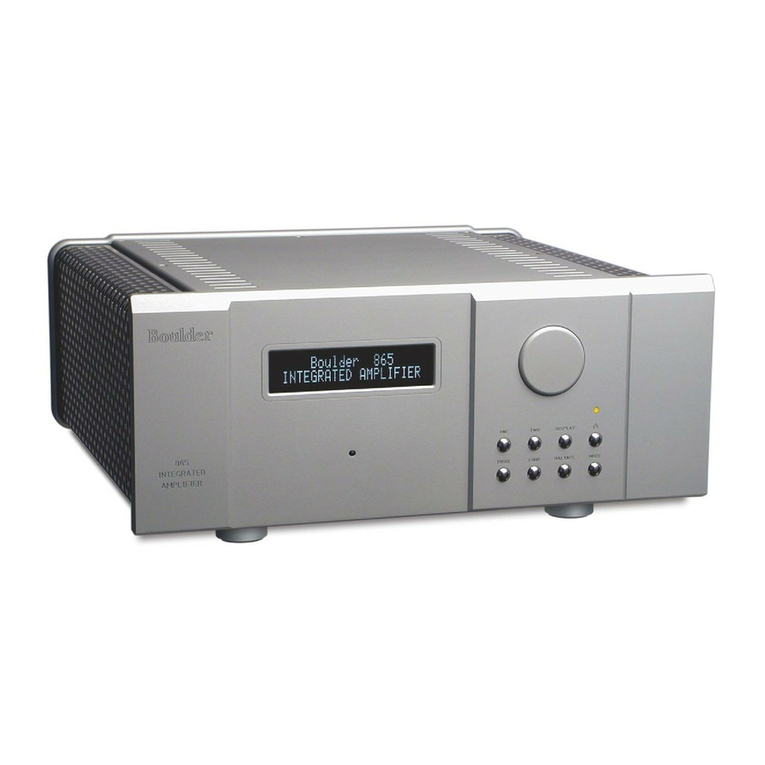
Boulder
Boulder Integrated Amplifier 865 User manual
Boulder
Boulder 866 Analog User manual
Boulder
Boulder 1161 User manual

Boulder
Boulder 3060 User manual
Boulder
Boulder 1012 DAC Preamplifier User manual
Boulder
Boulder 812 User manual

