21p 22p
24p23p
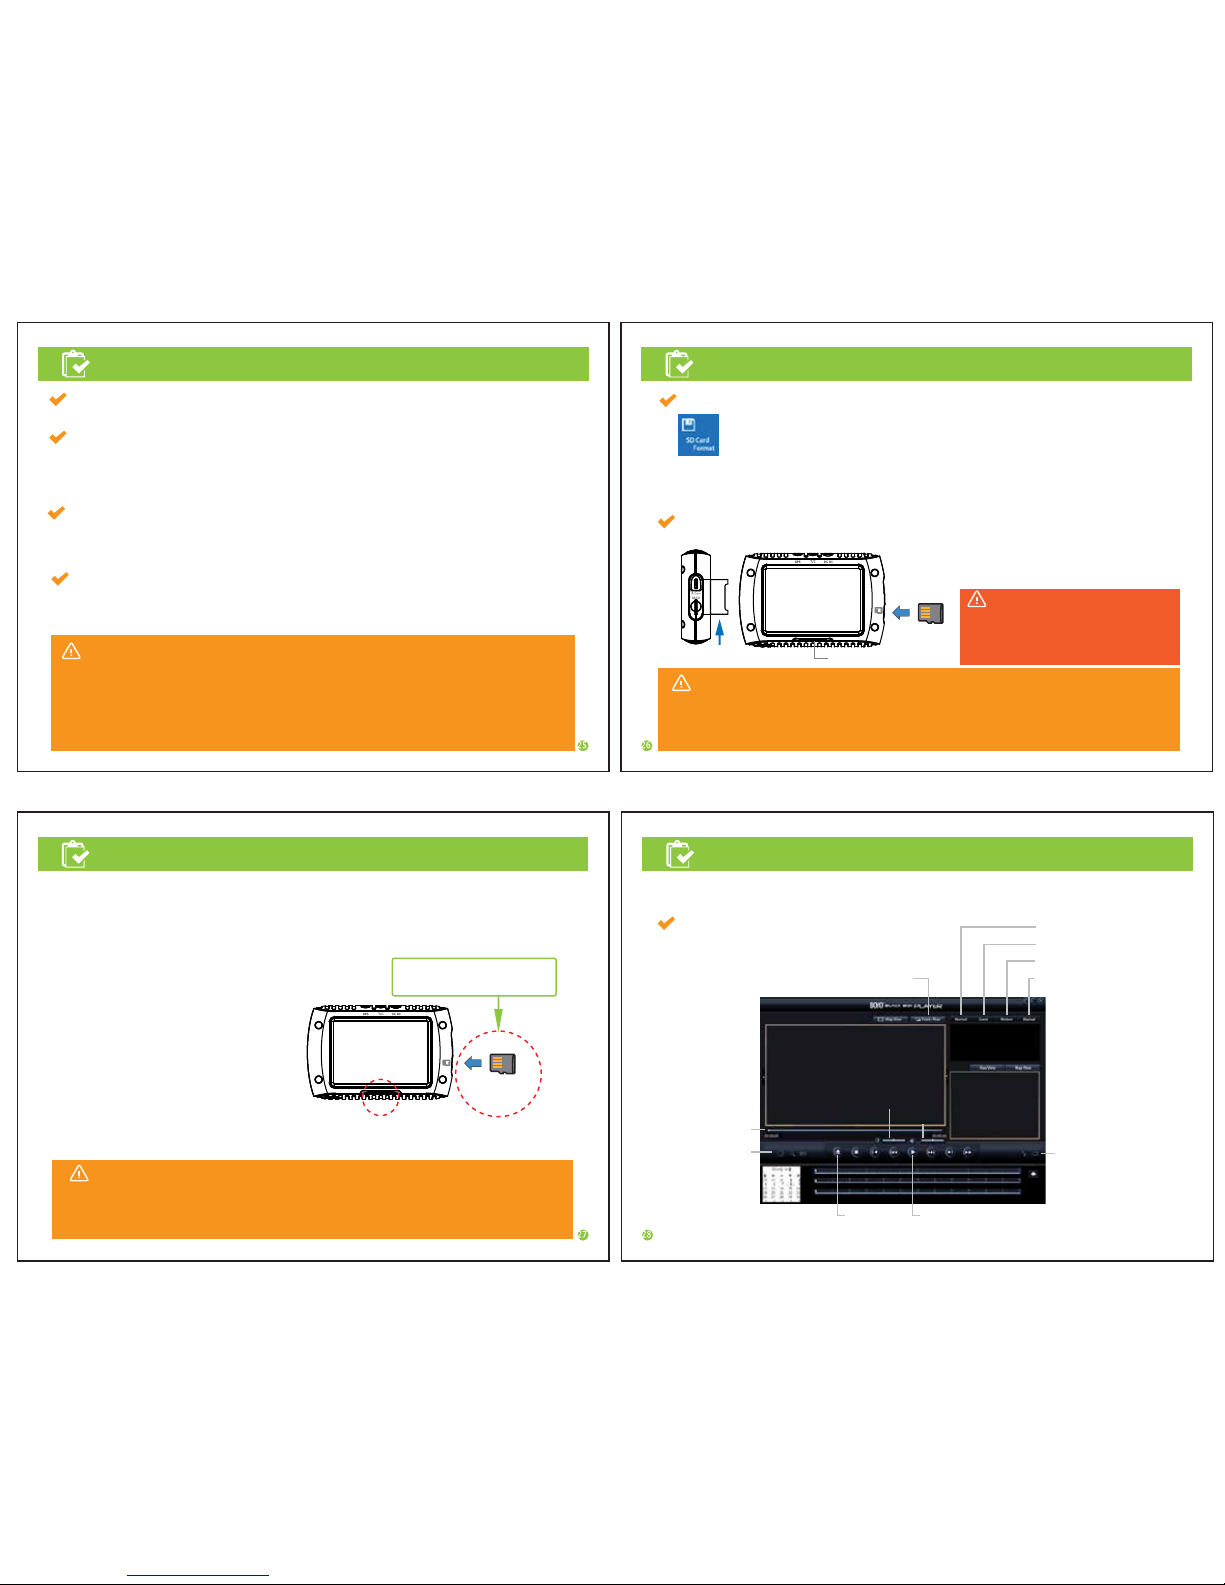
manual 21p.~24p.
Settings Settings
Settings
Caution
Functions
connection. (see page 8 Pin Arrangement)
Power is automatically cut off once the room temperature goes up since the high temperature protection
circuit is built in. This is not malfunctioning and when the temperature falls into normal range, it automatically
starts again.
Battery protection circuit is built in however it may be discharged if the battery is worn out or depending on
the vehicle’s condition.
The company is not responsible for worn-out batteries due to using normal power supply.
Caution
With rain or while driving at night, some of the features
may be limited depending on the visibility of the front.
Be aware of the condition while driving.
Caution
With rain or while driving at night, some of the features may be
limited depending on the visibility of the front.
Be aware of the condition while driving.
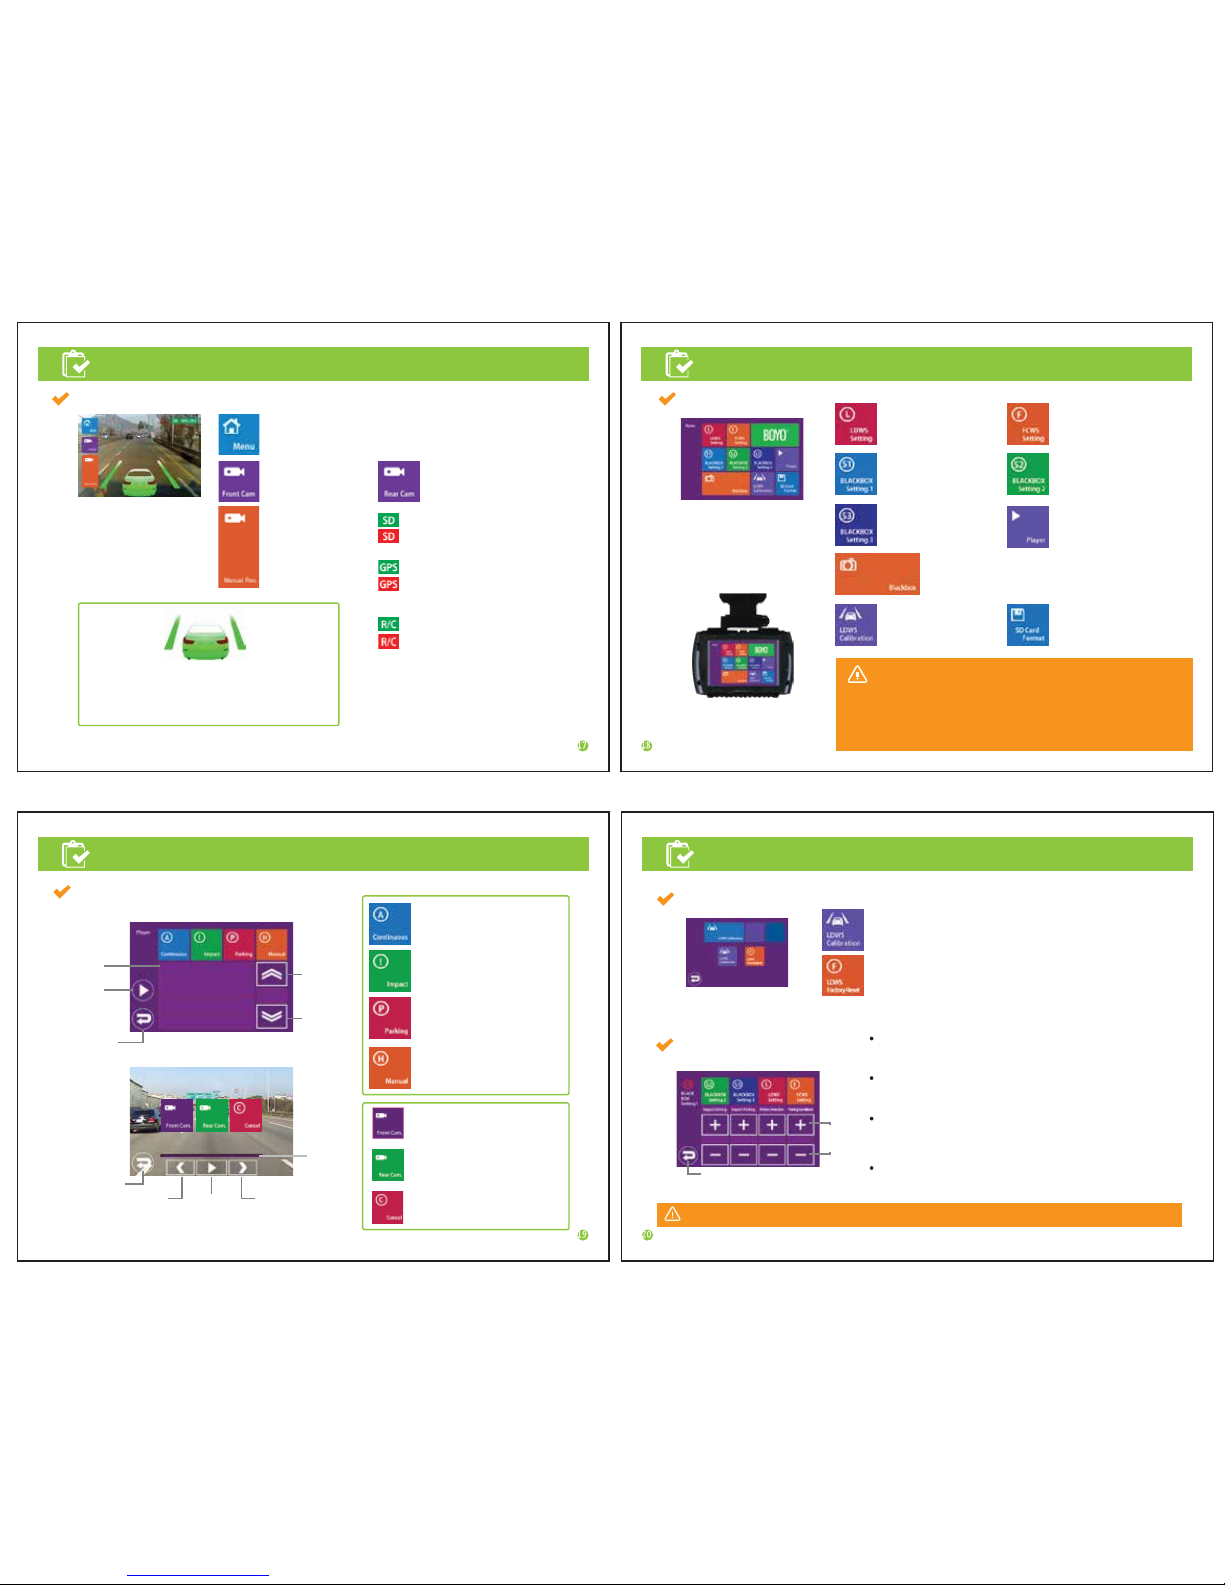
Power ON/OFF
Power is automatically applied once a car is started and the power light(red LED) is turned ON.
The main body should be connected to the cigar jack power supply(normal power supply).
Once booting is complete, input audio guide and run BlackBox.
Motion detection, parking impact detection feature
Parking surveillance feature runs automatically unless there is movement in parking mode.
Security warning light(blue LED) blinks to inform parking surveillance feature is activated.
(Page 20 Setting time for parking mode in the manual)
Parking surveillance mode is converted automatically to BlackBox mode(normal save/impact save/manual
(forced) save) once the vehicle is started again.
When motion is detected during parking surveillance, it saves 30-sec. video in ‘Motion’ folder.
When impact is detected during parking surveillance, it saves 30-sec. video in ‘Even’ folder.
When motion or parking impact is detected, security warning light(blue LED) blinks rapidly to display
a video is being saved.
In parking surveillance mode, normal save/manual(forced) save features are not available.
To use parking surveillance feature, normal power supply should be connected.
(install normal power supply cable provided with the product)
Contact stores or installation service centers near you regarding normal power supply cable
BLACKBOX Setting 2
LDWS setting
FCWS Setting
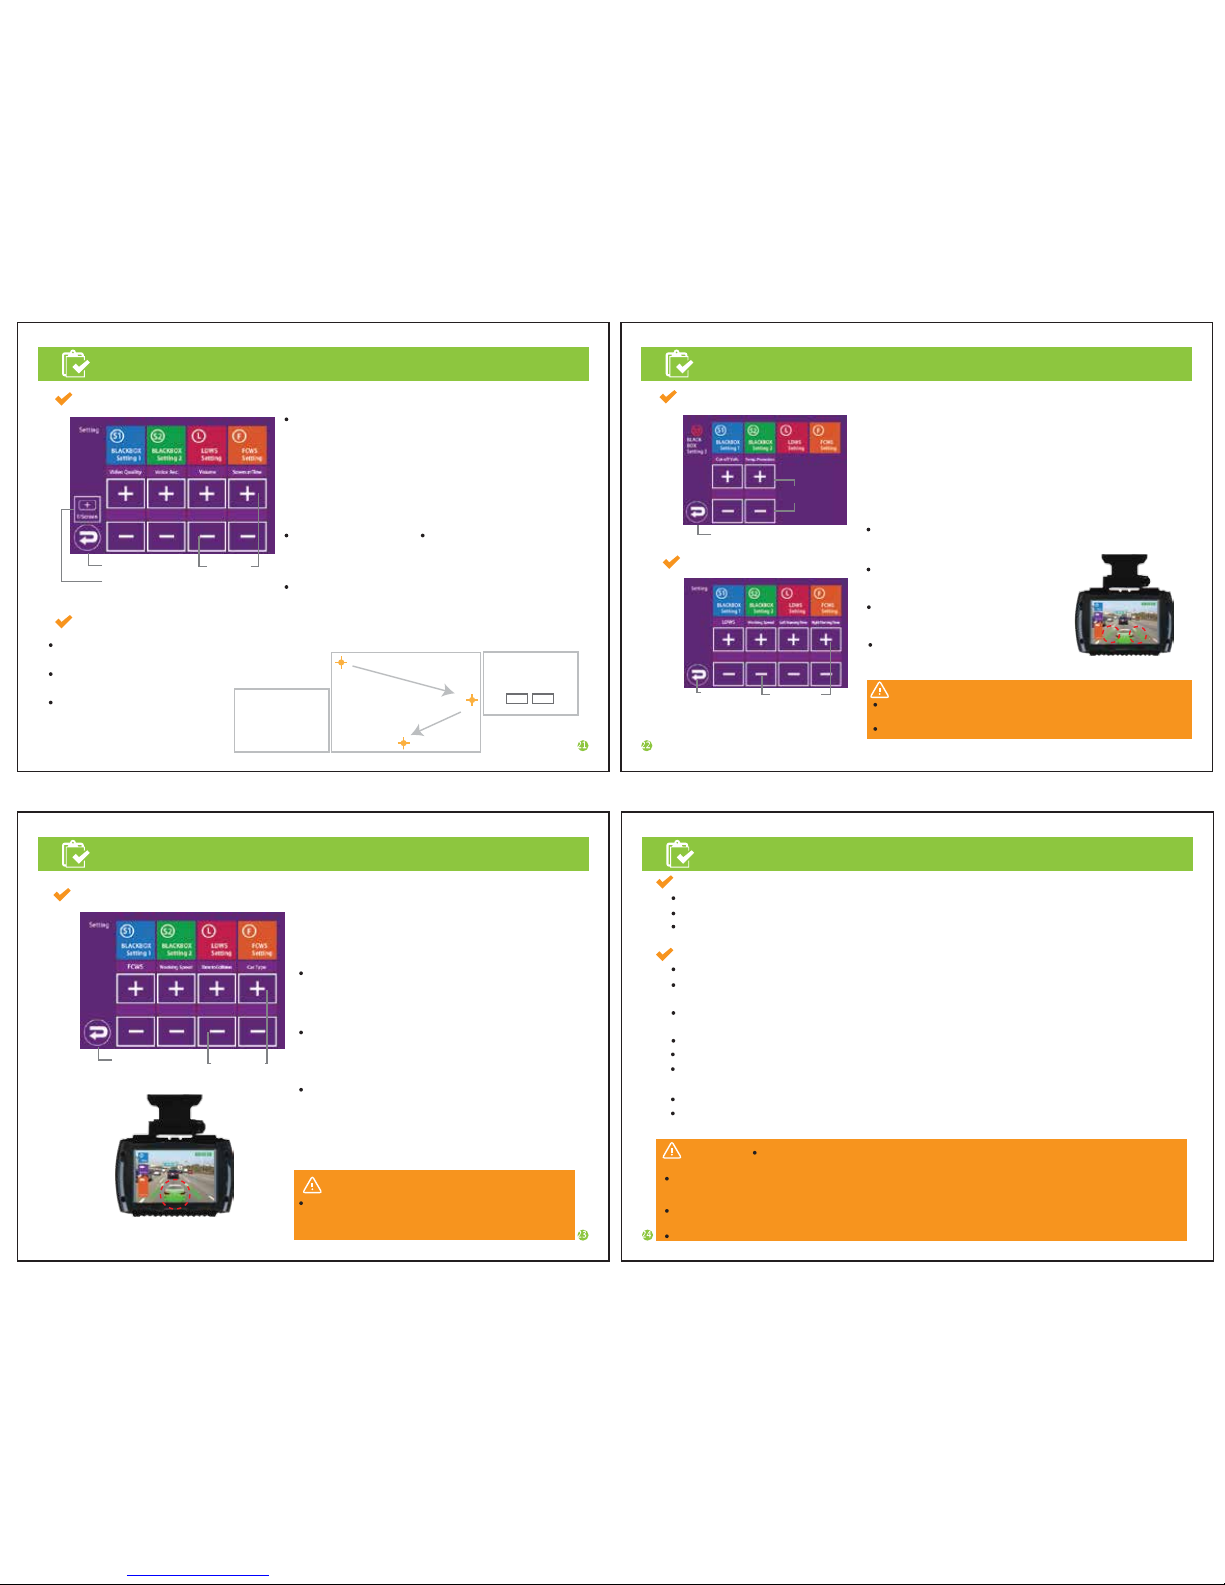
Touch screen adjustment
Set the coordinates by touching the center of the yellow
dots correctly.
After coordinate setting by touching the 3 corners,
press OK button.
Press cancel if the setting is incorrect
and repeat the steps again.
LDWS
Sets whether to activate LDWS
- Options: OFF, ON
Working Speed
Sets the operation speed of LDWS.
- Options: 37mph, 43mph, 50mph
Left Warning Time
Sets the time of alert for the left lane.
- Options: (slow) -2, -1, 0, 1, 2 (fast)
Right Warning Time
Sets the time of alert for the right lane.
- Options: (slow) -2, -1, 0, 1, 2 (fast)
Move to Menu
Move to Menu
LDWS display
FCWS display
Move to Menu
Touch screen setting
Select
Item
button
Select Item
button
Select Item
button
1
2
3
[Calibration Process]
Touch the yellow dots
[Calibration Process]
Press OK to save
[Calibration Process]
Touch the screen
to start
Cancel OK
On 3 5min
On 43mph -1 1
SedanON 6mph 1.5
Nomal
Recording quality
Sets the video recording quality.
- Options: Low, normal, high
It is recommended to set the quality to high in normal
(driving) and parking mode.
However the storing capacity and time may be reduced.
SD card lifespan may be shortened by setting the quality ‘high’.
Audio recording
Sets audio recording.
- Options: OFF, ON
Speaker volume
Adjusts speaker volume.
- Options: (small) 1, 2, 3, 4, 5 (loud)
Auto screen off
Sets the screen display time.
- Options: OFF, 5 min.
FCWS
Sets whether to activate FCWS.
- Options: OFF, ON
Working speed
Sets the operation speed of FCWS.
- Options: 6mph, 12mph, 18mph
Time to Collisisn
Sets the estimated time of collision with a vehicle ahead.
- Options: (low sensitivity) 0.5, 1.0, 1.5 (high sensitivity)
Car Type
Selects car model
- Options: Sedan, SUV, large van, bus
BLACKBOX Setting 3
Move to Menu
. Cut-off Volt.
Sets motion cut-off voltage to save battery when in normal
power mode.
Options : 11.6V, 11.8V, 12V, 12.2V 12.4V
. Temp. Protection
Sets motion cut-off temperature to protect the product. At the set
temperature, the power is cut off and when the temperature is
lowered, BlackBox is turned on automatically.
Options : (Low) -2, -1, 0, 1, 2 (High)
11.8V -1 Select Item
button