Boyo VTR96M User manual

USER MANUAL
360° Streaming HD Mirror Monitor Recorder
The contents of the screen display are for reference only, depending on the actual display.
CAUTIONS:
1. Please format the card before power on, otherwise video errors and freezes will occur during video playback. Please
use a high-speed TF card. If a low-speed card is used, problems are likely to occur.
4. About touch buttons: When two touch areas are touched at the same time, the touch buttons will malfunction
temporarily. Function resumes after 15 seconds.
2. You can view the video through the mirror. Or you can connect to the mobile APP to view through the mobile phone.
3. WiFI account: YV09-XXXXXX, Password: 12345678
Vision Tech America, Inc.
1452 E. Valencia Dr.,
Fullertion, CA 92831
Tel: 888-941-3060
For technical support contact 888-941-3060 or email
[email protected] WWW.VISIONTECHAMERICA.COM
VTR96M
Note: For the best performance and durability of video recording, we recommend to use C10 U1 level TF card or
better.

2
PACKAGE CONTENT
SPECIFICATIONS
FEATURES
1
Front 3600 Panoramic Video
Dual-way recording
Rear recording 1080P
9.66 inch full display screen
Touch screen button
Wi-Fi connection
Parking mode
Night mode
LCD power save
Time lapses video
G-sensor
Real-time view on app
IP68 waterproof rear camera
Back up camera display
SD card (MAX 64GB)
9.66 inch MIPI IPS, 1280*320
Display Screen
Front 3600/ rear 1200
Recording Angle
H.264, MOV
Video Format
Memory
0-10m
Support
Wi-Fi
Video Resolution Front 1544*1544P / rear 1080P
Battery
Supporting platform RTK
Operation Temperature -200C-700C
Working Voltage 10-16V
The package contains the following:
01 Rear view mirror 02 Wire harness 03 Rear canera
04 User manual 05 Accessories
For the items listed above, please check your packing contents.

BASIC OPERATING INSTRUCTIONS
3 4
6: Video switch button ( available to use after connecting rear camera)
5: Short press to adjust the screen display range; Long press to take photo
7: Lock the current video when recording;
1: short press to turn on/ off the screen; Long press to turn off the mirror, then short press to restart
2: Light sensor 3: Indicator 4:
8: Short press to enter the “menu setting” interface when stop recording
9: Night mode icon;
stop recording; start recording;
Enter the “playback” interface when stop recording;
10: Parking monitoring icon; 11: G-sensor icon;
Black to GND
Red to ignition +12V
Yellow to battery
Rear camera
To reversing light
(If it is not connected with this line, the mirror screen will
not switch to the rear view when reversing)
HOW TO WIRE
08:00
SAT
2019.07.17
0:00:54
2456 7 813
91011 Follow this direction to insert the SD card.
Touch area
NOTED: The touch area of the keys is not on the glass screen, but on the plastic frame below the key icon.
When wiring, please align the two white
arrows shown in the picture, otherwise,
the wire interface may be damaged.

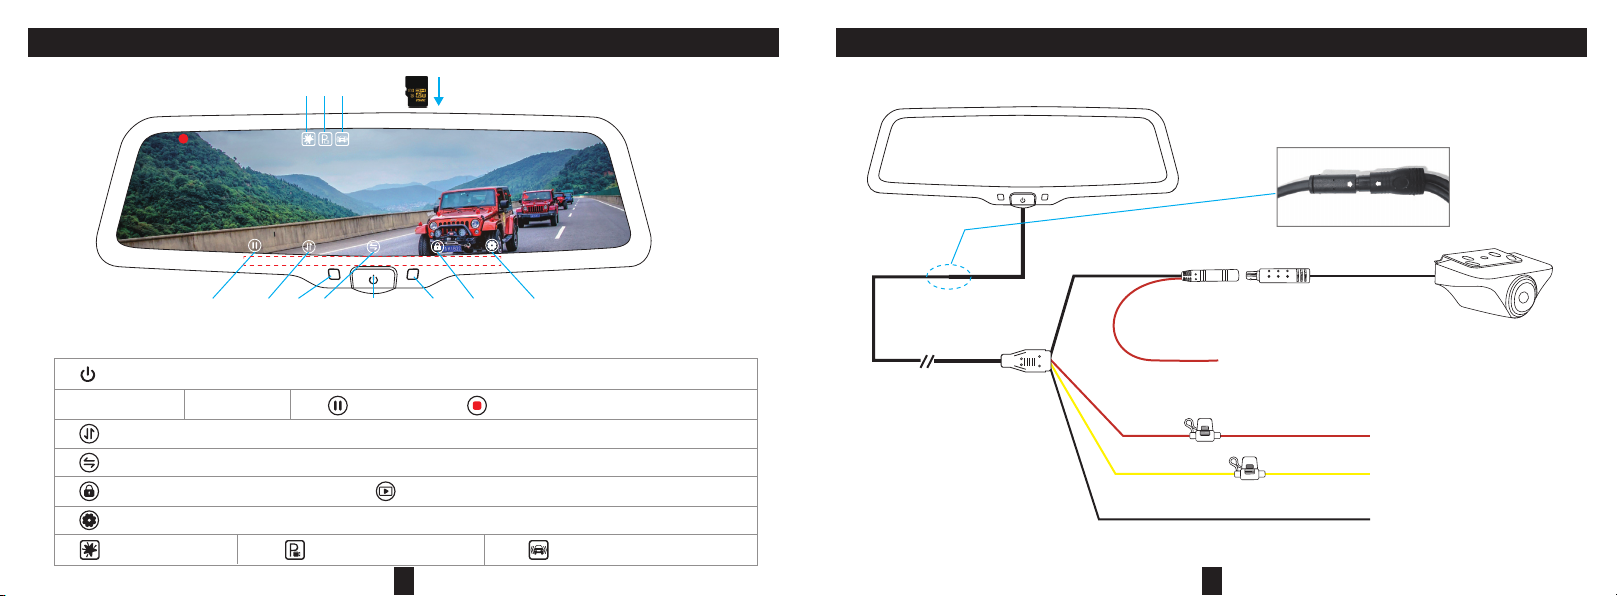
ReturnPrevious Next Conrm/ Back to previous
Stop recording, tap the icon “ ” in the main interface to proceed to the menu settings.
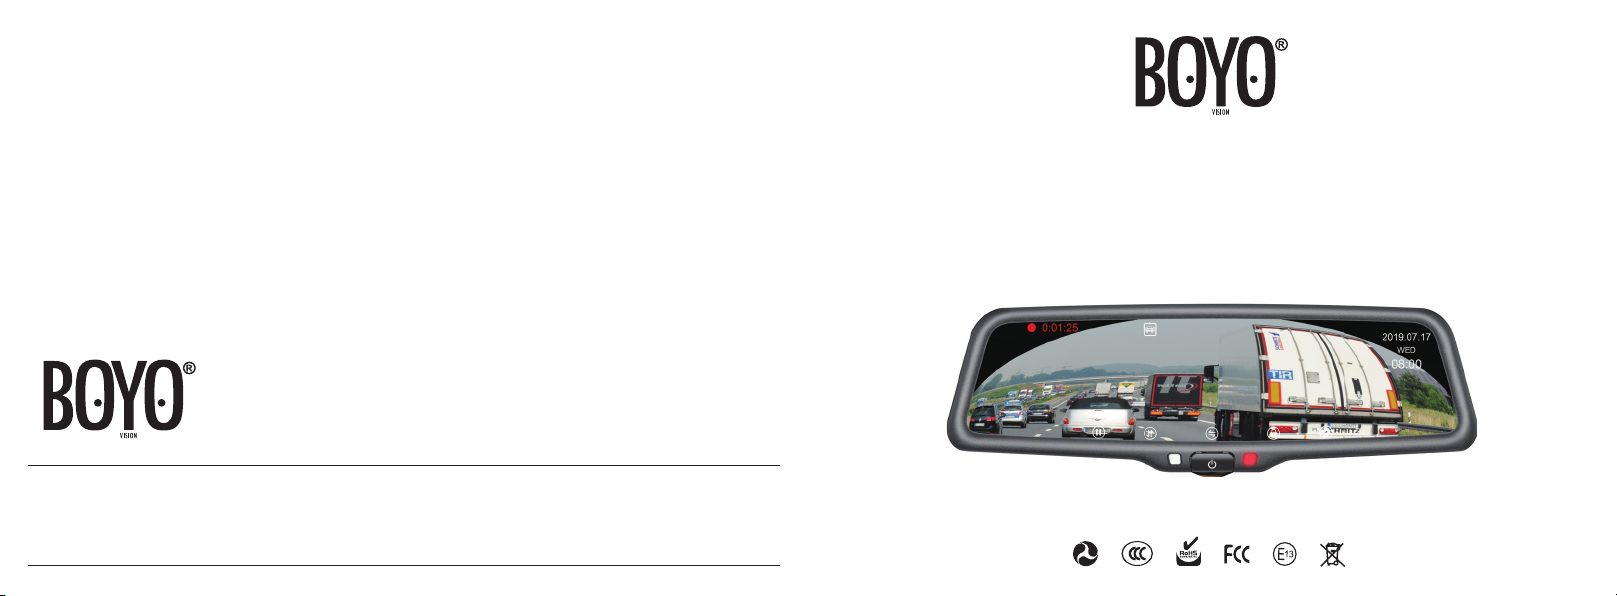
MENU SETTINGS
Movie Clip Time:
Can set “
1min / 3min / 5min”.Default 3 minutes.
Night Mode: On: increase exposure/sensitivity. Off: normal - default
5
Movie Mode FHD 30fps
HD 30fps
Movie Clip Time
Night Mode
Sound Record
15:30
TUE
2019.12.03
Movie Mode: Applies to the front camera only. FHD30: 1080P@30fps - default. HD30: 720P @30fps
Sound Record: On: Audio Recording ON - default. Off: Audio Recording OFF
Video Time Lapse:
Can set “
Off / 1FPS / 4FPS”.
Timelapse Rec Time: Can set “2 hours /8 hours /12 hours /24 hours”. Default 2 hours.In “Video Time Lapse option”, select “1FPS” or
“4FPS”. When the car is turned off and the machine is in the ACC disconnected state, the machine will prompt to enter the “Timelapse
Rec Time”video. When the voltage reaches 11.3±0.15V setting, the machine will stop recording automatically to avoid car engine can’t
start properly because of low voltage. When playing a video, it turns a long video of slow motion into a short video of fast motion, similar
to fast forward playback in movies. For example, when recording for 1 minute, the video is compressed to 1 second, and the recording
for 1 hour is changed to 1 minute to play.
Exposure -2
-1
1
2
0
Video Time Lapse
Timelapse Rec Time
Protect Level
15:30
TUE
2019.12.03
Exposure: Can set “
-2 / -1/ 0 / 1 /2”. The default is 0. This setting is only for the front camera, not useful for the rear camera.
Protect Level (G-sensor):Can set “Off / High / Middle / Low”.
With G-sensor function, dash camera can automatically save the video as event le when it detects acceleration of gravity changes
greatly. For example, when car crash happens. The event le will be locked and cannot be overwritten in record cycle mode. It can only
be manually deleted one by one or formatted.
6

Clock Settings: Users can adjust the time and date by themselves, or connect the mirror to the phone via WIFI, the time will be updated
automatically.
Flicker: Can set “50Hz / 60Hz”.
Each country has different supply frequency due to geographical reason. Standard frequency of dash camera lens is constant 50Hz.
When the supply frequency inconsistent with frequency standard the image on the device will appear joggling phenomenon. At this
point users should adjust Frequency to consistent with supply frequency.
Reset Setup: After making a lot of custom settings,users can reset the device to the original factory settings.
Format SD-Card: If it’s not necessary to save the videos in card, user can delate all videos (both normal video and event les) by
formatting.
Parking Monitoring: Can set “Off /On”.
When this function is turned on, when the recorder is shaken when it is turned off, it will start the machine to record for 30 seconds and
then turn it off.
Language:
“
English / Simplied Chinese / Traditional Chinese”etc. There are 8 languages.
LCD Power Save: Can set “off / 1min / 3mins”.
After exiting the menu, the mirror will start to count the time once there are no operations. The screen will auto turn off when it reaches
the time you set.
7 8
Parking Monitoring Off
On
LCD Power Save
Language
Volume
15:30
TUE
2019.12.03
Volume:
Can set “
Off / High / Middle / Low”, default Middle.
Flicker 50 Hz
60 Hz
Clock Settings
Wifi ON/OFF
Format SD-Card
15:30
TUE
2019.12.03
Wifi ON/OFF: Can set “On / Off”.

9 10
Stop recording, tap the icon “ ” in the main interface to proceed to the playback interface. There are 6 sub-menus.
They are: 1. Front-view normal video; 2. Rear-view normal video; 3. Front-view locked video; 4. Rear-view locked
video; 5. Front-view picture; 6. Rear-view picture.
Press “ ” to switch to “Rear View Normal Video”, as shown in the gure below:
Press “ ” to select, as shown in the gure below:
PLAYBACK
FILE191205-131524-000365R
FILE191205-132138-000366R
FILE191205-151022-000367R
FILE191205-152247-000368R
15:30
THU
2019.12.05
F
R
F
R
[1/18] [00:03:00]
Return
Previous Next Select
FILE191205-131524-000365R
FILE191205-132138-000366R
FILE191205-151022-000367R
FILE191205-152247-000368R
15:30
THU
2019.12.05
F
R
F
R
[1/18] [00:03:00]
ReturnPrevious Next Conrm
Lock the
selected video
ReturnPrevious video Next video Play
Lock the
current video
2/18 00:00:03 /00:00:28
FILE191205-132138-000366R.MOV
PS: Press and hold “ ” to delete the current video.
Press “ ” to select and enter the playback interface, as shown below:

Built- in WiFi module system allows to connect mobile
phone through Android or IOS APP, please check below
for its setup.
1. Download “ 360DASHCAM” APP.
2. Turn on the rearview mirror, and wi is turned on by
default. The WiFi account and password are displayed
in the lower right corner of the screen, as shown in
Figure 1.
MOBILE PHONE APP CONNECTION and OPERATION
3. Enter mobile phone interface, turn on Wi-Fi and
connect Wi-Fi ID, enter initial password: 12345678,
then connect. Please see gure 2
4. Open the mobile app and enter the album interface
by default, as shown in Figure 3 (because the rst
time you log in, there is no download of the recorded
video to the local, the le is empty). Click “ to
enter the recorder interface, as shown in Figure 4.
5. In Figure 4, click the “ ” icon, the phone and
rearview mirror are successfully connected, as shown
in Figure 5.
08:00
SAT
2019.07.17
YV09_158610
12345678
Figure 2 Figure 3
Figure 4
Figure 1
11 12

Click “ ” to enter the list of recorded videos, Press and hold the le thumbnail to select the le, download the video to the local,
delete videos in batches, etc. See the gure below.
6. Once connected, user can check the recording video and operate accordingly.
13
Figure 5
Display mode
Setting
Record
Photo
Setting interface
DeleteDownload to local album
14
Table of contents
Other Boyo Dashcam manuals