When you receive the appliance,
unpack it or have it unpacked
immediately. Check its general
appearance. Make a note of any
reservations on the delivery slip
and keep a copy.
Important:
This appliance may be used
by children aged 8 years and
older, and by persons with
impaired physical sensorial or
mental capacities, or without
experience or knowledge, if they
are supervised or have received
prior instructions on how to use
the appliance safely and have
understood the risks involved.
Children must not be allowed to
play with the appliance. Cleaning
and maintenance operations must
not be carried out by children
without supervision.
— Children must be supervised to
prevent them from playing with
the appliance.
WARNING:
— The appliance and its accessible
parts become hot during use. Be
careful not to touch the heating
elements inside the oven. Children
under 8 years old must not be
allowed near it unless they are
supervised at all times.
«The appliance is not intended
for use by persons (including
children) with reduced physical,
sensory or mental capabilities,
or lack of experience and
knowledge, unless they have been
given supervision or instruction
concerning use of the appliance
by a person responsible for their
safety.
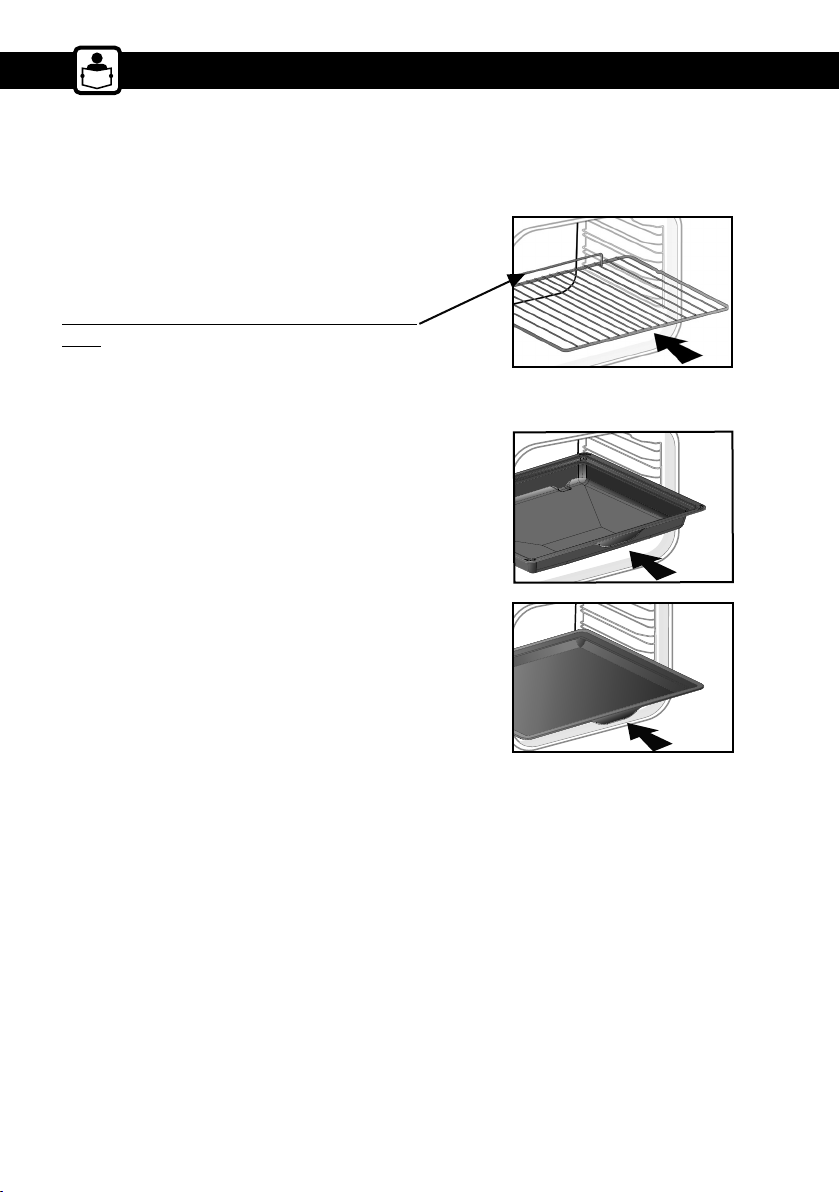
— This appliance is designed to
cook with the door closed.
— Before pyrolytic cleaning of
your oven, remove all accessories
and any thick deposits.
— During cleaning, the surfaces
may become warmer than under
normal conditions of use. It is
advisable to keep children away
from the appliance.
— Do not use a steam cleaner.
— Do not use abrasive cleaning
products or hard metal scrapers
for cleaning the oven’s glass door,
as they could scratch the surface
and cause the glass to shatter.
IMPORTANT - READ CAREFULLY AND RETAIN FOR
FUTURE USE.
This user guide is available for download on the brand’s web-
site.
IMPORTANT SAFETY INSTRUCTIONSIMPORTANT SAFETY INSTRUCTIONS
44