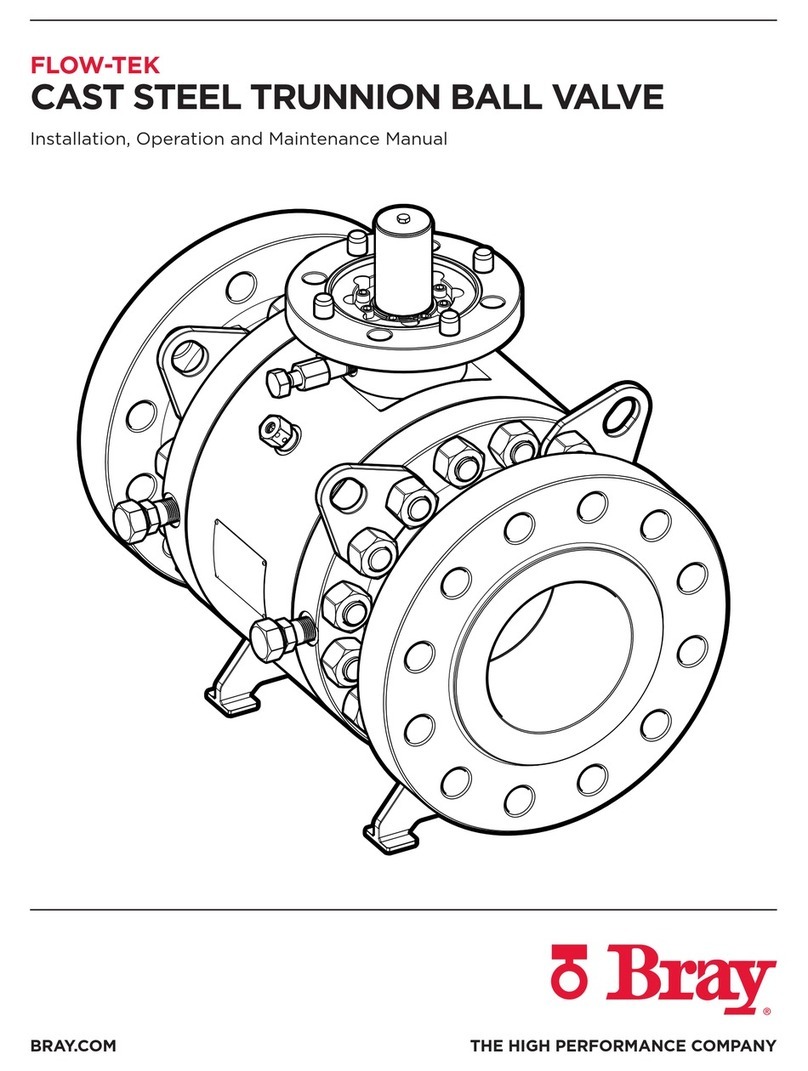
Installation and Maintenance Manual
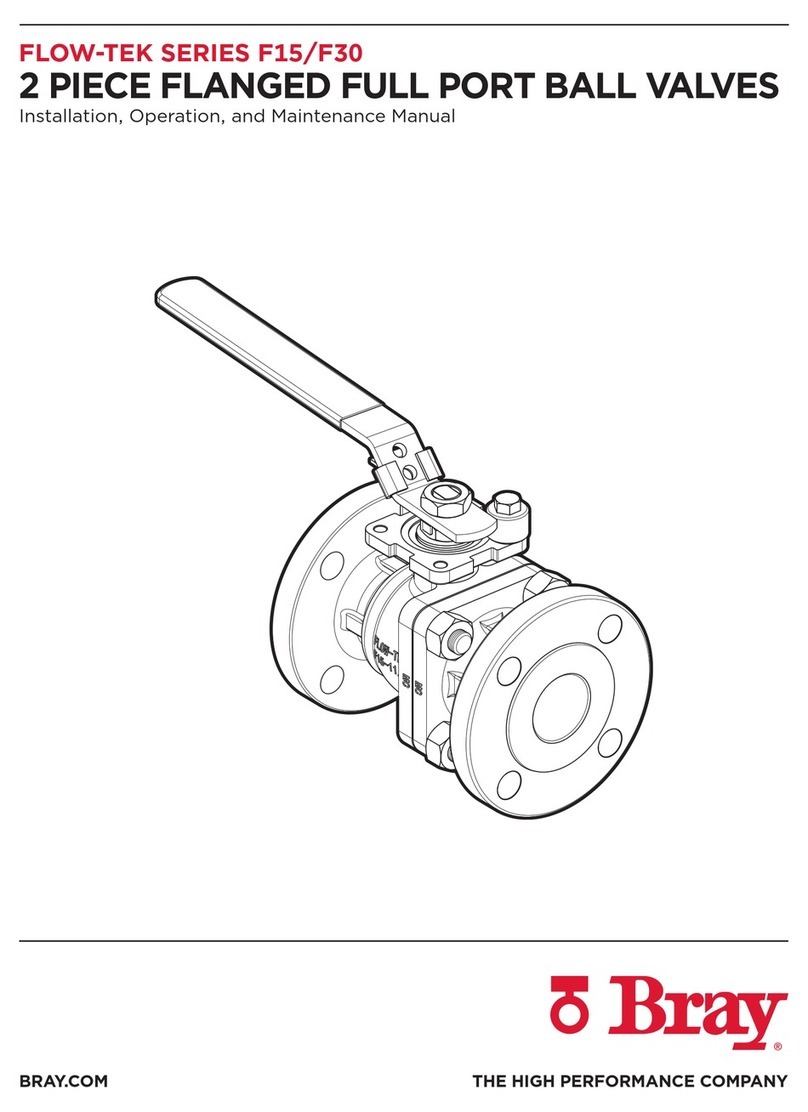
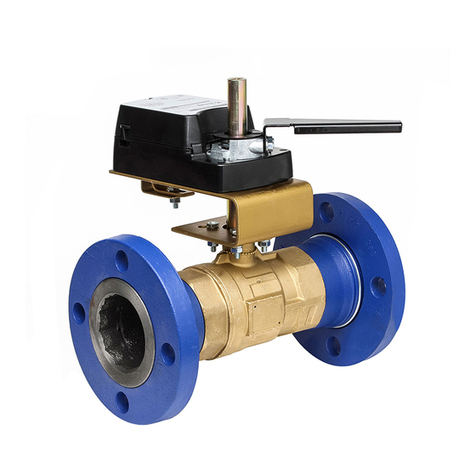
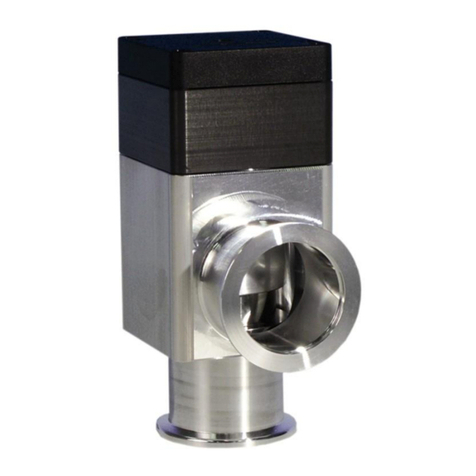
F15/F30 Ball Valves
Date: August 2021 / Page 1 of 6
®
A Subsidiary of BRAY INTERNATIONAL, Inc.
FLOW-TEK, Inc. Tel: 832.912.2300 © 2021 Flow-Tek, Inc.
8323 N. Eldridge Pkwy #100 Fax: 832.912.2301
Houston, Texas 77041 www.flow-tek.com
INSTALLATION - MAINTENANCE MANUAL
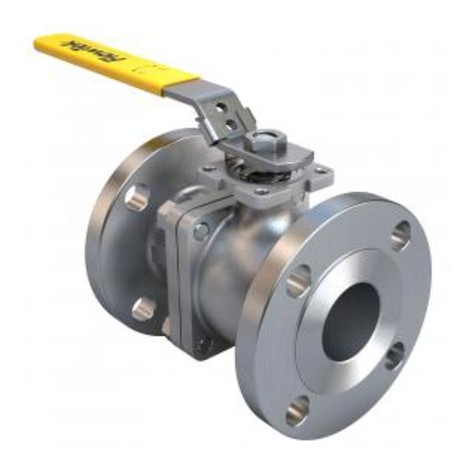
F15 and F30 Series
150 and 300 Lb. Flanged Full Port Ball Valves
DESIGN
The design features of this valve include a split body, two
piece construction, allowing ease of maintenance without
special tools. These valves feature a “free floating” ball. The
ball is not fixed, but is free to move with the line pressure.
As a result of this feature, these valves are capable of
tight shut-off with flow in either direction or dead-ended,
regardless of the position of the valve in the line.
The downstream seat, opposite the pressurized side of a
closedvalve,mustcarrytheloadexerted bythelinepressure
on the ball, while the upstream seat is subject to little load
or wear. For this reason, it is sometimes possible to increase
usefulseatlifebyturningthevalveend-for-endin thepipeline.
1. USE
The valve should be maintained as part of a preventative
maintenance program and in accordance with Flow-Tek’s
recommended pressure, temperature and corrosion limits
to insure a long service life. During shipment, storage, and
in operation, the valve should be fully open or fully closed
(“open” is preferred for shipping and storage). Do not use
in throttling service without investigating flow and pressure
conditions.
WARNING: Beforeinstallingthis equipment, confirm
that it is suitable for the intended service.
The identifications tags describe the maximum allowable
service conditions for this product.
Be sure that the installation is protected by appropriate
pressure control and safety devices to insure that acceptable
limits are not exceeded.
2. OPERATION
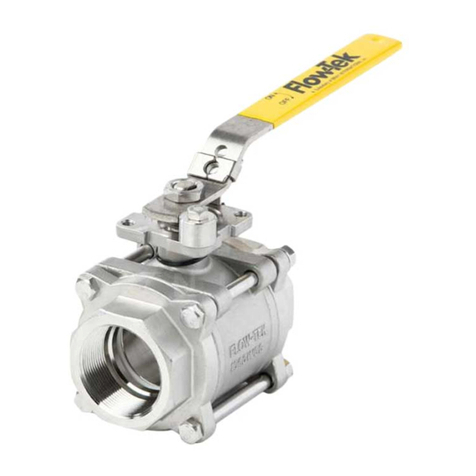
Operation of the valve is done by turning the handle a 1/4
turn (90 degree turn). CW to close, CCW to open.
A. VALVE OPEN POSITION
The handle is parallel with the pipeline.
B. VALVE IN CLOSED POSITION
The handle is perpendicular to the pipeline.
Valves with actuators should be checked for actuator -valve
alignment.Misalignment willresultin high operationaltorque
and damage to valve stem and seals.
3. STEM SEAL ADJUSTMENT
1. For 1/2”- 2”, if slight leakage is noted at stem,
straighten lock washer tab, tighten stem nut to flatten
BellevilleWashers,backstemnut off1/4turn,secure
lock washer tab.
2. For sizes larger than 2”, simply tighten gland bolts
evenly until leak stops. Do not over tighten.
4. BALL SUPPORT PACKING ADJUSTMENT
Ball Support packing adjustment may be required in the
rare event that the pin packing develops a leak. The below
instructionsshouldbe followedintheeventofaleaktoadjust
the packing. Note that the position of the ball support comes
pre-set from the factory. Adjustment of the pin seat position
may only be required if the ball support components have
been replaced.
1. Loosen the set nut (35) on the tuning screw (36)
by turning the nut counter-clockwise while holding
the screw stationary with an open end wrench.
2. With the set nut (35) loose, turn the support nut
(34) clockwise to compress pin packing (32) as
necessary to stop leakage of line media around
support nut threads.
3. Using finger pressure only, rotate the tuning screw
(36) in the clockwise direction until resistance is
felt from the support pin seat (31) contacting the
ball surface. Then, rotate the tuning screw (36) ¼
turn in the counter-clockwise direction.


