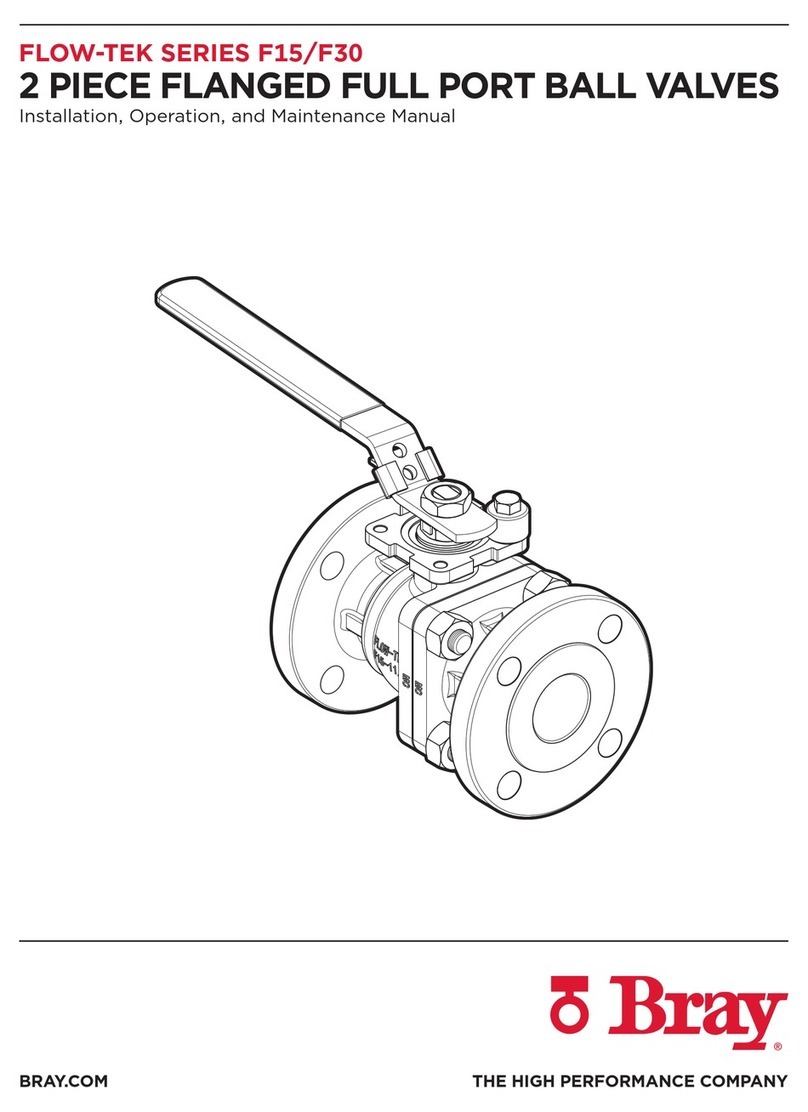
Installation and Maintenance Manual
Series RF15-RF30 Ball Valves
Date: August 2020 / Page 2 of 5
®
A Subsidiary of BRAY INTERNATIONAL, Inc.
FLOW-TEK, Inc. Tel: 832.912.2300 © 2020 Flow-Tek, Inc.
8323 N. Eldridge Pkwy #100 Fax: 832.912.2301
Houston, Texas 77041 www.flow-tek.com
2. As shipped from the factory, valves contain a Silicone
based lubricant. This is for break-in and may be removed,
if it is objectionable for a particular application, by
disassembling and solvent washing.
Stem seal leakage may be corrected without disassembly
by tightening the packing gland nut until such leakage stops.
If the leakage continues or valve operating torque becomes
excessive, the seals are worn and replacement will be
necessary.
If the valve has been used to control hazardous media, it must
be decontaminated before disassembly.
It is recommended that the following steps be taken for safe
removal and assembly.
As shipped from the factory, Valves contain Silicone based
lubricant. This is for break-in and may be removed by
disassembly and solvent washing.
6. DISASSEMBLY
Stem seal leakage may be corrected without disassembly.
Tighten the packing gland nuts until leakage stops. If leakage
continues or valves operating torque becomes excessive, the
seals are worn and replacement will be necessary.
Warning: DO NOT remove packing gland or any
other valve parts while line is under pressure! Under
no circumstance! Line must be depressurized before
disassembly.
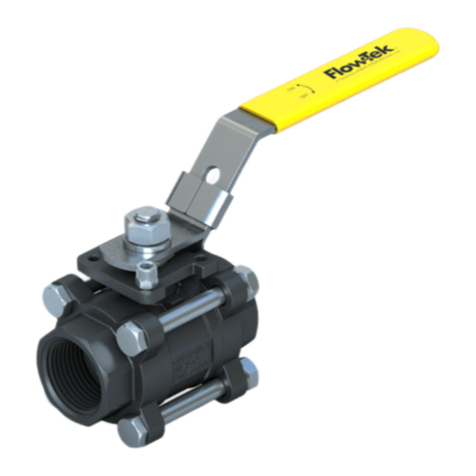
A. Remove valve from line and clamp in vise with handle
and removable body insert in an accessible position.
B. Put ball in the OPEN position. Insert spanner wrench
into slot in the retainer and rotate the counter-clockwise.
C. Remove body seal from body. Use caution to prevent
damage to metal parts; discard seal.
D. Turn handle to CLOSED position so that the stem tang
and ball slot are in line with the port opening. Lift or roll
ball out of insert end.
E. If stem seals are to be replaced, remove handle retainer
nut, stop plate and packing gland. Push stem into valve
cavity and remove from retainer end.
F. Remove seats from insert and body cavity, remove stem
seals.
7. VISUAL INSPECTION:
Clean and inspect metal parts. It is not necessary to replace
the hall and stem unless the seating surfaces have been
damaged by abrasion or corrosion. Replacement of all soft
parts whenever the valve is disassembled for reconditioning
is strongly recommended. This is the surest protection against
subsequent leakage after valve assembly. The replacement
parts can he ordered in kit form.
NOTE: The valve may be assembled and operated
dry where no lubricants are allowed in the system;
however, a light lubrication of mating parts will aid
in assembly and reduce initial operating torque.
Lubricantused must becompatible with theintended
line fluid.
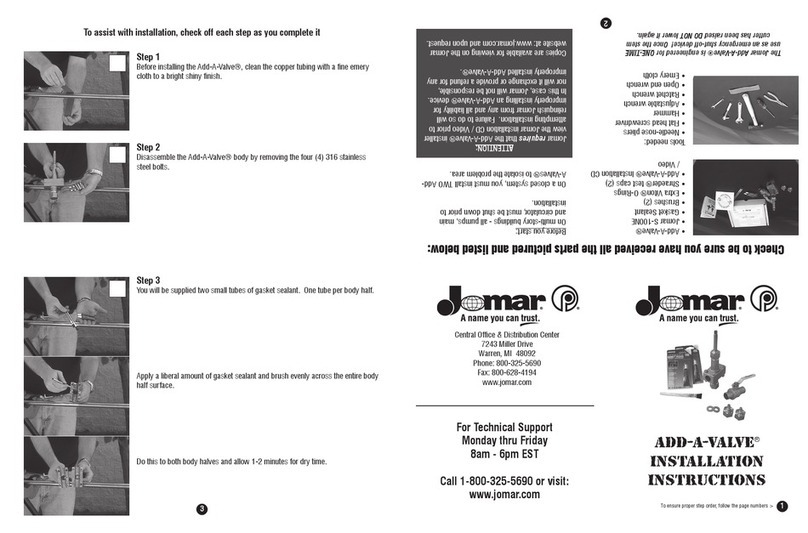
8. ASSEMBLY:
1. Install one seat in the body cavity with the spherical
curvature facing the ball.
2. Install thrust washer on stem and slide the stem up
through the body. Install packing and packing gland
with packing gland bolt.
3. Install stop plate, handle and handle nut.
4. Turn the handle to the CLOSED position. Line up the ball
slot with the stem tang and slide the ball into position.
Open the valve to hold the ball in place.
5. Install the remaining seat in the insert with the spherical
curvature facing the ball. Install body gasket.
6. Carefully center the insert and press down until the
threads are engaged. Start the threads clockwise by
hand tightening with the tool used for removal. The end
cap should be tightened until the end cap is flush with the
flange face. The insert bottoms out in a metal to metal fit.
7. Cycle the valve slowly, with a gentle back and forth
motion, to build gradually to the full quarter turn. By
cycling slowly, the seat lips will assure a permanent seal
shape against the ball. A fast turning motion, at this point,
may cut the seats before they have a chance to form the
proper seal.
8. If a tester is available, pressure test valve prior to
reinstallation.


