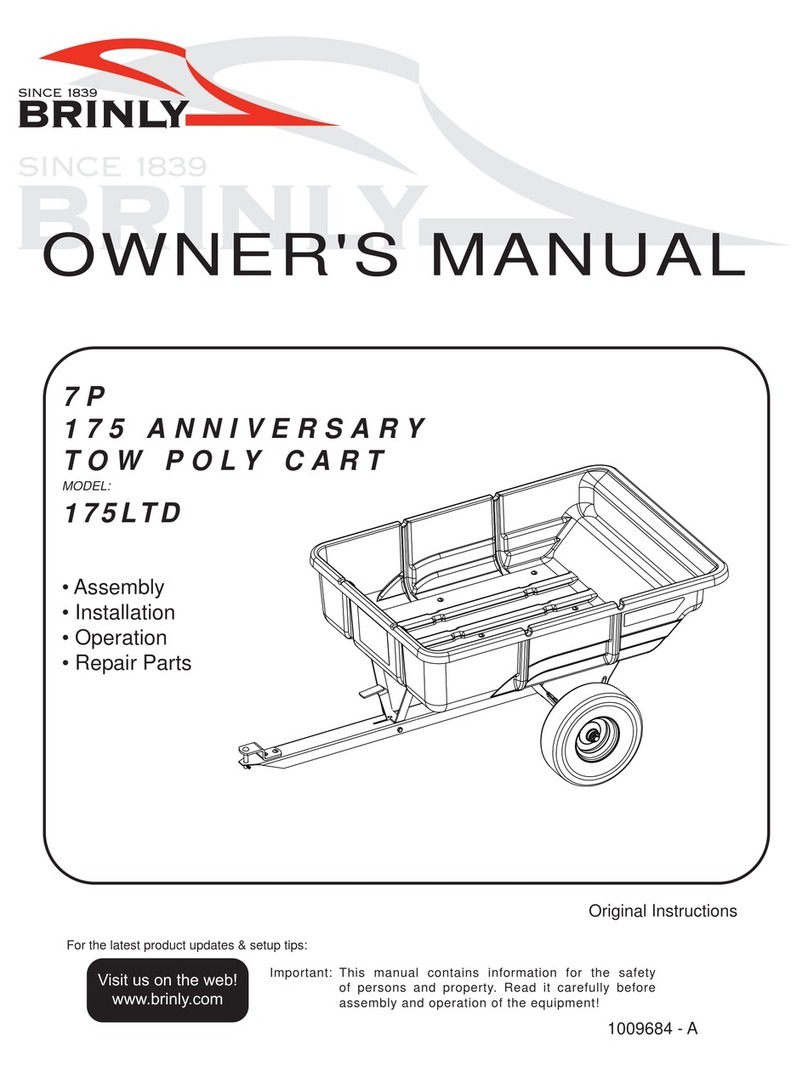
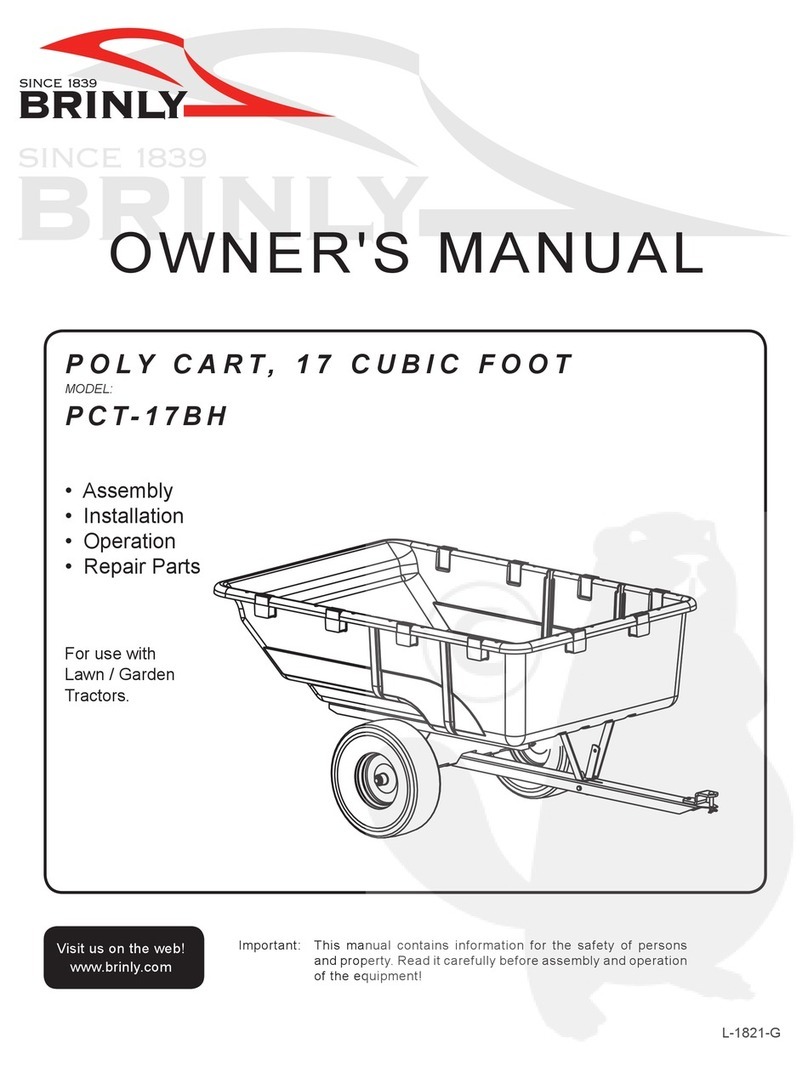
Brinly PCT-101BH User manual

11008577ALL-D
Call Customer Service, Toll-Free: 877-728-8224
Important: This manual contains information for the safety
of persons and property. Read it carefully before
assembly and operation of the equipment!
Visit us on the web!
www.brinly.com
POLY CART, 10 CUBIC FOOT
MODEL:
PCT-101BH
This utility cart is
designed for use with
lawn tractors and lawn
and garden tractors.

21008577ALL-D
==================================================================================================
INTRODUCTION AND SAFETY
CUSTOMER RESPONSIBILITIES
of this manual.
TABLE OF CONTENTS
..........
...................... 5 - 6
.................
............... 12 - 13
................
.....................
................... 16
TOOLS REQUIRED
FOR ASSEMBLY:
=========================================
SPECIFICATIONS
============================================
............................................ 5 mph
.......................................................
........................................................ 650 lbs
...............................................................
The safety labels shown in this section are placed in important
areas on your product to draw attention to potential safety
symbol.
SAFETY LABELS
=================================================
This symbol will help to point out important safety
precautions throughout this manual. It means:
ATTENTION! BECOME ALERT! YOUR SAFETY
IS INVOLVED.

31008577ALL-D
==================================================================================================
SAFETY
GENERAL SAFETY NOTES
==================================================================================================
Towing speed should always be slow enough to maintain
Caution should be taken when towing and/or using any attachment. This attachment combined with the weight distribution,
turning radius, and speed of towing vehicle can result in severe injury or death to operator, damage to towing vehicle,
and/or attachment if not used properly. Follow all towing safety precautions noted in the towing vehicle owner’s manual,
including the following precautions:
Reduce towed weight when operating on slopes.
near drop-offs.
WARNING
AVOID INJURY FROM EXPLOSION
RIDERS CAN FALL OFF AND BE KILLED

1008577ALL-D
==================================================================================================
STOP
DON’T GO BACK TO
THE STORE!
any reason including emptying the attachment.
This attachment is intended for use in lawn care and home
any high speed applications.
towing speed.
damage should be repaired before restarting and operating the
equipment.
Replace all worn or damaged safety and instruction decals.
TOWING VEHICLE AND TOWING SAFELY
operating.
counterweights or wheel weights as described in the towing
PROTECT THOSE AROUND YOU
while operating this or any attachment.
behind for bystanders.
KEEP RIDERS OFF TOWED ATTACHMENT AND TOWING
VEHICLE
turns.
attachment being operated in an unsafe manner.
POLY CART SPECIFIC SAFETY INSTRUCTIONS
GENERAL SAFETY NOTES
=================================================
SAFETY

51008577ALL-D
==================================================================================================
COMPONENT VIEW AND REFERENCE LIST
================================================================================================
1
3
6
14 14
20
19
2
7(x10)
10 (x10)
(x2)
(x2)
8
9+
(x8)
9
+
8
14
+
13
14
+
13
24
12
5
15
23
18
17
22
(x2)
9
(x2) 7
+
8
16
11
21
4
Ref. Description Part Number Qty.

61008577ALL-D
==================================================================================================
DO NOT RETURN PRODUCT IF YOU ARE MISSING PARTS.
HARDWARE IDENTIFIER
Illustrations on this page
are to scale for faster
during assembly.
D-146P . . . . . . . . . . . . . . . .
18
. . . . . . . . . . . . . . . . . . . . . . . . .
B-3861
12
. . . . . . . . . . . .
13
B-4305
. . . . . . . . . . . . .
8
30M1000P
. . . . . . . . . . . . . . . . . .
16
B-6299
. . . . . . . . . . . . . . .
11
B-1675P
5/16” . . . . . . . . . . . . . . . . .
9
40M1000P
5/16” . . . . . . . . . . . . . . .
45M1111P
10
. . . . . . . . . . . . . . . . .
B-6298
15
. . . . . . . . . . . . . . . . . . . . . . . . . . . . . . . . . . . .
20M1016P
7
B-6300
17
. . . . . . . .
A few extra parts will be leftover that are not used on this model.
EXTRA PARTS:

1008577ALL-D
==================================================================================================
Please disregard the extra washers in Hardware Panel 2, they are for a different model.
ASSEMBLY
x8
7
10
Assembly Step 1
8
9
8
+
9
10
+
7
20
1
Install Axle Support
20
1
1
710
9
8
NOT
x2
7
10
Assembly Step 2 8
9
8
+
9
10
+
7
1
6
NOT
Install Lock Bracket
6
6
1
7
10
9
8

1008577ALL-D
==================================================================================================
4
21
the notch in the foot pedal oriented
towards the raised tongue on
the drawbar.
See illustration.
4
21
ASSEMBLY
4
21
STARRED EDGE OF THE WASHER NEEDS TO BE FACING THE SPRING.
15
21
4
1615
NOTE: Foot pedal can be adjusted slightly while installing
bolt (15). This will help to align the bolt with the hole on the
other side of the drawbar.
Assembly Step 3-B
4
21
16
15
16
Assembly Step 3-A

91008577ALL-D
==================================================================================================
ASSEMBLY
STARRED EDGE OF THE WASHER NEEDS TO BE FACING THE SPRING.
Assembly Step 3-C
154
4
1615
1521
NOTE: Foot pedal can be adjusted slightly while installing bolt (15).
This will help to align the bolt with the hole on the other side of the
drawbar.
4
21
16
16
15
Assembly Step 3-D
16
16
11
15
15
11
16

10 1008577ALL-D
==================================================================================================
ASSEMBLY
Assembly Step 4
17
hole at the base of the foot
4
17
21
21
17
x2
12
18
NOTE: For initial use, you may need to tap or push the hairpin cotter
into place by applying some pressure with a tool.
5
21
75
21
Secure beneath the drawbar (21) with
two 5/16 in. lock washers (9) and 5/16
in. nuts (8).
5
7
18
12
7
8
9
Install Clevis
Assembly Step 5
21
4
9
8
+

11 1008577ALL-D
==================================================================================================
19
13
ASSEMBLY
Assembly Step 6
21
19
20
19
21
20
NOTE: A light coating of grease or oil on axle will
aid in inserting the axle through the axle support.
13
NOTE: You may need to tap or push the retaining ring
into place by applying pressure with a tool.
19
14
14
3
21
19
21
C
B
A
D
14
193
14
Please disregard the extra
bushings in Hardware Panel 6,
they are for a different model.
Please disregard the extra bushings in Hardware Panel 6, they are for a different model.
NOTE: Tighten all hardware installed on Steps 1 and 2.

12 1008577ALL-D
==================================================================================================
REMOVING THE CART
(See towing vehicle operator’s manual).
1812
5
1218
CAUTION: AVOID INJURY!
12
18
INSTALLING THE CART
(See towing vehicle operator’s manual).
5
125
1218
CAUTION: AVOID INJURY! Keep body parts
18
12
5
ASSEMBLY
OPERATION
================================================================================================
Assembly Step 7
Gently ip the cart over
and assembly is complete!

13 1008577ALL-D
==================================================================================================
OPERATION
UNLOADING THE CART
CAUTION:
CAUTION: AVOID INJURY! Keep body parts
(See towing vehicle operator’s manual).
3. Raise the bed carefully into the full dump position.
CAUTION:
(Example: load
set at rear of cart).
STORAGE
CART SHOULD BE STORED IN A DRY PLACE.
adding ballast to the towing machine.
Keep riders out of cart.
AVOID OVERFILLING THE CART
cart to a capacity that is comfortable for you to dump.
SPECIFICATIONS
CAUTION:
operator MUST BE MORE than the weight of
cart and load.
EXAMPLE:
----------------
MODEL WEIGHT
(empty)
----------------

1008577ALL-D
==================================================================================================
MAINTENANCE AND SERVICE
QUALITY CONTINUES
WITH QUALITY SERVICE
SERVICE
call
877-728-8224
www.brinly.com
customerservice@brinly.com
BRINLY.COM
ONLINE
MAINTENANCE
and dry.
tightness.
function and safety.
paint affected area with enamel.

15 1008577ALL-D
==================================================================================================
NOTES

16 1008577ALL-D
other peril or natural disaster.
HOW TO OBTAIN SERVICE:
cases:
filters.
rental use.
No implied warranty, including any implied warranty of
merchantability of fitness for a particular purpose, applies
after the applicable period of express written warranty
above as to the part as identified below. No other express
warranty whether written or oral, except as mentioned
above, given by any person or entity, including a dealer
or retailer, with respect to any product, shall bind Brinly-
Hardy Co. During the period of the warranty, the exclusive
remedy is repair or replacement of the product as set forth
above.
The provisions as set forth in this warranty provide the sole
and exclusive remedy arising from the sale. Brinly-Hardy
Co. shall not be liable for incidental or consequential loss
or damage including, without limitation, expenses incurred
for substitute or replacement lawn care services or for
rental expenses to temporarily replace a warranted product.
apply to you.
and your property and/or to others and their property arising out
of the misuse or inability to use this product.
original purchaser or to the person for whom it was purchased
as a gift.
HOW STATE LAW RELATES TO THIS WARRANTY:
IMPORTANT:
period begins from the date of manufacture determined by the
serial number manufacturing date.
WARRANTY PERIOD:
The warranty period for the product shown in this manual is as
MANUFACTURER’S LIMITED WARRANTY FOR
BRINLY PULL-BEHIND ACCESSORIES

11008577ALL-D
Llame al Servicio al Cliente, sin cargo: 877-728-8224
de armar y operar el equipo!
¡Visítenos en la web!
www.brinly.com
CARRO REMOLCADOR DE
POLIPROPILENO 10P
MODELO:
PCT-101BH
está diseñado para
usarse con tractores de

21008577ALL-D
==================================================================================================
INTRODUCCIÓN Y SEGURIDAD
RESPONSABILIDADES DEL CLIENTE
ÍNDICE
.....
..................... 5 - 6
..................
............... 12 - 13
..............
....................
.................... 16
HERRAMIENTAS
NECESARIAS:
=========================================
ESPECIFICACIONES
============================================
................5 mph
...................
........................... 650 lbs.
.......................
están ubicadas en áreas importantes de su producto para
ETIQUETAS Y NOTA DE SEGURIDAD
=================================================
precauciones de seguridad importantes que
¡ATENCIÓN! ¡MANTÉNGASE ALERTA! SU
SEGURIDAD ESTÁ EN JUEGO.

31008577ALL-D
==================================================================================================
SEGURIDAD
NOTAS GENERALES
==================================================================================================
remolcador.
Debe tener cuidado al remolcar o utilizar cualquier accesorio. Este accesorio combinado con la distribución del peso, el
radio de giro, y la velocidad del vehículo remolcador puede ocasionar lesiones graves o la muerte del operador, daños al
vehículo remolcador o al accesorio si no se utiliza correctamente. Siga todas las precauciones de seguridad del vehículo
remolcador que se encuentran en el manual del propietario del tractor, incluyendo las siguientes precauciones:
ellas.
ADVERTENCIA
EVITE LESIONES DE LA EXPLOSIÓN
LOS PASAJEROS PUEDEN CAERSE Y SER ASESINADOS

1008577ALL-D
==================================================================================================
ALTO
¡NO VUELVA A LA TIENDA!
terreno.
condiciones de funcionamiento y mantenga en su sitio los
poner en marcha y hacer funcionar el equipo.
apropiadamente. Repare las partes daña das inmediatamente.
pernos y tornillos.
VEHÍCULO REMOLCADOR Y CÓMO REMOLCAR
DE MANERA SEGURA
en funcionamiento.
cuando sea necesario.
tiempo y la distancia quenecesitapara detenerse.
distinto del punto de enganche aprobado.
propietario.
PROTEJA A QUIENES LO RODEAN
que no haya peatones detrás.
NO PERMITA QUE NADIE SE SUBA AL ACCESORIO
REMOLCADO NI AL VEHÍCULO REMOLCADOR
INSTRUCCIONES DE SEGURIDAD ESPECÍFICAS PARA EL
CARRO REMOLCADOR
NOTAS GENERALES
=================================================
SEGURIDAD
Other manuals for PCT-101BH
1
Table of contents
Languages:
Other Brinly Outdoor Cart manuals
Popular Outdoor Cart manuals by other brands

Sport-thieme
Sport-thieme 215 1801 User manual and assembly instructions

Razor
Razor HOVERTRAX KART owner's manual

OSP Designs
OSP Designs MELROSE MLR37-NB operating instructions

Expondo
Expondo Royal Catering RCZT-01W user manual

EINHELL
EINHELL SWA 60V Assembly instructions

CARTER-HOFFMANN
CARTER-HOFFMANN PH125 Cleaning, Operating, Maintenance Instructions, Parts List & Warranty